#积分挑战# HarmonyOS Next 弹窗系列教程(4)
## 介绍本章主要介绍和用户点击关联更加密切的**菜单控制(Menu)** 和 **气泡提示(Popup)**它们出现显示弹窗出现的位置都是在用户点击屏幕的位置相关## 菜单控制(Menu)Menu是菜单接口,一般用于鼠标右键弹窗、点击弹窗等。具体用法请参考[菜单控制](https://develop
## 介绍
本章主要介绍和用户点击关联更加密切的**菜单控制(Menu)** 和 **气泡提示(Popup)**
它们出现显示弹窗出现的位置都是在用户点击屏幕的位置相关
## 菜单控制(Menu)
Menu是菜单接口,一般用于鼠标右键弹窗、点击弹窗等。具体用法请参考[菜单控制](https://developer.huawei.com/consumer/cn/doc/harmonyos-references-V5/ts-universal-attributes-menu-V5)。
使用[bindContextMenu](https://developer.huawei.com/consumer/cn/doc/harmonyos-references-V5/ts-universal-attributes-menu-V5#bindcontextmenu12)并设置预览图,菜单弹出时有蒙层,此时为模态。
使用[bindMenu](https://developer.huawei.com/consumer/cn/doc/harmonyos-references-V5/ts-universal-attributes-menu-V5#bindmenu11)或bindContextMenu未设置预览图时,菜单弹出无蒙层,此时为非模态。
### 基本用法
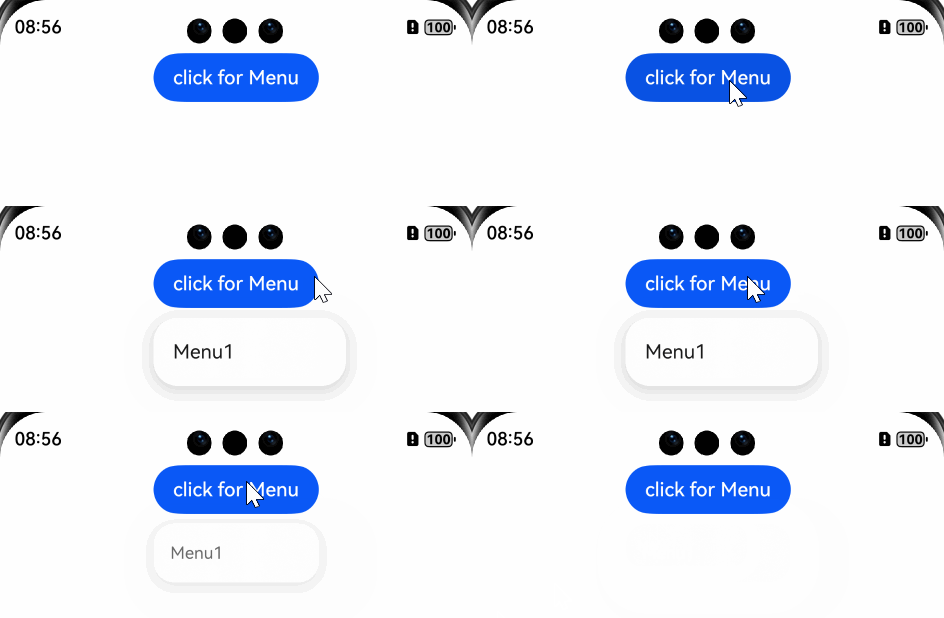
在按钮或者元素上调用**bindMenu**,并且传入菜单内容即可

```tsx
@Entry
@Component
struct Index {
build() {
Column() {
Button('click for Menu')
.bindMenu([
{
value: 'Menu1',
action: () => {
console.info('handle Menu1 select')
}
}
])
}.width('100%').margin({ top: 5 })
}
}
```
### 自定义菜单内容
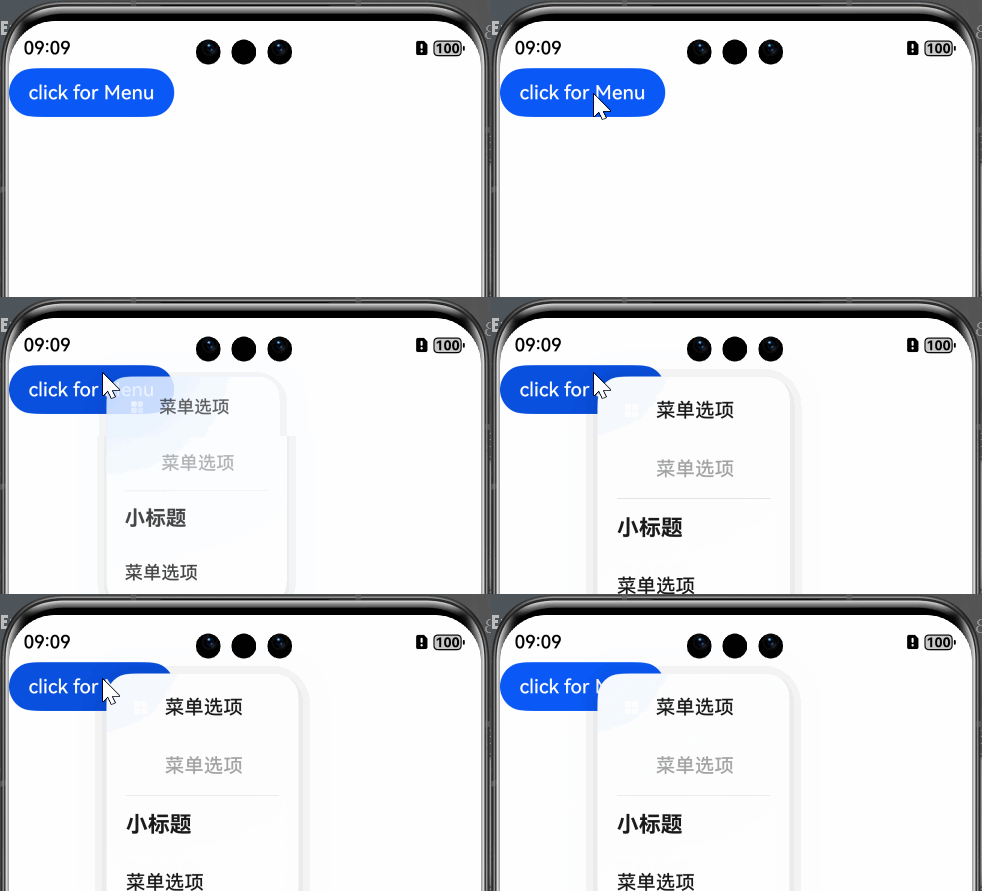
如果想要个性化的自定义弹出的菜单内容,按照以下步骤进行即可
1. 使用@Builder自定义要显示的内容
```jsx
// 子菜单
@Builder
SubMenu() {
Menu() {
MenuItem({ content: "复制", labelInfo: "Ctrl+C" })
MenuItem({ content: "粘贴", labelInfo: "Ctrl+V" })
}
}
// 主菜单
@Builder
MyMenu() {
Menu() {
MenuItem({ startIcon: $r("app.media.foreground"), content: "菜单选项" })
MenuItem({ startIcon: $r("app.media.layered_image"), content: "菜单选项" }).enabled(false)
MenuItemGroup({ header: '小标题' }) {
MenuItem({ content: "菜单选项", builder: this.SubMenu })
}
}
}
```
2. 使用bindMenu绑定显示的内容
```jsx
Button('click for Menu')
.bindMenu(this.MyMenu)
```
**效果**:

### 右键或长按菜单
Menu还支持创建右键/长按菜单
1. 使用**bindContextMenu**来绑定菜单
2. 传入 **ResponseType.RightClick** 表示右键
3. 传入 **ResponseType.LongPress** 表示长按
```jsx
Button('click for Menu')
.bindContextMenu(this.MyMenu, ResponseType.LongPress)
```

## 气泡提示(Popup)
opup属性可绑定在组件上显示气泡弹窗提示,设置弹窗内容、交互逻辑和显示状态。主要用于屏幕录制、信息弹出提醒等显示状态。
气泡分为两种类型,一种是系统提供的气泡[PopupOptions](https://developer.huawei.com/consumer/cn/doc/harmonyos-references-V5/ts-universal-attributes-popup-V5#popupoptions类型说明),一种是开发者可以自定义的气泡[CustomPopupOptions](https://developer.huawei.com/consumer/cn/doc/harmonyos-references-V5/ts-universal-attributes-popup-V5#custompopupoptions8类型说明)。
### 基本用法
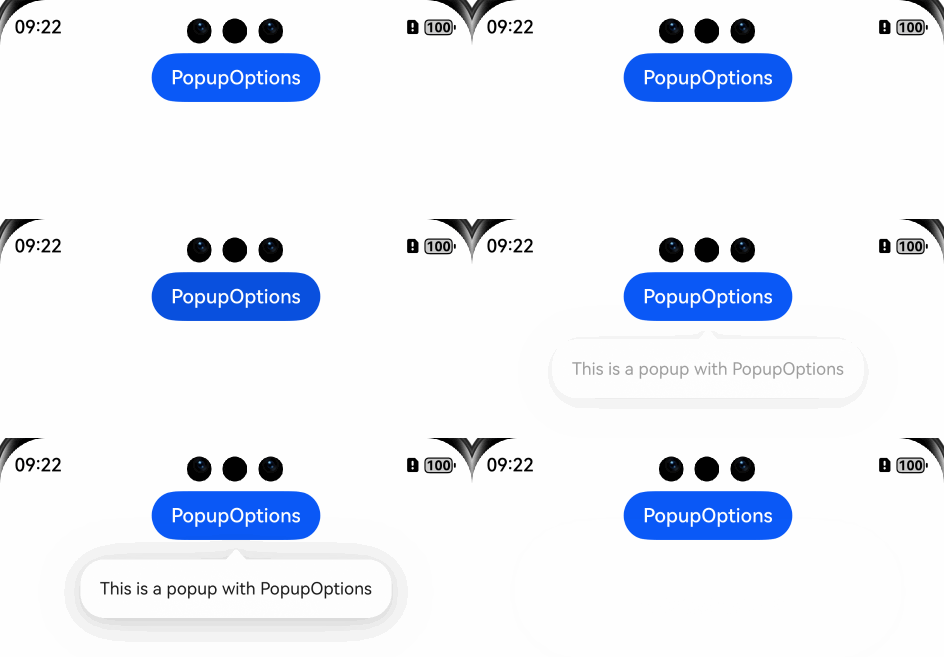
1. 通过一个布尔值来设置汽贸的显示和隐藏
2. 通过message属性设置气泡的内容

```jsx
@Entry
@Component
struct PopupExample {
// 控制气泡显示隐藏
@State handlePopup: boolean = false
build() {
Column() {
Button('PopupOptions')
.onClick(() => {
this.handlePopup = !this.handlePopup
})
.bindPopup(this.handlePopup, {
message: 'This is a popup with PopupOptions',
})
}.width('100%').padding({ top: 5 })
}
}
```
### 监听气泡的显示隐藏状态
通过onStateChange参数为气泡添加状态变化的事件回调,可以判断当前气泡的显示状态。
```jsx
@Entry
@Component
struct PopupExample {
@State handlePopup: boolean = false
build() {
Column() {
Button('PopupOptions')
.onClick(() => {
this.handlePopup = !this.handlePopup
})
.bindPopup(this.handlePopup, {
message: 'This is a popup with PopupOptions',
onStateChange: (e)=> { // 返回当前的气泡状态
if (!e.isVisible) {
this.handlePopup = false
}
}
})
}.width('100%').padding({ top: 5 })
}
}
```
### 自定义气泡内容
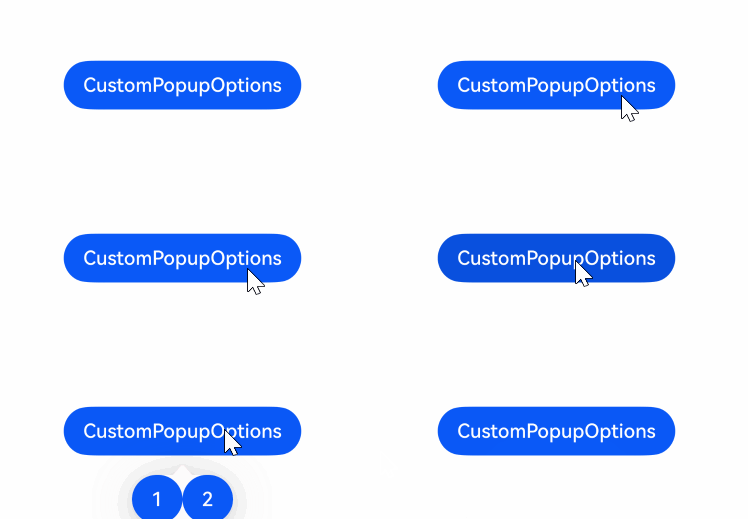
我们可以通**@Builder**自定义要显示的气泡的内容,然后通过**builder**属性进行调用

```jsx
@Entry
@Component
struct Index {
@State customPopup: boolean = false
// popup构造器定义弹框内容
@Builder
popupBuilder() {
Row() {
Button("1")
Button("2")
}
}
build() {
Column() {
Button('CustomPopupOptions')
.position({ x: 100, y: 200 })
.onClick(() => {
this.customPopup = !this.customPopup
})
.bindPopup(this.customPopup, {
builder: this.popupBuilder, // 气泡的内容
placement: Placement.Bottom, // 气泡的弹出位置
popupColor: Color.Pink, // 气泡的背景色
})
}
.height('100%')
}
}
```
### 参考链接
[最后,想要更多了解气泡不同的用法,可以参考官方链接](https://developer.huawei.com/consumer/cn/doc/harmonyos-guides-V5/arkts-popup-and-menu-components-popup-V5#%E6%B0%94%E6%B3%A1%E6%A0%B7%E5%BC%8F)
更多推荐
 已为社区贡献5条内容


所有评论(0)