#跟着坚果学鸿蒙# 导航代码块实例——使用路由栈方法
前言
本系列文章来具体测试官网示例效果,并通过实际的运行来查看是否能对大家产生对应的帮助,可以快速的获取功对应功能所需求的代码块,通过对基础代码块的修改来完成最终的目标功能。
示例效果说明
该示例主要演示NavPathStack中方法的使用及路由拦截。
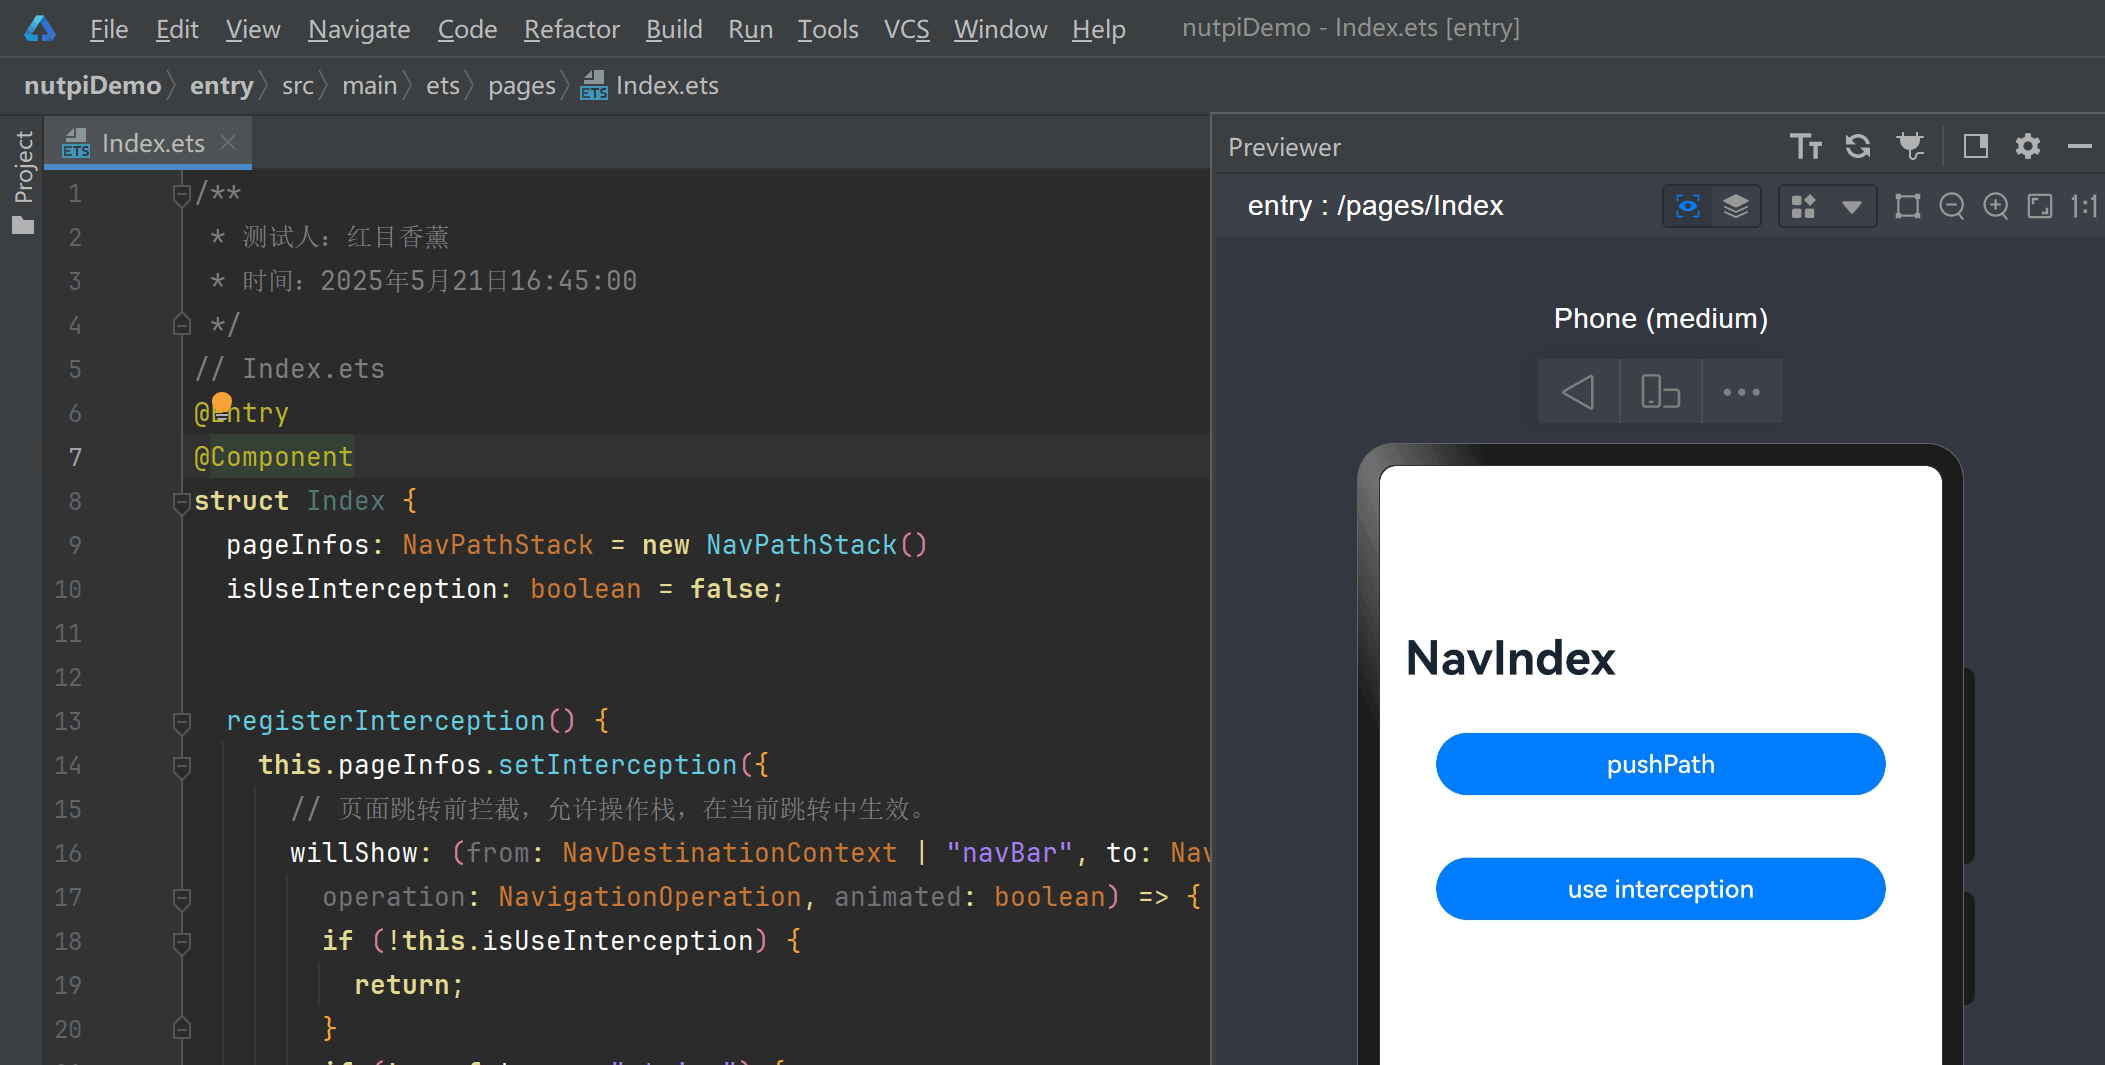
示例代码
/**
 * 测试人:红目香薰
 * 时间:2025年5月21日16:45:00
 */
// Index.ets
@Entry
@Component
struct Index {
  pageInfos: NavPathStack = new NavPathStack()
  isUseInterception: boolean = false;


  registerInterception() {
    this.pageInfos.setInterception({
      // 页面跳转前拦截,允许操作栈,在当前跳转中生效。
      willShow: (from: NavDestinationContext | "navBar", to: NavDestinationContext | "navBar",
        operation: NavigationOperation, animated: boolean) => {
        if (!this.isUseInterception) {
          return;
        }
        if (typeof to === "string") {
          console.log("target page is navigation home");
          return;
        }
        // 重定向目标页面,更改为pageTwo页面到pageOne页面。
        let target: NavDestinationContext = to as NavDestinationContext;
        if (target.pathInfo.name === 'pageTwo') {
          target.pathStack.pop();
          target.pathStack.pushPathByName('pageOne', null);
        }
      },
      // 页面跳转后回调,在该回调中操作栈在下一次跳转中刷新。
      didShow: (from: NavDestinationContext | "navBar", to: NavDestinationContext | "navBar",
        operation: NavigationOperation, isAnimated: boolean) => {
        if (!this.isUseInterception) {
          return;
        }
        if (typeof from === "string") {
          console.log("current transition is from navigation home");
        } else {
          console.log(`current transition is from  ${(from as NavDestinationContext).pathInfo.name}`)
        }
        if (typeof to === "string") {
          console.log("current transition to is navBar");
        } else {
          console.log(`current transition is to ${(to as NavDestinationContext).pathInfo.name}`);
        }
      },
      // Navigation单双栏显示状态发生变更时触发该回调。
      modeChange: (mode: NavigationMode) => {
        if (!this.isUseInterception) {
          return;
        }
        console.log(`current navigation mode is ${mode}`);
      }
    })
  }


  build() {
    Navigation(this.pageInfos) {
      Column() {
        Button('pushPath', { stateEffect: true, type: ButtonType.Capsule })
          .width('80%')
          .height(40)
          .margin(20)
          .onClick(() => {
            this.pageInfos.pushPath({ name: 'pageOne' }) //将name指定的NavDestination页面信息入栈
          })
        Button('use interception', { stateEffect: true, type: ButtonType.Capsule })
          .width('80%')
          .height(40)
          .margin(20)
          .onClick(() => {
            this.isUseInterception = !this.isUseInterception;
            if (this.isUseInterception) {
              this.registerInterception();
            } else {
              this.pageInfos.setInterception(undefined);
            }
          })
      }
    }.title('NavIndex')
  }
}
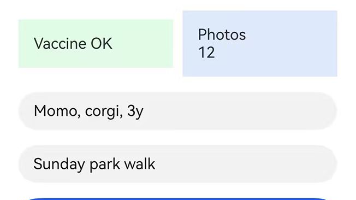
示例效果
核心代码说明
核心布局结构
外层使用 Column() 垂直排列整体内容;
内部使用 Navigation() 构建带标题栏的导航容器;
包含搜索框 TextInput;
列表 List 展示多个 ListItem;
支持设置工具栏 toolbarConfiguration;
支持监听标题模式变化 .onTitleModeChange(...)。
📋 列表与交互
List({ space: 12 }):创建纵向滚动列表;
ForEach(this.arr, ...):遍历数组生成列表项;
每个 ListItem 中显示居中编号文本;
列表支持高度设置、外边距、圆角背景等样式控制。
🎨 Navigation 配置项
.title(...):绑定自定义标题构建器;
.menus(...):绑定自定义菜单构建器;
.titleMode(NavigationTitleMode.Full):设置标题栏完整显示模式;
.toolbarConfiguration([...]):配置工具栏按钮及其图标;
.hideTitleBar(false) 和 .hideToolBar(false):显示标题栏与工具栏;
.onTitleModeChange(...):监听标题模式变化事件。
🎨 样式与修饰符
设置组件宽度、高度、背景颜色;
TextInput 设置输入样式;
List 设置高度、宽度、内边距;
外层容器设置背景色为 #F1F3F5。

讨论HarmonyOS开发技术,专注于API与组件、DevEco Studio、测试、元服务和应用上架分发等。
更多推荐
 0
0 0
0- 0


 已为社区贡献455条内容

所有评论(0)