安卓Recyclerview多布局适配器
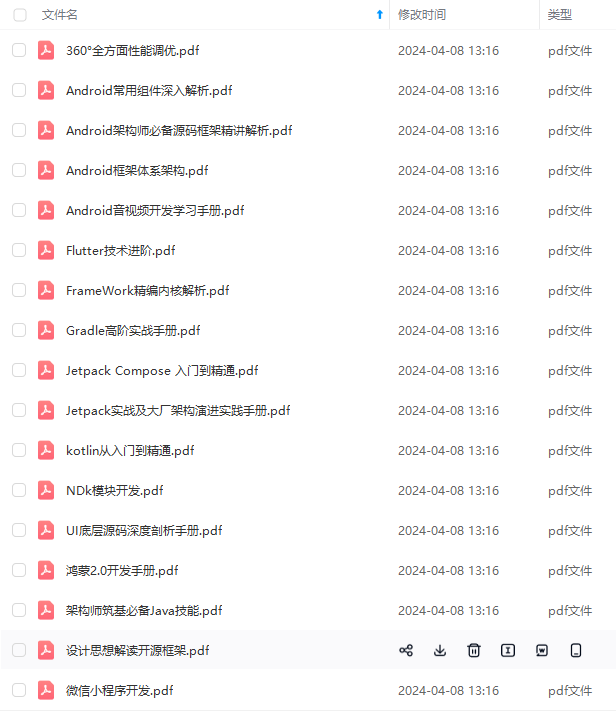
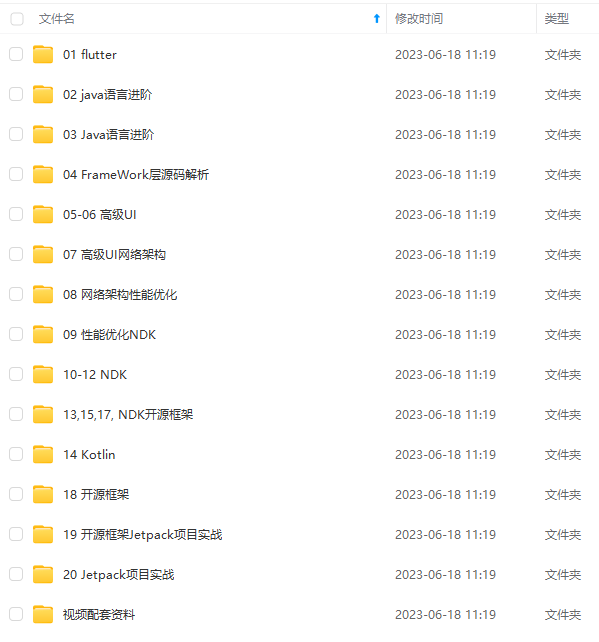
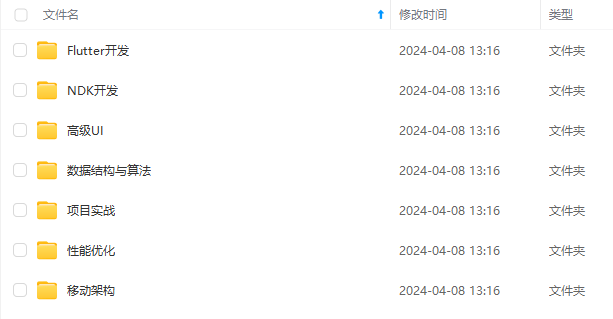
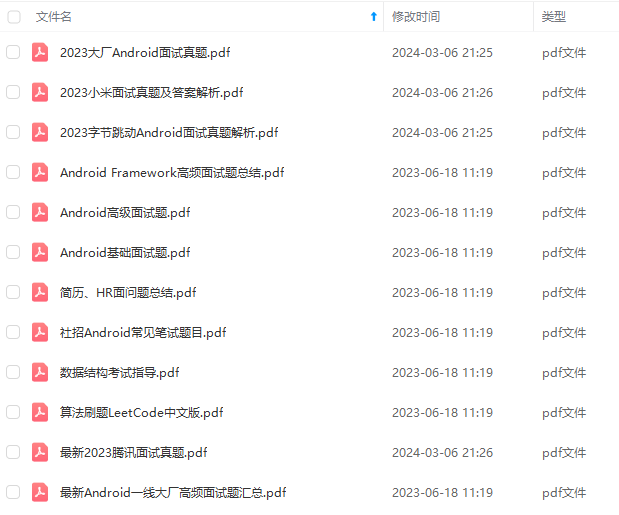
自我介绍一下,小编13年上海交大毕业,曾经在小公司待过,也去过华为、OPPO等大厂,18年进入阿里一直到现在。深知大多数初中级Android工程师,想要提升技能,往往是自己摸索成长,自己不成体系的自学效果低效漫长且无助。因此我收集整理了一份《2024年Android移动开发全套学习资料》,初衷也很简单,就是希望能够帮助到想自学提升又不知道该从何学起的朋友,同时减轻大家的负担。既有适合小白学习的零基
<android.support.constraint.ConstraintLayout xmlns:android=“http://schemas.android.com/apk/res/android”
xmlns:app=“http://schemas.android.com/apk/res-auto”
xmlns:tools=“http://schemas.android.com/tools”
android:layout_width=“match_parent”
android:layout_height=“match_parent”
tools:context=“.MainActivity”>
<android.support.v7.widget.RecyclerView
android:id=“@+id/recyclerview”
android:layout_width=“match_parent”
android:layout_height=“match_parent” />
</android.support.constraint.ConstraintLayout>
第一个itme:item_one.xml
<?xml version="1.0" encoding="utf-8"?><android.support.constraint.ConstraintLayout xmlns:android=“http://schemas.android.com/apk/res/android”
xmlns:app=“http://schemas.android.com/apk/res-auto”
xmlns:tools=“http://schemas.android.com/tools”
android:layout_width=“match_parent”
android:layout_height=“100dp”
android:layout_marginTop=“2dp”
android:layout_marginBottom=“2dp”>
<TextView
android:id=“@+id/one_text”
android:layout_width=“0dp”
android:layout_height=“match_parent”
android:background=“#ff8000”
android:gravity=“center”
android:text=“就想找个”
android:textColor=“#FFFFFF”
app:layout_constraintEnd_toStartOf=“@+id/textView”
app:layout_constraintStart_toStartOf=“parent” />
<TextView
android:id=“@+id/textView”
android:layout_width=“0dp”
android:layout_height=“match_parent”
android:background=“#d240b0”
android:gravity=“center”
android:text=“女朋友”
android:textColor=“#FFFFFF”
app:layout_constraintEnd_toEndOf=“parent”
app:layout_constraintStart_toEndOf=“@+id/one_text”
tools:ignore=“MissingConstraints”
tools:layout_editor_absoluteY=“0dp” />
</android.support.constraint.ConstraintLayout>
第二个itme:item_two.xml
<?xml version="1.0" encoding="utf-8"?><android.support.constraint.ConstraintLayout xmlns:android=“http://schemas.android.com/apk/res/android”
xmlns:app=“http://schemas.android.com/apk/res-auto”
xmlns:tools=“http://schemas.android.com/tools”
android:layout_width=“match_parent”
android:layout_height=“100dp”
android:background=“#4c8ae6”>
<ImageView
android:layout_width=“105dp”
android:layout_height=“match_parent”
android:layout_marginTop=“2dp”
android:layout_marginEnd=“8dp”
android:layout_marginBottom=“2dp”
android:src=“@mipmap/girl_friend1”
app:layout_constraintEnd_toStartOf=“@+id/imageView”
tools:ignore=“MissingConstraints”
tools:layout_editor_absoluteY=“0dp” />
<ImageView
android:layout_width=“105dp”
android:layout_height=“match_parent”
android:layout_marginStart=“8dp”
android:src=“@mipmap/girl_friend2”
app:layout_constraintStart_toEndOf=“@+id/imageView”
tools:ignore=“MissingConstraints”
tools:layout_editor_absoluteY=“0dp” />
<ImageView
android:id=“@+id/imageView”
android:layout_width=“105dp”
android:layout_height=“match_parent”
android:layout_marginStart=“8dp”
android:layout_marginEnd=“8dp”
android:src=“@mipmap/girl_friend3”
app:layout_constraintEnd_toEndOf=“parent”
app:layout_constraintStart_toStartOf=“parent”
tools:ignore=“MissingConstraints”
tools:layout_editor_absoluteY=“0dp” />
</android.support.constraint.ConstraintLayout>
第三个itme:item_three.xml
<?xml version="1.0" encoding="utf-8"?><android.support.constraint.ConstraintLayout xmlns:android=“http://schemas.android.com/apk/res/android”
xmlns:app=“http://schemas.android.com/apk/res-auto”
xmlns:tools=“http://schemas.android.com/tools”
android:layout_width=“match_parent”
android:layout_marginTop=“2dp”
android:layout_marginBottom=“2dp”
android:layout_height=“100dp”>
<TextView
android:layout_width=“match_parent”
android:layout_height=“match_parent”
android:background=“#a969ed”
android:gravity=“center”
android:text=“什么时候才能找到女朋友呀”
android:textColor=“#FFFFFF” />
</android.support.constraint.ConstraintLayout>
这里在代码中注释写好了,可以看得明白,不懂得点击左方QQ问我!
适配器中重写了onCreateViewHolder、onBindViewHolder、getItemCount、getItemViewType
onCreateViewHolder:创建布局,加载item
onBindViewHolder:绑定事件
getItemCount:总条目数量
getItemViewType:根据条件判断返回不同的int值,之后进入onCreateViewHolder方法中判断,返回的int值即 等于onCreateViewHolder中i的值,所以能够进行判断返回不同类型的布局!
package com.example.sj.recyclerviewexample;
import android.os.Bundle;
import android.support.v7.app.AppCompatActivity;
import android.support.v7.widget.LinearLayoutManager;
import android.support.v7.widget.RecyclerView;
public class MainActivity extends AppCompatActivity {
private RecyclerView recyclerview;
@Override
protected void onCreate(Bundle savedInstanceState) {
super.onCreate(savedInstanceState);
setContentView(R.layout.activity_main);
//绑定控件
initView();
//RecyclerView加载
intoRecyclerView();
}
/**
- 绑定控件
*/
private void initView() {
recyclerview = (RecyclerView) findViewById(R.id.recyclerview);
}
/**
- RecyclerView加载
*/
private void intoRecyclerView() {
//Recycle布局方式
recyclerview.setLayoutManager(new LinearLayoutManager(this, LinearLayoutManager.VERTICAL, false));
//使用适配器
recyclerview.setAdapter(new RecyclerViewAdapter(this));
}
}
RecyclerViewAdapter.java
package com.example.sj.recyclerviewexample;
import android.content.Context;
import android.support.annotation.NonNull;
import android.support.v7.widget.RecyclerView;
import android.view.LayoutInflater;
import android.view.View;
import android.view.ViewGroup;
import android.widget.TextView;
import android.widget.Toast;
public class RecyclerViewAdapter extends RecyclerView.Adapter<RecyclerView.ViewHolder> {
//三个final分别代表三个不同的布局
public static final int ITEMONE = 1;
public static final int ITEMTWO = 2;
public static final int ITEMTHREE = 3;
//上下文
private Context context;
/**
-
构造方法
-
@param context
*/
public RecyclerViewAdapter(Context context) {
this.context = context;
}
@NonNull
@Override
public RecyclerView.ViewHolder onCreateViewHolder(@NonNull ViewGroup viewGroup, int i) {
//这时候就要根据这个i来判断加哪一个布局了
View inflate = null;
RecyclerView.ViewHolder viewHolder = null;
//根据i返回不同布局
switch (i) {
case ITEMONE:
inflate = LayoutInflater.from(context).inflate(R.layout.item_one, viewGroup, false);
viewHolder = new OneItemHolder(inflate);
break;
case ITEMTWO:
inflate = LayoutInflater.from(context).inflate(R.layout.item_two, viewGroup, false);
viewHolder = new TwoItemHolder(inflate);
break;
case ITEMTHREE:
inflate = LayoutInflater.from(context).inflate(R.layout.item_three, viewGroup, false);
viewHolder = new ThreeItemHolder(inflate);
break;
}
//返回布局
return viewHolder;
}
/**
-
绑定控件,这里可以写一些事件方法等
-
@param viewHolder
-
@param i
*/
@Override
public void onBindViewHolder(@NonNull RecyclerView.ViewHolder viewHolder, int i) {
//如果当前的 viewHolder 属于 OneItemHolder 则执行
if (viewHolder instanceof OneItemHolder) {
最后
自我介绍一下,小编13年上海交大毕业,曾经在小公司待过,也去过华为、OPPO等大厂,18年进入阿里一直到现在。
深知大多数初中级Android工程师,想要提升技能,往往是自己摸索成长,自己不成体系的自学效果低效漫长且无助。
因此我收集整理了一份《2024年Android移动开发全套学习资料》,初衷也很简单,就是希望能够帮助到想自学提升又不知道该从何学起的朋友,同时减轻大家的负担。


既有适合小白学习的零基础资料,也有适合3年以上经验的小伙伴深入学习提升的进阶课程,基本涵盖了95%以上Android开发知识点!不论你是刚入门Android开发的新手,还是希望在技术上不断提升的资深开发者,这些资料都将为你打开新的学习之门
如果你觉得这些内容对你有帮助,需要这份全套学习资料的朋友可以戳我获取!!
由于文件比较大,这里只是将部分目录截图出来,每个节点里面都包含大厂面经、学习笔记、源码讲义、实战项目、讲解视频,并且会持续更新!
系的自学效果低效漫长且无助**。
因此我收集整理了一份《2024年Android移动开发全套学习资料》,初衷也很简单,就是希望能够帮助到想自学提升又不知道该从何学起的朋友,同时减轻大家的负担。
[外链图片转存中…(img-WfOxAlEY-1715895454104)]
[外链图片转存中…(img-fcsgJc6a-1715895454106)]
[外链图片转存中…(img-UtQW7iy5-1715895454107)]
[外链图片转存中…(img-aEIzcgGI-1715895454108)]
既有适合小白学习的零基础资料,也有适合3年以上经验的小伙伴深入学习提升的进阶课程,基本涵盖了95%以上Android开发知识点!不论你是刚入门Android开发的新手,还是希望在技术上不断提升的资深开发者,这些资料都将为你打开新的学习之门
如果你觉得这些内容对你有帮助,需要这份全套学习资料的朋友可以戳我获取!!
由于文件比较大,这里只是将部分目录截图出来,每个节点里面都包含大厂面经、学习笔记、源码讲义、实战项目、讲解视频,并且会持续更新!
更多推荐
 已为社区贡献4条内容


所有评论(0)