HarmonyOS4+NEXT星河版入门与项目实战(22)------动画(属性动画与显示动画)
本节内容创建了一个简单的游戏界面,玩家可以通过点击屏幕上的按钮来控制一条小鱼的移动。它展示了如何在HarmonyOS应用中使用动画来实现物体移动过程的平滑效果。
·
1、属性动画图解
这里我们用一张完整的图来汇整属性动画的用法格式和使用的主要属性范围,如下所示:

2、案例实现-小鱼移动游戏
1、代码实现
代码如下(示例):
import router from '@ohos.router'
import { ResizeDirection } from '@ohos.UiTest'
@Entry
@Component
struct AnimateFishPage {
//游戏中鱼的图片
@State fishImage: Resource = $r('app.media.fish_Right')
//小鱼起始的坐标
@State fishX: number = 300
@State fishY: number = 140
//小鱼图片角度
@State fishAngle: number = 0
//游戏状态
@State isStartGame: boolean = false
build() {
Row() {
Stack() {
//返回按钮
Button('返回')
.position({ x: 0, y: 0 })
.backgroundColor('#20101010')
.onClick(() => {
//返回上一页
router.back()
})
if (!this.isStartGame) {
//显示开始按钮
Button('开始游戏')
.onClick(() => {
//开始游戏后加载小鱼
this.isStartGame = true
})
}
else {
//小鱼图片
Image(this.fishImage)
.position({ x: this.fishX - 20, y: this.fishY - 20 })
.rotate({ angle: this.fishAngle, centerX: '50%', centerY: '50%' })
.width(60)
.height(40)
.animation({ duration: 500 })
//操作按钮区域
Row() {
Button('⬅').backgroundColor('#20101010')
.onClick(() => {
this.fishX -= 20
this.fishImage = $r('app.media.fish_Left')
})
Column({ space: 40 }) {
Button('⬆').backgroundColor('#20101010')
.onClick(() => {
this.fishY -= 20
})
Button('⬇').backgroundColor('#20101010')
.onClick(() => {
this.fishY += 20
})
}
Button('➡').backgroundColor('#20101010')
.onClick(() => {
this.fishX += 20
this.fishImage = $r('app.media.fish_Right')
})
}
.height(240)
.width(240)
.margin({left:-450,top:170})
}
}
.height('100%')
.width('100%')
}
.height('100%')
.width('100%')
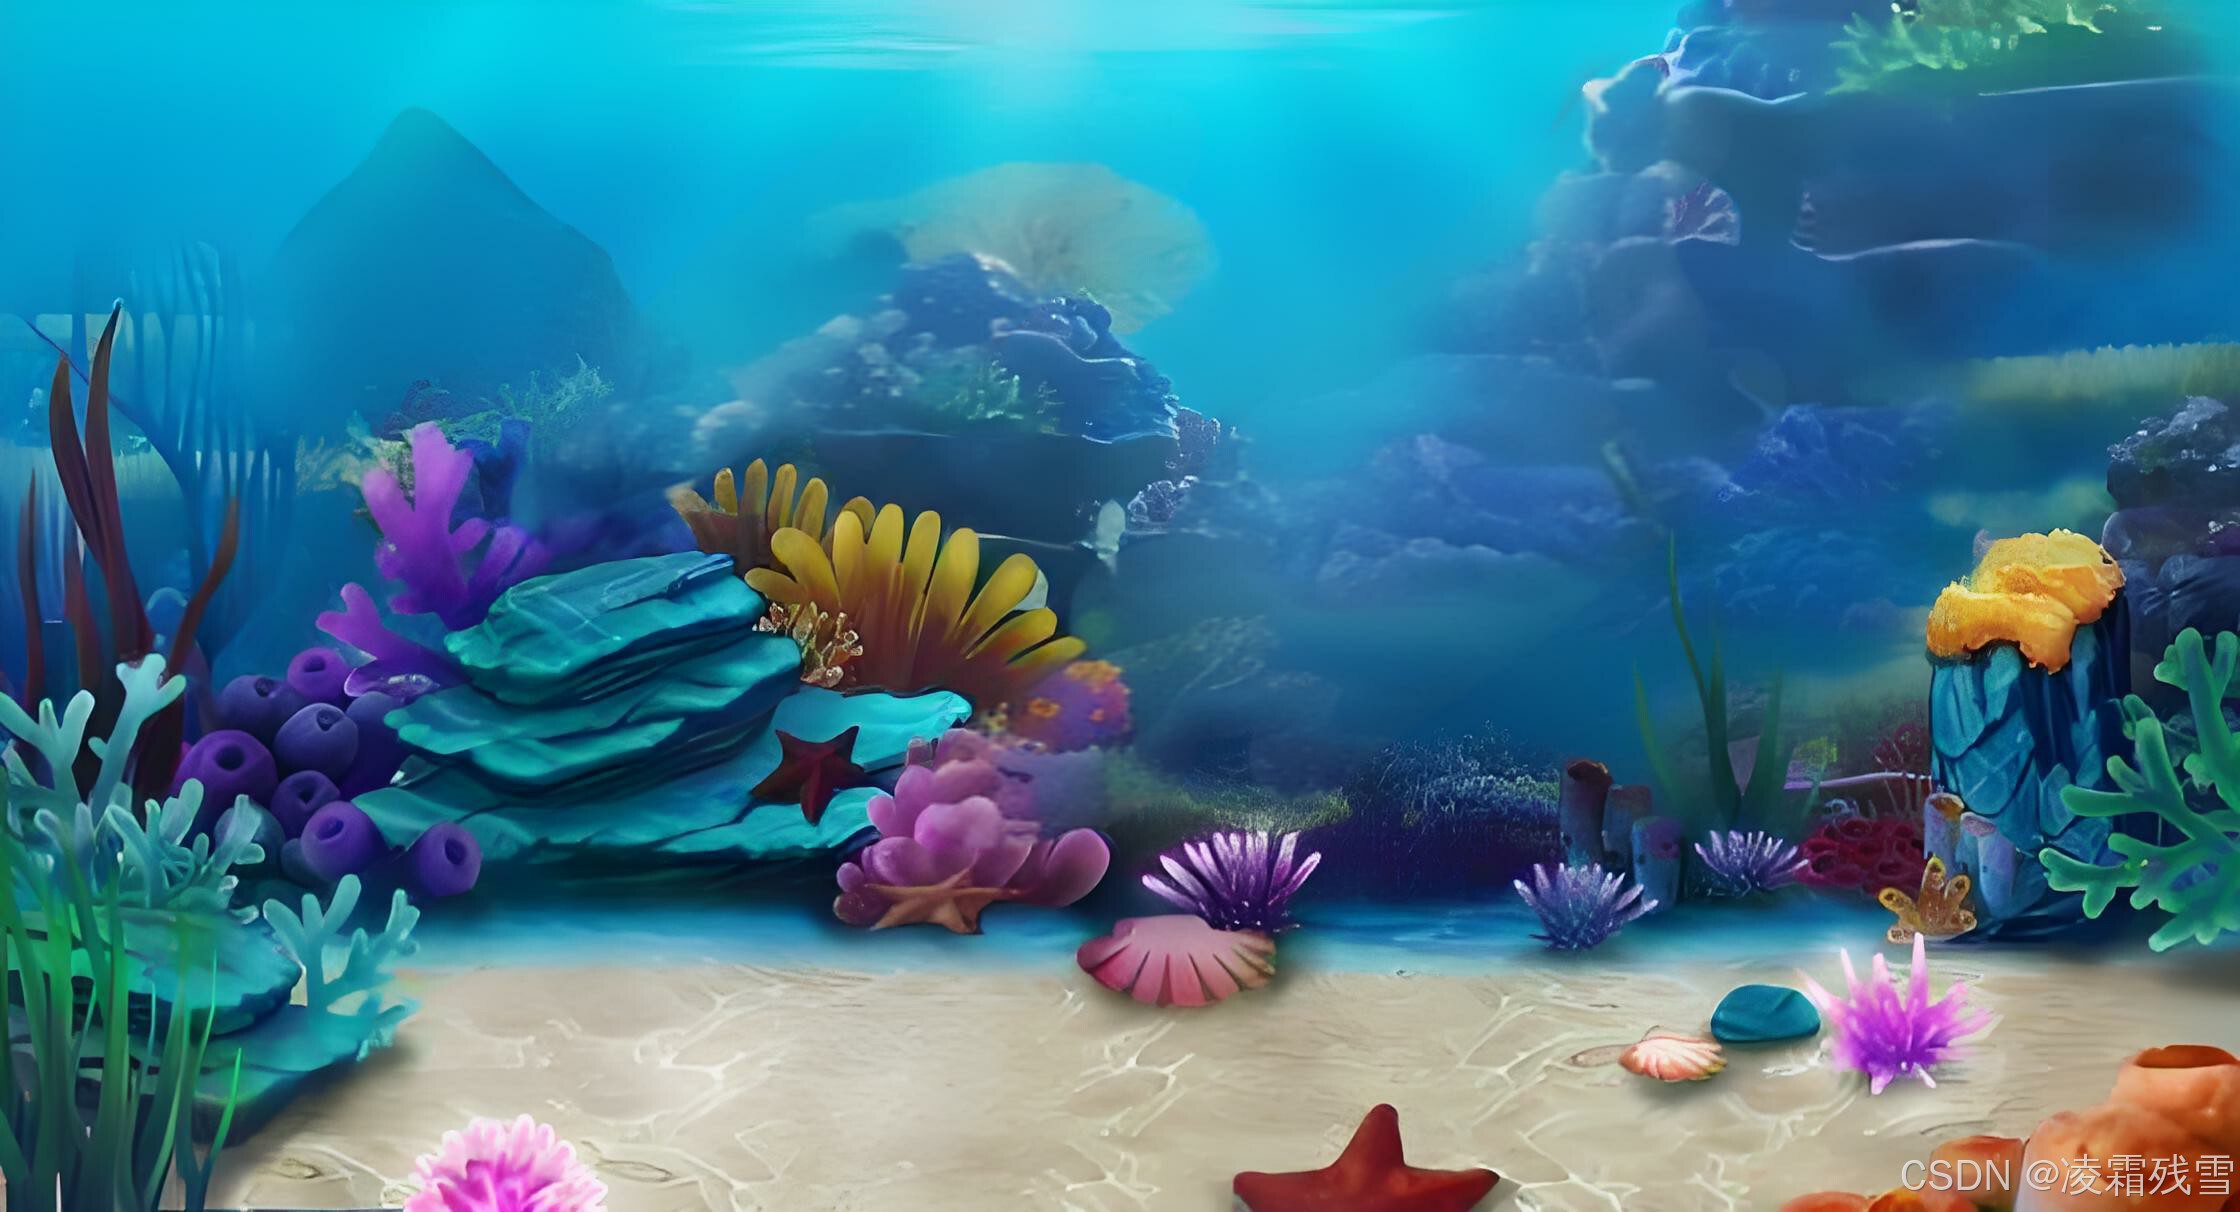
.backgroundImage($r('app.media.bg_fish'))
.backgroundImageSize({ height: '100%', width: '100%' })
}
}
2、代码解释
构建UI (build 方法)
- 使用 Row 和 Stack 布局来组织页面元素。
- 返回按钮:位于页面左上角,点击后调用 router.back() 返回上一页。
- 开始按钮:当游戏未开始(!this.isStartGame)时显示,点击后设置 isStartGame 为 true 开始游戏。
- 小鱼图片:当游戏已开始时显示,根据 fishX, fishY, fishAngle 设置位置和旋转角度,并设置了宽度、高度以及动画效果。
- 操作按钮区:包含四个方向键按钮,分别控制小鱼向左、向上、向下、向右移动。每个按钮都有自己的 onClick 事件处理程序,用来更新小鱼的位置或图片方向。
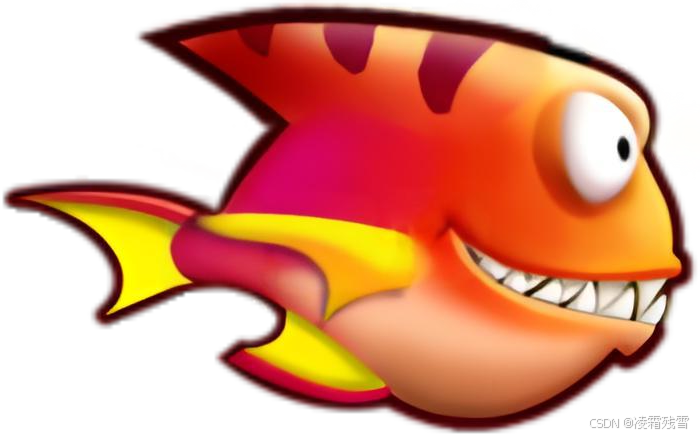
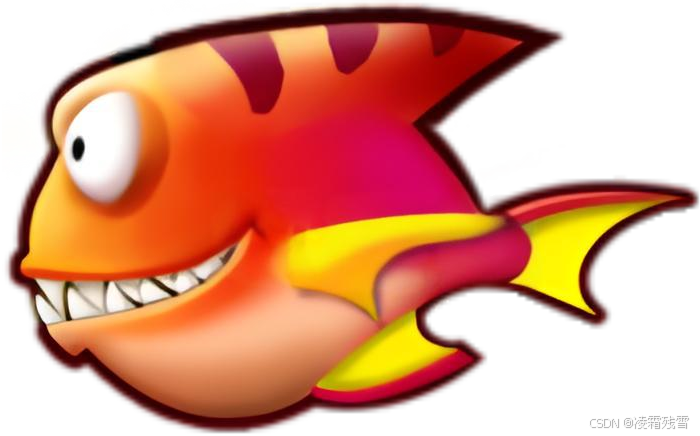
- 向左和向右移动还会改变小鱼的图片资源,以显示不同方向的小鱼形象。
- 布局调整:使用 .height(), .width(), .margin() 等方法调整布局大小和位置,确保UI元素正确显示。
3、资源图片
4、实现效果
3、显示动画
4、案例修改-显示动画
修改后代码如下:
import router from '@ohos.router'
import { ResizeDirection } from '@ohos.UiTest'

@Entry
@Component
struct AnimateFishPage {
  //游戏中鱼的图片
  @State fishImage: Resource = $r('app.media.fish_Right')
  //小鱼起始的坐标
  @State fishX: number = 300
  @State fishY: number = 140
  //小鱼图片角度
  @State fishAngle: number = 0
  //游戏状态
  @State isStartGame: boolean = false

  build() {
    Row() {
      Stack() {
        //返回按钮
        Button('返回')
          .position({ x: 0, y: 0 })
          .backgroundColor('#20101010')
          .onClick(() => {
            //返回上一页
            router.back()
          })
        if (!this.isStartGame) {
          //显示开始按钮
          Button('开始游戏')
            .onClick(() => {
              //开始游戏后加载小鱼
              this.isStartGame = true
            })
        }
        else {
          //小鱼图片
          Image(this.fishImage)
            .position({ x: this.fishX - 20, y: this.fishY - 20 })
            .rotate({ angle: this.fishAngle, centerX: '50%', centerY: '50%' })
            .width(60)
            .height(40)

          //操作按钮区域
          Row() {
            Button('⬅').backgroundColor('#20101010')
              .onClick(() => {
                animateTo(
                  { duration: 500 },
                  () => {
                    this.fishX -= 20
                    this.fishImage = $r('app.media.fish_Left')
                  }
                )
              })
            Column({ space: 40 }) {
              Button('⬆').backgroundColor('#20101010')
                .onClick(() => {
                  animateTo(
                    { duration: 500 },
                    () => {
                      this.fishY -= 20
                    }
                  )
                })
              Button('⬇').backgroundColor('#20101010')
                .onClick(() => {
                  animateTo(
                    { duration: 500 },
                    () => {
                      this.fishY += 20
                    }
                  )
                })
            }

            Button('➡').backgroundColor('#20101010')
              .onClick(() => {
                animateTo(
                  { duration: 500 },
                  () => {
                    this.fishX += 20
                    this.fishImage = $r('app.media.fish_Right')
                  }
                )
              })
          }
          .height(240)
          .width(240)
          .margin({ left: -450, top: 170 })
        }
      }
      .height('100%')
      .width('100%')
    }
    .height('100%')
    .width('100%')
    .backgroundImage($r('app.media.bg_fish'))
    .backgroundImageSize({ height: '100%', width: '100%' })
  }
}
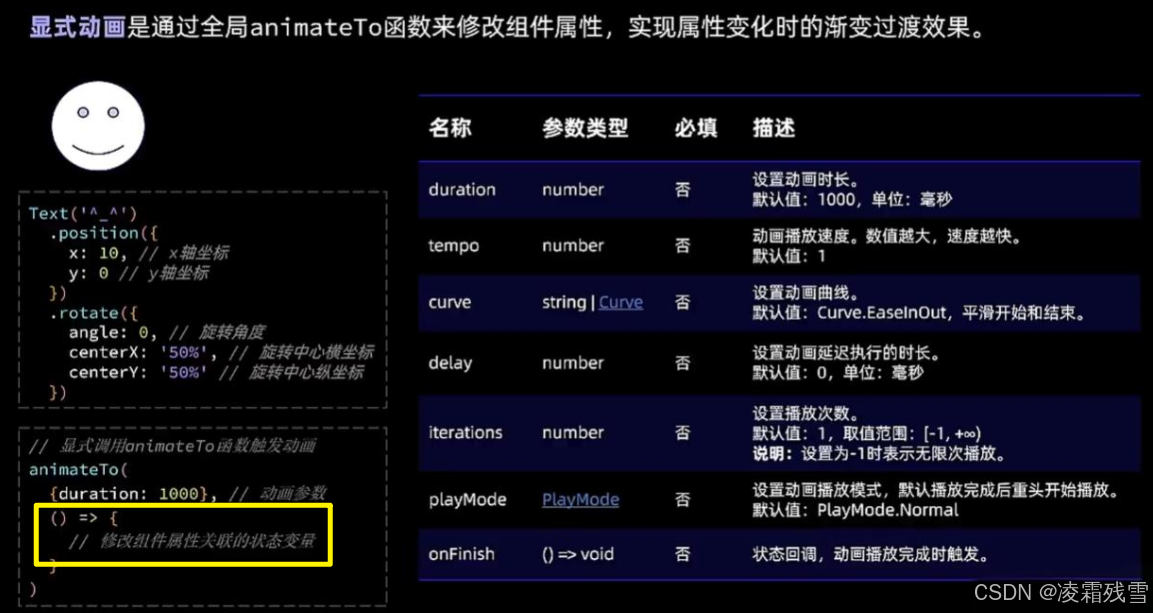
显示动画 就是使用 animateTo 这个方法,将需要修改的属性变化包含在 animateTo 内部触发即可。
animateTo(
                  { duration: 500 },
                  () => {
                    this.fishX += 20
                    this.fishImage = $r('app.media.fish_Right')
                  }
                )
5、总结
本节内容创建了一个简单的游戏界面,玩家可以通过点击屏幕上的按钮来控制一条小鱼的移动。它展示了如何在HarmonyOS应用中使用动画来实现物体移动过程的平滑效果。

讨论HarmonyOS开发技术,专注于API与组件、DevEco Studio、测试、元服务和应用上架分发等。
更多推荐


 23
23 0
0- 0


 已为社区贡献1条内容

所有评论(0)