HarmonyOS第八章:HTTP数据请求
本文介绍了在鸿蒙开发技术栈背景下如何利用HTTP进行高效的数据请求与处理。首先,我们将从HTTP的基本概念出发,了解其工作原理及提供的核心接口;接着,通过具体的开发步骤演示如何在项目中正确配置并使用HTTP功能;最后,结合实际应用场景,展示如何在前端页面中集成HTTP请求,以实现动态数据加载等功能。
·
🎉 博客主页:【剑九_六千里-CSDN博客】【剑九_六千里-掘金社区】
🎨 上一篇文章:【HarmonyOS第七章:应用状态共享(PersistentStorage、LocalStorage、AppStorage)】
🎠 系列专栏:【HarmonyOS系列】
💖 感谢大家点赞👍收藏⭐评论✍


文章目录
1. http 介绍
1.1. http 基本概念
HTTP数据请求功能主要由http模块提供。
使用该功能需要申请ohos.permission.INTERNET权限。
权限申请请参考访问控制(权限)开发指导。
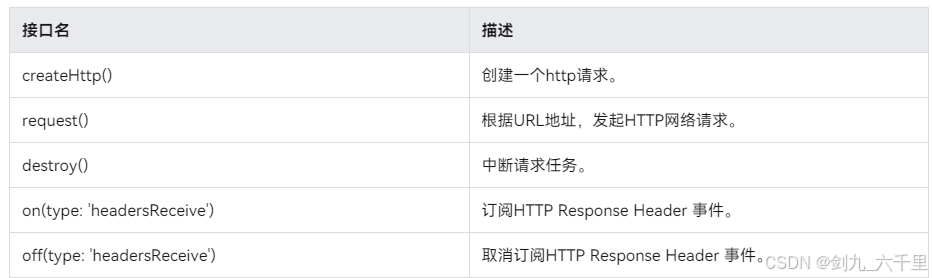
1.2. http 提供的接口
涉及的接口如下表:
1.3. request接口开发步骤
- 从
@ohos.net.http中导入http命名空间。 - 调用
createHttp()方法,创建一个HttpRequest对象。 - 调用该对象的
on()方法,订阅http响应头事件,此接口会比request请求先返回。可以根据业务需要订阅此消息 - 调用该对象的
request()方法,传入http请求的url地址和可选参数,发起网络请求。 - 按照实际业务需要,解析返回结果。
- 调用该对象的
off()方法,取消订阅http响应头事件。 - 当该请求使用完毕时,调用
destroy()方法主动销毁。
// 引入包名
import http from '@ohos.net.http';
import { BusinessError } from '@ohos.base';

// 每一个httpRequest对应一个HTTP请求任务,不可复用
let httpRequest = http.createHttp();
// 用于订阅HTTP响应头,此接口会比request请求先返回。可以根据业务需要订阅此消息
// 从API 8开始,使用on('headersReceive', Callback)替代on('headerReceive', AsyncCallback)。
httpRequest.on('headersReceive', (header) => {
  console.info('header: ' + JSON.stringify(header));
});
httpRequest.request(
  // 填写HTTP请求的URL地址,可以带参数也可以不带参数。URL地址需要开发者自定义。请求的参数可以在extraData中指定
  "EXAMPLE_URL",
  {
    method: http.RequestMethod.POST, // 可选,默认为http.RequestMethod.GET
    // 开发者根据自身业务需要添加header字段
    header: {
      'Content-Type': 'application/json'
    },
    // 当使用POST请求时此字段用于传递请求体内容,具体格式与服务端协商确定
    extraData: "data to send",
    expectDataType: http.HttpDataType.STRING, // 可选,指定返回数据的类型
    usingCache: true, // 可选,默认为true
    priority: 1, // 可选,默认为1
    connectTimeout: 60000, // 可选,默认为60000ms
    readTimeout: 60000, // 可选,默认为60000ms
    usingProtocol: http.HttpProtocol.HTTP1_1, // 可选,协议类型默认值由系统自动指定
    usingProxy: false, // 可选,默认不使用网络代理,自API 10开始支持该属性
  }, (err: BusinessError, data: http.HttpResponse) => {
    if (!err) {
      // data.result为HTTP响应内容,可根据业务需要进行解析
      console.info('Result:' + JSON.stringify(data.result));
      console.info('code:' + JSON.stringify(data.responseCode));
      // data.header为HTTP响应头,可根据业务需要进行解析
      console.info('header:' + JSON.stringify(data.header));
      console.info('cookies:' + JSON.stringify(data.cookies)); // 8+
      // 当该请求使用完毕时,调用destroy方法主动销毁
      httpRequest.destroy();
    } else {
      console.error('error:' + JSON.stringify(err));
      // 取消订阅HTTP响应头事件
      httpRequest.off('headersReceive');
      // 当该请求使用完毕时,调用destroy方法主动销毁
      httpRequest.destroy();
    }
  }
);
2. 基本使用
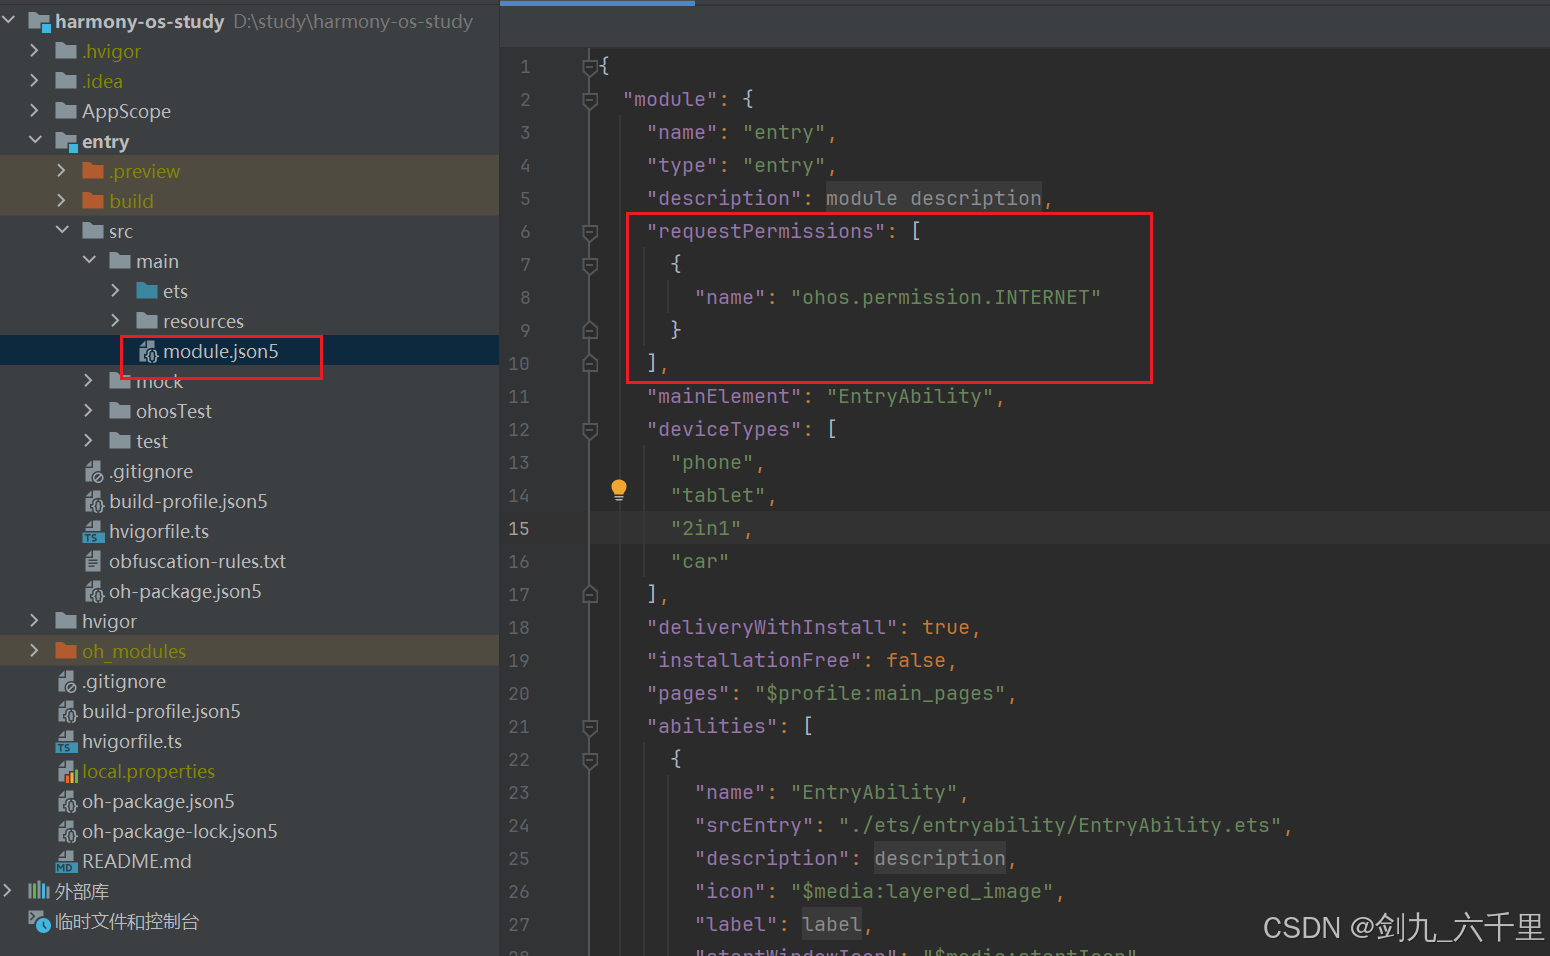
2.1. 配置HTTP使用权限
entry/src/main/module.json5
2.2. 导入 http 模块
import http from '@ohos.net.http'
2.3. 页面中使用
import http from '@ohos.net.http'
@Entry
@Component
struct Index {
@State data: http.HttpResponse = {
result: {},
resultType: http.HttpDataType.OBJECT,
responseCode: 200,
header: "",
cookies: '',
performanceTiming: {
dnsTiming: 0,
tcpTiming: 0,
tlsTiming: 0,
firstSendTiming: 0,
firstReceiveTiming: 0,
totalFinishTiming: 0,
redirectTiming: 0,
responseHeaderTiming: 0,
responseBodyTiming: 0,
totalTiming: 0
},
};
async getData() {
const httpRequest = http.createHttp();
let res = await httpRequest.request(
// 请求地址
"http://backend-api-01.newbee.ltd/api/v1/index-infos",
{
// 请求头
header: {
"Content-Type": "application/json"
},
// 请求方法,默认 http.RequestMethod.GET
method: http.RequestMethod.GET,
// 指定返回数据的类型
expectDataType:http.HttpDataType.OBJECT
}
)
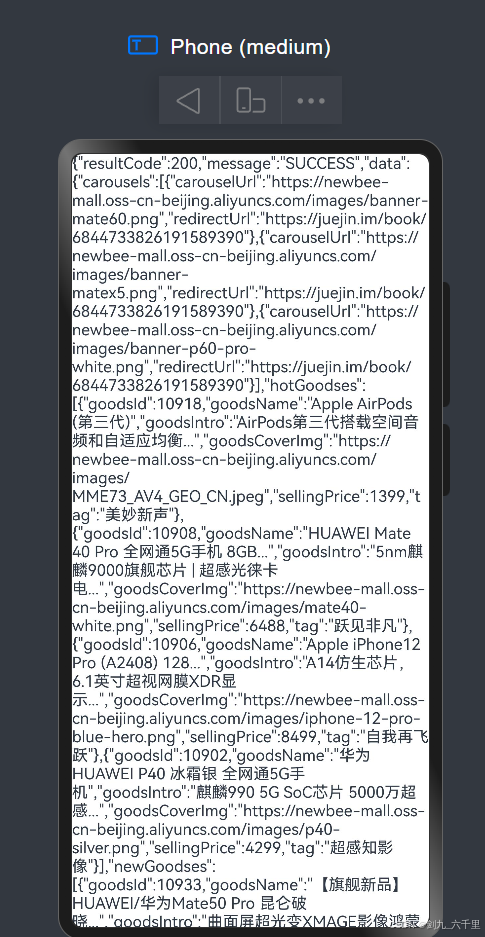
console.log(`${JSON.stringify(res.result)}`, 'res');
this.data = res;
}
build() {
Column() {
Text(`${JSON.stringify(this.data.result)}`)
Button("获取数据").onClick(() => {
this.getData();
})
}.width("100%")
.height("100%")
}
}
3. 发送json数据
3.1. 全局安装npm install json-server -g
npm install json-server -g
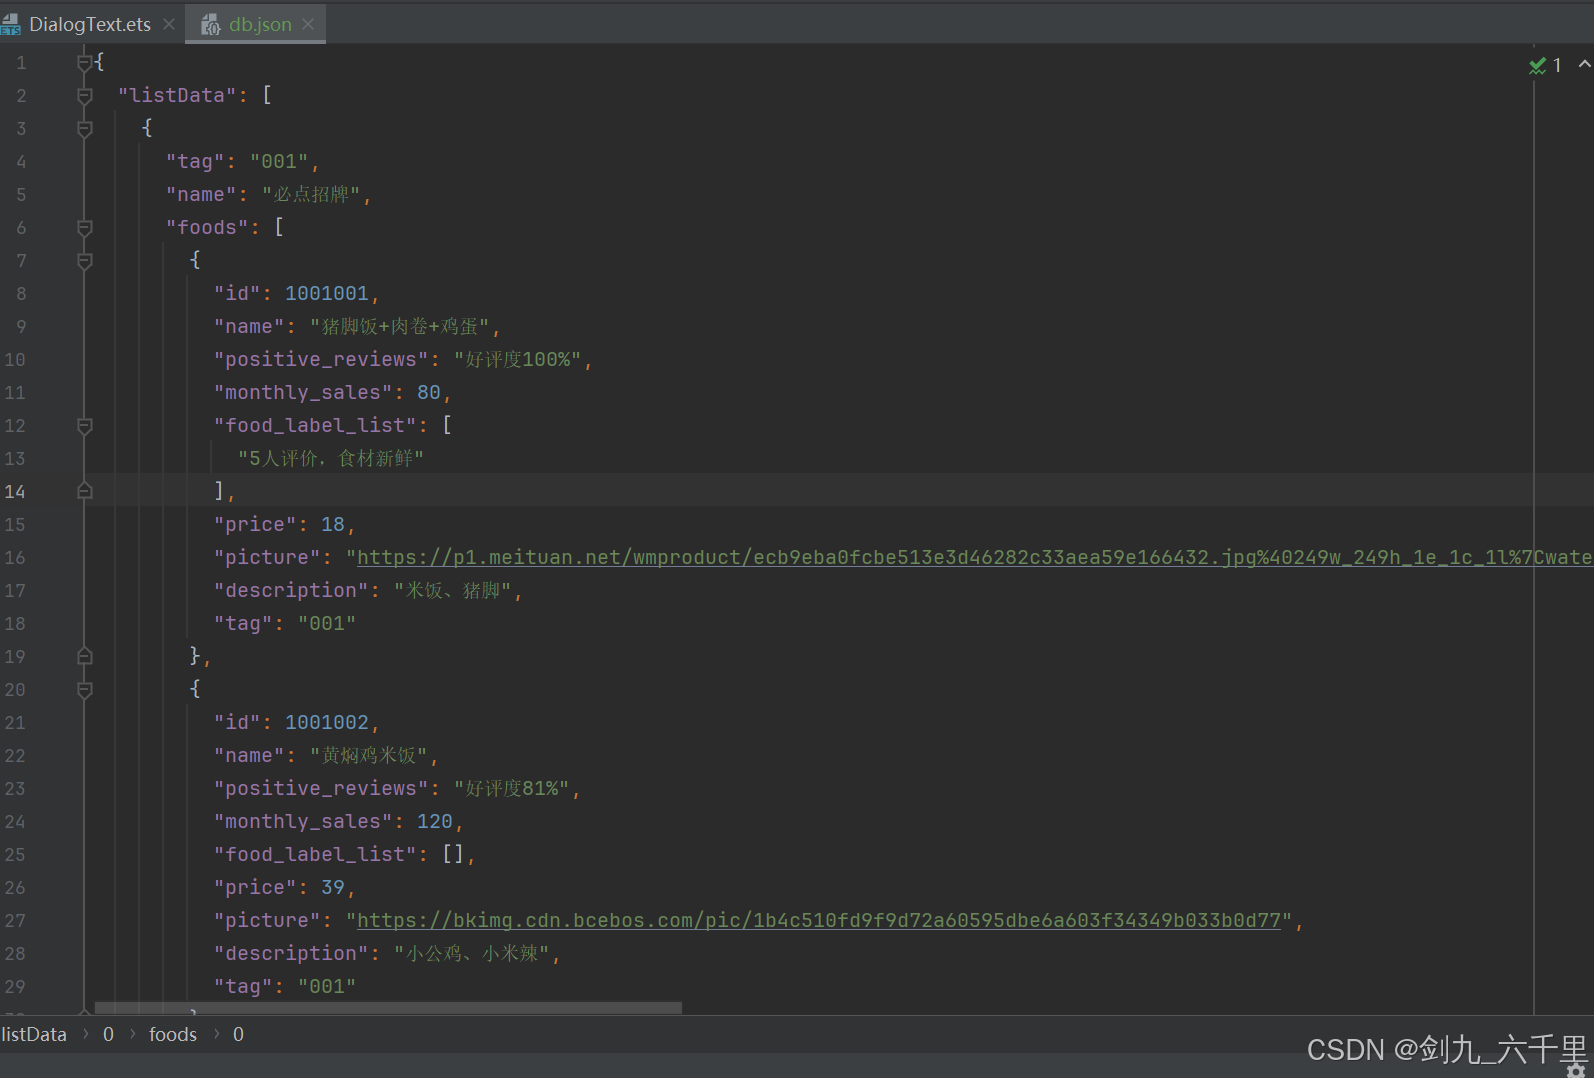
3.2. 本地新建 json 文件:
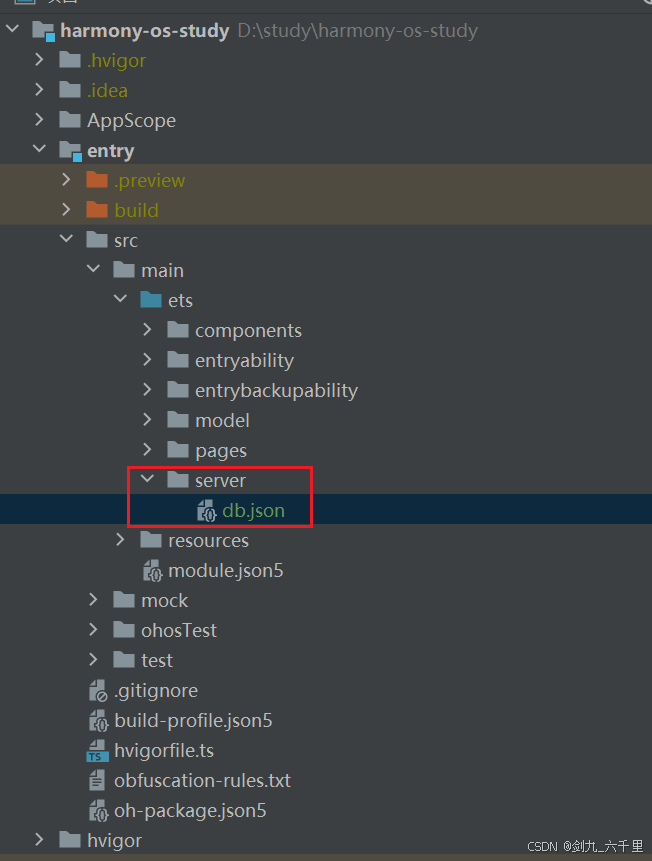
写入数据:
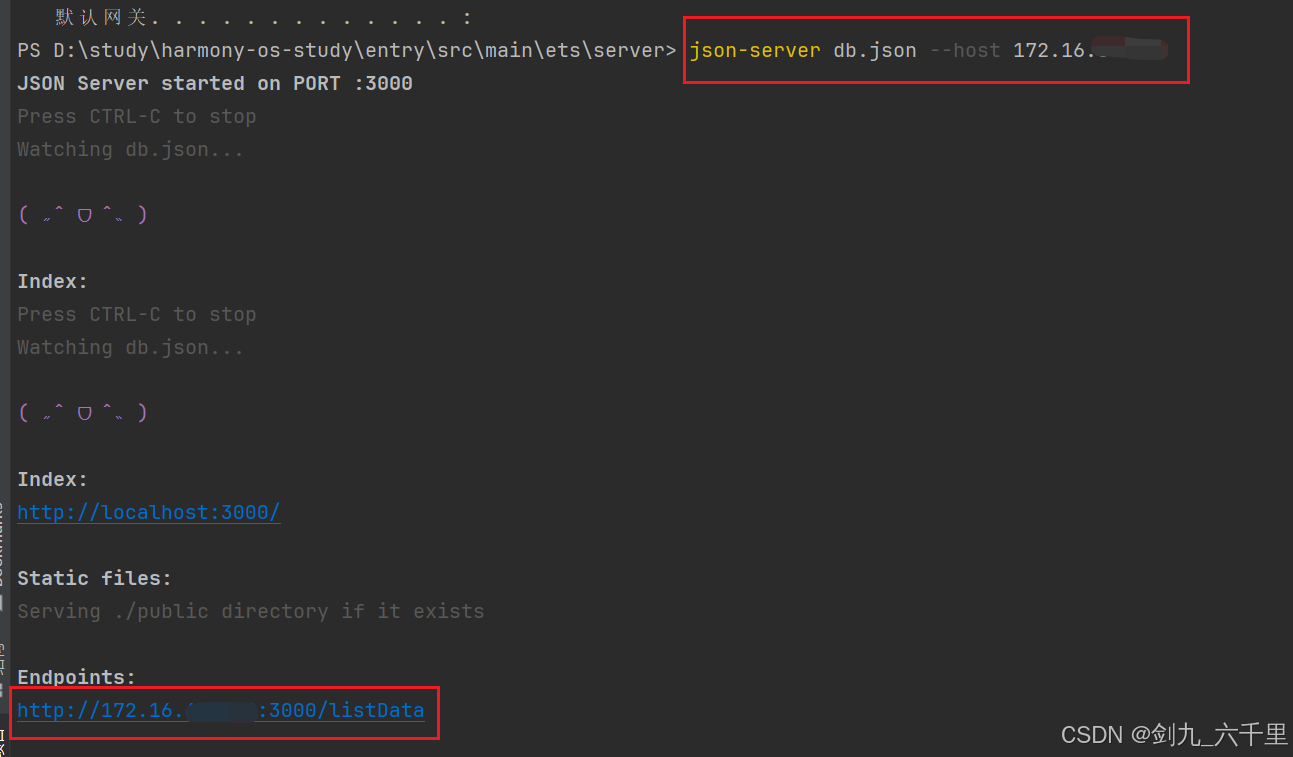
3.3. 在server目录下启动 json-server:
json-server db.json --host 172.16.XX.XXX   // 本机IP

// 运行出错,就用方法2
json-server.cmd --watch db.json 172.16.XX.XXX   // 本机IP
启动成功如下:
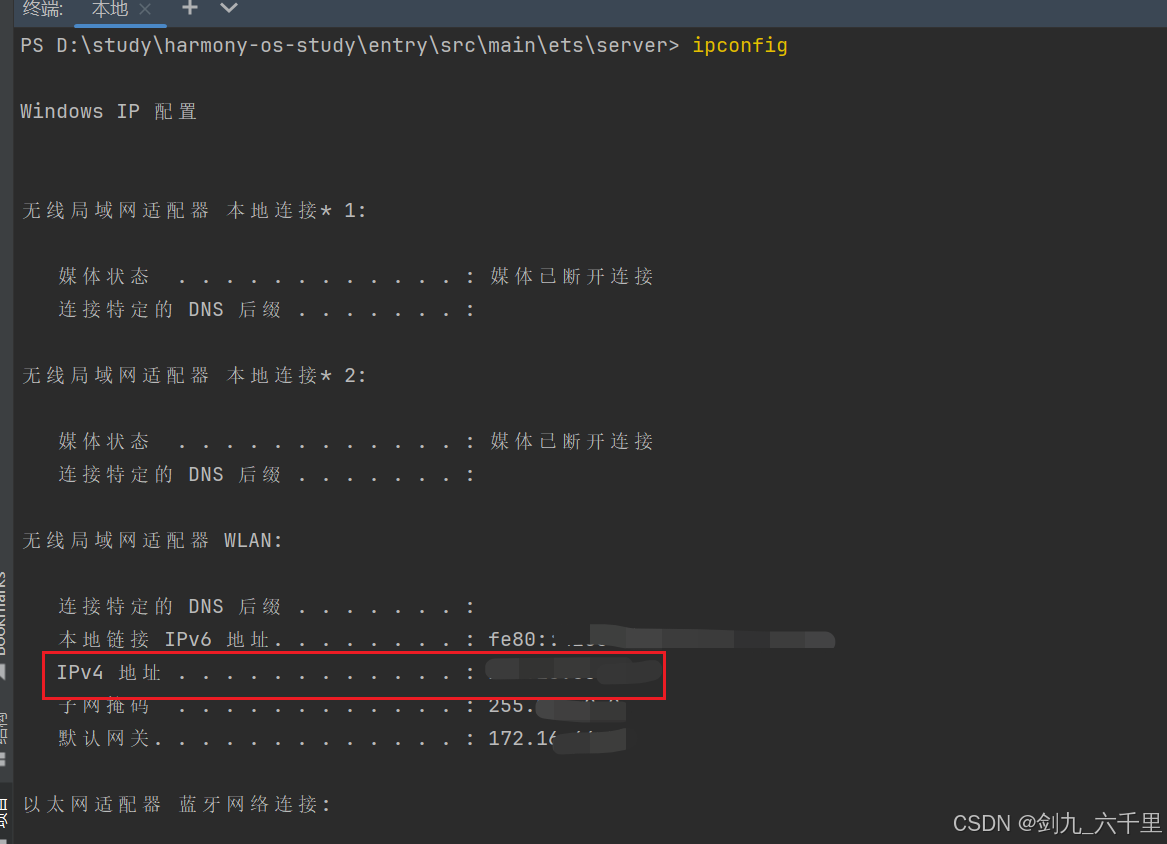
注意:此处不能直接使用 localhost 及 127.0.0.1,必须使用IP访问。
查看本机IP:
3.4. 在页面中使用:
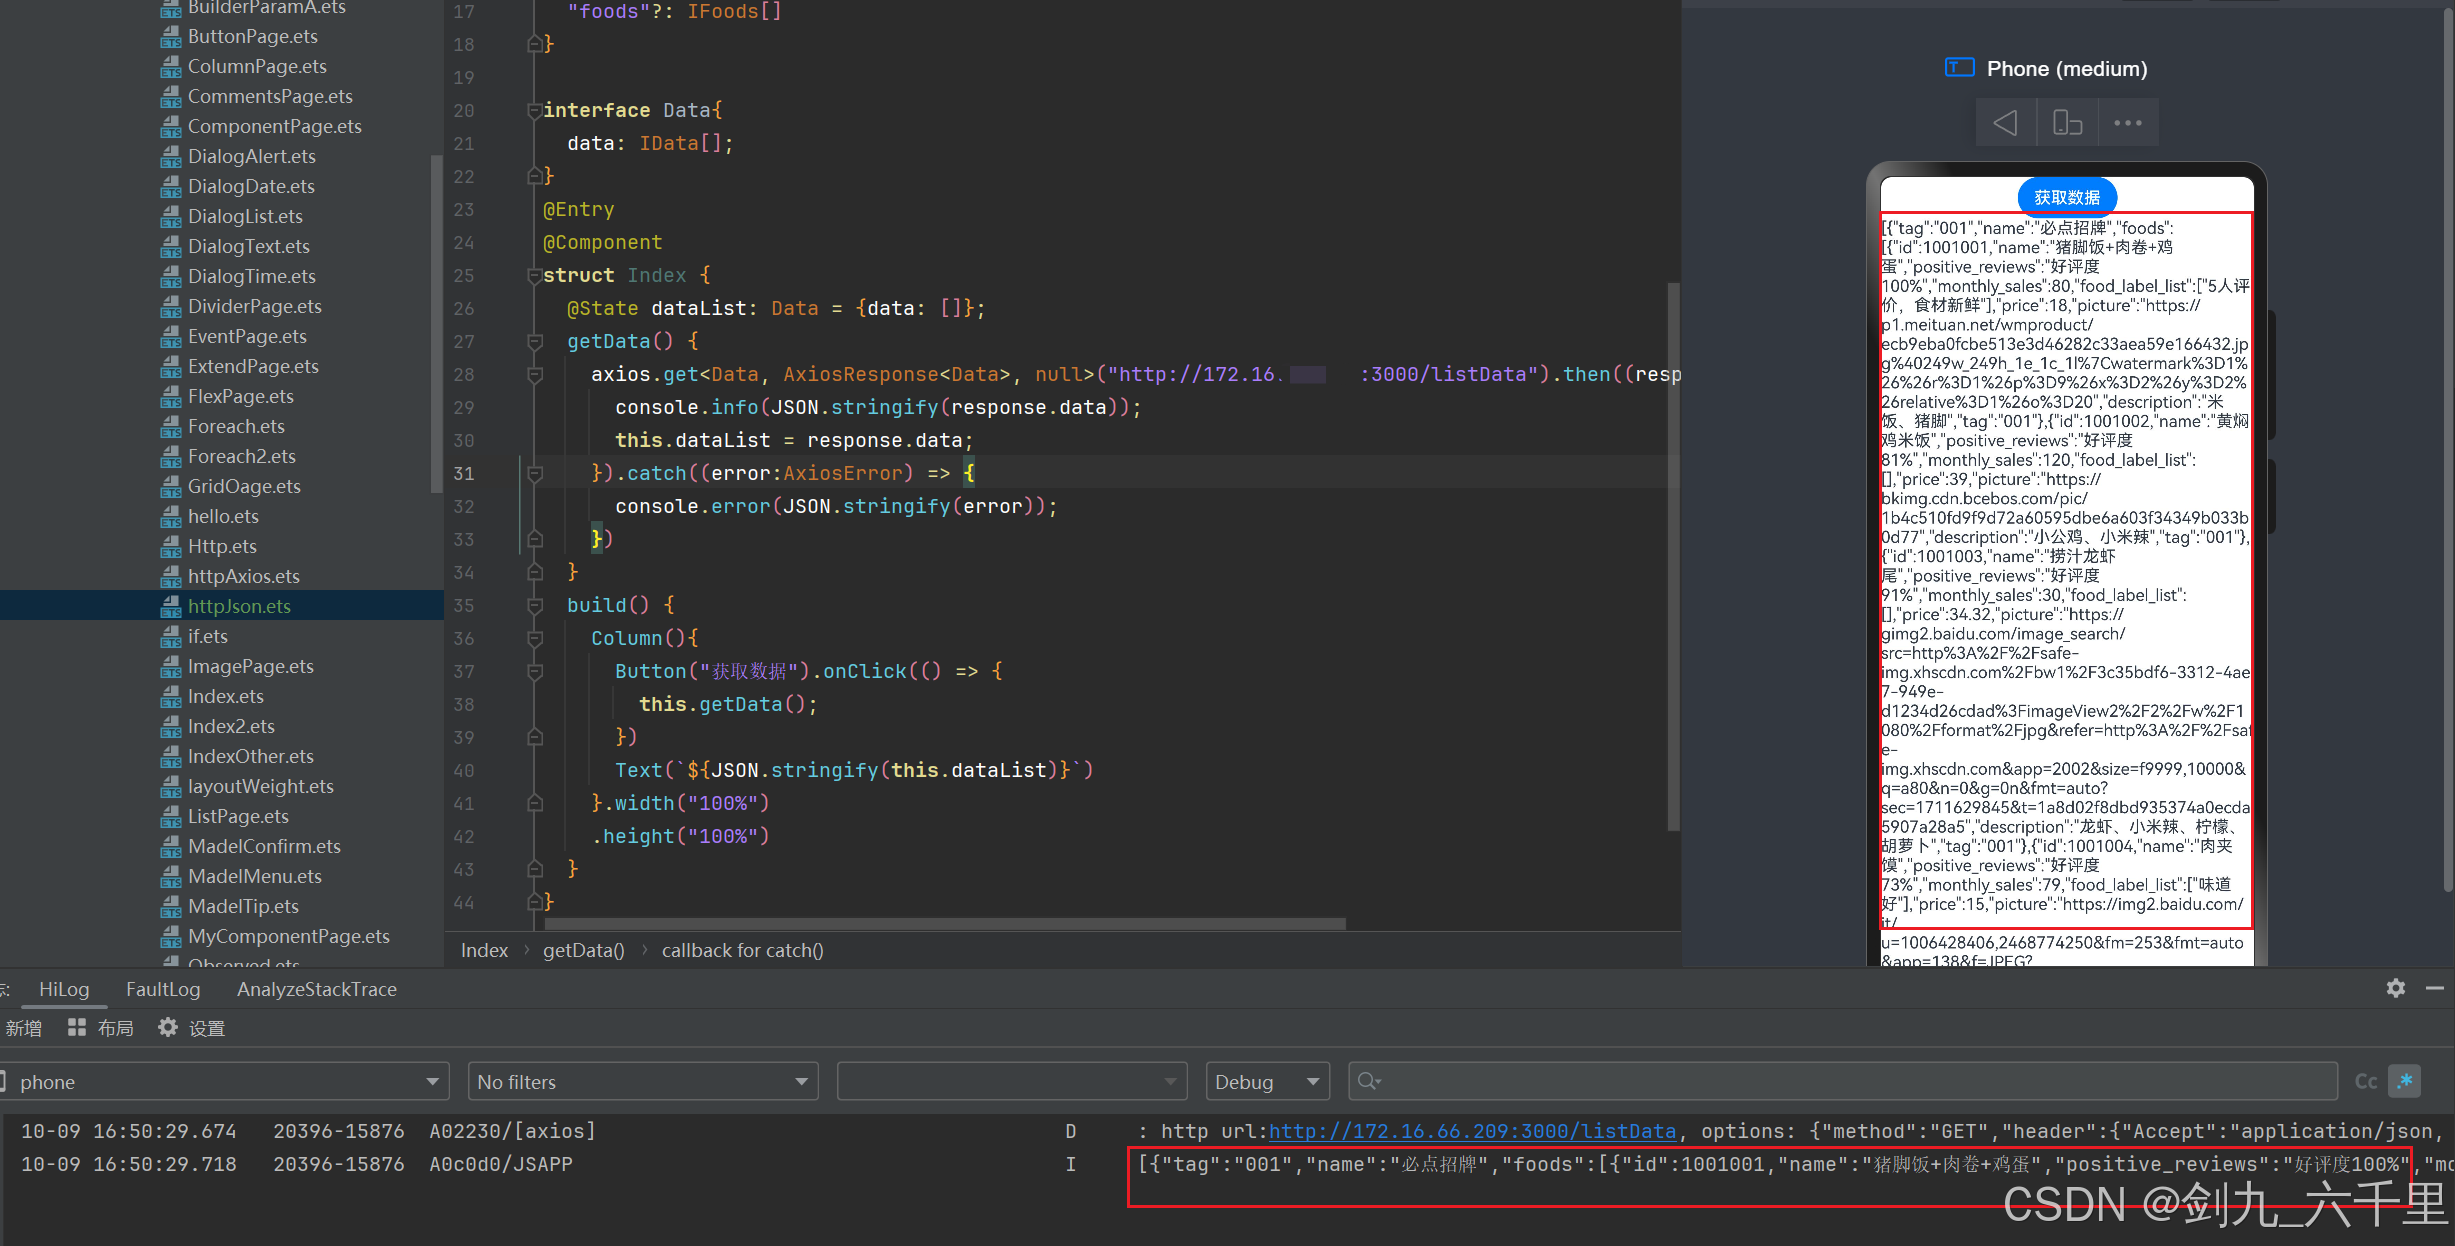
3.5. 完整示例:
import axios, { AxiosResponse, AxiosError } from "@ohos/axios"

interface IFoods {
  id?: number,
  name?: string,
  positive_reviews?: string,
  monthly_sales?: number,
  food_label_list?: string[],
  price?: number,
  picture?: string,
  description?: string,
  tag?: string
}
interface IData {
  tag?: string;
  name?: string;
  foods?: IFoods[]
}

interface Data{
  data: IData[];
}
@Entry
@Component
struct Index {
  @State dataList: Data = {data: []};
  getData() {
    axios.get<Data, AxiosResponse<Data>, null>("http://172.16.xx.xxx:3000/listData").then((response: AxiosResponse<Data>) => {
      console.info(JSON.stringify(response.data));
      this.dataList = response.data;
    }).catch((error:AxiosError) => {
      console.error(JSON.stringify(error));
    })
  }
  build() {
    Column(){
      Button("获取数据").onClick(() => {
        this.getData();
      })
      Text(`${JSON.stringify(this.dataList)}`)
    }.width("100%")
    .height("100%")
  }
}

讨论HarmonyOS开发技术,专注于API与组件、DevEco Studio、测试、元服务和应用上架分发等。
更多推荐
 14
14 0
0- 0


 已为社区贡献8条内容

所有评论(0)