基于React鸿蒙热更新
本文介绍了在开源鸿蒙项目中配置ReactNative热加载功能的实践步骤。主要包括环境搭建、关键文件修改和热更新操作流程,为开发者提供了鸿蒙ReactNative热更新解决方案。
前言:
本次开发的核心目标,便是为一款鸿蒙生态下的应用接入基于React的热更新能力。ReactNative开发HarmonyOS应用我们之前都是先编译然后再复制产出物到HarmonyOS工程中,这样非常的耗时间而且也不能实时查看自己修改的效果,非常不友好,索性我们就来实现最能显著提升开发效率的——热更新(Hot Reload)与调试能力。本文并非理论性的探讨,而是对整个开发过程的真实记录,希望能为同样深耕鸿蒙应用开发的同行们提供一份可参考的实践经验。
本文参考
一文搞定开源鸿蒙React Native项目配置Metro热加载-CSDN博客
【开源鸿蒙跨平台开发学习笔记】Day05:React Native 在 HarmonyOS 开发中的热更新与调试实践-CSDN博客
本文只记录操作流程以及遇到的问题
一、基础设置
1.1 环境搭建
没有搭建react环境的可以看我之前写的文章,如果没完成,请先完成React的鸿蒙环境搭建。
1.2 文件修改
1.2.1 修改metor.config.js文件
在 HarmonyOS 下,需要扩展 RNOH 提供的配置:
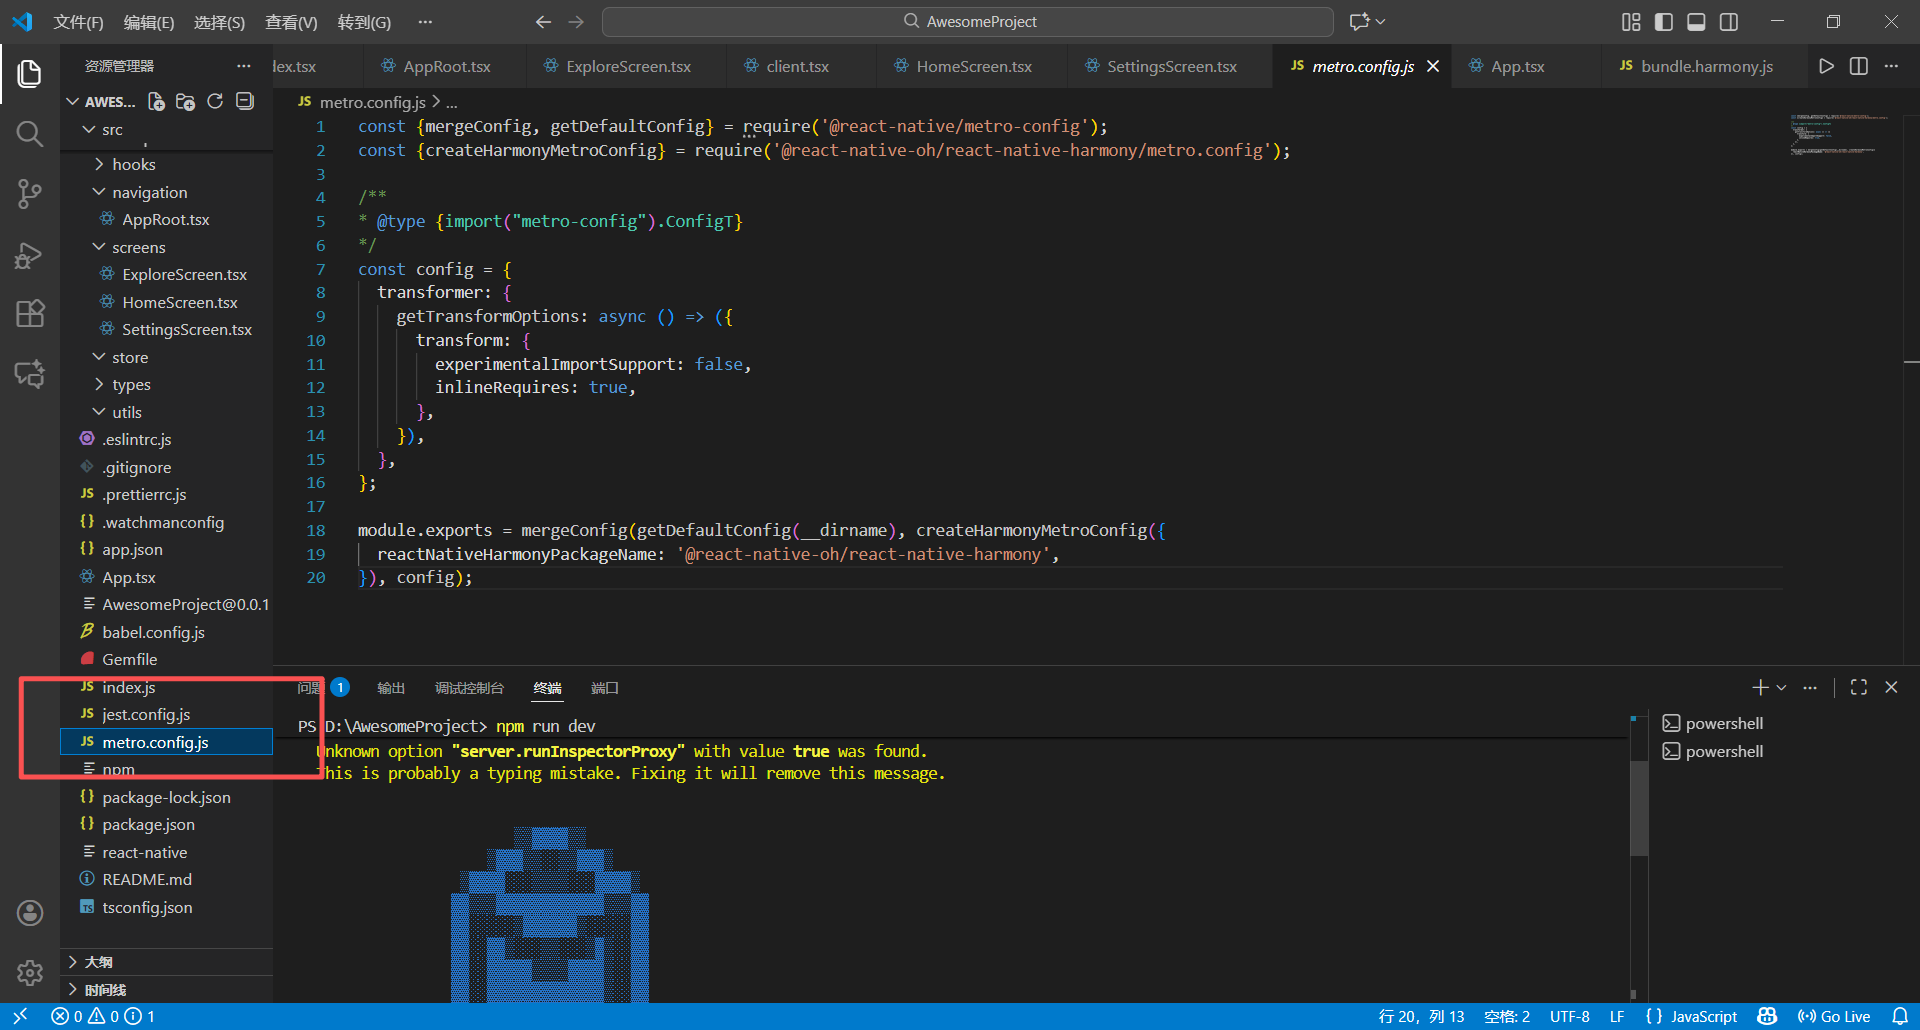
const {getDefaultConfig, mergeConfig} = require('@react-native/metro-config');
const { createHarmonyMetroConfig } = require('@react-native-oh/react-native-harmony/metro.config');
/**
 * Metro configuration
 * https://facebook.github.io/metro/docs/configuration
 *
 * @type {import('metro-config').MetroConfig}
 */
const config = {
    transformer: {
        getTransformOptions: async () => ({
            transform: {
                experimentalImportSupport: false,
                inlineRequires: true,
            },
        }),
    }
};

module.exports = mergeConfig(
    getDefaultConfig(__dirname),
    createHarmonyMetroConfig({
        reactNativeHarmonyPackageName: '@react-native-oh/react-native-harmony',
    }),
    config
);
1.2.2 修改Index.ets文件
打开项目MyApplication_a,找到路径MyApplication_a\entry\src\main\ets\pages
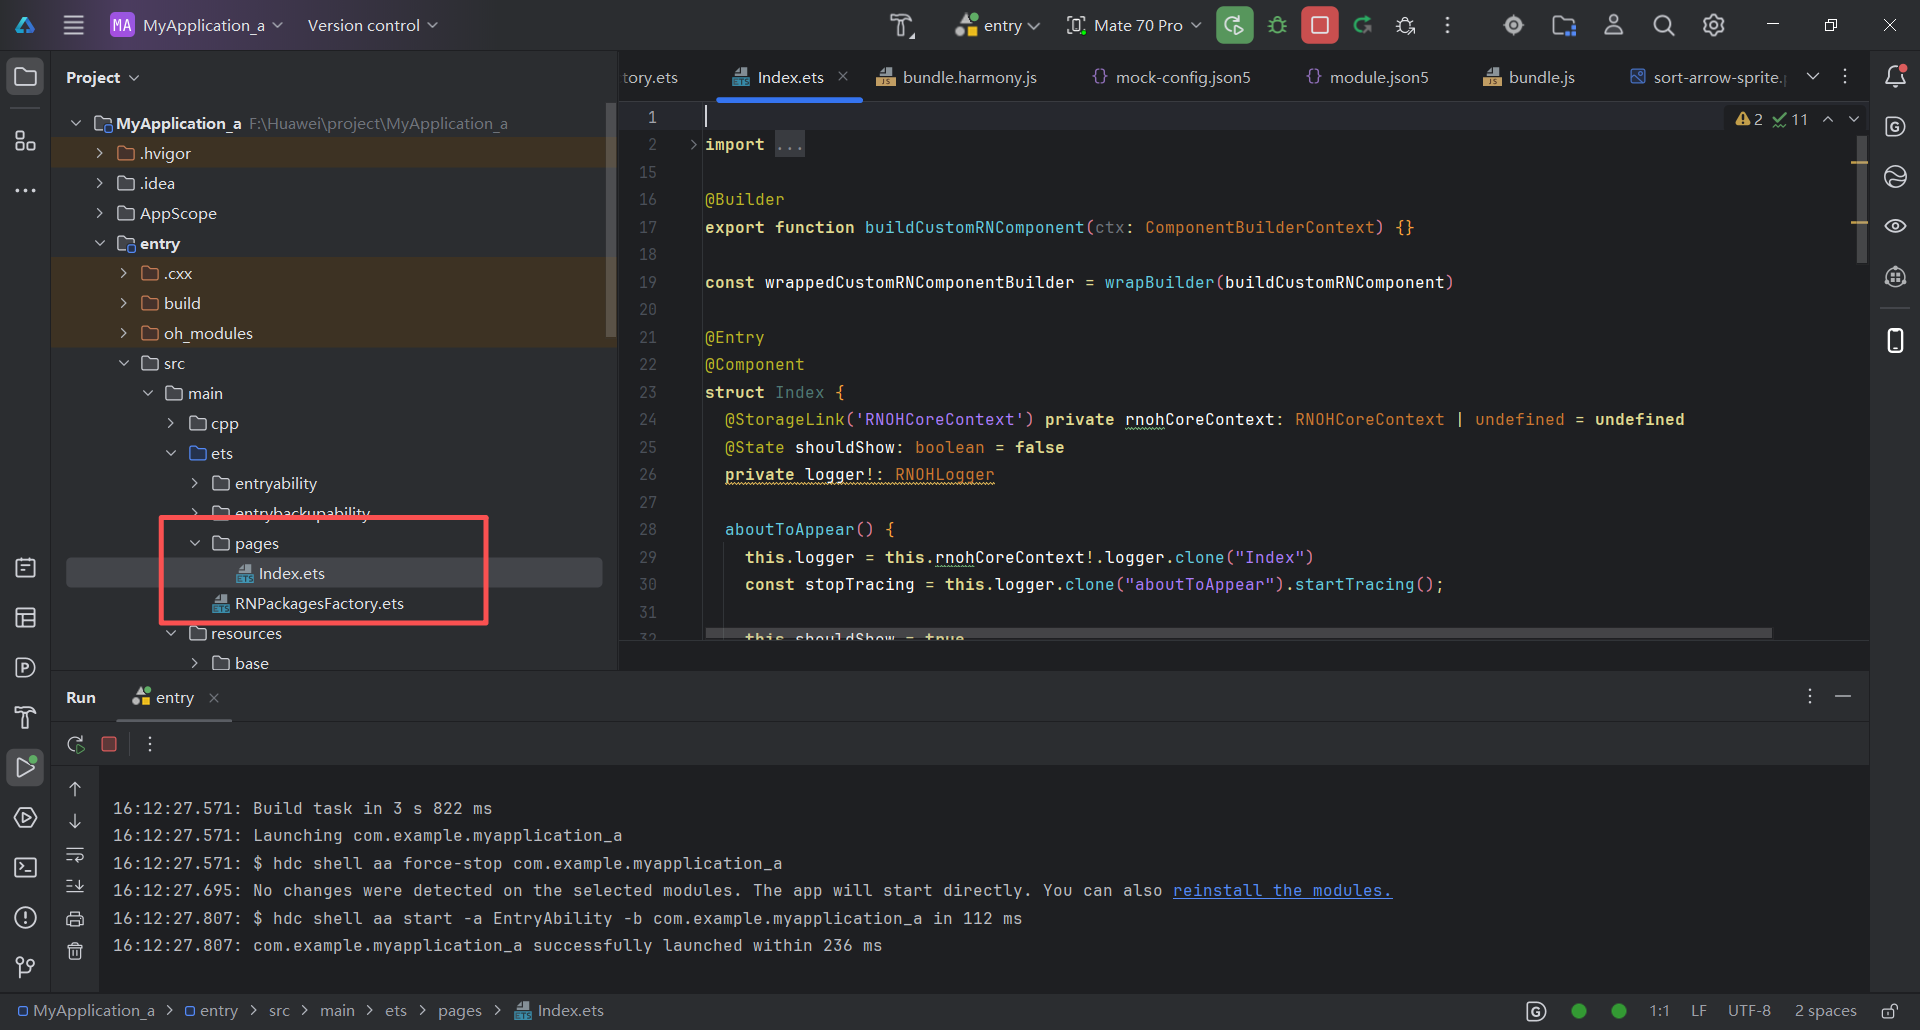
修改代码:
import {
AnyJSBundleProvider,
ComponentBuilderContext,
FileJSBundleProvider,
MetroJSBundleProvider,
ResourceJSBundleProvider,
RNApp,
RNOHErrorDialog,
RNOHLogger,
TraceJSBundleProviderDecorator,
RNOHCoreContext
} from '@rnoh/react-native-openharmony';
import { createRNPackages } from '../RNPackagesFactory';
// 用于构建自定义 RN 组件的 Builder
@Builder
export function buildCustomRNComponent(ctx: ComponentBuilderContext) {}
const wrappedCustomRNComponentBuilder = wrapBuilder(buildCustomRNComponent)
@Entry
@Component
struct Index {
@StorageLink('RNOHCoreContext') private rnohCoreContext: RNOHCoreContext | undefined = undefined
@State shouldShow: boolean = false
@State rnInstanceKey: number = 0 // 用于强制重新创建 RNApp 组件
private logger!: RNOHLogger
aboutToAppear() {
this.logger = this.rnohCoreContext!.logger.clone("Index")
const stopTracing = this.logger.clone("aboutToAppear").startTracing();
this.shouldShow = true
stopTracing();
}
// 清理方法
private cleanUp() {
this.logger.info("Cleaning up RN instance")
this.shouldShow = false
}
// 初始化方法
private init() {
this.logger.info("Initializing new RN instance")
this.rnInstanceKey += 1 // 改变 key 强制重新渲染 RNApp
this.shouldShow = true
}
onBackPress(): boolean | undefined {
// 拦截物理返回键,交给 React Native 处理
this.rnohCoreContext!.dispatchBackPress()
return true
}
build() {
Column() {
if (this.rnohCoreContext && this.shouldShow) {
if (this.rnohCoreContext?.isDebugModeEnabled) {
RNOHErrorDialog({ ctx: this.rnohCoreContext })
}
RNApp({
rnInstanceConfig: {
createRNPackages,
enableNDKTextMeasuring: true,
enableBackgroundExecutor: false,
enableCAPIArchitecture: true,
arkTsComponentNames: []
},
initialProps: { "foo": "bar" } as Record<string, string>,
appKey: "AwesomeProject",
wrappedCustomRNComponentBuilder: wrappedCustomRNComponentBuilder,
onSetUp: (rnInstance) => {
rnInstance.enableFeatureFlag("ENABLE_RN_INSTANCE_CLEAN_UP");
this.rnohCoreContext?.devToolsController?.eventEmitter.subscribe("RELOAD", async () => {
this.logger.info("Hot reload triggered via RELOAD event");
this.cleanUp();
setTimeout(() => {
this.init();
}, 100);
});
},
jsBundleProvider: new TraceJSBundleProviderDecorator(
new AnyJSBundleProvider([
new MetroJSBundleProvider(),
new FileJSBundleProvider('/data/storage/el2/base/files/bundle.harmony.js'),
new ResourceJSBundleProvider(this.rnohCoreContext.uiAbilityContext.resourceManager, 'hermes_bundle.hbc'),
new ResourceJSBundleProvider(this.rnohCoreContext.uiAbilityContext.resourceManager, 'bundle.harmony.js')
]),
this.rnohCoreContext.logger),
})
}
}
.height('100%')
.width('100%')
}
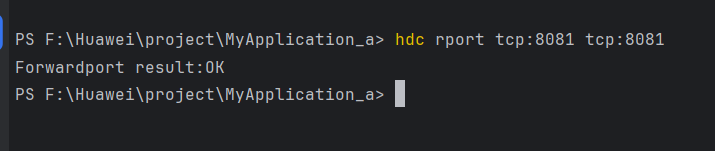
}1.3 搭建热更新
先运行自己的鸿蒙项目,当模拟器启动成功后,在终端执行:hdc rport tcp:8081 tcp:8081 的命令
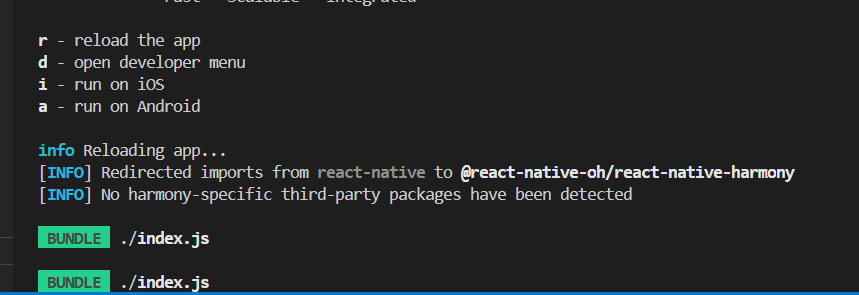
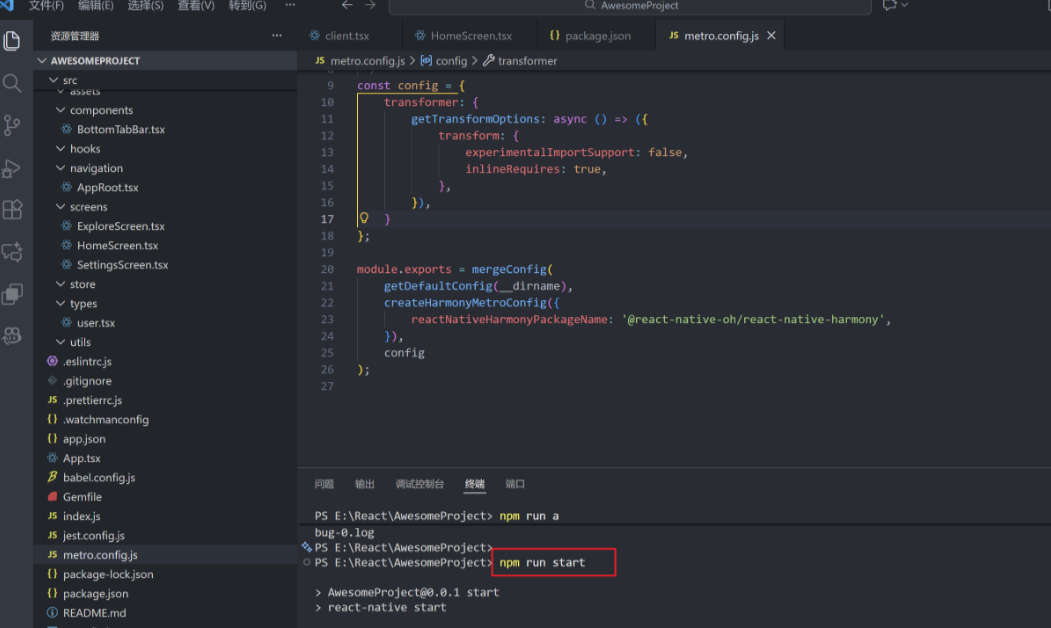
在AwesomeProject项目的根目录,执行"npm run start"的命令,会出现让你选r、d、i、a的选项。我们在终端输入r即可。
r - reload the app
d - open developer menu
i - run on iOS
a - run on Android
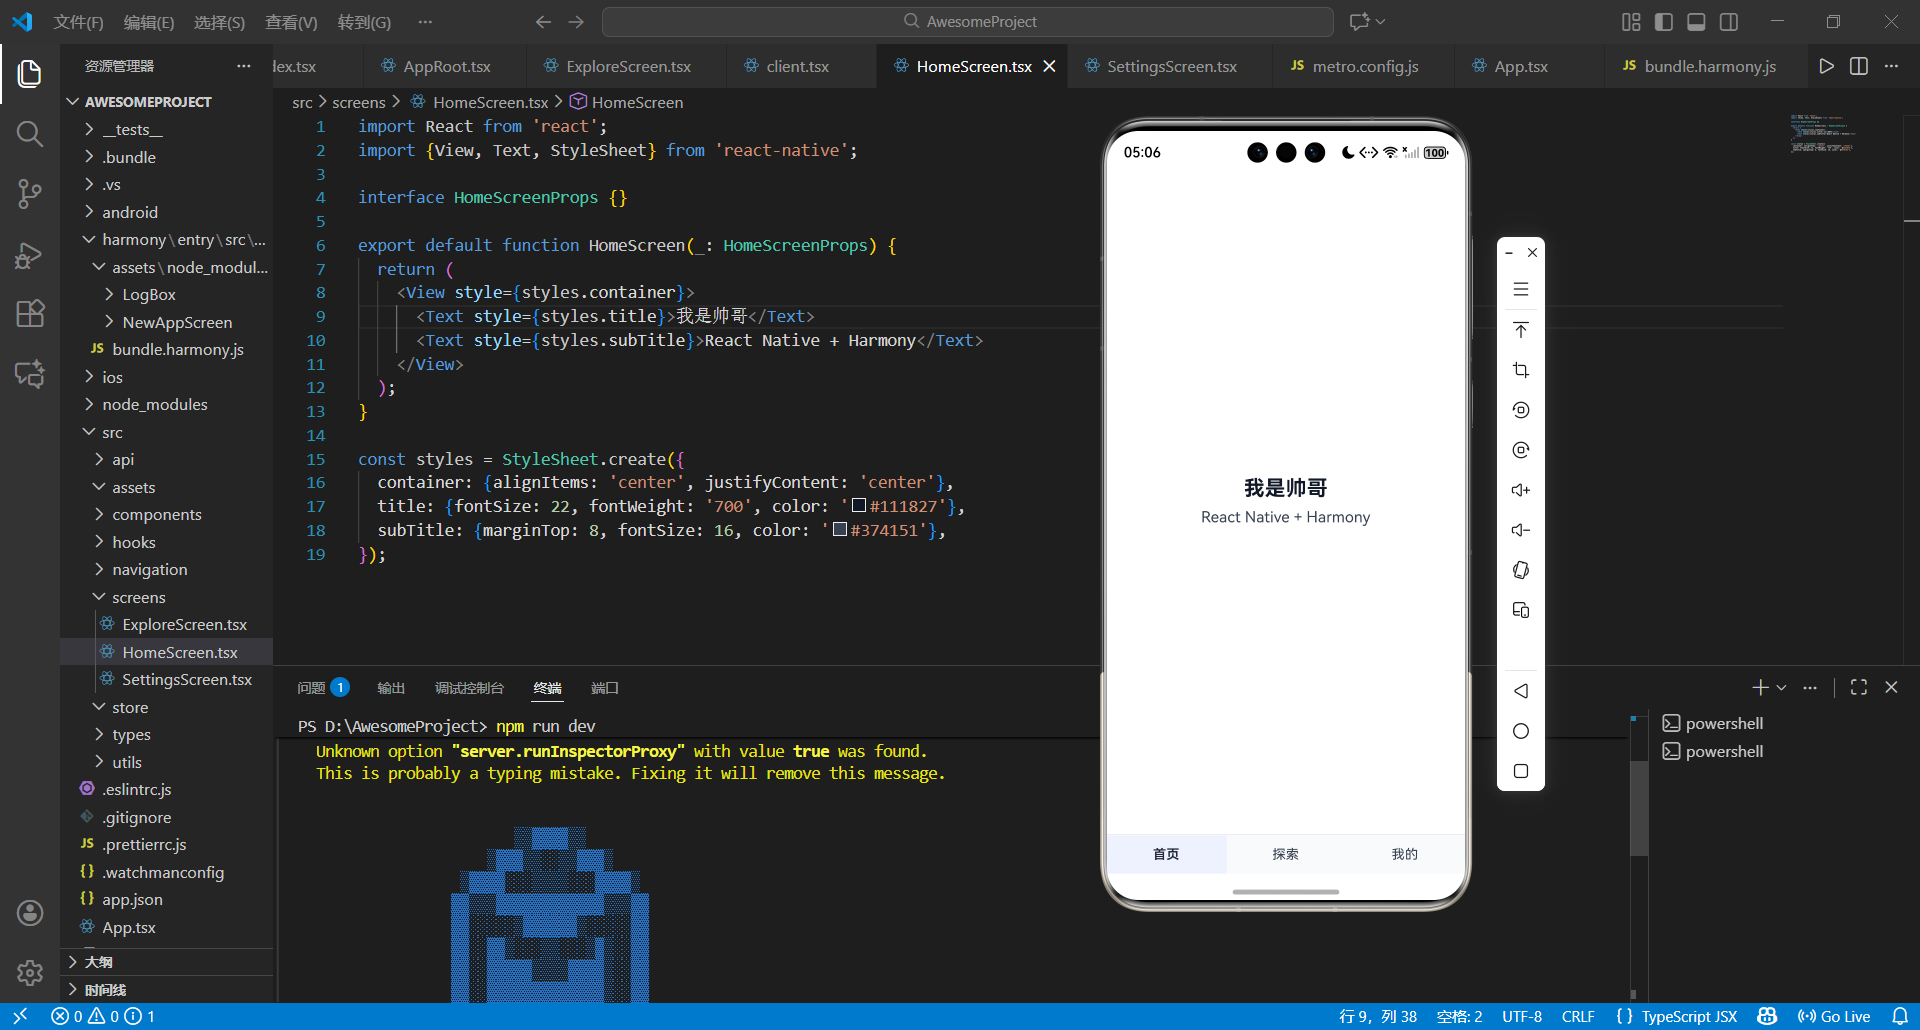
然后在AwesomeProject\src\screens\HomeScreen.tsx更改你想输入的信息。
import React from 'react';
import {View, Text, StyleSheet} from 'react-native';

interface HomeScreenProps {}

export default function HomeScreen(_: HomeScreenProps) {
  return (
    <View style={styles.container}>
      <Text style={styles.title}>我是帅哥</Text>
      <Text style={styles.subTitle}>React Native + Harmony</Text>
    </View>
  );
}

const styles = StyleSheet.create({
  container: {alignItems: 'center', justifyContent: 'center'},
  title: {fontSize: 22, fontWeight: '700', color: '#111827'},
  subTitle: {marginTop: 8, fontSize: 16, color: '#374151'},
});
成功完成:
二、总结
此次开发最深刻的感悟是,热更新技术的价值不仅在于“无需全量下载”的效率提升,更在于它构建了一种“敏捷迭代”的开发模式——小功能优化可即时推送,紧急bug能快速修复,这让应用能更灵活地响应用户需求。当然,开发也留下了可优化的空间,比如后续可引入热更新包的加密校验机制,进一步提升安全性。这段开发记录既是对过往工作的总结,也是未来技术探索的起点,期待在React与鸿蒙生态的持续融合中,挖掘出更多提升开发效率与用户体验的可能。

讨论HarmonyOS开发技术,专注于API与组件、DevEco Studio、测试、元服务和应用上架分发等。
更多推荐


 5
5 0
0- 0


 已为社区贡献7条内容

所有评论(0)