《跟我一起学“Harmony-ArkTS”》——MVVM模式
本章言简意赅的为大家介绍了MVVM模式的内容。
一、MVVM模式
MVVM是一种软件设计模式,用于将应用程序的用户界面(View)与数据和业务逻辑(Model)进行分离。MVVM 的核心思想是通过一个称为ViewModel的中间层来连接View和Model。
- Model(模型):代表应用程序的数据和业务逻辑。它负责数据的获取、处理和存储,以及定义应用程序的行为。
- View(视图):代表应用程序的用户界面。它负责展示数据和与用户进行交互。
- ViewModel(视图模型):它是View和Model之间的连接层。ViewModel处理用户界面上的事件和输入,并将它们转化为对Model的操作。它还负责从Model中获取数据,并将数据绑定到View中,使得数据的变化能够自动更新到用户界面上。

在鸿蒙原生应用开发中,ArkUI采取MVVM=Model+View+ViewModel模式,其中状态管理模块起到的就是ViewModel的作用,将数据与视图绑定在一起,更新数据的时候直接更新视图。ArkUI中,model为我们定义的数据结构和数据来源,通过ArkUI提供的装饰器@State等装饰对应的数据,就提供了响应式能力,model数据的变化能够触发UI的更新。
因此,在实际开发中,为了让项目工程结构更加清晰,我们会创建一个model目录用于存储数据模型。它表示组件或其他相关业务逻辑之间传输的数据,是对原始数据的进一步处理,创建view目录,用于存储UI组件。
案例如下:
- 本案例模拟手机号码查询归属地
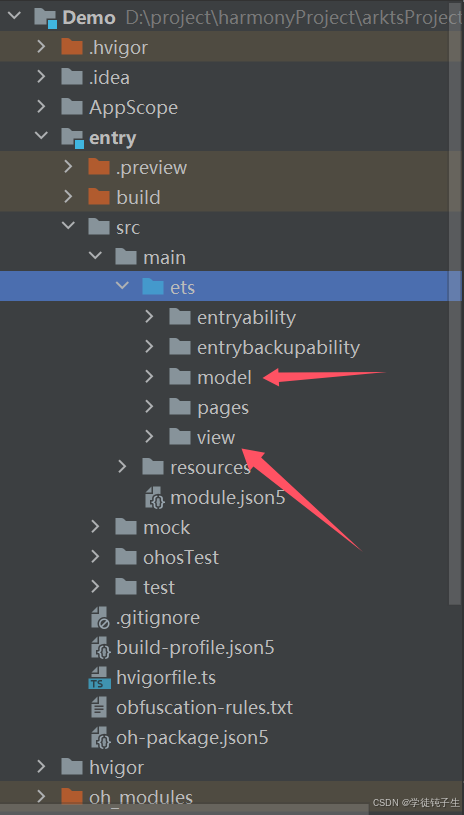
- 在项目里创建好model目录和view目录,如下图所示
3.在model目录下,创建一个ArkTS接口文件,命名为:PhoneAddressData,代码如下:
interface PhoneAddress {
  areaZone: string;
  cardType: string;
  city: string;
  phone: string;
  province: string;
  zipCode: string;
}

export interface PhoneAddressData {
  code: number;
  msg: string;
  data: PhoneAddress;
}
- 在view目录下,创建一个自定义组件,命名为:PhoneAddress,代码如下:
import http from '@ohos.net.http';
import { PhoneAddressData } from '../model/PhoneAddressData';
import { JSON } from '@kit.ArkTS';

@Component
export struct PhoneAddress {
  @State phoneAddress: PhoneAddressData = {
    code: 0,
    msg: '',
    data: {
      areaZone: '',
      cardType: '',
      city: '',
      phone: '',
      province: '',
      zipCode: '',
    }
  };
  @State phone: string = '';

  getPhoneAddress(): void {
    let httpRequest = http.createHttp();
    httpRequest.on('headersReceive', (header) => {
      console.info('header: ' + JSON.stringify(header));
    });
    const request = httpRequest.request(
      // 使用网络接口来根据输入的手机号码查询归属地
      `https://v2.xxapi.cn/api/phoneAddress?phone=${this.phone}`,
      {
        method: http.RequestMethod.GET,
        expectDataType: http.HttpDataType.STRING
      }
    );
    request
      .then((data) => {
        const response = JSON.parse(data.result.toString()) as PhoneAddressData;
        if (response.code === 200) {
          this.phoneAddress.code = response.code;
          this.phoneAddress.data = response.data;
        } else {
          console.error("请求失败:", response.msg);
        }
      });
  }

  build() {
    Column({ space: 20 }) {
      TextInput({ placeholder: '请输入手机号码' })
        .width(300)
        .fontSize(20)
        .type(InputType.PhoneNumber)
        .textAlign(TextAlign.Center)
        .fontWeight(FontWeight.Bold)
        .onChange((value) => {
          this.phone = value;
        })

      Button('查询')
        .onClick(() => {
          this.getPhoneAddress();
        })

      if (this.phoneAddress.code === 200) {
        Text('区域编码:' + this.phoneAddress.data?.areaZone)
          .fontSize(15)
          .fontWeight(FontWeight.Bold)
        Text('手机卡类型:' + this.phoneAddress.data?.cardType)
          .fontSize(15)
          .fontWeight(FontWeight.Bold)
        Text('省份:' + this.phoneAddress.data?.province)
          .fontSize(15)
          .fontWeight(FontWeight.Bold)
        Text('城市:' + this.phoneAddress.data?.city)
          .fontSize(15)
          .fontWeight(FontWeight.Bold)
        Text('邮政编码:' + this.phoneAddress.data?.zipCode)
          .fontSize(15)
          .fontWeight(FontWeight.Bold)
      }
    }
    .width('100%')
    .height('100%')
  }
}
- 别忘记在model.json5文件里配置网络请求权限,代码如下:
	// 申请网络权限
    "requestPermissions": [
      {
        "name": "ohos.permission.INTERNET"
      }
    ],
- 在index.ets文件里,使用刚才创建好的自定义组件,代码如下:
import { PhoneAddress } from '../view/PhoneAddress';

@Entry
@Component
struct Index {
  private title: string = 'MVVM案例';

  build() {
    Column({ space: 20 }) {
      Text(this.title)
        .fontSize(30)
        .fontWeight(FontWeight.Bold)

      Text('模拟手机号码查询归属地')
        .fontSize(20)
        .fontWeight(FontWeight.Bold)

      PhoneAddress()
    }
    .height('100%')
    .width('100%')
  }
}
- 最后,我们启动模拟器,进行测试,效果如下:

二、MVVM模式的优点
分离关注点:MVVM将用户界面逻辑与数据和业务逻辑分离,提高了代码的可维护性和重用性。
双向绑定:通过双向绑定机制,ViewModel可以将数据的变化实时反映到用户界面上,并可以响应用户界面的操作。
可测试性:由于ViewModel是纯粹的逻辑层,不依赖于具体的用户界面,因此可以更容易地进行单元测试。
三、MVVM模式的缺点
复杂性:由于MVVM引入了新的组件(ViewModel)来连接View和Model,这增加了应用程序的复杂性。
四、小结
本章言简意赅的为大家介绍了MVVM模式,下一章,为大家介绍创建元服务项目的内容。最后,创作不易,如果大家觉得我的文章对学习鸿蒙有帮助的话,就动动小手,点个免费的赞吧!收到的赞越多,我的创作动力也会越大哦,谢谢大家🌹🌹🌹!!!

讨论HarmonyOS开发技术,专注于API与组件、DevEco Studio、测试、元服务和应用上架分发等。
更多推荐


 17
17 0
0- 0


 已为社区贡献30条内容

所有评论(0)