鸿蒙环境添加React Native的bundle包
3.打开 RNApplication\entry\build-profile.json5,将 cpp 中的代码添加到应用工程的编译构建任务中。将RNProject\harmony\entry\src\main\resources\rawfile目录下的 bundle 文件和 assets 文件夹粘贴复制到HarmonyOS工程RNApplication\entry\src\main\resourc
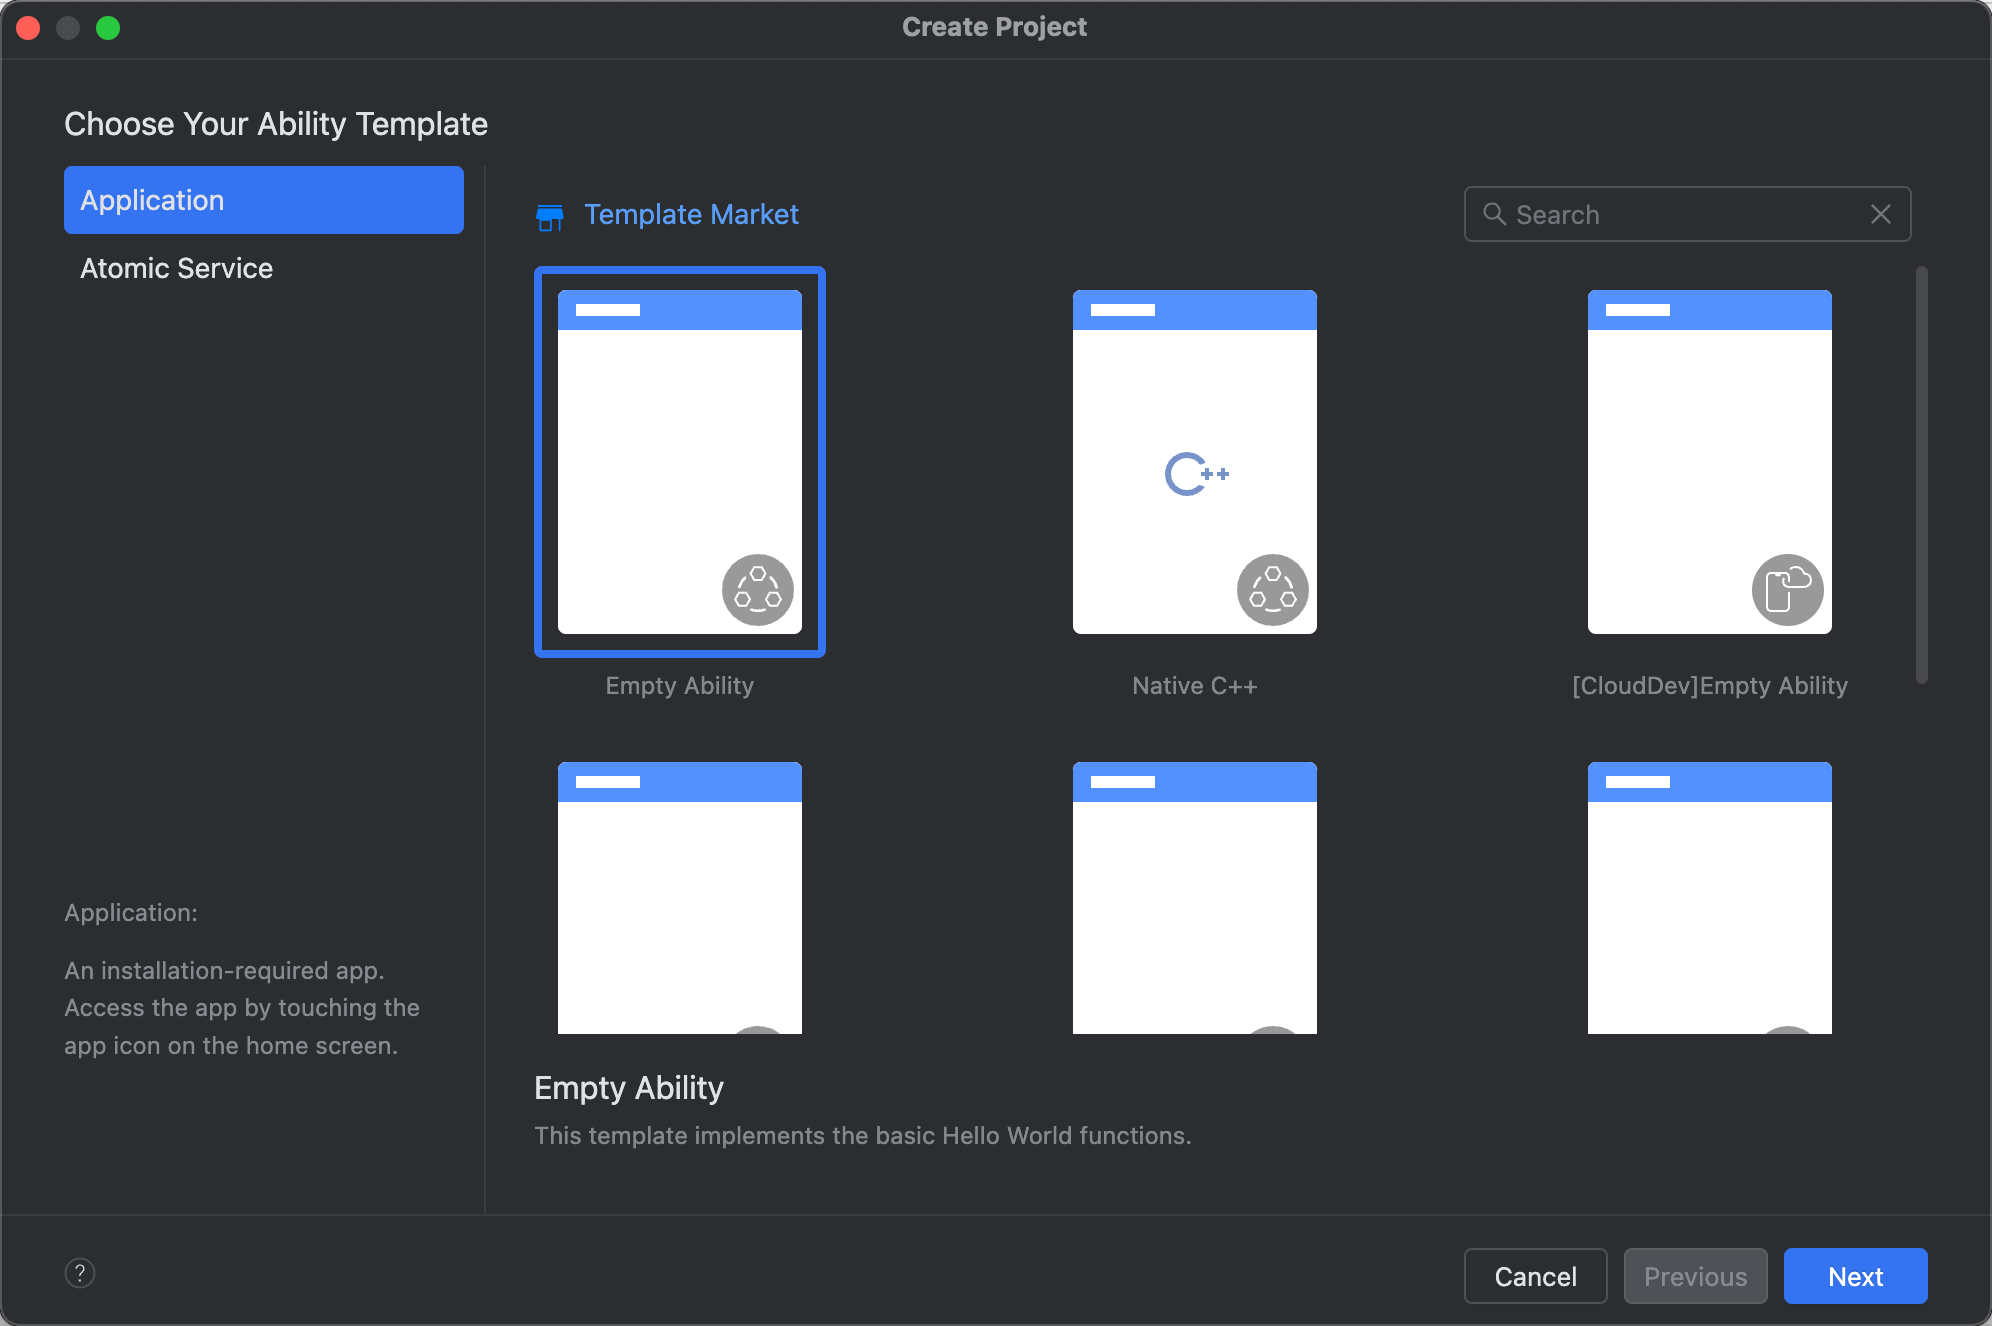
一、创建HarmonyOS工程
二、添加 React Native 配置
在刚创建的HarmonyOS工程的entry(D:\RN\MyRNApplication\entry>)目录下执行命令:
ohpm i @rnoh/react-native-openharmony
执行完成后会在工程级目录以及模块级目录下生成 oh_modules 文件夹。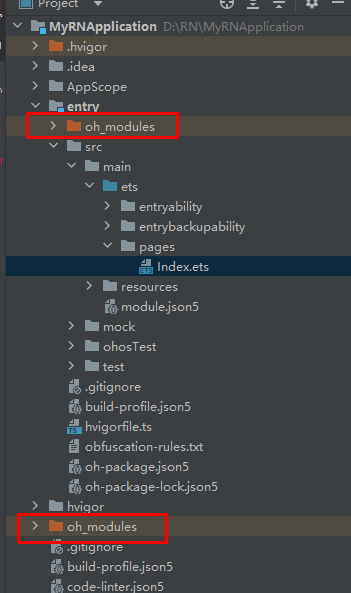
三、在HarmonyOS工程中集成RNOH
1.补充CPP侧代码 在 RNApplication\entry\src\main目录下新建cpp文件夹,并新增CMakeLists.txt文件: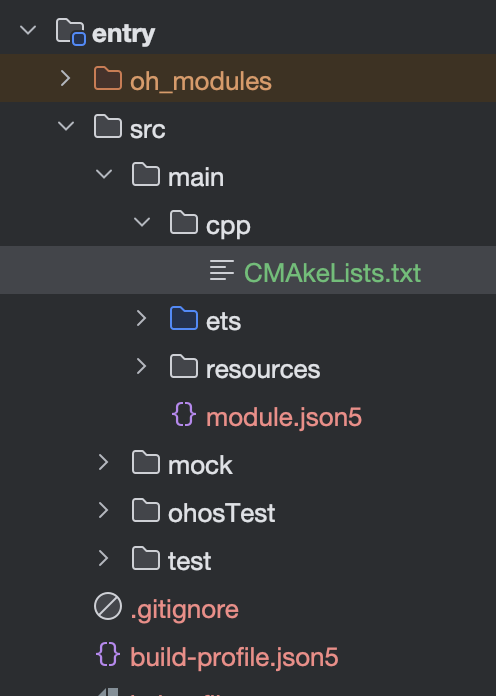
将 RNOH 的适配层代码添加到CMakeLists.txt中用于编译生成librnoh_app.so,例如将以下代码复制到新创建的CMakeLists.txt中:
project(rnapp)
cmake_minimum_required(VERSION 3.4.1)
set(CMAKE_SKIP_BUILD_RPATH TRUE)
set(OH_MODULE_DIR "${CMAKE_CURRENT_SOURCE_DIR}/../../../oh_modules")
set(RNOH_APP_DIR "${CMAKE_CURRENT_SOURCE_DIR}")

set(RNOH_CPP_DIR "${OH_MODULE_DIR}/@rnoh/react-native-openharmony/src/main/cpp")
set(RNOH_GENERATED_DIR "${CMAKE_CURRENT_SOURCE_DIR}/generated")
set(CMAKE_ASM_FLAGS "-Wno-error=unused-command-line-argument -Qunused-arguments")
set(CMAKE_CXX_FLAGS "-fstack-protector-strong -Wl,-z,relro,-z,now,-z,noexecstack -s -fPIE -pie")
add_compile_definitions(WITH_HITRACE_SYSTRACE)
set(WITH_HITRACE_SYSTRACE 1) # for other CMakeLists.txt files to use

add_subdirectory("${RNOH_CPP_DIR}" ./rn)

add_library(rnoh_app SHARED
    "./PackageProvider.cpp"
    "${RNOH_CPP_DIR}/RNOHAppNapiBridge.cpp"
)

target_link_libraries(rnoh_app PUBLIC rnoh)
2.在cpp 目录下新增 PackageProvider.cpp并复制以下代码。
#include "RNOH/PackageProvider.h"

using namespace rnoh;

std::vector<std::shared_ptr<Package>> PackageProvider::getPackages(Package::Context ctx) {
    return {};
}
3.打开 RNApplication\entry\build-profile.json5,将 cpp 中的代码添加到应用工程的编译构建任务中。 如果在 x86_64 架构的模拟器上运行应用,需在 externalNativeOptions 配置中额外添加 abiFilters 字段,并包含 x86_64 架构参数。 如下所示,abiFilters 字段当前被注释,默认仅构建适用于 arm64-v8a 架构的版本。详细介绍可以参考模块级build-profile.json5。
{
 "apiType": "stageMode",
 "buildOption": {
+   "externalNativeOptions": {
+      "path": "./src/main/cpp/CMakeLists.txt",
+      "arguments": "",
+      "cppFlags": "",
+      // "abiFilters": ["arm64-v8a", "x86_64"]
+    }
 },
 "targets": [
   {
     "name": "default"
   },
   {
     "name": "ohosTest",
   }
 ]
}
- 补充ArkTS侧的代码 打开 RNApplication\entry\src\main\ets\entryability\EntryAbility.ets,替换为如下代码。
import { RNAbility } from '@rnoh/react-native-openharmony';
import { hilog } from '@kit.PerformanceAnalysisKit';

export default class EntryAbility extends RNAbility {
  getPagePath() {
    return 'pages/Index';
  }

  override onCreate(want: Want): void {
    super.onCreate(want);
    hilog.info(0x0000, 'testTag', '%{public}s', 'EntryAbility onCreate');
  }
}
5.在 RNApplication\entry\src\main\ets 目录下新增 RNPackagesFactory.ets, 复制如下代码。
import { RNPackageContext, RNPackage } from '@rnoh/react-native-openharmony/ts';
export function createRNPackages(ctx: RNPackageContext): RNPackage[] {
  return [];
}
6.打开 MyRNApplication\entry\src\main\ets\pages\Index.ets,添加RNOH的使用代码,修改后如下。
import {
  AnyJSBundleProvider,
  ComponentBuilderContext,
  FileJSBundleProvider,
  MetroJSBundleProvider,
  ResourceJSBundleProvider,
  RNApp,
  RNOHErrorDialog,
  RNOHLogger,
  TraceJSBundleProviderDecorator,
  RNOHCoreContext
} from '@rnoh/react-native-openharmony';
import { createRNPackages } from '../RNPackagesFactory';

@Builder
export function buildCustomRNComponent(ctx: ComponentBuilderContext) {}

const wrappedCustomRNComponentBuilder = wrapBuilder(buildCustomRNComponent)

@Entry
@Component
struct Index {
  @StorageLink('RNOHCoreContext') private rnohCoreContext: RNOHCoreContext | undefined = undefined
  @State shouldShow: boolean = false
  private logger!: RNOHLogger

  aboutToAppear() {
    this.logger = this.rnohCoreContext!.logger.clone("Index")
    const stopTracing = this.logger.clone("aboutToAppear").startTracing();

    this.shouldShow = true
    stopTracing();
  }

  onBackPress(): boolean | undefined {
    // NOTE: this is required since `Ability`'s `onBackPressed` function always
    // terminates or puts the app in the background, but we want Ark to ignore it completely
    // when handled by RN
    this.rnohCoreContext!.dispatchBackPress()
    return true
  }

  build() {
    Column() {
      if (this.rnohCoreContext && this.shouldShow) {
        if (this.rnohCoreContext?.isDebugModeEnabled) {
          RNOHErrorDialog({ ctx: this.rnohCoreContext })
        }
        RNApp({
          rnInstanceConfig: {
            createRNPackages,
            enableNDKTextMeasuring: true, // 该项必须为true,用于开启NDK文本测算
            enableBackgroundExecutor: false,
            enableCAPIArchitecture: true, // 该项必须为true,用于开启CAPI
            arkTsComponentNames: []
          },
          initialProps: { "foo": "bar" } as Record<string, string>,
          appKey: "AwesomeProject",
          wrappedCustomRNComponentBuilder: wrappedCustomRNComponentBuilder,
          onSetUp: (rnInstance) => {
            rnInstance.enableFeatureFlag("ENABLE_RN_INSTANCE_CLEAN_UP")
          },
          jsBundleProvider: new TraceJSBundleProviderDecorator(
            new AnyJSBundleProvider([
              new MetroJSBundleProvider(),
              // NOTE: to load the bundle from file, place it in
              // `/data/app/el2/100/base/com.rnoh.tester/files/bundle.harmony.js`
              // on your device. The path mismatch is due to app sandboxing on OpenHarmony
              new FileJSBundleProvider('/data/storage/el2/base/files/bundle.harmony.js'),
              new ResourceJSBundleProvider(this.rnohCoreContext.uiAbilityContext.resourceManager, 'hermes_bundle.hbc'),
              new ResourceJSBundleProvider(this.rnohCoreContext.uiAbilityContext.resourceManager, 'bundle.harmony.js')
            ]),
            this.rnohCoreContext.logger),
        })
      }
    }
    .height('100%')
    .width('100%')
  }
}
RNApp的参数appKey需要与RN工程中AppRegistry.registerComponent注册的appName保持一致,否则会导致白屏。
四、加载bundle包
本地加载 bundle。将RNProject\harmony\entry\src\main\resources\rawfile目录下的 bundle 文件和 assets 文件夹粘贴复制到HarmonyOS工程RNApplication\entry\src\main\resources\rawfile路径下,在 entry/src/main/ets/pages/Index.ets 中使用。
五、启动并运行工程
使用 DevEco Studio 运行 RNApplication 工程。如果运行按钮灰色不可用,需要先执行file->sync and refresh project。 执行完成后,控制台如图所示:
首次运行耗时可能需要10分钟左右,请耐心等待。

讨论HarmonyOS开发技术,专注于API与组件、DevEco Studio、测试、元服务和应用上架分发等。
更多推荐


 26
26 0
0- 0


 已为社区贡献3条内容

所有评论(0)