HarmonyOS智慧农业管理应用开发教程--高高种地--第17篇:图像识别 - 植物识别功能
*** 识别历史记录接口*/id: string;// 唯一标识// 识别对象名称// 置信度(0-1)// 类别// 图片URI// 识别时间戳。
·
第17篇:图像识别 - 植物识别功能
📚 本篇导读
在上一篇教程中,我们完成了HarmonyOS AI能力的基础集成,包括Vision Kit和Speech Kit的配置。本篇教程将深入Vision Kit的实际应用,实现一个完整的植物识别功能,让用户可以通过拍照或选择图片来识别植物。
本篇将实现:
- 📷 完整的图片选择流程(相册选择、相机拍照)
- 🌿 植物识别功能(基于Vision Kit的物体识别)
- 📊 识别结果展示(识别信息、置信度)
- 💾 识别历史记录(保存识别结果)
- 🔊 语音播报提示(TTS语音反馈)
🎯 学习目标
完成本篇教程后,你将掌握:
- 如何使用Vision Kit进行物体识别
- 如何处理和展示识别结果
- 如何实现识别历史记录功能
- 如何结合TTS提供语音反馈
- 图像识别的最佳实践
一、植物识别功能设计
1.1 功能流程
用户操作
  ↓
选择图片/拍照
  ↓
图片转换为PixelMap(RGBA_8888)
  ↓
显示图片并启用AI分析器
  ↓
用户长按图片
  ↓
Vision Kit识别(物体搜索)
  ↓
返回识别结果
  ↓
展示识别信息 + 语音播报
  ↓
保存到识别历史
1.2 页面结构
┌─────────────────────────────────┐
│ < 返回 扫一扫 📷 │ ← 导航栏
├─────────────────────────────────┤
│ │
│ [图片预览区域] │ ← 支持AI识别
│ (长按识别) │
│ │
├─────────────────────────────────┤
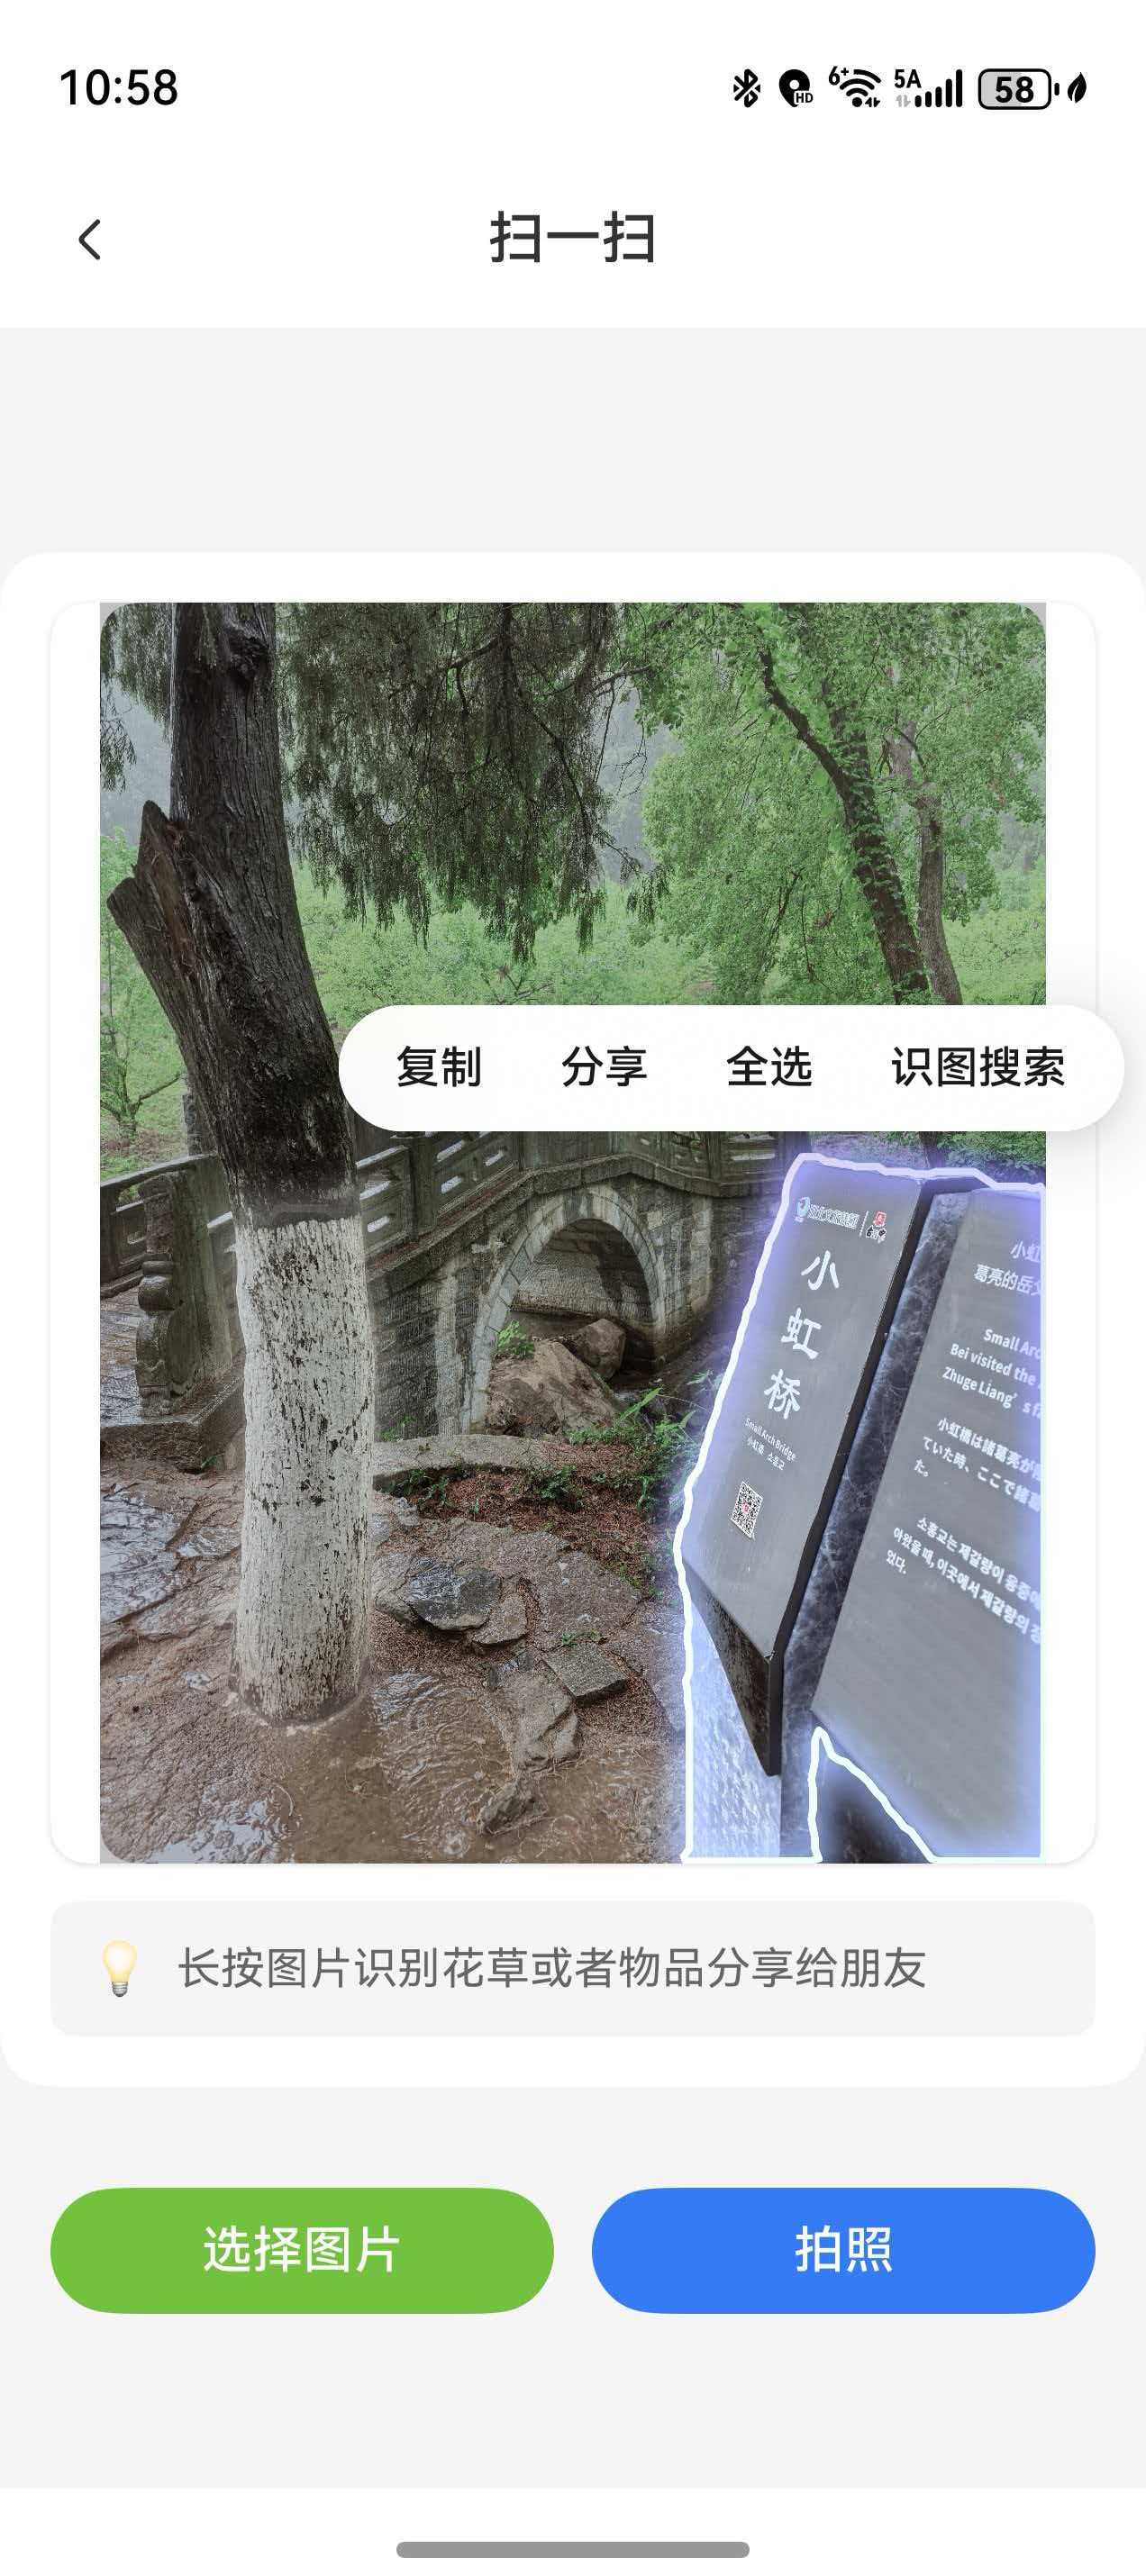
│ 💡 长按图片识别花草或物品 │ ← 操作提示
├─────────────────────────────────┤
│ [选择图片] [拍照] │ ← 操作按钮
├─────────────────────────────────┤
│ 📖 使用说明 │
│ 1️⃣ 选择图片或拍照 │ ← 使用指南
│ 2️⃣ 长按图片进行识别 │
│ 3️⃣ 可识别文字、主体等内容 │
└─────────────────────────────────┘
1.3 技术要点
| 技术点 | 说明 |
|---|---|
| Vision Kit | 使用OBJECT_LOOKUP类型进行物体识别 |
| PixelMap | 图片必须转换为RGBA_8888格式 |
| 长按交互 | 用户长按图片触发识别 |
| TTS反馈 | 识别完成后语音播报结果 |
| 历史记录 | 使用Preferences保存识别历史 |
二、图片选择与处理
2.1 从相册选择图片
在上一篇中我们已经实现了基础的图片选择,现在我们来完善它:
/**
 * 从相册选择图片
 */
async selectImageFromGallery(): Promise<void> {
  try {
    // 1. 配置选择器选项
    const photoSelectOptions = new picker.PhotoSelectOptions();
    photoSelectOptions.MIMEType = picker.PhotoViewMIMETypes.IMAGE_TYPE;
    photoSelectOptions.maxSelectNumber = 1;  // 只选择一张

    // 2. 创建并打开相册选择器
    const photoPicker = new picker.PhotoViewPicker();
    const photoSelectResult = await photoPicker.select(photoSelectOptions);

    // 3. 检查选择结果
    if (photoSelectResult &&
        photoSelectResult.photoUris &&
        photoSelectResult.photoUris.length > 0) {

      this.selectedImageUri = photoSelectResult.photoUris[0];
      console.info('[ImageScanPage] 选中图片URI:', this.selectedImageUri);

      // 4. 将URI转换为PixelMap
      await this.convertUriToPixelMap(this.selectedImageUri);

      // 5. 播报提示音
      await this.speakImageLoadedTip();
    }
  } catch (error) {
    const err = error as BusinessError;
    console.error('[ImageScanPage] 选择图片失败:', err);

    promptAction.showToast({
      message: '选择图片失败,请重试',
      duration: 2000
    });
  }
}
关键步骤:
- 配置选择器(只选择图片类型)
- 打开系统相册选择器
- 获取选中的图片URI
- 转换为PixelMap格式
- 播报语音提示
2.2 相机拍照
/**
 * 拍照
 */
async takePhoto(): Promise<void> {
  try {
    const context = getContext(this) as common.UIAbilityContext;

    // 1. 配置相机参数
    const pickerProfile: cameraPicker.PickerProfile = {
      cameraPosition: camera.CameraPosition.CAMERA_POSITION_BACK,  // 后置摄像头
      saveUri: ''  // 空表示使用默认保存路径
    };

    // 2. 调用系统相机
    const result: cameraPicker.PickerResult = await cameraPicker.pick(
      context,
      [cameraPicker.PickerMediaType.PHOTO],  // 拍照模式
      pickerProfile
    );

    // 3. 检查拍照结果
    if (result && result.resultCode === 0 && result.resultUri) {
      this.selectedImageUri = result.resultUri;
      console.info('[ImageScanPage] 拍照URI:', this.selectedImageUri);

      // 4. 转换为PixelMap
      await this.convertUriToPixelMap(this.selectedImageUri);

      // 5. 播报提示音
      await this.speakImageLoadedTip();
    }
  } catch (error) {
    const err = error as BusinessError;
    console.error('[ImageScanPage] 拍照失败:', err);

    promptAction.showToast({
      message: '拍照失败,请重试',
      duration: 2000
    });
  }
}
拍照流程:
- 获取应用上下文
- 配置相机参数(后置摄像头)
- 调用系统相机拍照
- 获取拍照结果URI
- 转换并显示图片
2.3 URI转换为PixelMap
这是最关键的一步,Vision Kit要求图片格式为RGBA_8888:
/**
 * 将URI转换为PixelMap(RGBA_8888格式)
 */
async convertUriToPixelMap(uri: string): Promise<void> {
  try {
    // 1. 打开文件获取文件描述符
    const file = fileIo.openSync(uri, fileIo.OpenMode.READ_ONLY);
    console.info('[ImageScanPage] 文件打开成功, fd:', file.fd);

    // 2. 创建ImageSource
    const imageSourceApi: image.ImageSource = image.createImageSource(file.fd);
    console.info('[ImageScanPage] ImageSource创建成功');

    // 3. 获取图片信息
    const imageInfo = await imageSourceApi.getImageInfo();
    console.info('[ImageScanPage] 图片信息:',
      `宽度:${imageInfo.size.width}, 高度:${imageInfo.size.height}`);

    // 4. 创建PixelMap,指定格式为RGBA_8888
    const pixelMap: image.PixelMap = await imageSourceApi.createPixelMap({
      desiredPixelFormat: image.PixelMapFormat.RGBA_8888,  // Vision Kit要求
      desiredSize: {  // 可选:限制图片尺寸以节省内存
        width: imageInfo.size.width,
        height: imageInfo.size.height
      }
    });

    console.info('[ImageScanPage] PixelMap创建成功');

    // 5. 释放旧的PixelMap(避免内存泄漏)
    if (this.selectedPixelMap) {
      this.selectedPixelMap.release();
    }

    // 6. 保存新的PixelMap
    this.selectedPixelMap = pixelMap;

    // 7. 释放资源
    await imageSourceApi.release();
    fileIo.closeSync(file);

    console.info('[ImageScanPage] ✅ 图片加载完成');
  } catch (error) {
    const err = error as BusinessError;
    console.error('[ImageScanPage] 转换PixelMap失败:', err);

    promptAction.showToast({
      message: '图片加载失败',
      duration: 2000
    });
  }
}
转换要点:
- 必须使用
RGBA_8888格式 - 及时释放旧的PixelMap避免内存泄漏
- 可以限制图片尺寸以节省内存
- 必须释放ImageSource和文件资源
三、Vision Kit物体识别
3.1 配置Image组件启用AI识别
// 在build方法中
if (this.selectedPixelMap) {
  Column({ space: 12 }) {
    // AI识别图片
    Image(this.selectedPixelMap, {
      // 配置识别类型
      types: [
        ImageAnalyzerType.TEXT,          // 文字识别
        ImageAnalyzerType.SUBJECT,       // 主体识别
        ImageAnalyzerType.OBJECT_LOOKUP  // 物体搜索(用于植物识别)
      ],
      // 绑定控制器
      aiController: this.visionImageAnalyzerController
    })
      .width('100%')
      .height(400)
      .objectFit(ImageFit.Contain)
      .borderRadius(12)
      .shadow({ radius: 8, color: '#20000000', offsetY: 2 })
      .enableAnalyzer(true)  // 启用AI分析器

    // 操作提示
    Row({ space: 8 }) {
      Text('💡')
        .fontSize(16)
      Text('长按图片识别花草或者物品分享给朋友')
        .fontSize(14)
        .fontColor($r('app.color.text_secondary'))
    }
    .width('100%')
    .padding(12)
    .backgroundColor($r('app.color.background'))
    .borderRadius(8)
  }
  .width('100%')
  .padding(16)
  .backgroundColor($r('app.color.card_background'))
  .borderRadius(16)
  .margin(16)
}
配置说明:
ImageAnalyzerType.OBJECT_LOOKUP:物体搜索,用于识别植物、动物、物品等enableAnalyzer(true):启用AI分析器,用户长按图片时触发识别- 绑定
aiController:连接到Vision Kit控制器
3.2 设置识别监听器
在onPageShow()中设置监听器来接收识别结果:
onPageShow(): void {
  // 1. 监听文字识别结果
  this.visionImageAnalyzerController.on('textAnalysis', (text: string) => {
    console.info('[ImageScanPage] 📝 文字识别结果:', text);

    if (text && text.length > 0) {
      // 可以在这里处理识别到的文字
      this.handleTextRecognition(text);
    }
  });

  // 2. 监听主体识别结果
  this.visionImageAnalyzerController.on('subjectAnalysis',
    (subjects: visionImageAnalyzer.Subject[]) => {
      console.info('[ImageScanPage] 🎯 主体识别结果:', JSON.stringify(subjects));

      if (subjects && subjects.length > 0) {
        // 可以在这里处理识别到的主体
        this.handleSubjectRecognition(subjects);
      }
    });

  // 3. 监听物体搜索结果(重点:用于植物识别)
  this.visionImageAnalyzerController.on('objectLookup',
    (objects: visionImageAnalyzer.ObjectInfo[]) => {
      console.info('[ImageScanPage] 🌿 物体识别结果:', JSON.stringify(objects));

      if (objects && objects.length > 0) {
        // 处理植物识别结果
        this.handlePlantRecognition(objects);
      }
    });

  // 4. 监听识别失败
  this.visionImageAnalyzerController.on('analyzerFailed', (error: BusinessError) => {
    console.error('[ImageScanPage] ❌ 识别失败:', JSON.stringify(error));

    promptAction.showToast({
      message: '识别失败,请重试',
      duration: 2000
    });
  });
}
监听器说明:
textAnalysis:文字识别结果(OCR)subjectAnalysis:主体识别结果(可用于抠图)objectLookup:物体搜索结果(用于植物识别)analyzerFailed:识别失败回调
3.3 处理植物识别结果
/**
 * 处理植物识别结果
 */
private handlePlantRecognition(objects: visionImageAnalyzer.ObjectInfo[]): void {
  if (!objects || objects.length === 0) {
    console.warn('[ImageScanPage] 未识别到物体');
    return;
  }

  // 获取第一个识别结果(通常是置信度最高的)
  const firstObject = objects[0];

  // 提取识别信息
  const objectName = firstObject.name || '未知物体';
  const confidence = firstObject.confidence || 0;
  const category = firstObject.category || '未分类';

  console.info('[ImageScanPage] 识别结果:');
  console.info(`  - 名称: ${objectName}`);
  console.info(`  - 置信度: ${(confidence * 100).toFixed(2)}%`);
  console.info(`  - 类别: ${category}`);

  // 显示识别结果
  this.showRecognitionResult(objectName, confidence, category);

  // 语音播报结果
  this.speakRecognitionResult(objectName, confidence);

  // 保存到识别历史
  this.saveRecognitionHistory(objectName, confidence, category);
}

/**
 * 显示识别结果对话框
 */
private showRecognitionResult(name: string, confidence: number, category: string): void {
  const confidencePercent = (confidence * 100).toFixed(2);

  AlertDialog.show({
    title: '识别结果',
    message: `🌿 ${name}\n\n` +
             `📊 置信度: ${confidencePercent}%\n` +
             `🏷️ 类别: ${category}`,
    primaryButton: {
      value: '确定',
      action: () => {
        console.info('[ImageScanPage] 用户确认识别结果');
      }
    },
    secondaryButton: {
      value: '重新识别',
      action: () => {
        console.info('[ImageScanPage] 用户选择重新识别');
        promptAction.showToast({
          message: '请长按图片重新识别',
          duration: 2000
        });
      }
    }
  });
}

/**
 * 语音播报识别结果
 */
private async speakRecognitionResult(name: string, confidence: number): Promise<void> {
  try {
    const confidencePercent = (confidence * 100).toFixed(0);
    const text = `识别完成,这是${name},置信度${confidencePercent}%`;

    await ttsService.speak(text);
    console.info('[ImageScanPage] 识别结果已播报');
  } catch (error) {
    console.error('[ImageScanPage] 播报失败:', error);
  }
}
识别结果处理流程:
- 提取识别信息(名称、置信度、类别)
- 显示识别结果对话框
- 语音播报识别结果
- 保存到识别历史
四、识别历史记录
4.1 定义历史记录数据模型
/**
 * 识别历史记录接口
 */
interface RecognitionHistory {
  id: string;              // 唯一标识
  objectName: string;      // 识别对象名称
  confidence: number;      // 置信度(0-1)
  category: string;        // 类别
  imageUri: string;        // 图片URI
  timestamp: number;       // 识别时间戳
}
4.2 保存识别历史
使用Preferences保存识别历史记录:
import { preferences } from '@kit.ArkData';

/**
 * 保存识别历史
 */
private async saveRecognitionHistory(
  name: string,
  confidence: number,
  category: string
): Promise<void> {
  try {
    const context = getContext(this) as common.UIAbilityContext;

    // 1. 获取Preferences实例
    const dataPreferences = await preferences.getPreferences(
      context,
      'recognition_history'
    );

    // 2. 读取现有历史记录
    const historyJson = await dataPreferences.get('history_list', '[]') as string;
    const historyList: RecognitionHistory[] = JSON.parse(historyJson);

    // 3. 创建新记录
    const newRecord: RecognitionHistory = {
      id: Date.now().toString(),
      objectName: name,
      confidence: confidence,
      category: category,
      imageUri: this.selectedImageUri,
      timestamp: Date.now()
    };

    // 4. 添加到历史记录(最新的在前面)
    historyList.unshift(newRecord);

    // 5. 限制历史记录数量(最多保存50条)
    if (historyList.length > 50) {
      historyList.splice(50);
    }

    // 6. 保存到Preferences
    await dataPreferences.put('history_list', JSON.stringify(historyList));
    await dataPreferences.flush();

    console.info('[ImageScanPage] ✅ 识别历史已保存');
  } catch (error) {
    console.error('[ImageScanPage] 保存历史失败:', error);
  }
}
4.3 读取识别历史
/**
 * 读取识别历史
 */
private async loadRecognitionHistory(): Promise<RecognitionHistory[]> {
  try {
    const context = getContext(this) as common.UIAbilityContext;

    // 获取Preferences实例
    const dataPreferences = await preferences.getPreferences(
      context,
      'recognition_history'
    );

    // 读取历史记录
    const historyJson = await dataPreferences.get('history_list', '[]') as string;
    const historyList: RecognitionHistory[] = JSON.parse(historyJson);

    console.info(`[ImageScanPage] 读取到${historyList.length}条历史记录`);
    return historyList;
  } catch (error) {
    console.error('[ImageScanPage] 读取历史失败:', error);
    return [];
  }
}
4.4 显示识别历史
可以在页面中添加一个按钮来查看历史记录:
// 在build方法中添加
Button('查看历史')
  .fontSize(14)
  .backgroundColor($r('app.color.primary_professional'))
  .onClick(async () => {
    const history = await this.loadRecognitionHistory();

    if (history.length === 0) {
      promptAction.showToast({
        message: '暂无识别历史',
        duration: 2000
      });
      return;
    }

    // 跳转到历史记录页面
    router.pushUrl({
      url: 'pages/Feature/RecognitionHistoryPage',
      params: { history: history }
    });
  })
五、语音播报优化
5.1 图片加载完成提示
/**
 * 朗读图片加载完成提示
 */
private async speakImageLoadedTip(): Promise<void> {
  try {
    const tipText = '图片选择完成,请长按图片进行分享或者搜索';
    await ttsService.speak(tipText, 1.0, 1.0);
    console.info('[ImageScanPage] TTS提示已播报');
  } catch (error) {
    console.error('[ImageScanPage] TTS播报失败:', error);
  }
}
5.2 识别结果播报
/**
 * 语音播报识别结果
 */
private async speakRecognitionResult(name: string, confidence: number): Promise<void> {
  try {
    // 根据置信度调整播报内容
    const confidencePercent = (confidence * 100).toFixed(0);
    let text = '';

    if (confidence >= 0.8) {
      text = `识别完成,这很可能是${name},置信度${confidencePercent}%`;
    } else if (confidence >= 0.5) {
      text = `识别完成,这可能是${name},置信度${confidencePercent}%`;
    } else {
      text = `识别完成,但置信度较低,可能是${name},置信度${confidencePercent}%`;
    }

    await ttsService.speak(text);
    console.info('[ImageScanPage] 识别结果已播报');
  } catch (error) {
    console.error('[ImageScanPage] 播报失败:', error);
  }
}
六、完整页面代码
6.1 页面状态管理
@Entry
@ComponentV2
struct ImageScanPage {
  // 图片相关
  @Local selectedImageUri: string = '';
  @Local selectedPixelMap: image.PixelMap | null = null;

  // Vision Kit控制器
  private visionImageAnalyzerController: visionImageAnalyzer.VisionImageAnalyzerController =
    new visionImageAnalyzer.VisionImageAnalyzerController();

  // 识别结果
  @Local recognitionResult: string = '';
  @Local recognitionConfidence: number = 0;

  // 生命周期
  async aboutToAppear(): Promise<void> {
    // 初始化TTS服务
    await ttsService.initialize();

    // 检查是否有传入的图片URI
    const params = router.getParams() as Record<string, string>;
    if (params && params['imageUri']) {
      this.selectedImageUri = params['imageUri'];
      await this.convertUriToPixelMap(this.selectedImageUri);
    }
  }

  onPageShow(): void {
    // 设置Vision Kit监听器
    this.setupVisionListeners();
  }

  onPageHide(): void {
    // 停止TTS
    ttsService.stop();
  }

  aboutToDisappear(): void {
    // 释放PixelMap
    if (this.selectedPixelMap) {
      this.selectedPixelMap.release();
      this.selectedPixelMap = null;
    }
  }
}
6.2 设置监听器
/**
 * 设置Vision Kit监听器
 */
private setupVisionListeners(): void {
  // 文字识别
  this.visionImageAnalyzerController.on('textAnalysis', (text: string) => {
    console.info('[ImageScanPage] 文字识别:', text);
  });

  // 主体识别
  this.visionImageAnalyzerController.on('subjectAnalysis',
    (subjects: visionImageAnalyzer.Subject[]) => {
      console.info('[ImageScanPage] 主体识别:', JSON.stringify(subjects));
    });

  // 物体搜索(植物识别)
  this.visionImageAnalyzerController.on('objectLookup',
    (objects: visionImageAnalyzer.ObjectInfo[]) => {
      console.info('[ImageScanPage] 物体识别:', JSON.stringify(objects));
      this.handlePlantRecognition(objects);
    });

  // 识别失败
  this.visionImageAnalyzerController.on('analyzerFailed', (error: BusinessError) => {
    console.error('[ImageScanPage] 识别失败:', JSON.stringify(error));
    promptAction.showToast({
      message: '识别失败,请重试',
      duration: 2000
    });
  });
}
七、实操练习
练习1:测试植物识别
任务:拍摄或选择一张植物图片进行识别
步骤:
- 运行应用,进入"扫一扫"页面
- 点击"拍照"或"选择图片"
- 选择一张清晰的植物图片
- 听取语音提示"图片选择完成"
- 长按图片,等待识别
- 查看识别结果对话框
- 听取语音播报的识别结果
预期结果:
- 图片正常显示
- 长按后出现识别界面
- 显示识别结果(名称、置信度、类别)
- 语音播报识别结果
练习2:查看识别历史
任务:查看之前的识别记录
步骤:
- 完成多次植物识别
- 点击"查看历史"按钮
- 查看历史记录列表
- 点击某条历史记录查看详情
预期结果:
- 历史记录按时间倒序排列
- 显示识别对象名称和置信度
- 可以查看历史图片
练习3:测试不同置信度
任务:测试不同清晰度图片的识别效果
步骤:
- 选择一张清晰的植物图片(预期高置信度)
- 选择一张模糊的植物图片(预期低置信度)
- 选择一张非植物图片(预期识别为其他物体)
- 对比不同情况下的识别结果和语音播报
预期结果:
- 清晰图片置信度 > 80%
- 模糊图片置信度 < 50%
- 语音播报根据置信度调整措辞
八、常见问题与解决方案
问题1:长按图片无反应
现象:长按图片后没有出现识别界面
可能原因:
- 未启用enableAnalyzer
- PixelMap格式不正确
- 监听器未正确设置
解决方案:
// 1. 确保启用分析器
Image(this.selectedPixelMap, {
  types: [ImageAnalyzerType.OBJECT_LOOKUP],
  aiController: this.visionImageAnalyzerController
})
  .enableAnalyzer(true)  // 必须设置

// 2. 确保PixelMap格式正确
const pixelMap = await imageSourceApi.createPixelMap({
  desiredPixelFormat: image.PixelMapFormat.RGBA_8888
});

// 3. 在onPageShow中设置监听器
onPageShow(): void {
  this.setupVisionListeners();
}
问题2:识别结果不准确
现象:识别结果与实际物体不符
可能原因:
- 图片质量差(模糊、光线不足)
- 物体不在识别库中
- 图片角度不佳
解决方案:
// 提示用户拍摄清晰图片
AlertDialog.show({
  title: '拍摄建议',
  message: '为了获得更好的识别效果,请:\n' +
           '1. 确保光线充足\n' +
           '2. 对准物体拍摄\n' +
           '3. 保持图片清晰\n' +
           '4. 尽量填满画面',
  primaryButton: {
    value: '知道了',
    action: () => {}
  }
});
问题3:识别历史保存失败
现象:识别完成但历史记录中没有
解决方案:
// 添加错误处理和日志
private async saveRecognitionHistory(...): Promise<void> {
  try {
    // 保存逻辑...
    console.info('[ImageScanPage] ✅ 历史已保存');
  } catch (error) {
    console.error('[ImageScanPage] ❌ 保存失败:', error);

    // 提示用户
    promptAction.showToast({
      message: '保存历史失败',
      duration: 2000
    });
  }
}
九、总结
本篇教程完成了植物识别功能的实现,主要包括:
✅ 已实现功能
| 功能 | 说明 |
|---|---|
| 图片选择 | 相册选择、相机拍照 |
| 图片处理 | URI转PixelMap(RGBA_8888) |
| 物体识别 | 基于Vision Kit的OBJECT_LOOKUP |
| 结果展示 | 对话框显示识别信息 |
| 语音播报 | TTS播报识别结果 |
| 历史记录 | Preferences保存识别历史 |
🎯 核心技术点
- Vision Kit物体识别:ImageAnalyzerType.OBJECT_LOOKUP
- PixelMap格式转换:RGBA_8888格式要求
- 识别结果处理:提取名称、置信度、类别
- 数据持久化:Preferences保存历史记录
- 语音反馈:TTS播报识别结果
🚀 下一步
在下一篇教程中,我们将学习:
- 病虫害诊断功能
- 病虫害数据库设计
- 防治建议推荐
- 病虫害记录管理
恭喜! 🎉 你已经完成了植物识别功能的开发。现在你的应用可以识别植物并提供语音反馈,为智慧农业管理增添了AI能力。

讨论HarmonyOS开发技术,专注于API与组件、DevEco Studio、测试、元服务和应用上架分发等。
更多推荐

 22
22 0
0- 0


 已为社区贡献112条内容

所有评论(0)