HarmonyOS NEXT应用开发之ArkWeb同层渲染
this.surfaceId = params.surfaceId;
this.renderType = params.renderType;
this.embedId = params.embedId;
this.componentWidth = params.width;
this.componentHeight = params.height;
this.componentType = params.type;
}
/**
- 在对应NodeContainer创建的时候调用、或者通过rebuild方法调用刷新
/
makeNode(uiContext: UIContext): FrameNode | null{
this.rootNode = new BuilderNode(uiContext, { surfaceId: this.surfaceId, type: this.renderType});
if (this.componentType === ‘native/component’) {
this.rootNode.build(wrapBuilder(searchBuilder), { width : this.componentWidth, height : this.componentHeight});
} else {
}
// 返回FrameNode节点
return this.rootNode.getFrameNode();
}
/* - 设置BuilderNode节点
/
setBuilderNode(rootNode: BuilderNode<Params[]> | null): void{
this.rootNode = rootNode;
}
/* - 获取BuilderNode节点
/
getBuilderNode(): BuilderNode<[Params]> | undefined | null{
return this.rootNode;
}
/* - 更新BuilderNode节点
/
updateNode(arg: Object): void {
this.rootNode?.update(arg);
}
/* - 获取EmbedId
/
getEmbedId() : string {
return this.embedId;
}
/* - 将触摸事件派发到rootNode创建出的FrameNode上
*/
postEvent(event: TouchEvent | undefined) : boolean {
return this.rootNode?.postTouchEvent(event) as boolean;
}
}
3. 添加同层渲染的组件。
@Component
struct SearchComponent {
@Prop params: Params;
controller: SearchController = new SearchController();
build() {
Column() {
Column({ space: MARGIN_VERTICAL }) {
Text(r(′app.string.headline′)).fontSize(r('app.string.headline')).fontSize(r(′app.string.headline′)).fontSize(r(‘app.string.ohos_id_text_size_body1’))
Text(r(′app.string.illustrate′)).fontSize(r('app.string.illustrate')).fontSize(r(′app.string.illustrate′)).fontSize(r(‘app.string.ohos_id_text_size_body1’))
}
// 原生Text组件
Text(r(′app.string.mall′)).fontSize(r('app.string.mall')).fontSize(r(′app.string.mall′)).fontSize(r(‘app.string.ohos_id_text_size_body1’))
// 原生Search组件
Search({ placeholder: ‘Type to search…’, controller: this.controller })
.searchButton(SEARCH_BUTTON)
// 原生Grid组件,Grid中包含Image和Text
Grid() {
// 性能知识点:此处数据量确定且数量较少,使用了ForEach,在数据量多的情况下,推荐使用LazyForeEach
ForEach(PRODUCT_DATA, (item: ProductDataModel, index: number) => {
GridItem() {
Column({ space: MARGIN_VERTICAL }) {
Image(item.uri).width(KaTeX parse error: Expected '}', got 'EOF' at end of input: …itle).fontSize(r(‘app.string.ohos_id_text_size_body3’))
Text(item.price).fontSize(KaTeX parse error: Expected 'EOF', got '}' at position 54: …))
}̲
}
…r(‘app.string.ohos_id_elements_margin_vertical_m’)) // 行间距
.columnsGap($r(‘app.string.ohos_id_elements_margin_vertical_m’)) // 列间距
}
}
}
4. embed标签可以在H5页面中嵌入任何类型的内容,在H5界面上通过embed标签标识同层元素,应用侧会将原生组件渲染到H5页面embed标签所在位置。
5. 通过WebView的enableNativeEmbedMode()控制同层渲染开关,通过onNativeEmbedLifecycleChange获取embed标签的生命周期变化数据。
build(){
Column() {
Stack() {
// 性能知识点:此处componentId项确定且数量较少,使用了ForEach,在数据量多的情况下,推荐使用LazyForeEach
ForEach(this.componentIdArr, (componentId: string) => {
NodeContainer(this.nodeControllerMap.get(componentId));
}, (embedId: string) => embedId)
// web组件加载本地test.html页面
Web({ src: KaTeX parse error: Expected 'EOF', got '}' at position 61: …rTabController }̲)
.back…r(‘app.color.ohos_id_color_sub_background’))
// 不允许执行缩放
.zoomAccess(false)
// Todo: 知识点:通过enableNativeEmbedMode()配置同层渲染开关
.enableNativeEmbedMode(true)
// Todo: 知识点:通过onNativeEmbedLifecycleChange获取embed标签的生命周期变化数据
.onNativeEmbedLifecycleChange((embed) => {
// 获取web侧embed元素的id
const componentId = embed.info?.id?.toString() as string
if (embed.status === NativeEmbedStatus.CREATE) {
// 创建节点控制器,设置参数并rebuild
let nodeController = new SearchNodeController();
// 外接纹理与WebView同层渲染
nodeController.setRenderOption({surfaceId : embed.surfaceId as string, type : embed.info?.type as string, renderType : NodeRenderType.RENDER_componentTypeTEXTURE, embedId : embed.embedId as string, width : px2vp(embed.info?.width), height : px2vp(embed.info?.height)});
nodeController.rebuild();
// 根据web传入的embed的id属性作为key,将nodeController存入map
this.nodeControllerMap.set(componentId, nodeController);
// 将web传入的embed的id属性存入@State状态数组变量中,用于动态创建nodeContainer节点容器,需要将push动作放在set之后
this.componentIdArr.push(componentId);
} else if (embed.status === NativeEmbedStatus.UPDATE) {
let nodeController = this.nodeControllerMap.get(componentId);
nodeController?.updateNode({text: ‘update’, width: px2vp(embed.info?.width), height: px2vp(embed.info?.height)} as ESObject);
nodeController?.rebuild();
} else {
let nodeController = this.nodeControllerMap.get(componentId);
nodeController?.setBuilderNode(null);
nodeController?.rebuild();
}
})// 获取同层渲染组件触摸事件信息
.onNativeEmbedGestureEvent((touch) => {
this.componentIdArr.forEach((componentId: string) => {
let nodeController = this.nodeControllerMap.get(componentId);
if (nodeController?.getEmbedId() === touch.embedId) {
nodeController?.postEvent(touch.touchEvent);
}
})
})
}
}
}
6. h5侧通过id名获取embed标签信息,并通过embed标签添加同层渲染界面的touch监听事件;应用侧添加onNativeEmbedGestureEvent回调使得手指触摸到embed标签时能获取到触摸事件信息。
let nativeEmbed = {
// 通过id名获取embed标签
nativeSearch : document.getElementById(‘nativeSearch’),
// 事件
events:{},
// 初始化
init:function(){
let self = this;
// 添加touch的监听事件
self.nativeSearch.addEventListener(‘touchstart’, self.events, false);
}
};
nativeEmbed.init();
---
Web({ src: $rawfile(“view.html”), controller: this.browserTabController })
// 获取同层渲染组件触摸事件信息
.onNativeEmbedGestureEvent((touch) => {
this.componentIdArr.forEach((componentId: string) => {
let nodeController = this.nodeControllerMap.get(componentId);
if (nodeController?.getEmbedId() === touch.embedId) {
nodeController?.postEvent(touch.touchEvent);
}
})
})
#### 高性能知识点


ArkWeb同层渲染原生组件,原生组件不仅可以提供H5组件无法实现的一些功能,还能提升用户体验的流畅度;同层渲染节点上下树,实现节点复用,节省节点重复开销。


#### 工程结构&模块类型
nativeembed // har类型
|—mock
| |—GoodsMock.ets // 数据源
|—model
| |—GoodsModel.ets // 数据类
|—view
| |—NativeEmbedView.ets // 视图层
#### 模块依赖
本实例依赖common模块来实现[资源]( )的调用。 依赖[动态路由模块]( )来实现页面的动态加载。
#### 参考资料
1. [Web]( )
2. [BuilderNode]( )
3. [NodeController]( )
4. [ArkWeb(方舟Web)]( )
**为了能让大家更好的学习鸿蒙(HarmonyOS NEXT)开发技术,这边特意整理了《鸿蒙开发学习手册》(共计890页),希望对大家有所帮助:[`https://qr21.cn/FV7h05`]( )**
### 《鸿蒙开发学习手册》:
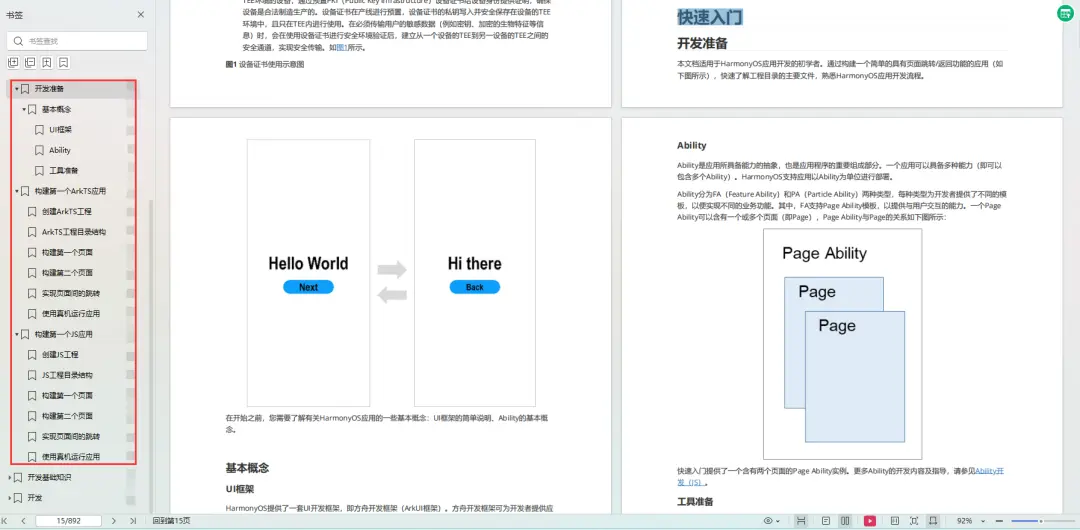
#### **如何快速入门:[`https://qr21.cn/FV7h05`]( )**
1. 基本概念
2. 构建第一个ArkTS应用
3. ……
#### **开发基础知识:[`https://qr21.cn/FV7h05`]( )**
**自我介绍一下,小编13年上海交大毕业,曾经在小公司待过,也去过华为、OPPO等大厂,18年进入阿里一直到现在。**
**深知大多数HarmonyOS鸿蒙开发工程师,想要提升技能,往往是自己摸索成长或者是报班学习,但对于培训机构动则几千的学费,着实压力不小。自己不成体系的自学效果低效又漫长,而且极易碰到天花板技术停滞不前!**
**因此收集整理了一份《2024年HarmonyOS鸿蒙开发全套学习资料》,初衷也很简单,就是希望能够帮助到想自学提升又不知道该从何学起的朋友,同时减轻大家的负担。**
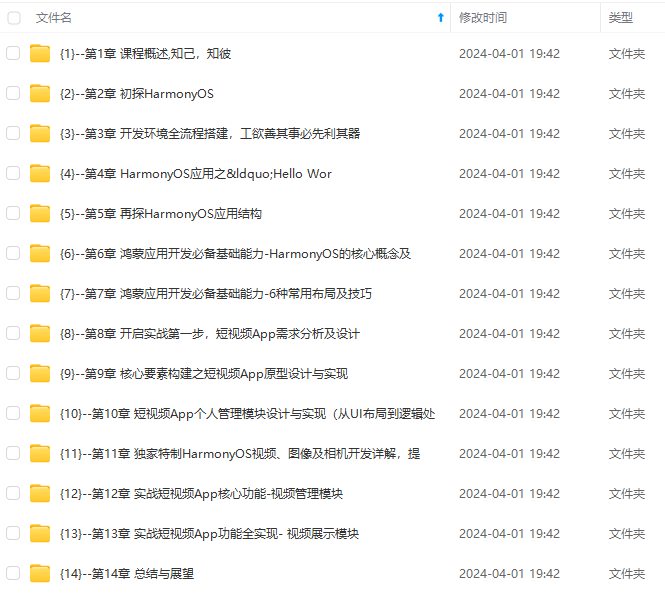
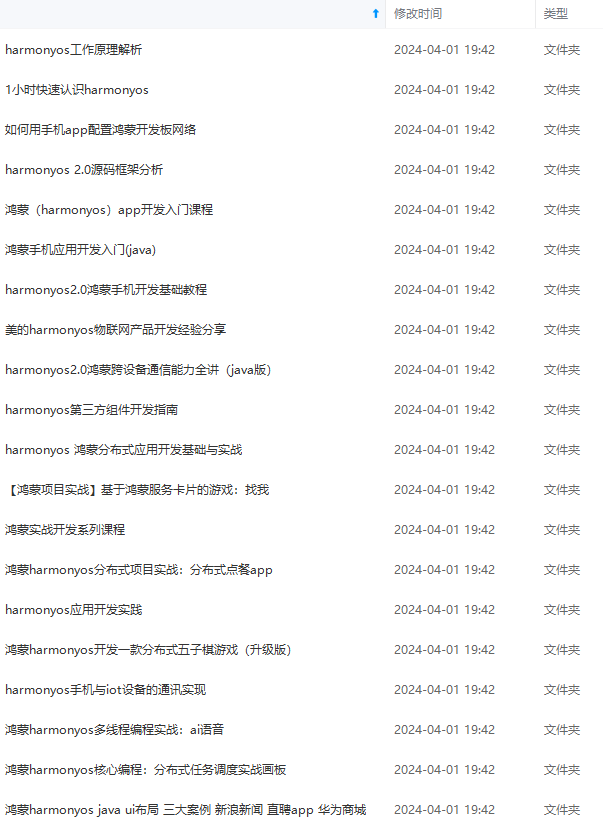
**既有适合小白学习的零基础资料,也有适合3年以上经验的小伙伴深入学习提升的进阶课程,基本涵盖了95%以上HarmonyOS鸿蒙开发知识点,真正体系化!**
**由于文件比较大,这里只是将部分目录大纲截图出来,每个节点里面都包含大厂面经、学习笔记、源码讲义、实战项目、讲解视频,并且会持续更新**
**如果你觉得这些内容对你有帮助,可以添加VX:vip204888 (备注鸿蒙获取)**

**一个人可以走的很快,但一群人才能走的更远。不论你是正从事IT行业的老鸟或是对IT行业感兴趣的新人,都欢迎扫码加入我们的的圈子(技术交流、学习资源、职场吐槽、大厂内推、面试辅导),让我们一起学习成长!**
开发知识点,真正体系化!**
**由于文件比较大,这里只是将部分目录大纲截图出来,每个节点里面都包含大厂面经、学习笔记、源码讲义、实战项目、讲解视频,并且会持续更新**
**如果你觉得这些内容对你有帮助,可以添加VX:vip204888 (备注鸿蒙获取)**
[外链图片转存中...(img-SNsA3mcO-1712842457148)]
**一个人可以走的很快,但一群人才能走的更远。不论你是正从事IT行业的老鸟或是对IT行业感兴趣的新人,都欢迎扫码加入我们的的圈子(技术交流、学习资源、职场吐槽、大厂内推、面试辅导),让我们一起学习成长!**

讨论HarmonyOS开发技术,专注于API与组件、DevEco Studio、测试、元服务和应用上架分发等。
更多推荐
 10
10 0
0- 0


 已为社区贡献19条内容

所有评论(0)