鸿蒙开发4--鸿蒙页面导航Router与参数传递详解
之前我们已经掌握了UI组件、状态管理和布局容器,能够构建出功能丰富的单个页面。
但一个真正的应用不只有一个页面,用户需要在不同功能视图之间切换。
今天,我们就来学习如何实现页面间的跳转,并掌握在跳转时传递数据的核心技能。
一、ArkUI的导航员:router模块
在ArkUI中,负责管理页面栈和实现页面跳转的核心就是内置的router(路由器)模块。不需要你手动安装,只需要在使用之前导入就可以了。
import router from '@ohos.router';router模块的行为和我们熟悉的Web浏览器非常像:
-
pushUrl: 把一个新页面压入栈顶,用户会看到新页面。有点像点击一个链接打开了新标签页。
-
back: 把当前页面从栈顶弹出,返回到上一个页面。有点像点击浏览器的后退按钮。
1.1. 注册页面
在进行跳转之前,我们必须先告诉系统:“我有这些页面,他们是可以被跳转和访问的。”
在DevEco Studio 6.0.0创建的Stage模型项目中,所有能够被导航访问的页面,都必须在下面这个文件中进行注册:
文件路径:src/main/resources/base/profile/main_pages.json
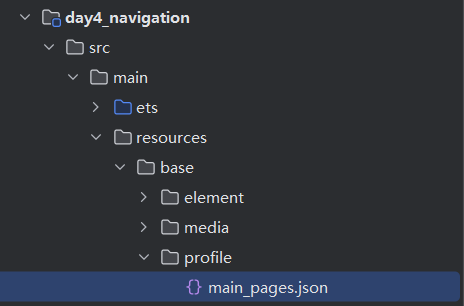
这个文件里的src数组列出了所有可路由的页面。数组的第一个页面,就是我们的启动页。
例如,我们要创建一个商品列表页和一个商品详情页,就需要把这个文件修改成:
 {
   "src": [
     "pages/ProductListPage",  // 启动页:商品列表页
     "pages/ProductDetailPage" // 可跳转页:商品详情页
   ]
 }
这里的"pages/ProductListPage"对应的是src/main/ets/pages/ProductListPage.ets文件。
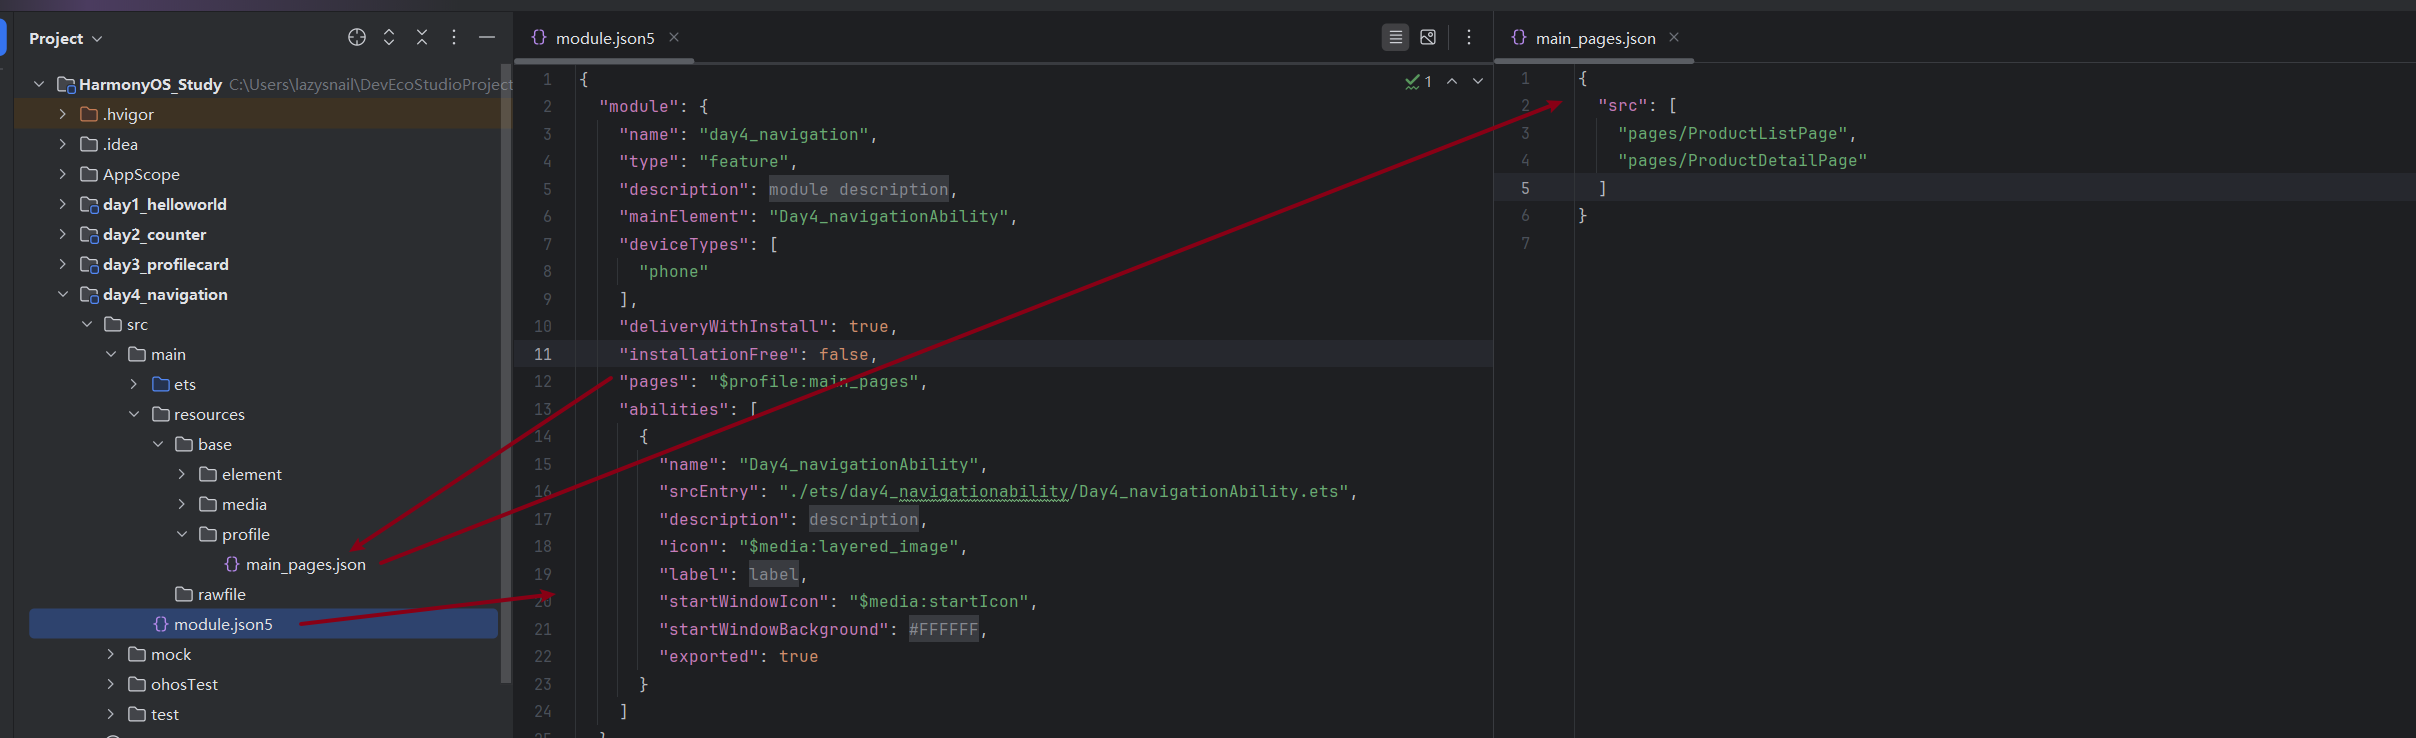
module.json5文件中的"pages": "$profile:main_pages"只是一个引用,真正的修改都在main_pages.json中进行。
切记:任何没有在这里声明的页面,router都无法找到他,也就没办法跳转。
1.2. 发起页面跳转
这是最核心的跳转方法。接收一个对象作为参数,其中url字段指定了目标页面的路径。
基础用法(从A页面跳转到B页面):
 // 在 ProductListPage.ets 的某个事件中
 Button("查看详情")
   .onClick(() => {
     router.pushUrl({
       // url的值必须与 main_pages.json 中声明的路径完全一致
       url: 'pages/ProductDetailPage'
     });
   })
1.3. 页面间数据传递
通常,我们跳转到详情页时,需要告诉详情页“我们要看的是哪个商品的详情”。这就需要在跳转时把商品ID或名称传递过去。
router模块采用和Web URL一样的查询参数(Query String)格式来传递数据。
发送方 (商品列表页): 在url后面加上 ?,然后以 key=value的形式附加参数。多个参数用&分隔。
let productId = 'HM001';
let productName = '鸿蒙智能手表';
router.pushUrl({
// 使用模板字符串拼接参数
url: `pages/ProductDetailPage?id=${productId}&name=${productName}`
});接收方 (商品详情页): 在目标页面,我们使用router.getParams()方法来获取一个包含所有传递过来的参数的对象。
最佳实践是在aboutToAppear生命周期函数中获取。
import router from '@ohos.router';
@Component
struct ProductDetailPage {
@State productId: string = '';
@State productName: string = '';
aboutToAppear() {
// router.getParams() 可能返回 undefined,使用 ?? {} 提供一个默认空对象,让代码更健壮
const params = router.getParams() ?? {};
// 从参数对象中取值
this.productId = params.id as string;
this.productName = params.name as string;
}
// ... build() 函数
}二、实战演练:商品列表 -> 商品详情
让我们把上面的知识点串起来,完成一个完整的例子。
2.1. 准备工作
-
新建一个名为day4_navigation的feature模块。
-
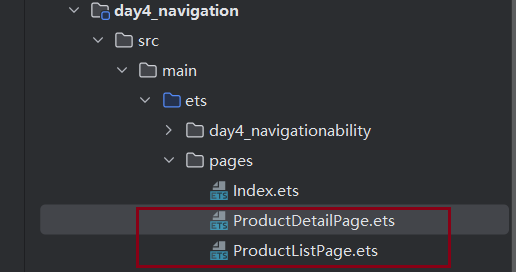
在src/main/ets/pages目录下,除了默认的Index.ets,再新建两个UI Page:()
-
ProductListPage.ets(商品列表页)
-
ProductDetailPage.ets (商品详情页)
-
-
打开src/main/resources/base/profile/main_pages.json文件,把内容修改成我们上面示例中的那样,确保ProductListPage是第一个。
2.2. 列表页代码
import router from '@ohos.router';
// 1. 【新增】为商品对象定义一个接口(类型)
interface Product {
id: string;
name: string;
}
// 2. 【修改】在声明数组时,明确指定它的类型是 Product[]
const products: Product[] = [
{ id: 'p001', name: '鸿蒙智能手表' },
{ id: 'p002', name: 'ArkUI T恤' },
{ id: 'p003', name: 'DevEco Studio贴纸' }
];
@Entry
@Component
struct ProductListPage {
build() {
Column() {
Text('商品列表')
.fontSize(30)
.fontWeight(FontWeight.Bold)
.padding(20)
List({ space: 12 }) {
// 3. 【可选但推荐】在ForEach中也使用这个类型,让代码更清晰
ForEach(products, (item: Product) => {
ListItem() {
Text(item.name)
.width('100%')
.fontSize(20)
.padding(20)
.backgroundColor(Color.White)
.borderRadius(10)
}
.onClick(() => {
// 点击时,发起跳转并携带商品名称作为参数
router.pushUrl({
url: `pages/ProductDetailPage?productName=${item.name}`
});
})
})
}
.width('95%')
.layoutWeight(1)
}
.width('100%')
.height('100%')
.backgroundColor('#f1f3f5')
}
}2.3. 详情页代码
import router from '@ohos.router';
// 【新增】为页面路由参数定义一个明确的接口
interface DetailPageParams {
productName?: string;
}
@Entry
@Component
struct ProductDetailPage {
@State displayProductName: string = '商品加载中...';
aboutToAppear() {
// 【修改】使用具名的 DetailPageParams 接口进行类型断言
const params = (router.getParams() ?? {}) as DetailPageParams;
// 检查参数是否存在
if (params && params.productName) {
this.displayProductName = params.productName;
}
}
build() {
Column() {
// 简易导航栏
Row() {
Text('< 返回')
.fontSize(18)
.fontColor(Color.Blue)
.onClick(() => {
router.back();
})
Text('商品详情')
.fontSize(22)
.fontWeight(FontWeight.Bold)
.layoutWeight(1)
.textAlign(TextAlign.Center)
.margin({ right: 50 })
}
.width('100%')
.padding(15)
.border({ width: { bottom: 1 }, color: '#f1f1f1' })
// 页面核心内容
Column() {
Text('您正在查看:')
.fontSize(18)
.fontColor(Color.Gray)
.margin({ top: 40 })
Text(this.displayProductName)
.fontSize(28)
.margin(20)
.fontWeight(FontWeight.Bold)
}
}
.width('100%')
.height('100%')
.justifyContent(FlexAlign.Start)
}
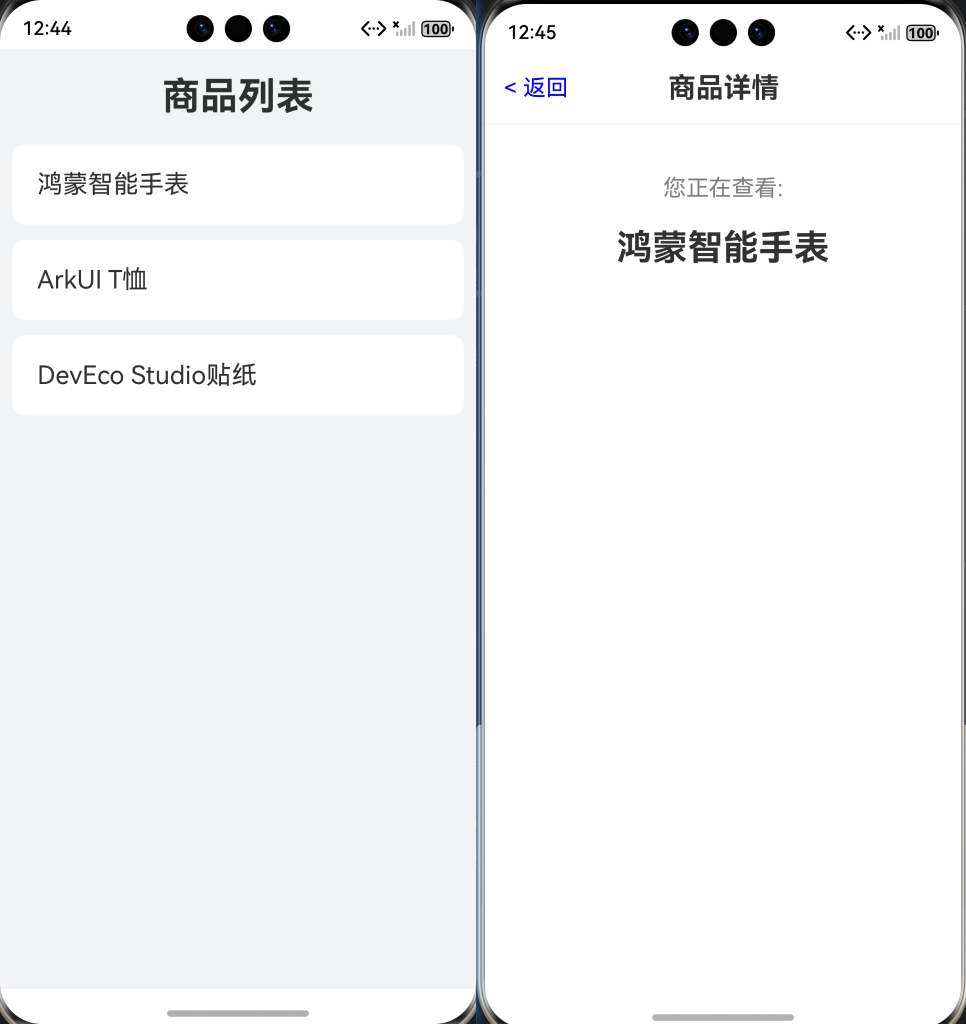
}2.4. 运行效果
问题1:运行出现白屏
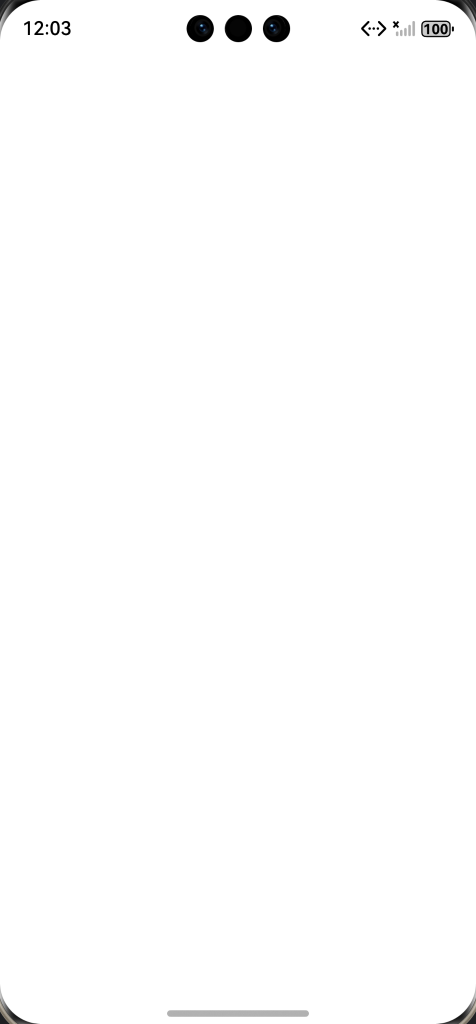
原因:
应用的启动页配置分为两步
main_pages.json:这里是声明应用总共有哪些页面,并将列表中的第一个作为默认的入口。
UIAbility文件:这是应用的程序主入口。当应用启动时,系统会先运行这个文件,这里面的代码会明确告诉窗口(WindowStage)去加载哪个页面。
解决方法:修改UIAbility的入口页面
找到src/main/ets/day4_navigationability/Day4_navigationAbility.ets
找到文件中的onWindowStageCreate函数
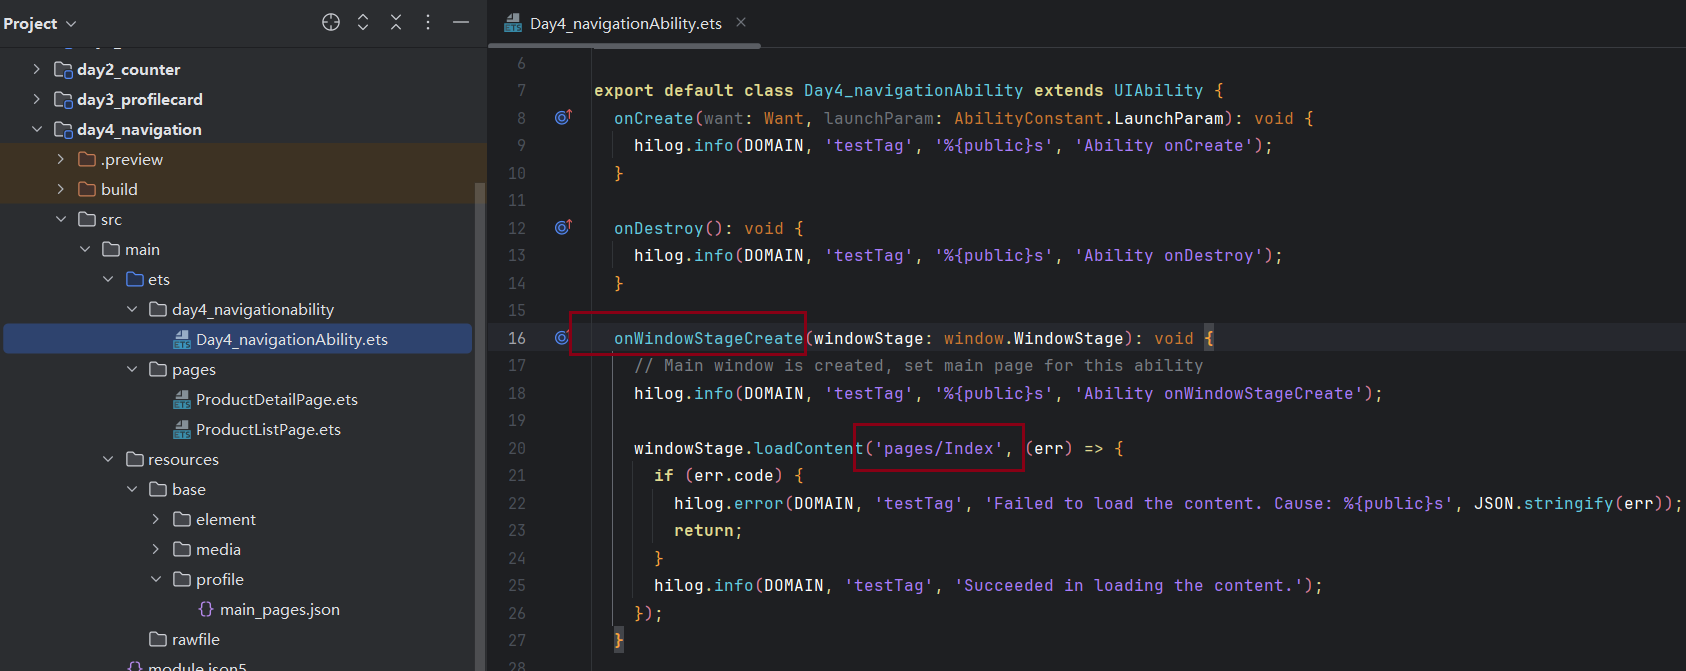
把'pages/Index'修改成'pages/ProductListPage'。
怎么定位的问题
打开View->Tool Windows->Log
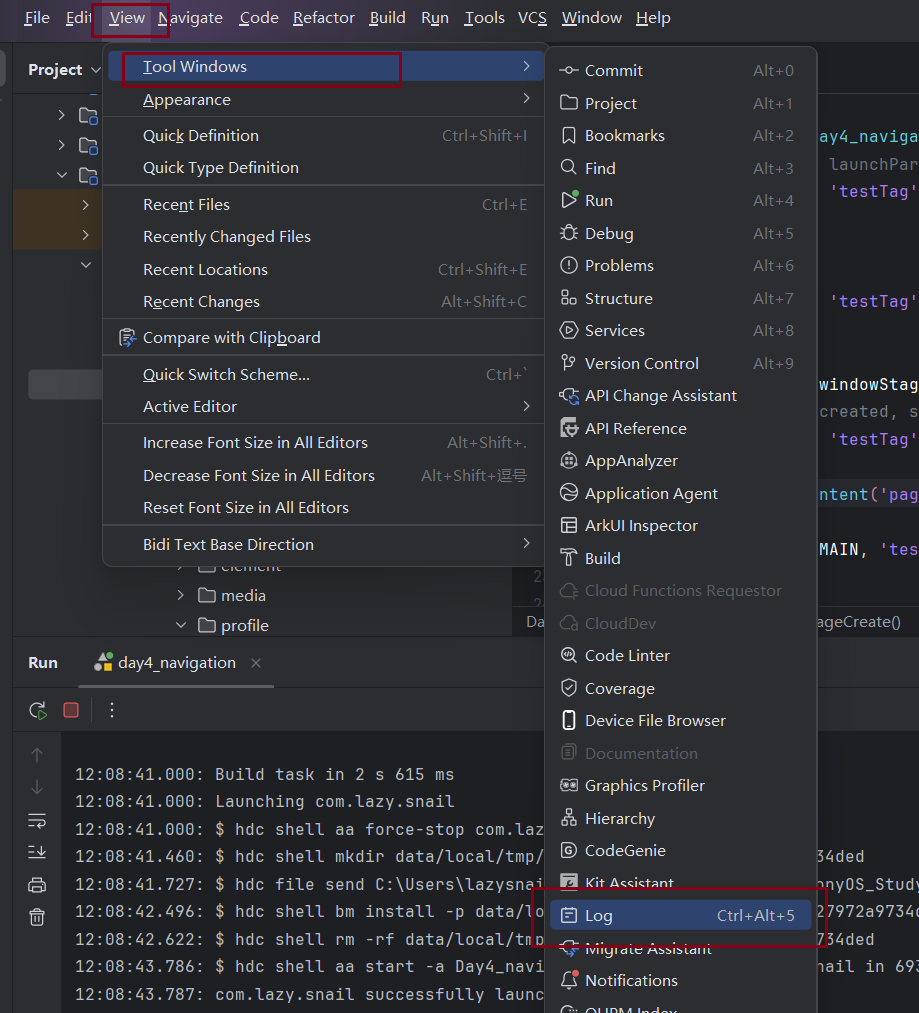

右侧输入包名,左侧选择Error级别日志。
10-04 11:57:49.161 10306-10306 C04200/WindowSessionImpl com.lazy.snail E (2231)SetUIContentInner: failed to init or restore uicontent with file pages/Index. errorCode: 13
10-04 11:57:49.163 10306-10306 A00000/testTag com.lazy.snail E Failed to load the content. Cause: {"code":401}日志中有上面两个关键的错误信息,说明应用启动时,窗口管理器(WindowSessionImpl)尝试去加载并显示一个叫做pages/Index的页面文件,但是失败了。最终导致加载内容失败。
问题2:点击列表没有反应,没有跳转到详情页面

问题定位
这次直接去看了日志,在Debug级别的日志信息中发现了:
 10-04 12:18:07.613   20608-20608   C03925/AceRouter                com.lazy.snail        I     [<private>(<private>)] call pushUrl with mode: 0, url: pages/ProductDetailPage?productName=鸿蒙智能手表
 10-04 12:18:07.613   20608-20608   C03900/Ace                      com.lazy.snail        W     [(100000:100000:scope)] [Engine Log] can't find this page pages/ProductDetailPage?productName=鸿蒙智能手表 path
 10-04 12:18:07.613   20608-20608   C03925/AceRouter                com.lazy.snail        W     [(100000:100000:scope)] empty path found in StartPush with url: pages/ProductDetailPage?productName=鸿蒙智能手表
Ace引擎(负责页面渲染和路由的核心)找不到一个叫做pages/ProductDetailPage?productName=鸿蒙智能手表的页面路径。
他把整个URL字符串(包含了?和参数)都当作了页面的文件名路径去寻找,而不是把它拆分成页面路径和参数两部分。
指定是新版的SDK里面router.pushUrl方法传递参数的方式变了。
把ProductListPage.ets中的pushUrl修改一下:
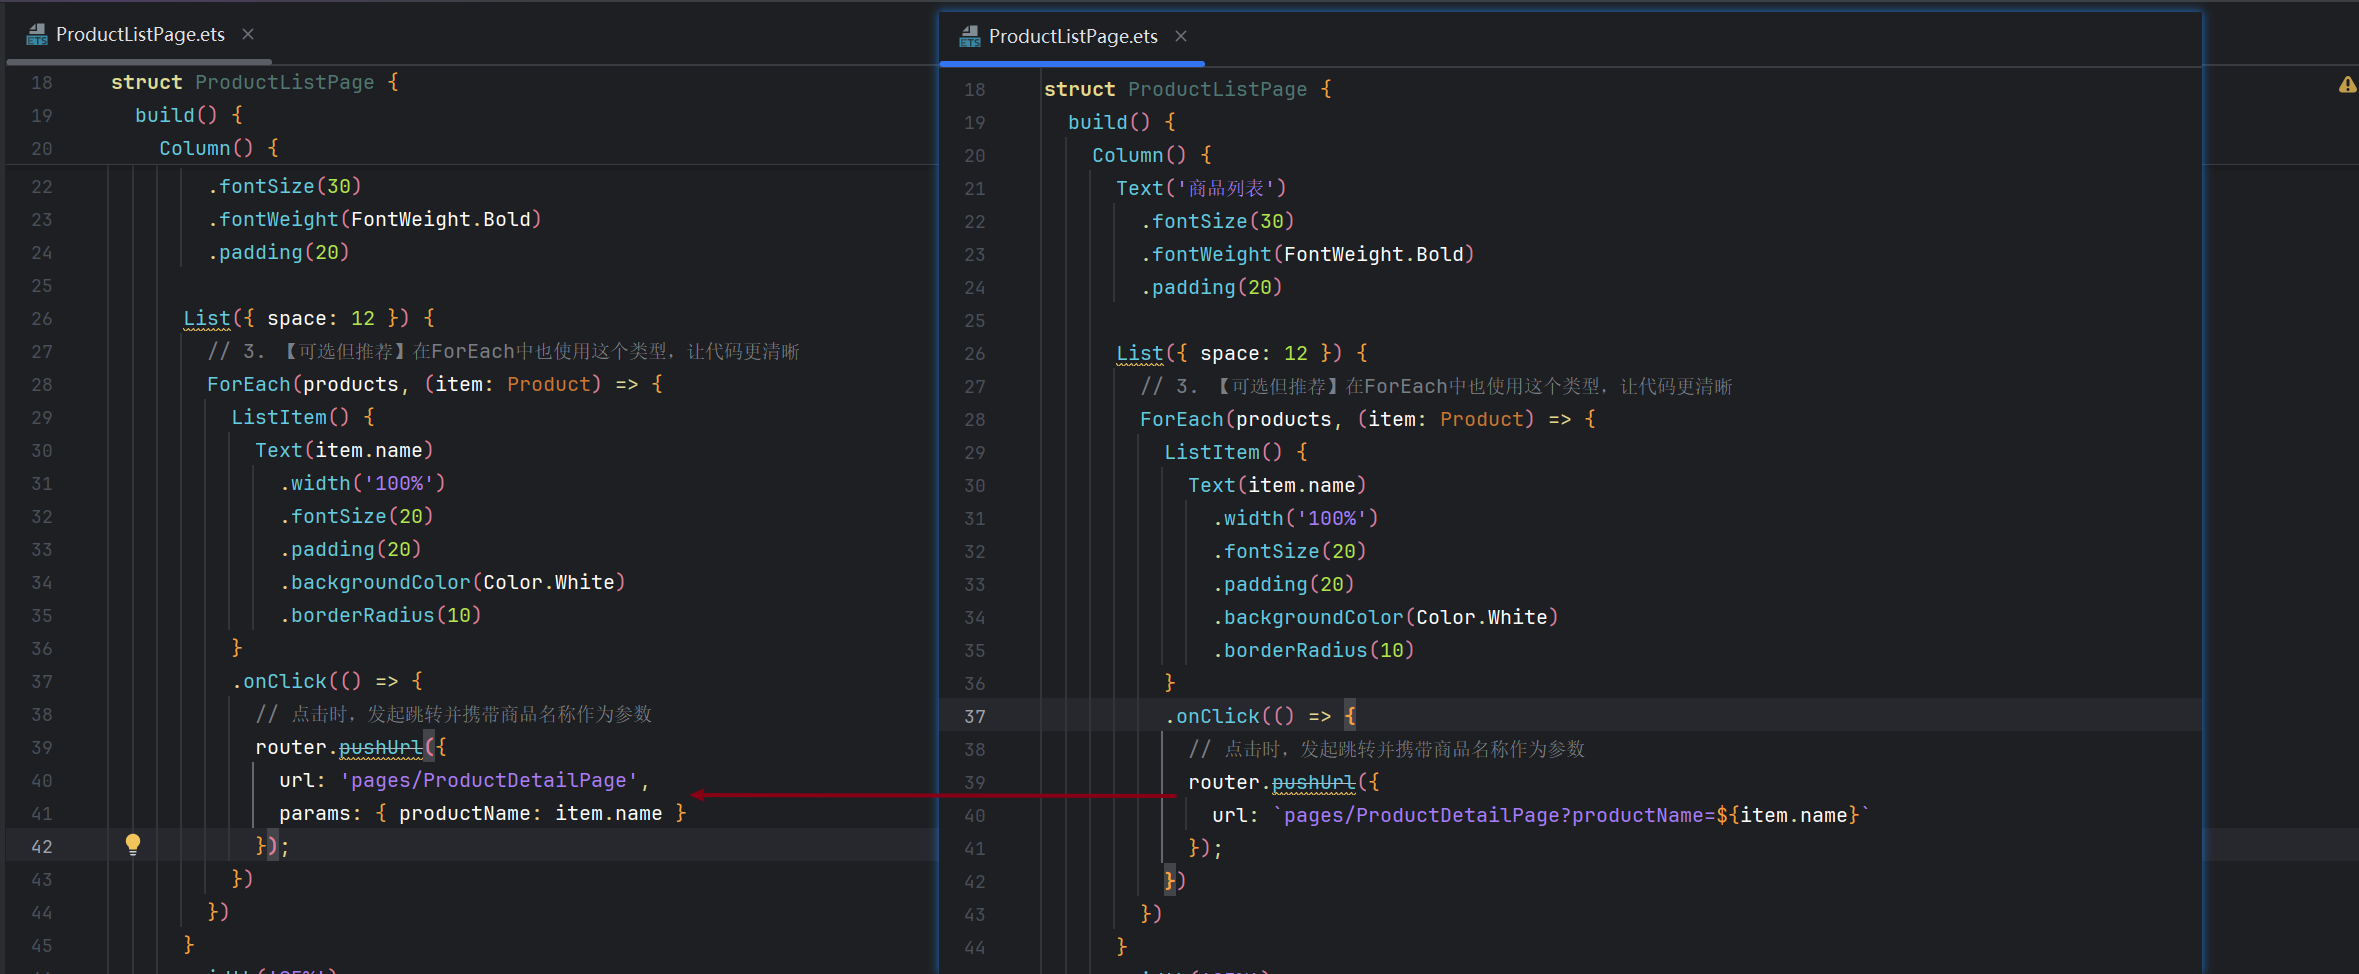
 router.pushUrl({
               url: 'pages/ProductDetailPage',
               params: { productName: item.name }
             });
现在,运行day4_navigation模块,你就可以看到一个商品列表,点击任何一项,都会跳转到详情页,并正确地显示你所点击的商品名称。
总结
今天,我们解锁了构建多页面应用的关键技能:
-
所有需要被访问的页面都必须在module.json5的pages数组中注册。
-
使用import router from '@ohos.router';导入路由器模块。
-
使用router.pushUrl({ url: '...' })跳转到新页面。
-
在url中使用?key=value&key2=value2的形式附加参数。
-
在目标页面使用router.getParams()获取传递过来的参数对象。
-
使用router.back()返回上一页。
掌握了页面导航,你的应用才真正拥有了“流程”和“结构”。
去查看官方文档,其实@ohos.router已经不推荐使用了,推荐使用的是Navigation组件作为路由框架。
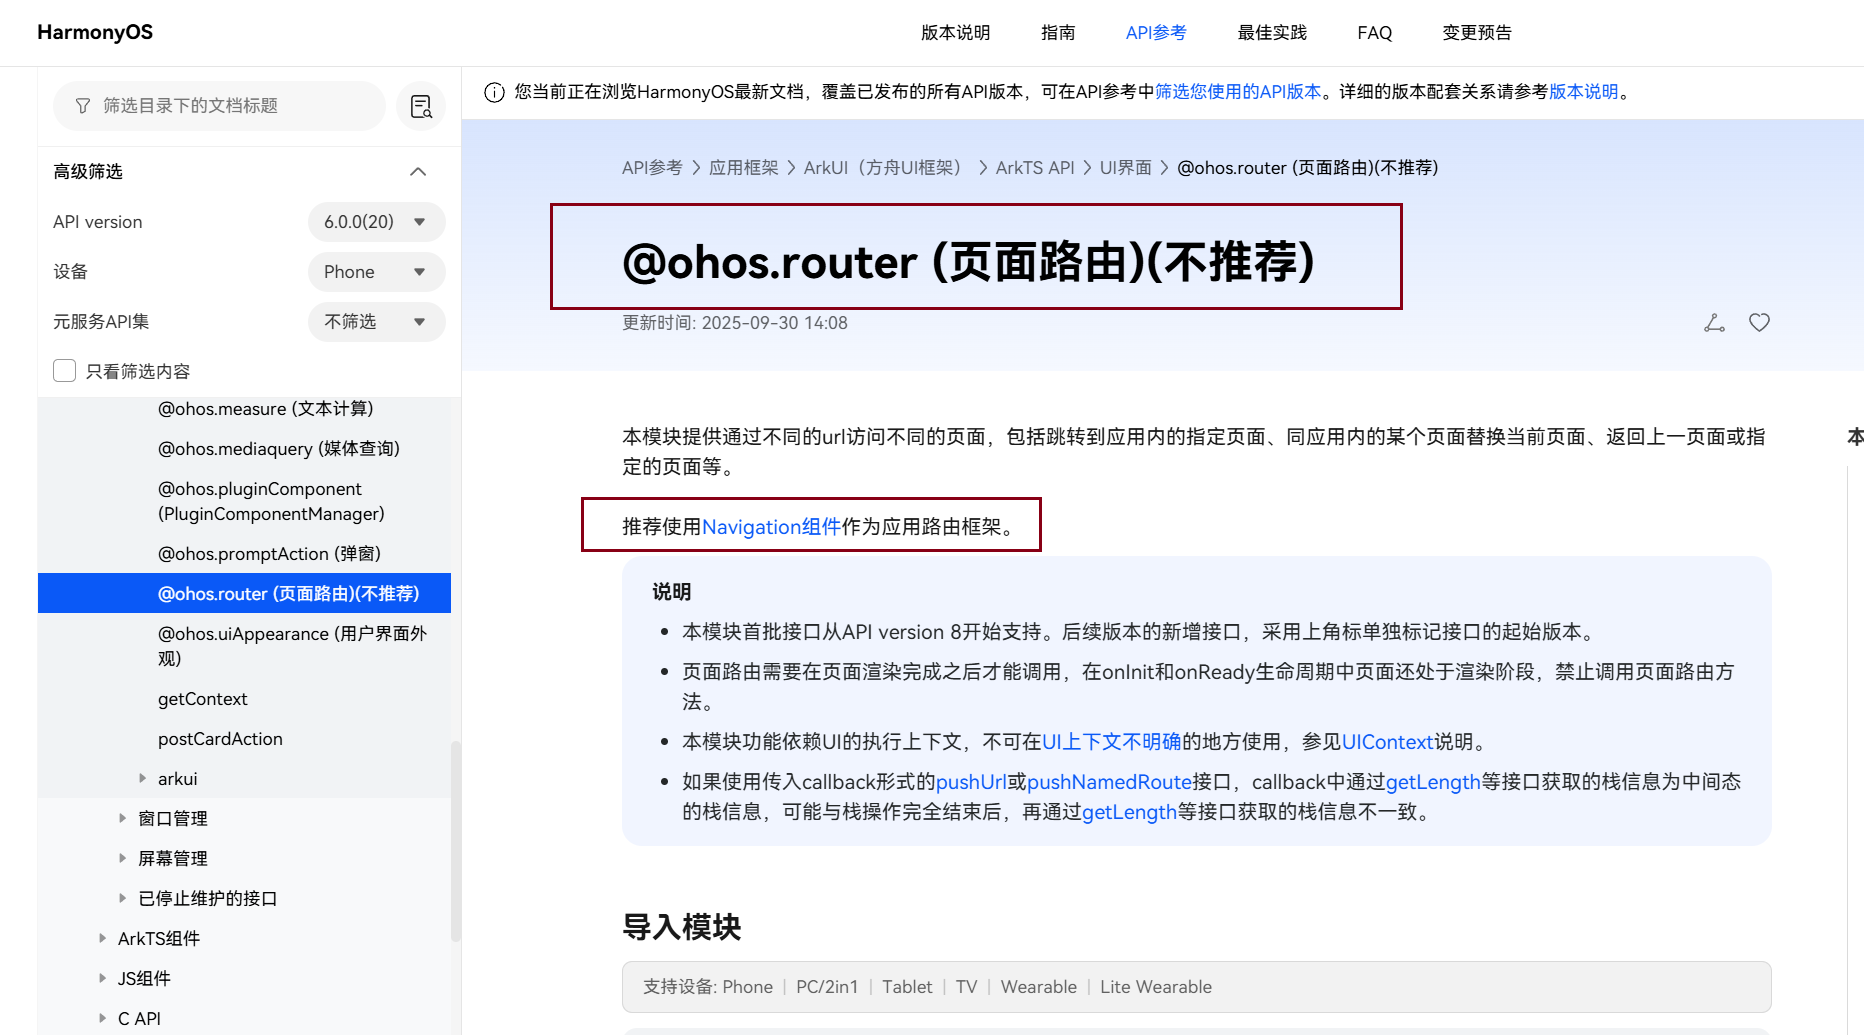
下文一起看一下全新的Navigation声明式导航框架。把我们这个商品列表 -> 详情页的案例重构了。

讨论HarmonyOS开发技术,专注于API与组件、DevEco Studio、测试、元服务和应用上架分发等。
更多推荐


 35
35 0
0- 0


 已为社区贡献3条内容

所有评论(0)