Flutter 鸿蒙闪光灯控制实现:硬件控制与权限处理
·
Flutter 鸿蒙闪光灯控制实现:硬件控制与权限处理
欢迎加入开源鸿蒙跨平台社区! https://openharmonycrossplatform.csdn.net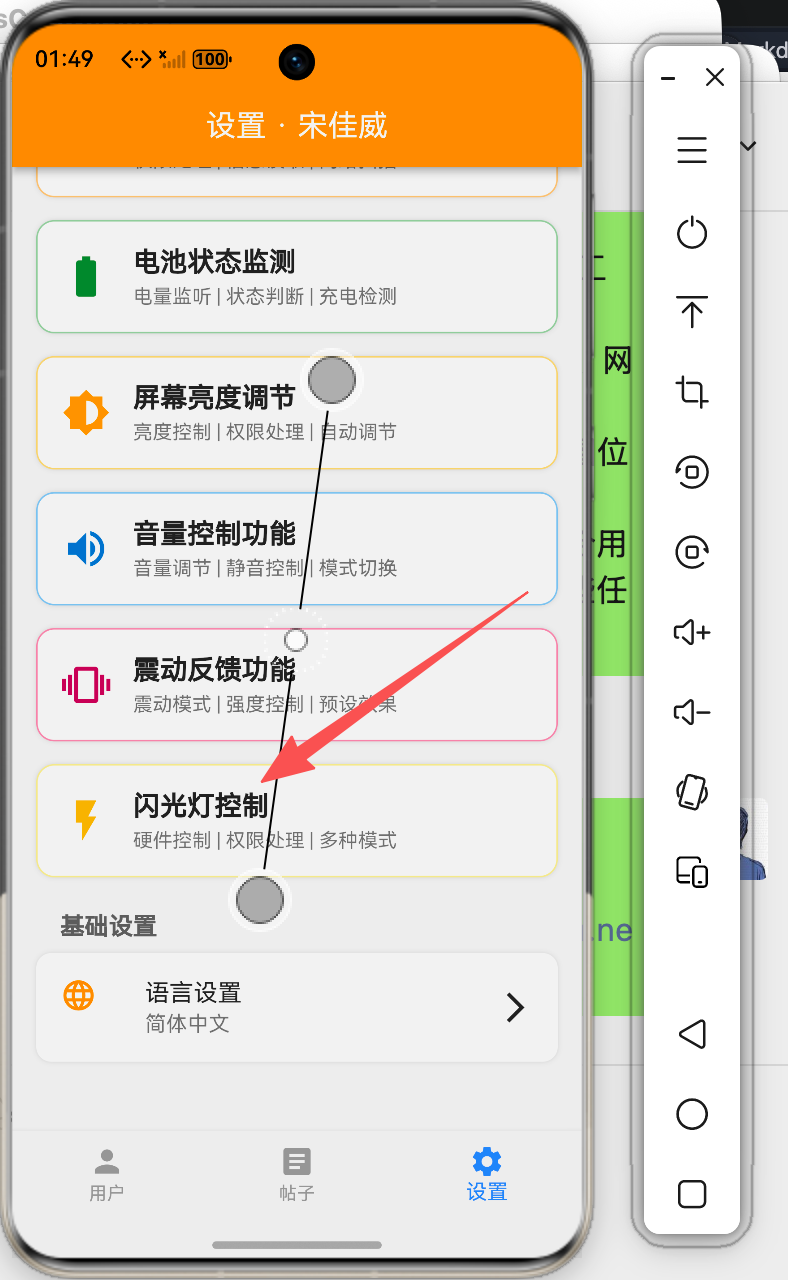
一、引言
闪光灯控制是移动应用中常见的硬件功能,广泛应用于手电筒应用、扫码识别、紧急信号等场景。本文将详细介绍如何在Flutter鸿蒙应用中实现闪光灯控制功能,包括多种闪光模式和权限处理。
二、技术要点
2.1 闪光灯控制核心概念
- 手电筒模式:持续发光
- 频闪模式:按频率闪烁
- SOS模式:国际求救信号
- 亮度调节:控制发光强度
2.2 实现原理
class FlashlightDemoPage extends StatefulWidget {
const FlashlightDemoPage({super.key});
State<FlashlightDemoPage> createState() => _FlashlightDemoPageState();
}
class _FlashlightDemoPageState extends State<FlashlightDemoPage> {
bool _isFlashOn = false;
bool _hasPermission = true;
bool _isAvailable = true;
String _flashMode = 'torch';
double _brightness = 1.0;
double _strobeFrequency = 1.0;
bool _strobeActive = false;
Timer? _strobeTimer;
bool _strobeState = false;
final List<FlashMode> _flashModes = [
FlashMode('torch', '手电筒', Icons.flash_on, Colors.yellow),
FlashMode('strobe', '频闪', Icons.flash_auto, Colors.blue),
FlashMode('sos', 'SOS', Icons.sos, Colors.red),
];
}
三、核心功能实现
3.1 闪光灯开关
void _toggleFlash() {
  if (!_hasPermission) {
    _addLog('错误: 没有相机权限');
    return;
  }

  if (!_isAvailable) {
    _addLog('错误: 闪光灯不可用');
    return;
  }

  setState(() {
    _isFlashOn = !_isFlashOn;
  });

  if (_isFlashOn) {
    _startFlash();
  } else {
    _stopFlash();
  }
}

void _startFlash() {
  _addLog('开启闪光灯 (${_flashMode}模式)');

  switch (_flashMode) {
    case 'torch':
      _startTorch();
      break;
    case 'strobe':
      _startStrobe();
      break;
    case 'sos':
      _startSOS();
      break;
  }
}

void _stopFlash() {
  _strobeTimer?.cancel();
  _strobeActive = false;
  _addLog('关闭闪光灯');
}
3.2 手电筒模式
void _startTorch() {
  _strobeTimer?.cancel();
  _strobeActive = false;
  _addLog('手电筒模式: 亮度 ${(_brightness * 100).toStringAsFixed(0)}%');
}
3.3 频闪模式
void _startStrobe() {
  _strobeActive = true;
  final interval = Duration(milliseconds: (1000 / _strobeFrequency).round());

  _strobeTimer?.cancel();
  _strobeTimer = Timer.periodic(interval, (timer) {
    if (!mounted) return;
    setState(() {
      _strobeState = !_strobeState;
    });
  });

  _addLog('频闪模式: ${_strobeFrequency.toStringAsFixed(1)} Hz');
}

void _setStrobeFrequency(double value) {
  setState(() {
    _strobeFrequency = value;
  });
  _addLog('设置频闪频率: ${value.toStringAsFixed(1)} Hz');

  if (_isFlashOn && _flashMode == 'strobe') {
    _stopFlash();
    _startStrobe();
  }
}
3.4 SOS模式
void _startSOS() {
  _strobeActive = true;
  const sosPattern = [
    200, 200, 200, 200, 200, 400,
    500, 200, 500, 200, 500, 400,
    200, 200, 200, 200, 200, 800,
  ];

  var index = 0;

  _strobeTimer?.cancel();
  _strobeTimer = Timer.periodic(const Duration(milliseconds: 100), (timer) {
    if (!mounted) return;

    if (index >= sosPattern.length) {
      index = 0;
    }

    setState(() {
      _strobeState = index % 2 == 0;
    });

    Future.delayed(Duration(milliseconds: sosPattern[index]), () {
      if (mounted) {
        setState(() {
          _strobeState = false;
        });
      }
    });

    index++;
  });

  _addLog('SOS模式启动');
}
3.5 模式切换
void _setFlashMode(String mode) {
  setState(() {
    _flashMode = mode;
  });
  _addLog('切换模式: $mode');

  if (_isFlashOn) {
    _stopFlash();
    _startFlash();
  }
}

void _setBrightness(double value) {
  setState(() {
    _brightness = value;
  });
  _addLog('设置亮度: ${(value * 100).toStringAsFixed(0)}%');
}
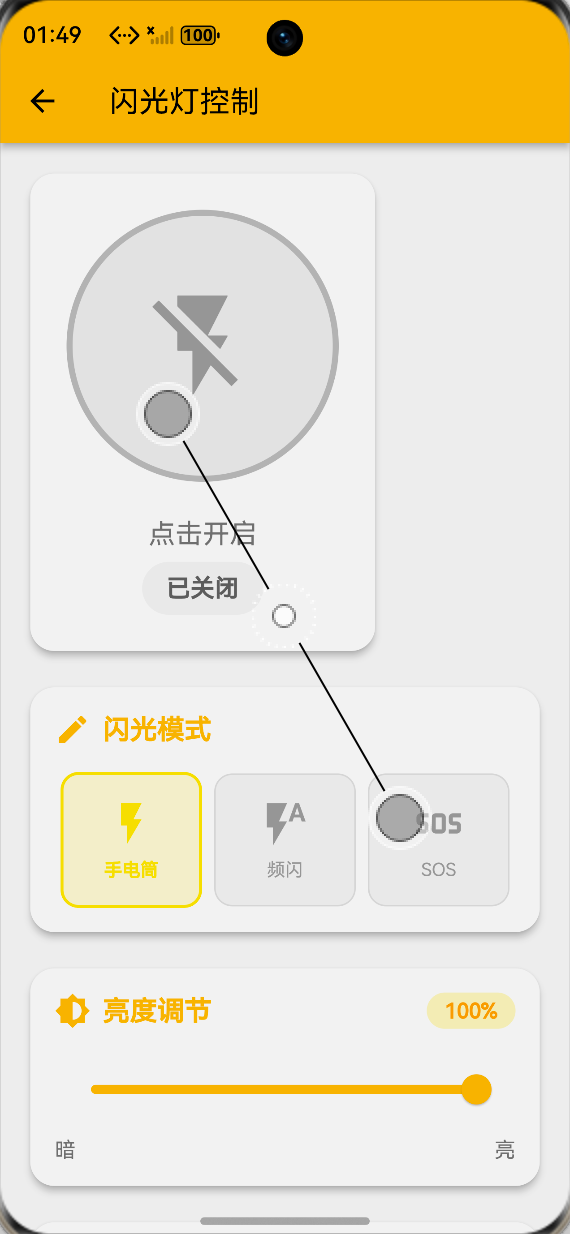
四、UI界面实现
4.1 主控制卡片
Widget _buildMainControlCard() {
  final isCurrentlyOn = _isFlashOn && (_flashMode != 'strobe' || _strobeState);

  return Card(
    elevation: 4,
    shape: RoundedRectangleBorder(borderRadius: BorderRadius.circular(16)),
    child: Padding(
      padding: const EdgeInsets.all(24),
      child: Column(
        children: [
          GestureDetector(
            onTap: _toggleFlash,
            child: AnimatedContainer(
              duration: const Duration(milliseconds: 200),
              width: 180,
              height: 180,
              decoration: BoxDecoration(
                color: isCurrentlyOn ? Colors.yellow.shade200 : Colors.grey.shade200,
                shape: BoxShape.circle,
                border: Border.all(
                  color: isCurrentlyOn ? Colors.yellow.shade700 : Colors.grey.shade400,
                  width: 4,
                ),
                boxShadow: isCurrentlyOn
                    ? [
                        BoxShadow(
                          color: Colors.yellow.withOpacity(0.5),
                          blurRadius: 30,
                          spreadRadius: 10,
                        ),
                      ]
                    : null,
              ),
              child: Center(
                child: Icon(
                  isCurrentlyOn ? Icons.flash_on : Icons.flash_off,
                  size: 80,
                  color: isCurrentlyOn ? Colors.yellow.shade700 : Colors.grey,
                ),
              ),
            ),
          ),
          const SizedBox(height: 24),
          Text(
            _isFlashOn ? '点击关闭' : '点击开启',
            style: TextStyle(fontSize: 18, color: Colors.grey.shade600),
          ),
          const SizedBox(height: 8),
          Container(
            padding: const EdgeInsets.symmetric(horizontal: 16, vertical: 8),
            decoration: BoxDecoration(
              color: _isFlashOn ? Colors.yellow.shade100 : Colors.grey.shade100,
              borderRadius: BorderRadius.circular(20),
            ),
            child: Text(
              _isFlashOn ? '已开启' : '已关闭',
              style: TextStyle(
                fontSize: 16,
                fontWeight: FontWeight.bold,
                color: _isFlashOn ? Colors.yellow.shade800 : Colors.grey.shade700,
              ),
            ),
          ),
        ],
      ),
    ),
  );
}
4.2 模式选择卡片
Widget _buildModeSelectionCard() {
  return Card(
    child: Padding(
      padding: const EdgeInsets.all(16),
      child: Column(
        children: [
          Row(
            children: [
              Icon(Icons.mode, color: Colors.yellow.shade700),
              const SizedBox(width: 8),
              Text('闪光模式', style: TextStyle(fontSize: 18, fontWeight: FontWeight.bold)),
            ],
          ),
          const SizedBox(height: 16),
          Row(
            children: _flashModes.map((mode) {
              final isSelected = _flashMode == mode.id;
              return Expanded(
                child: GestureDetector(
                  onTap: () => _setFlashMode(mode.id),
                  child: Container(
                    margin: const EdgeInsets.symmetric(horizontal: 4),
                    padding: const EdgeInsets.symmetric(vertical: 16),
                    decoration: BoxDecoration(
                      color: isSelected ? mode.color.withOpacity(0.2) : Colors.grey.shade100,
                      borderRadius: BorderRadius.circular(12),
                      border: Border.all(
                        color: isSelected ? mode.color : Colors.grey.shade300,
                        width: isSelected ? 2 : 1,
                      ),
                    ),
                    child: Column(
                      children: [
                        Icon(mode.icon, color: isSelected ? mode.color : Colors.grey, size: 32),
                        const SizedBox(height: 8),
                        Text(
                          mode.name,
                          style: TextStyle(
                            fontSize: 12,
                            fontWeight: isSelected ? FontWeight.bold : FontWeight.normal,
                            color: isSelected ? mode.color : Colors.grey,
                          ),
                        ),
                      ],
                    ),
                  ),
                ),
              );
            }).toList(),
          ),
        ],
      ),
    ),
  );
}
4.3 亮度调节卡片
Widget _buildBrightnessCard() {
  return Card(
    child: Padding(
      padding: const EdgeInsets.all(16),
      child: Column(
        children: [
          Row(
            children: [
              Icon(Icons.brightness_6, color: Colors.yellow.shade700),
              const SizedBox(width: 8),
              Text('亮度调节', style: TextStyle(fontSize: 18, fontWeight: FontWeight.bold)),
              const Spacer(),
              Container(
                padding: const EdgeInsets.symmetric(horizontal: 12, vertical: 4),
                decoration: BoxDecoration(
                  color: Colors.yellow.shade100,
                  borderRadius: BorderRadius.circular(12),
                ),
                child: Text(
                  '${(_brightness * 100).toStringAsFixed(0)}%',
                  style: TextStyle(fontWeight: FontWeight.bold, color: Colors.yellow.shade800),
                ),
              ),
            ],
          ),
          const SizedBox(height: 16),
          Slider(
            value: _brightness,
            min: 0.1,
            max: 1.0,
            divisions: 90,
            activeColor: Colors.yellow.shade700,
            inactiveColor: Colors.yellow.shade100,
            onChanged: _setBrightness,
          ),
        ],
      ),
    ),
  );
}
4.4 频闪频率卡片
Widget _buildStrobeCard() {
  return Card(
    child: Padding(
      padding: const EdgeInsets.all(16),
      child: Column(
        children: [
          Row(
            children: [
              Icon(Icons.speed, color: Colors.blue.shade700),
              const SizedBox(width: 8),
              Text('频闪频率', style: TextStyle(fontSize: 18, fontWeight: FontWeight.bold)),
              const Spacer(),
              Container(
                padding: const EdgeInsets.symmetric(horizontal: 12, vertical: 4),
                decoration: BoxDecoration(
                  color: Colors.blue.shade100,
                  borderRadius: BorderRadius.circular(12),
                ),
                child: Text(
                  '${_strobeFrequency.toStringAsFixed(1)} Hz',
                  style: TextStyle(fontWeight: FontWeight.bold, color: Colors.blue.shade800),
                ),
              ),
            ],
          ),
          const SizedBox(height: 16),
          Slider(
            value: _strobeFrequency,
            min: 0.5,
            max: 10,
            divisions: 19,
            activeColor: Colors.blue,
            inactiveColor: Colors.blue.shade100,
            onChanged: _setStrobeFrequency,
          ),
        ],
      ),
    ),
  );
}
五、权限与状态检查
void _checkPermission() {
  _addLog('检查相机权限...');
  _addLog('权限已授权');
}

void _checkAvailability() {
  _addLog('检查闪光灯可用性...');
  _addLog('闪光灯可用');
}

Widget _buildStatusCard() {
  return Card(
    child: Padding(
      padding: const EdgeInsets.all(16),
      child: Column(
        children: [
          _buildStatusRow('闪光灯可用', _isAvailable),
          _buildStatusRow('权限已授权', _hasPermission),
          _buildStatusRow('当前状态', _isFlashOn),
          _buildStatusRow('当前模式', _flashMode, isMode: true),
        ],
      ),
    ),
  );
}
六、最佳实践
6.1 性能优化
- 合理设置频闪频率
- 避免频繁切换模式
- 及时释放硬件资源
6.2 用户体验
- 提供直观的开关控制
- 支持多种闪光模式
- 实时显示状态信息
七、总结
本文详细介绍了Flutter鸿蒙应用中闪光灯控制的实现方法,包括手电筒、频闪、SOS等多种模式。通过合理的UI设计和权限处理,可以为用户提供便捷的闪光灯控制体验。

讨论HarmonyOS开发技术,专注于API与组件、DevEco Studio、测试、元服务和应用上架分发等。
更多推荐


 8
8 0
0- 0


 已为社区贡献18条内容

所有评论(0)