ArkTs掌握知识
一、响应式状态装饰器 @State
1.基础意思
@State 是 ArkTS 核心响应式装饰器,被它修饰的变量为响应式数据,一旦数据发生变更,页面上绑定该变量的 UI 会自动刷新,无需手动更新界面。
2.与私有变量private对比
- @State 变量:用于页面展示、用户输入交互。例:登录页账号、密码输入框绑定
@State变量,打字实时同步页面内容; - private 私有变量:仅组件内部调用,修改后不会自动刷新 UI。例:视频页面存放视频地址、封面、播放控制器的变量。
二、弹窗
①弹窗是悬浮在页面顶层的交互面板,会遮盖底层页面,分为系统弹窗、自定义弹窗两种。
-
系统弹窗框架自带,无需手动搭建布局,直接调用即可弹出,样式固定、开发简单。包含提示弹窗、底部操作菜单、日期选择弹窗,多用于简单提醒、单项选择,比如注册失败弹出文字提示、点击头像弹出操作选项。
-
自定义弹窗使用
@CustomDialog定义独立弹窗组件,内部可自由搭配布局、输入框、按钮,样式完全自定义,支持页面与弹窗互相传递数据。适合复杂场景,比如弹出完整登录表单、商品详情卡片。 -
基础特性弹窗层级高于普通页面,弹出时自带遮罩;自定义弹窗通过 open () 唤起、close () 关闭。
②举例(通过点击事件触发弹窗)
@Entry
@Component
struct EvenDemo{
  @State username:string = ""
  @State password:string = ""
  build() {
    Column({space:30}) {
      Text('用户登录')
        .fontSize(32)
        .fontWeight(FontWeight.Bolder)
        .margin({ top: 20, bottom: 30 })

      TextInput({ text: this.username, placeholder: "请输入账号:" })
        .width(320)
        .height(52)
        .borderRadius(12)
        .fontSize(16)
        .onChange((value: string) => {
          this.username = value
        })
      TextInput({ text: this.password, placeholder: "请输入密码:" })
        .type(InputType.Password)
        .width(320)
        .height(52)
        .borderRadius(12)
        .fontSize(16)
        .onChange((value: string) => {
          this.password = value
        })
      Row({space:10}) {
        Button("立即登录")
          .width('45%')
          .height(52)
          .backgroundColor(0x007Dff)
          .fontSize(18)
          .borderRadius(12)
          .margin({ bottom: 80 })
          .onClick(() => {
            if (this.username == "root" && this.password == "root") {
              AlertDialog.show({
                title: "登陆成功",
                message: `欢迎你,${this.username}`
              })
            } else {
              AlertDialog.show({
                title: "登录失败",
                message: "用户名或者密码错误"
              })
            }
          })

        Button("清除")
          .width('45%')
          .height(52)
          .backgroundColor(0x007Dff)
          .fontSize(18)
          .borderRadius(12)
          .margin({ bottom: 80 })
          .onClick(() => {
            this.username=""
            this.password=""
          })
      }
    }
      .width('100%')
      .height('100%')
  }
}
其中如图为弹窗代码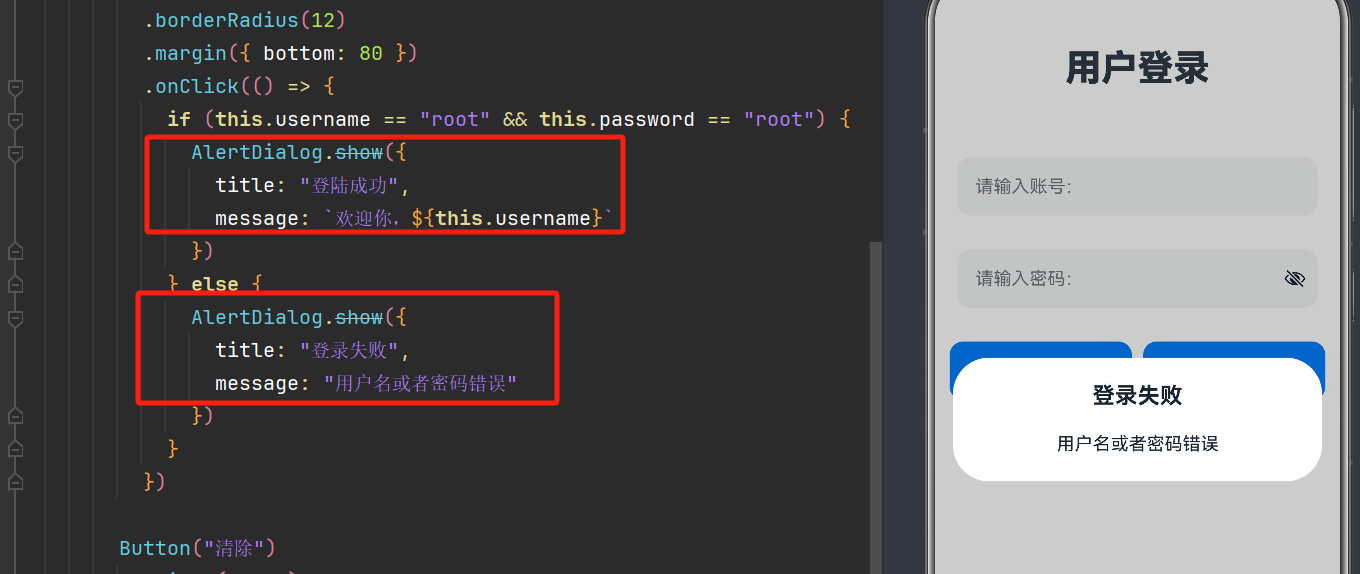
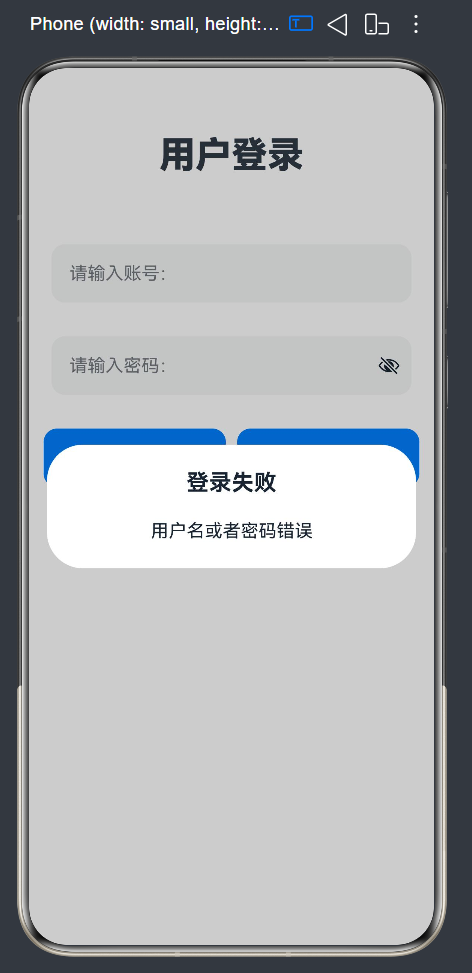
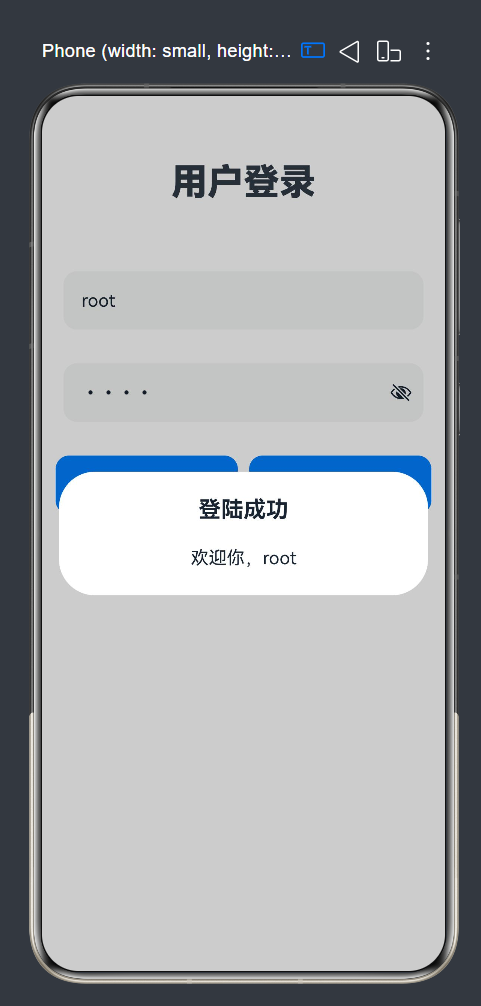
运行效果
三、页面路由
1.前置条件
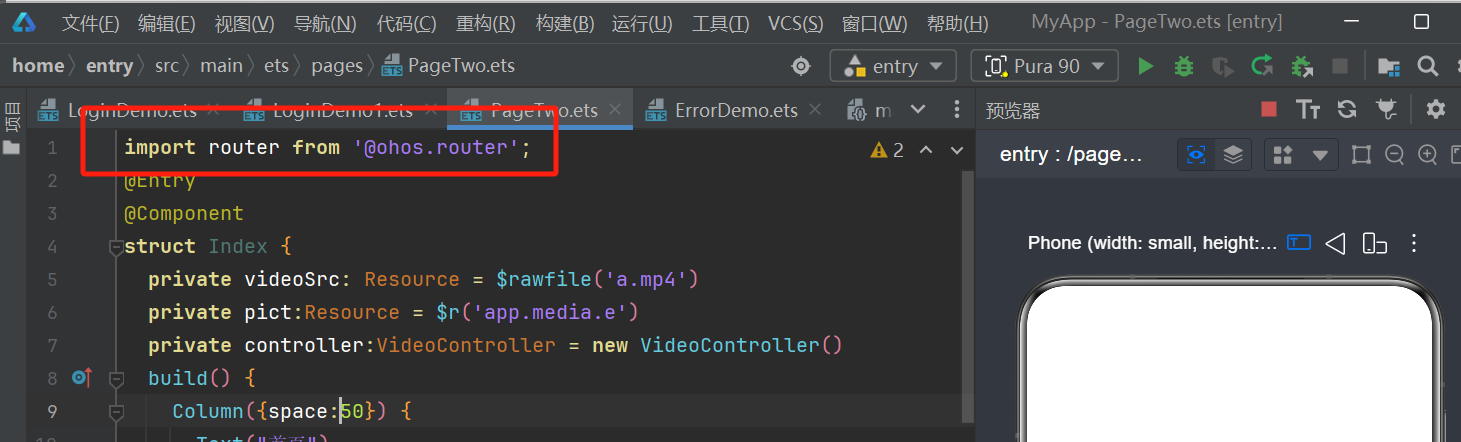
①使用路由功能前,必须在页面顶部导入路由模块 import router from '@ohos.router',否则跳转逻辑会报错。
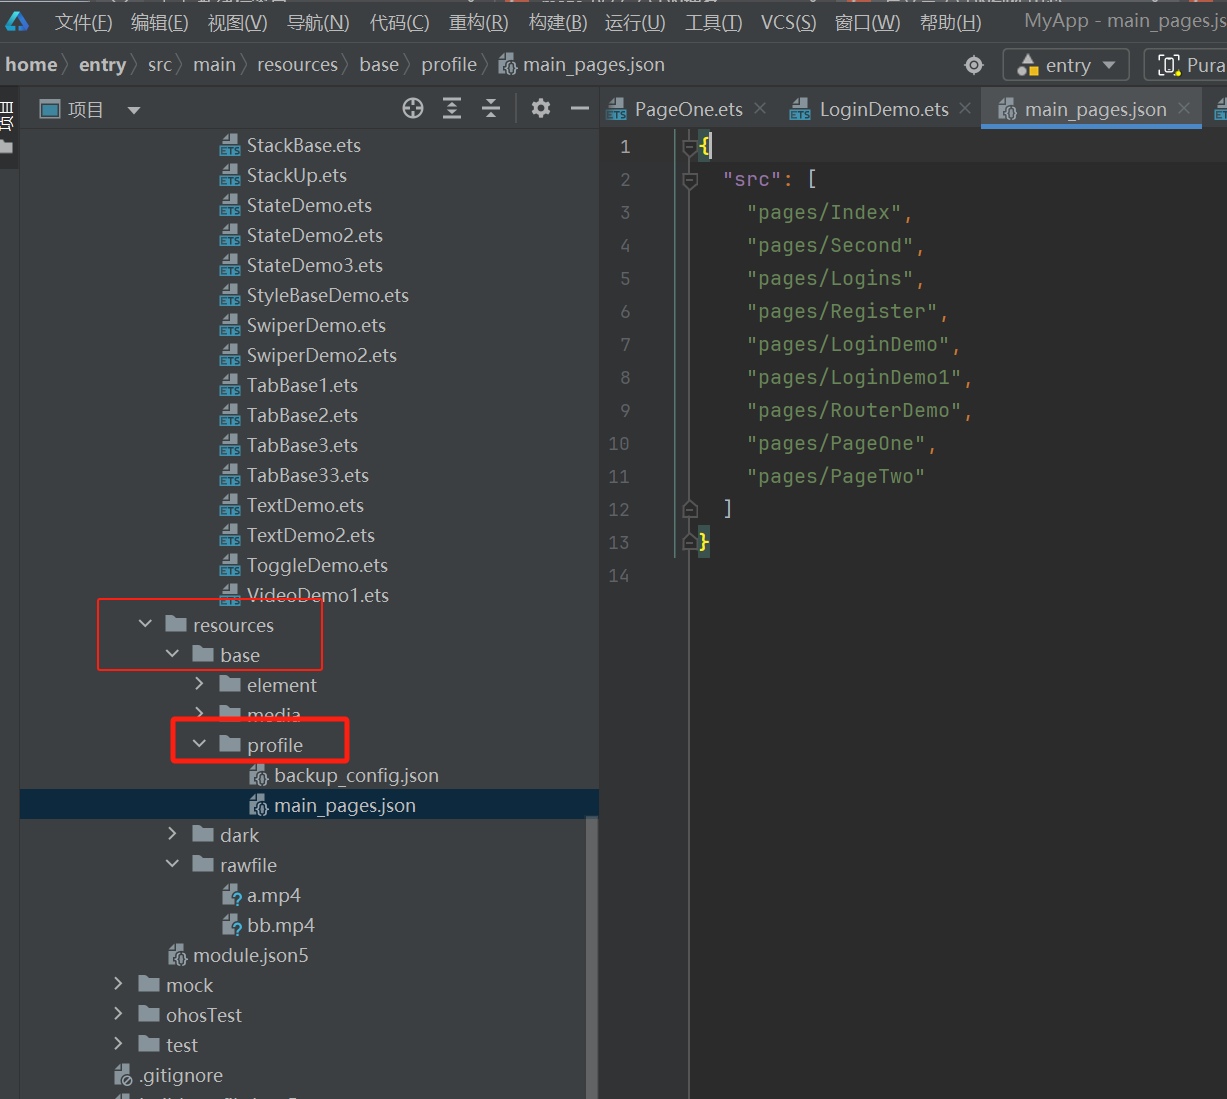
②所有要跳转的页面,必须在项目配置文件 main_pages.json 中填写页面文件路径,否则跳转时会找不到页面,位置如图
2.跳转
router.pushUrl () 打开新页面(入栈)
- 功能:跳转到目标页面,系统会保存当前页面记录,形成页面栈,后续可以返回。
- 代码场景:注册页点击文字跳登录页
LoginDemo(登录界面)
import router from '@ohos.router';
@Entry
@Component
struct LoginDemo {
  @State username: string = ""
  @State password: string = ""
  build() {
      Column({ space: 25 }) {
        Text('用户登录')
          .fontSize(32)
          .fontWeight(FontWeight.Bolder)

        TextInput({ text: this.username, placeholder: "请输入账号:" })
          .width(320)
          .height(52)
          .borderRadius(12)
          .fontSize(16)
          .onChange((value: string) => {
            this.username = value
          })
        TextInput({ text: this.password, placeholder: "请输入密码:" })
          .type(InputType.Password)
          .width(320)
          .height(52)
          .borderRadius(12)
          .fontSize(16)
          .onChange((value: string) => {
            this.password = value
          })

        Button("立即登录")
          .width('45%')
          .height(52)
          .backgroundColor(0x007Dff)
          .fontSize(18)
          .borderRadius(12)
          .onClick(() => {
            router.pushUrl({
              url: 'pages/PageTwo'
            })
          })

        Text("还没账号?立即注册")
          .fontSize(14)
          .fontColor(0x1677ff)
          .onClick(() => {
            router.pushUrl({
              url: 'pages/LoginDemo1'
            })
          })

      }
      .width('100%')
      .height('100%')
      .justifyContent(FlexAlign.Center)
  }
}
LoginDemo1(注册界面)
import router from '@ohos.router';
@Entry
@Component
struct LoginDemo1{
  @State username: string = ""
  @State password: string = ""
  build() {
    Column({space:25}){
      Text("用户注册")
        .fontSize(32)
        .fontWeight(FontWeight.Bolder)

      TextInput({ text: this.username, placeholder: "请输入手机号:" })
        .width(320)
        .height(52)
        .borderRadius(12)
        .fontSize(16)
      TextInput({ text: this.username, placeholder: "请输入密码:" })
        .width(320)
        .height(52)
        .borderRadius(12)
        .fontSize(16)
      TextInput({ text: this.username, placeholder: "请输入验证码:" })
        .width(320)
        .height(52)
        .borderRadius(12)
        .fontSize(16)

      Button("立即注册")
        .width('45%')
        .height(52)
        .backgroundColor(0x007Dff)
        .fontSize(18)
        .borderRadius(12)
        .onClick(() => {
          router.pushUrl({
            url: 'pages/PageTwo'
          })
        })

      Text("已有账号?立即登录")
        .fontSize(14)
        .fontColor(0x1677ff)
        .onClick(()=>{
          router.pushUrl({
            url:'pages/LoginDemo'
          })
        })
    }
    .width('100%')
    .height('100%')
    .justifyContent(FlexAlign.Center)
  }
}
PageTwo(首页代码)
import router from '@ohos.router';
@Entry
@Component
struct Index {
  private videoSrc: Resource = $rawfile('a.mp4')
  private pict:Resource = $r('app.media.e')
  private controller:VideoController = new VideoController()
  build() {
    Column({space:50}) {
      Text("首页")
        .fontSize(24)
        .fontWeight(FontWeight.Bolder)
        .width('100%')
        .textAlign(TextAlign.Center)

      Video({
        src: this.videoSrc,
        previewUri:this.pict,
        controller:this.controller
      })
        .height('45%')
        .width('90%')
        .muted(true)
        .loop(true)
        .autoPlay(false)
        .controls(true)
        .borderRadius(10)

      Row({space:10}) {
        Text("切换账号")
          .fontSize(14)
          .fontColor(0x1677ff)
          .onClick(() => {
            router.pushUrl({
              url: 'pages/LoginDemo'
            })
          })
         Text("|")
        Text("注册信号")
          .fontSize(14)
          .fontColor(0x1677ff)
          .onClick(() => {
            router.pushUrl({
              url: 'pages/LoginDemo1'
            })
          })
      }
    }
    .width('100%')
    .height('100%')
    .justifyContent(FlexAlign.Center)
  }
}
三代码点击蓝字可跳转,运行效果
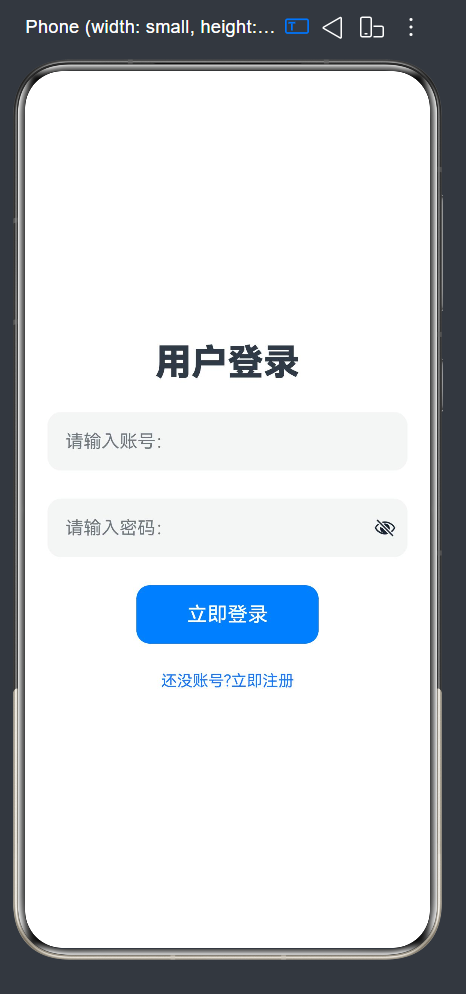
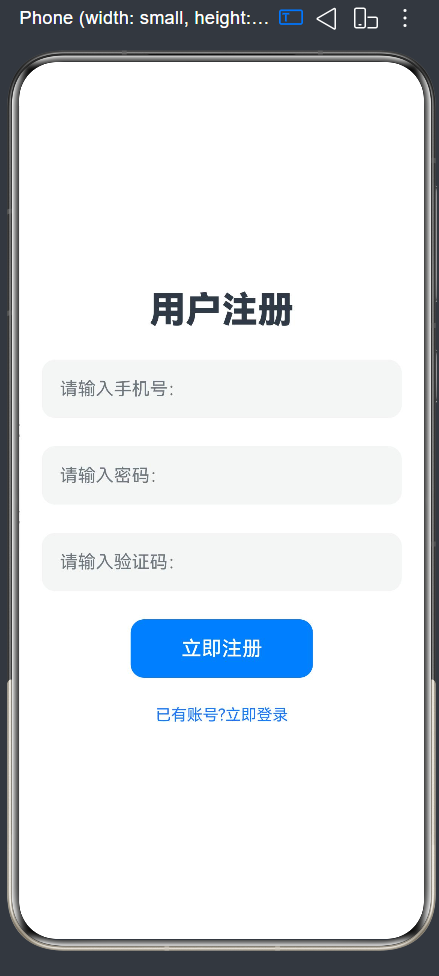
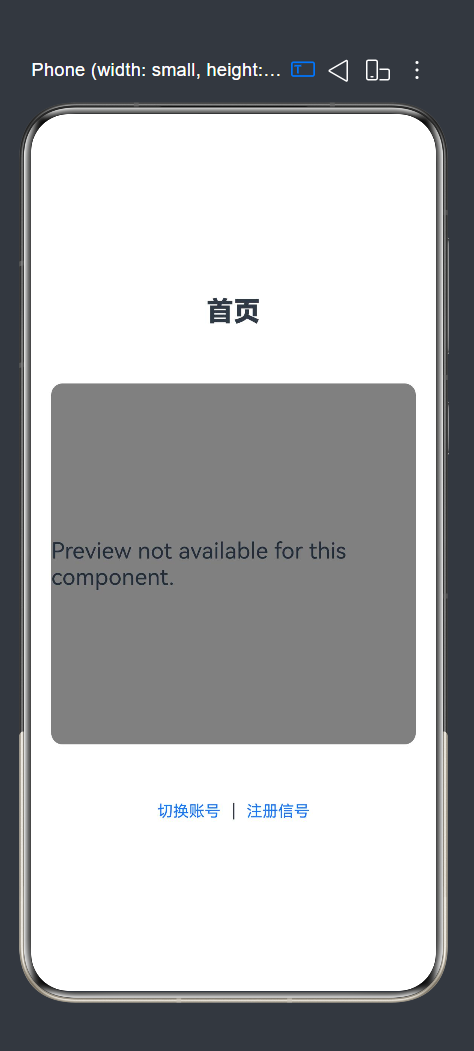
其中视频在工具中的设备管理器中可查看播放
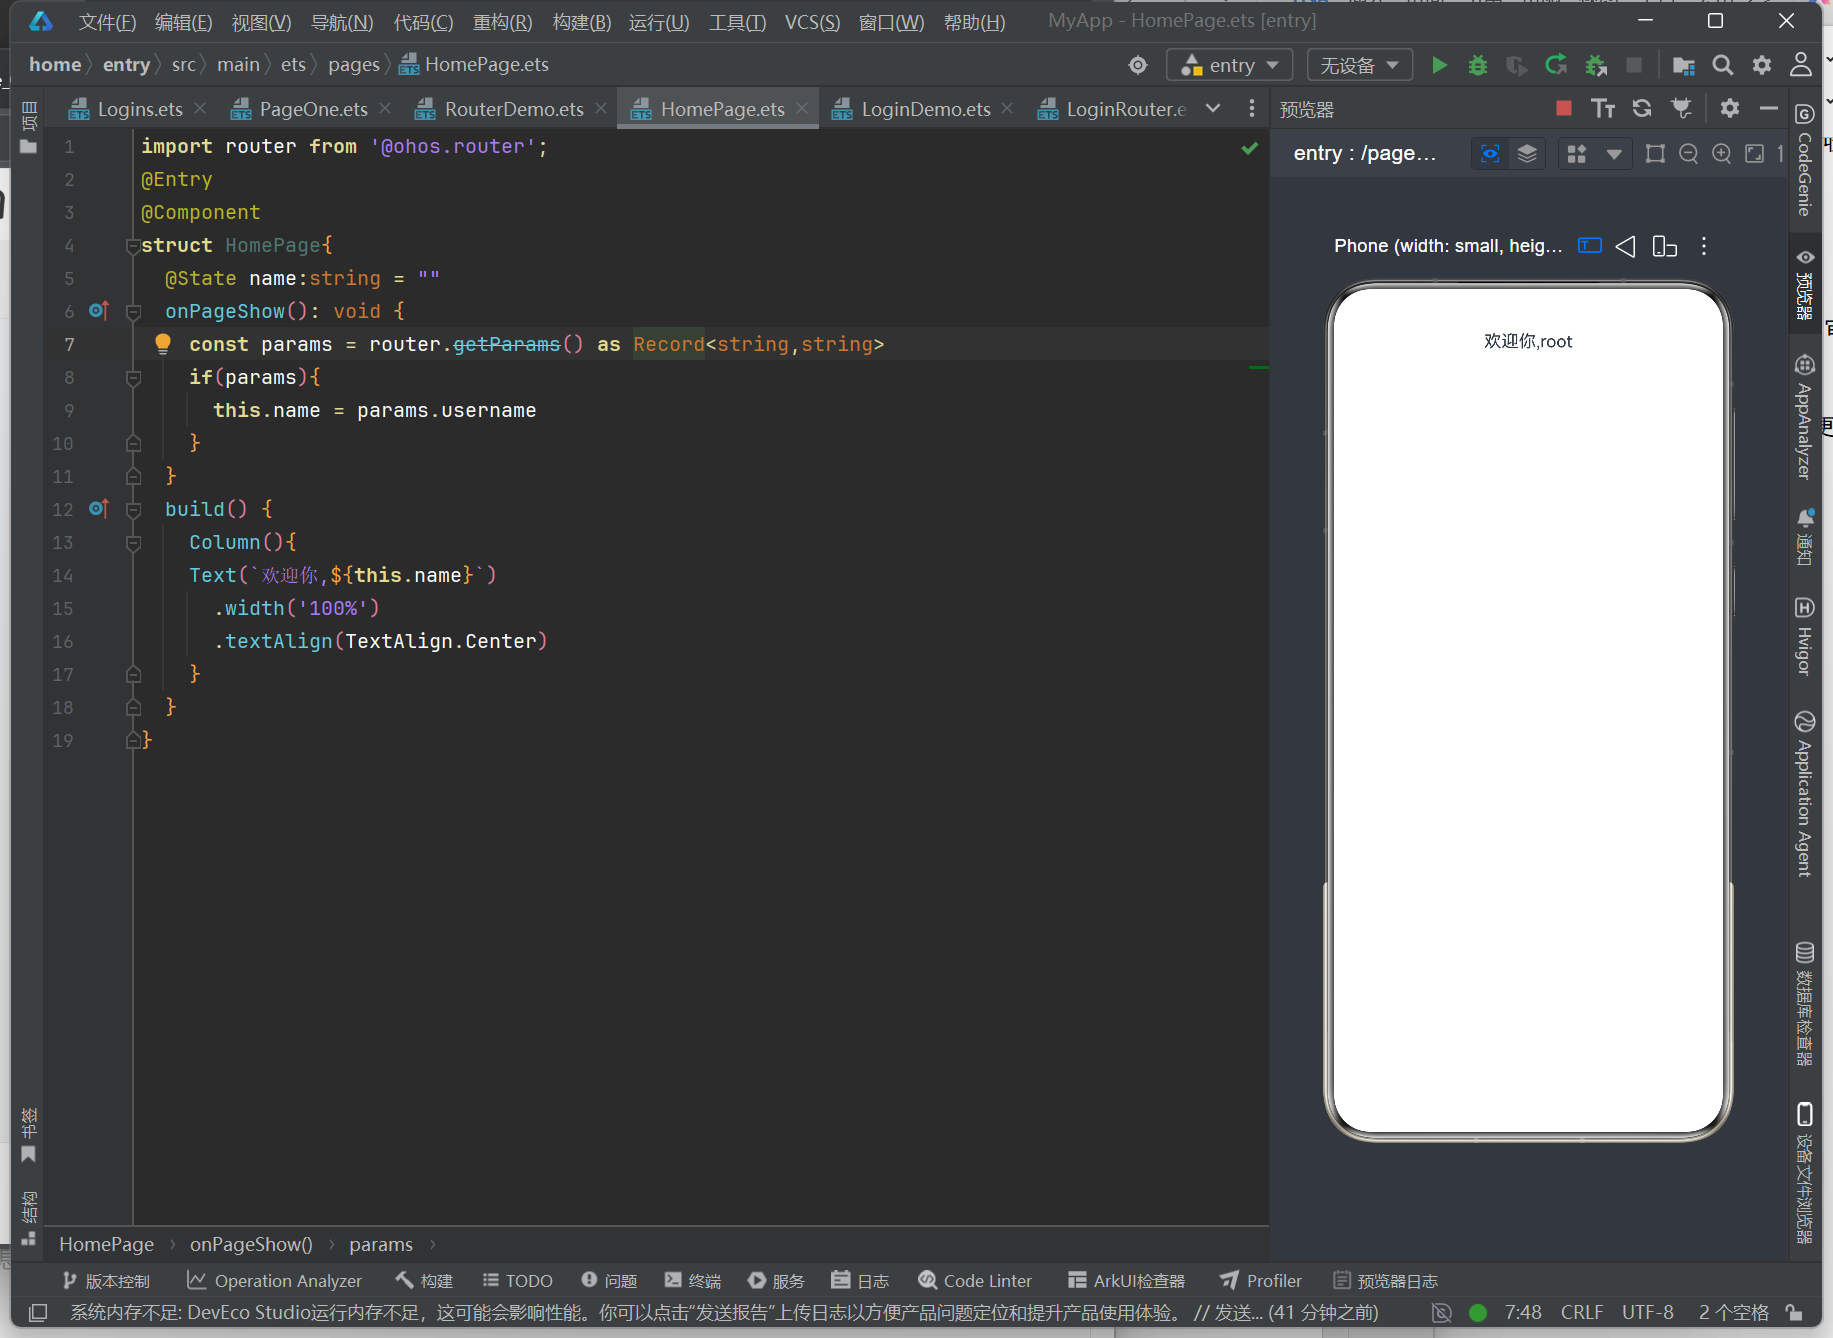
若需要携带参数跳转,则需加入代码:
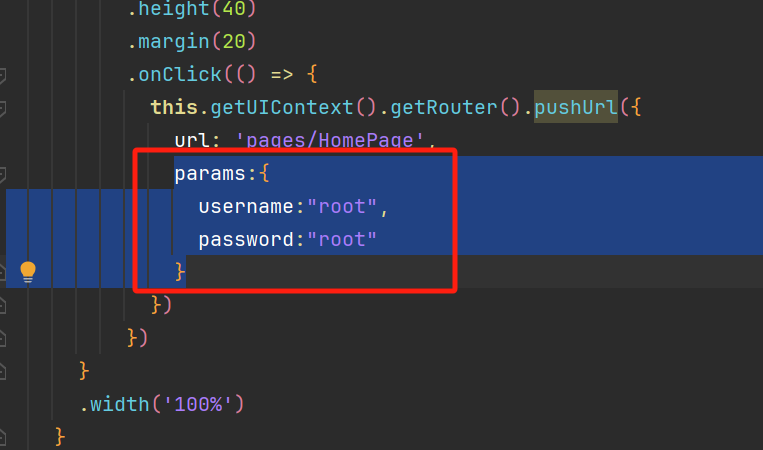
可携带参数到另一个页面
四、两个交互事件
1. onClick 点击事件
①作用
用户点击组件的瞬间触发预设逻辑,是页面跳转、弹窗唤起、表单提交最常用交互。
②适用组件
按钮、文字、图片等任意可点击组件。
③举例
@Entry
@Component
struct  EventCard{
  @State msg:string="初始化文字"
  build() {
    Column({space:25}){
      Text(this.msg)
        .fontSize(30)

      Button("点击修改文字")
        .onClick(()=>{
          this.msg="恭喜你,学会了鸿蒙应用开发!"
        })
        .width('100%')
        .height(50)
        .fontSize(20)
      Button("点击返回")
        .onClick(()=>{
          this.msg="初始化文字"
        })
        .width('100%')
        .height(50)
        .fontSize(20)

      Button("弹窗")
        .onClick(()=>{
          AlertDialog.show({
            title:"这是一个弹窗,登录成功",
            message:`欢迎你`
          })
        })
        .width('100%')
        .height(50)
        .fontSize(20)

    }
    .width('100%')
    .height('100%')
    .padding(20)
    .justifyContent(FlexAlign.Center)
  }
}
运行效果
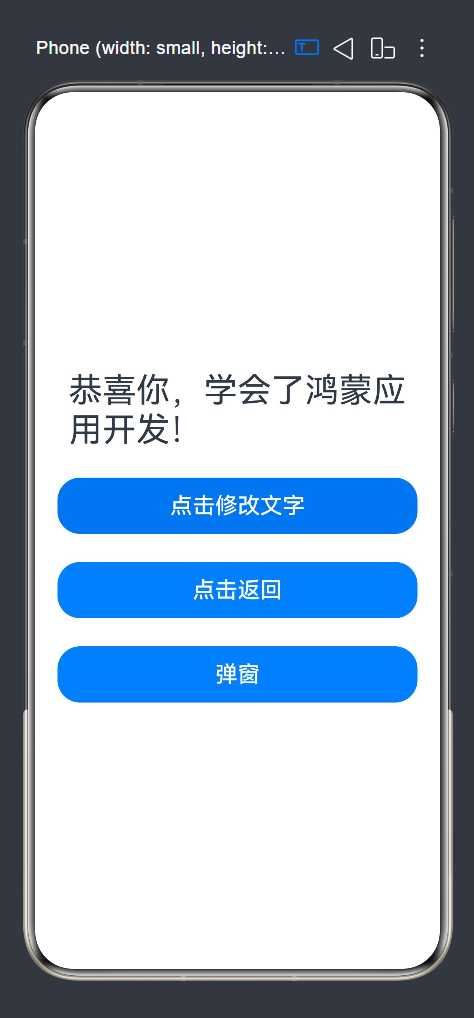
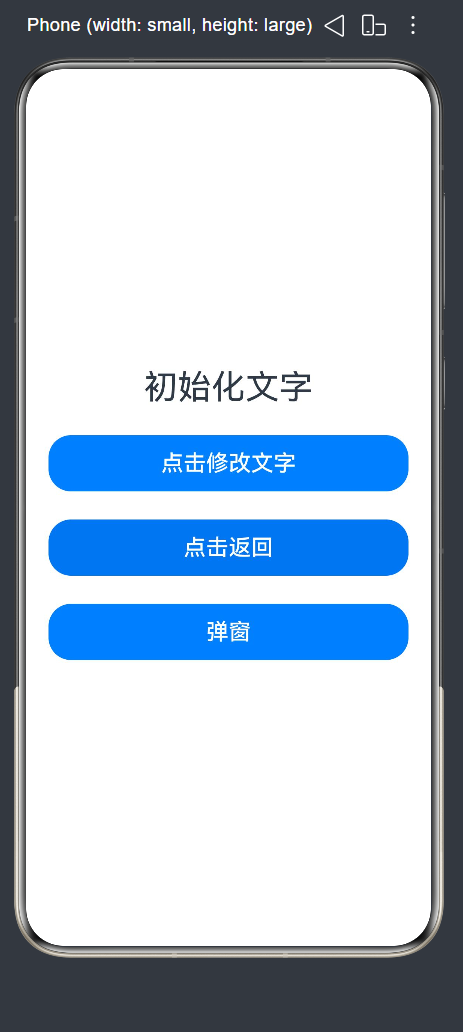
在路由中点击事件也十分常见
2. onChange 值变更事件
①作用
组件内部内容、选中状态发生变化时自动触发,实时监听用户输入、选择行为。
②适用组件
输入框、开关、滑块、下拉选择器。
③举例(输入显示内容)
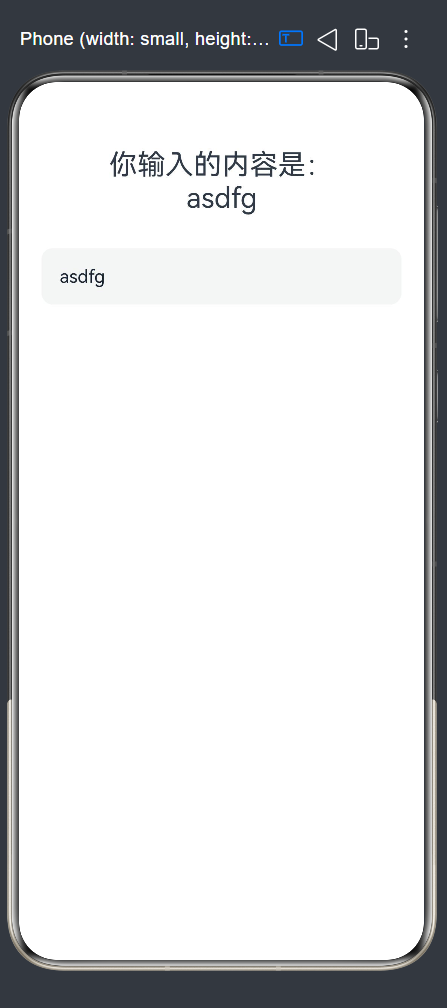
@Entry
@Component
struct StateDemo{
  @State inputText : string = ""
  build() {
    Column({space:30}){
      Text(`你输入的内容是:\n${this.inputText}`)
        .fontSize(25)
        .textAlign(TextAlign.Center)

      TextInput({text:this.inputText,placeholder:"请输入任意内容"})
        .width('100%')
        .height(50)
        .borderRadius(10)
        .onChange((value:string) => {
          this.inputText =value
        })
    }
    .width('100%')
    .height('100%')
    .padding(20)
  }
}
运行效果

讨论HarmonyOS开发技术,专注于API与组件、DevEco Studio、测试、元服务和应用上架分发等。
更多推荐



 7
7 0
0- 0


 已为社区贡献5条内容

所有评论(0)