【精通篇】打造React Native鸿蒙跨平台开发高级复合组件库开发系列:Cascader 级联选择(用于多层级数据的选择)
在 React Native 中实现一个类似于 Web 前端中 Cascader 级联选择组件的功能,你可以使用一些现有的库来帮助你实现这个功能,或者你可以手动编写这个组件。下面我将分别介绍如何使用现有的库以及如何手动实现一个简单的级联选择组件。
方法一:使用现有的库
使用 react-native-picker-select 库
react-native-picker-select 是一个流行的 React Native 选择器库,可以用来实现类似 HTML 的 <select> 标签的功能,但它不支持级联选择的功能。不过,你可以结合它和其他库来实现级联选择。
例如,你可以使用 react-native-modal-dropdown 或 react-native-dropdownalert 来手动管理下拉菜单的显示和隐藏,并结合状态管理来模拟级联效果。
使用 react-native-picker 库
react-native-picker 是一个更接近原生 Android 和 iOS 控件的库,可以用来创建类似 Android 的选择器。你可以通过编程方式控制它的显示和隐藏,从而实现级联效果。
-
首先安装
react-native-picker:npm install @react-native-picker/picker -
使用
Picker组件来实现基本的下拉选择:import React, { useState } from 'react'; import { View, Text, StyleSheet } from 'react-native'; import { Picker } from '@react-native-picker/picker'; const Cascader = () => { const [selectedValue1, setSelectedValue1] = useState(''); const [selectedValue2, setSelectedValue2] = useState(''); const [cities, setCities] = useState([]); // 假设这是根据省份动态加载的城市列表 const handleValueChange1 = (itemValue, itemIndex) => { setSelectedValue1(itemValue); // 根据选中的省份加载城市列表 fetchCities(itemValue); }; const handleValueChange2 = (itemValue, itemIndex) => { setSelectedValue2(itemValue); }; const fetchCities = async (province) => { // 模拟从服务器获取城市列表的 API 调用 const response = await fetch(`https://api.example.com/cities?province=${province}`); const data = await response.json(); setCities(data); }; return ( <View style={styles.container}> <Picker selectedValue={selectedValue1} onValueChange={handleValueChange1} > <Picker.Item label="选择省份" value="" /> <Picker.Item label="浙江省" value="zhejiang" /> <Picker.Item label="江苏省" value="jiangsu" /> // 更多省份... </Picker> <Picker selectedValue={selectedValue2} onValueChange={handleValueChange2} enabled={selectedValue1 !== ''} // 只有选择了省份后城市选择器才可用 > <Picker.Item label="选择城市" value="" /> {cities.map(city => ( <Picker.Item key={city.value} label={city.label} value={city.value} /> ))} </Picker> </View> ); }; const styles = StyleSheet.create({ container: { padding: 20, }, });在这个示例中,我们首先选择了省份,然后根据选中的省份动态加载城市列表并显示在下一个
Picker组件中。注意,你需要替换fetchCities函数中的 URL 和数据处理逻辑以匹配你的实际数据源。
方法二:手动实现级联选择组件
如果你想要完全自定义或不想使用第三方库,你可以使用 React Native 的 Modal, TouchableOpacity, 和 FlatList 来手动实现一个级联选择器。这种方法需要更多的代码,但可以提供更高的灵活性。你可以通过控制 Modal 的显示和隐藏来实现级联效果。每次选择一个选项时,你可以更新状态以控制下一个下拉菜单的显示。
这种方法涉及到更多的 UI 交互逻辑,包括如何优雅地关闭当前菜单并在新菜单打开时保持之前的选项选中状态等。你可以通过维护一个状态数组来跟踪每个层级的选择,并在用户选择时更新这个数组。然后根据这个数组来渲染下一级的选项。这里是一个基本的思路框架。
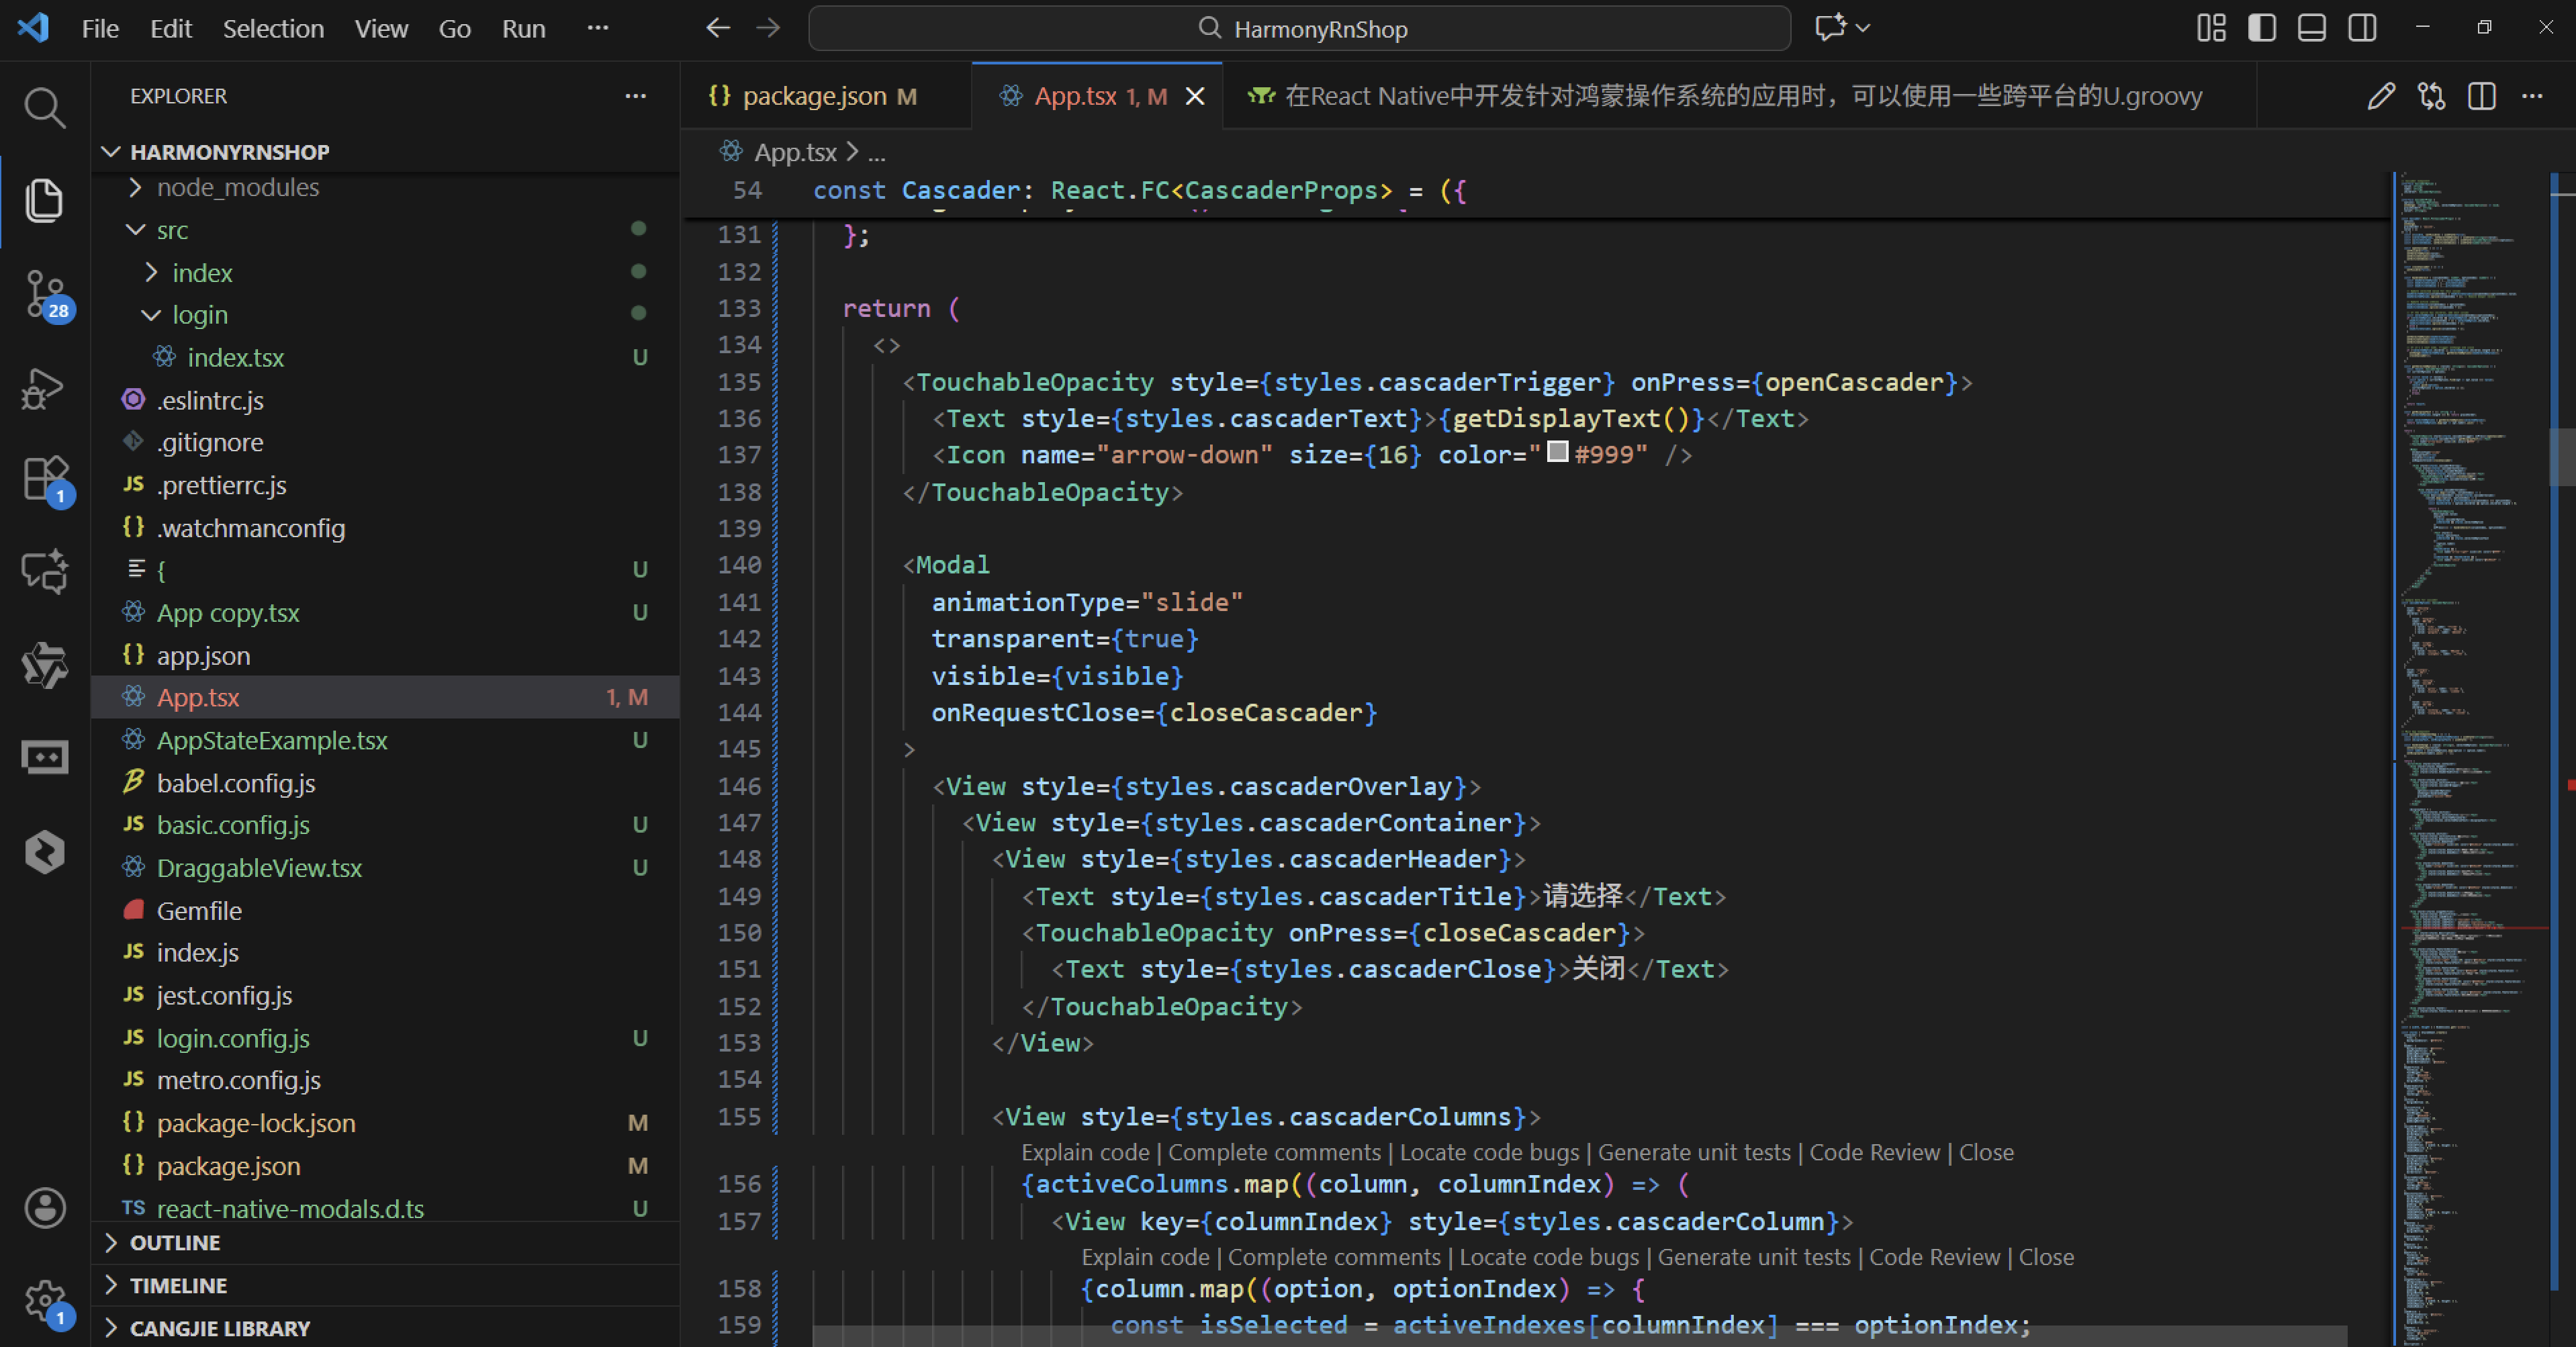
真实组件案例演示:
import React, { useState } from 'react';
import { View, Text, StyleSheet, TouchableOpacity, ScrollView, Dimensions, Modal } from 'react-native';

// Simple Icon Component using Unicode symbols
interface IconProps {
  name: string;
  size?: number;
  color?: string;
  style?: object;
}

const Icon: React.FC<IconProps> = ({
  name,
  size = 24,
  color = '#333333',
  style
}) => {
  const getIconSymbol = () => {
    switch (name) {
      case 'arrow-down': return '▼';
      case 'arrow-right': return '▶';
      case 'check': return '✓';
      case 'location': return '📍';
      case 'category': return '📂';
      case 'product': return '📦';
      default: return '●';
    }
  };

  return (
    <View style={[{ width: size, height: size, justifyContent: 'center', alignItems: 'center' }, style]}>
      <Text style={{ fontSize: size * 0.6, color, includeFontPadding: false, textAlign: 'center' }}>
        {getIconSymbol()}
      </Text>
    </View>
  );
};

// Cascader Component
interface CascaderOption {
  value: string;
  label: string;
  children?: CascaderOption[];
}

interface CascaderProps {
  options: CascaderOption[];
  onChange: (value: string[], selectedOptions: CascaderOption[]) => void;
  placeholder?: string;
  value?: string[];
}

const Cascader: React.FC<CascaderProps> = ({
  options,
  onChange,
  placeholder = '请选择',
  value = []
}) => {
  const [visible, setVisible] = useState(false);
  const [selectedValues, setSelectedValues] = useState<string[]>(value);
  const [activeColumns, setActiveColumns] = useState<CascaderOption[][]>([options]);
  const [activeIndexes, setActiveIndexes] = useState<number[]>([]);

  const openCascader = () => {
    setVisible(true);
    setSelectedValues(value);
    setActiveColumns([options]);
    setActiveIndexes([]);
  };

  const closeCascader = () => {
    setVisible(false);
  };

  const handleSelect = (columnIndex: number, optionIndex: number) => {
    const newSelectedValues = [...selectedValues];
    const newActiveColumns = [...activeColumns];
    const newActiveIndexes = [...activeIndexes];

    // Update selected value for this column
    newSelectedValues[columnIndex] = newActiveColumns[columnIndex][optionIndex].value;
    newSelectedValues.splice(columnIndex + 1); // Remove deeper levels

    // Update active indexes
    newActiveIndexes[columnIndex] = optionIndex;
    newActiveIndexes.splice(columnIndex + 1);

    // If the option has children, add next column
    const selectedOption = newActiveColumns[columnIndex][optionIndex];
    if (selectedOption.children && selectedOption.children.length > 0) {
      newActiveColumns[columnIndex + 1] = selectedOption.children;
      newActiveColumns.splice(columnIndex + 2);
    } else {
      newActiveColumns.splice(columnIndex + 1);
    }

    setSelectedValues(newSelectedValues);
    setActiveColumns(newActiveColumns);
    setActiveIndexes(newActiveIndexes);

    // If it's a leaf node, trigger onChange and close
    if (!selectedOption.children || selectedOption.children.length === 0) {
      onChange(newSelectedValues, getSelectedOptions(newSelectedValues));
      closeCascader();
    }
  };

  const getSelectedOptions = (values: string[]): CascaderOption[] => {
    const result: CascaderOption[] = [];
    let currentOptions = options;

    for (const value of values) {
      const option = currentOptions.find(opt => opt.value === value);
      if (option) {
        result.push(option);
        currentOptions = option.children || [];
      } else {
        break;
      }
    }

    return result;
  };

  const getDisplayText = (): string => {
    if (selectedValues.length === 0) return placeholder;

    const selectedOptions = getSelectedOptions(selectedValues);
    return selectedOptions.map(opt => opt.label).join(' / ');
  };

  return (
    <>
      <TouchableOpacity style={styles.cascaderTrigger} onPress={openCascader}>
        <Text style={styles.cascaderText}>{getDisplayText()}</Text>
        <Icon name="arrow-down" size={16} color="#999" />
      </TouchableOpacity>

      <Modal
        animationType="slide"
        transparent={true}
        visible={visible}
        onRequestClose={closeCascader}
      >
        <View style={styles.cascaderOverlay}>
          <View style={styles.cascaderContainer}>
            <View style={styles.cascaderHeader}>
              <Text style={styles.cascaderTitle}>请选择</Text>
              <TouchableOpacity onPress={closeCascader}>
                <Text style={styles.cascaderClose}>关闭</Text>
              </TouchableOpacity>
            </View>

            <View style={styles.cascaderColumns}>
              {activeColumns.map((column, columnIndex) => (
                <View key={columnIndex} style={styles.cascaderColumn}>
                  {column.map((option, optionIndex) => {
                    const isSelected = activeIndexes[columnIndex] === optionIndex;
                    const hasChildren = option.children && option.children.length > 0;

                    return (
                      <TouchableOpacity
                        key={option.value}
                        style={[
                          styles.cascaderOption,
                          isSelected && styles.selectedOption
                        ]}
                        onPress={() => handleSelect(columnIndex, optionIndex)}
                      >
                        <Text style={[
                          styles.optionText,
                          isSelected && styles.selectedOptionText
                        ]}>
                          {option.label}
                        </Text>
                        {hasChildren && (
                          <Icon name="arrow-right" size={14} color="#999" />
                        )}
                        {isSelected && !hasChildren && (
                          <Icon name="check" size={16} color="#108ee9" />
                        )}
                      </TouchableOpacity>
                    );
                  })}
                </View>
              ))}
            </View>
          </View>
        </View>
      </Modal>
    </>
  );
};

// Sample data for cascader
const cascaderOptions: CascaderOption[] = [
  {
    value: 'zhejiang',
    label: '浙江省',
    children: [
      {
        value: 'hangzhou',
        label: '杭州市',
        children: [
          { value: 'xihu', label: '西湖区' },
          { value: 'binjiang', label: '滨江区' },
          { value: 'gongshu', label: '拱墅区' },
        ],
      },
      {
        value: 'ningbo',
        label: '宁波市',
        children: [
          { value: 'haishu', label: '海曙区' },
          { value: 'jiangbei', label: '江北区' },
        ],
      },
    ],
  },
  {
    value: 'jiangsu',
    label: '江苏省',
    children: [
      {
        value: 'nanjing',
        label: '南京市',
        children: [
          { value: 'gulou', label: '鼓楼区' },
          { value: 'jianye', label: '建邺区' },
        ],
      },
      {
        value: 'suzhou',
        label: '苏州市',
        children: [
          { value: 'wuzhong', label: '吴中区' },
          { value: 'xiangcheng', label: '相城区' },
        ],
      },
    ],
  },
];

// Main App Component
const CascaderComponentApp = () => {
  const [selectedValues, setSelectedValues] = useState<string[]>([]);
  const [displayText, setDisplayText] = useState('');

  const handleChange = (value: string[], selectedOptions: CascaderOption[]) => {
    setSelectedValues(value);
    const labels = selectedOptions.map(option => option.label);
    setDisplayText(labels.join(' / '));
  };

  return (
    <ScrollView style={styles.container}>
      <View style={styles.header}>
        <Text style={styles.headerTitle}>级联选择器</Text>
        <Text style={styles.headerSubtitle}>多级联动选择组件</Text>
      </View>

      <View style={styles.section}>
        <Text style={styles.sectionTitle}>基础用法</Text>
        <View style={styles.cascaderWrapper}>
          <Cascader
            options={cascaderOptions}
            onChange={handleChange}
            placeholder="请选择省市区"
          />
        </View>
      </View>

      {displayText ? (
        <View style={styles.section}>
          <Text style={styles.sectionTitle}>选中值</Text>
          <View style={styles.selectedValueCard}>
            <Text style={styles.selectedValueText}>{displayText}</Text>
          </View>
        </View>
      ) : null}

      <View style={styles.section}>
        <Text style={styles.sectionTitle}>功能演示</Text>
        <View style={styles.demosContainer}>
          <View style={styles.demoItem}>
            <Icon name="location" size={24} color="#3182ce" style={styles.demoIcon} />
            <View>
              <Text style={styles.demoTitle}>地理位置选择</Text>
              <Text style={styles.demoDesc}>省市区三级联动选择</Text>
            </View>
          </View>

          <View style={styles.demoItem}>
            <Icon name="category" size={24} color="#38a169" style={styles.demoIcon} />
            <View>
              <Text style={styles.demoTitle}>商品分类</Text>
              <Text style={styles.demoDesc}>多级商品分类选择</Text>
            </View>
          </View>

          <View style={styles.demoItem}>
            <Icon name="product" size={24} color="#d69e2e" style={styles.demoIcon} />
            <View>
              <Text style={styles.demoTitle}>部门组织</Text>
              <Text style={styles.demoDesc}>公司部门层级选择</Text>
            </View>
          </View>
        </View>
      </View>

      <View style={styles.usageSection}>
        <Text style={styles.sectionTitle}>使用方法</Text>
        <View style={styles.codeBlock}>
          <Text style={styles.codeText}>{'<Cascader'}</Text>
          <Text style={styles.codeText}>  options={'{options}'}</Text>
          <Text style={styles.codeText}>  onChange={'{handleChange}'}</Text>
          <Text style={styles.codeText}>  placeholder="请选择"{'\n'}/></Text>
        </View>
        <Text style={styles.description}>
          Cascader组件提供了多级联动选择功能。通过options属性传递数据结构,
          onChange回调接收选中的值数组和选项对象数组。
        </Text>
      </View>

      <View style={styles.featuresSection}>
        <Text style={styles.sectionTitle}>功能特性</Text>
        <View style={styles.featuresList}>
          <View style={styles.featureItem}>
            <Icon name="arrow-right" size={20} color="#3182ce" style={styles.featureIcon} />
            <Text style={styles.featureText}>多级联动选择</Text>
          </View>
          <View style={styles.featureItem}>
            <Icon name="check" size={20} color="#38a169" style={styles.featureIcon} />
            <Text style={styles.featureText}>选中状态标识</Text>
          </View>
          <View style={styles.featureItem}>
            <Icon name="arrow-down" size={20} color="#d69e2e" style={styles.featureIcon} />
            <Text style={styles.featureText}>平滑动画过渡</Text>
          </View>
          <View style={styles.featureItem}>
            <Icon name="category" size={20} color="#e53e3e" style={styles.featureIcon} />
            <Text style={styles.featureText}>灵活数据结构</Text>
          </View>
        </View>
      </View>

      <View style={styles.footer}>
        <Text style={styles.footerText}>© 2023 级联选择器 | 现代化UI组件库</Text>
      </View>
    </ScrollView>
  );
};

const { width, height } = Dimensions.get('window');

const styles = StyleSheet.create({
  container: {
    flex: 1,
    backgroundColor: '#f0f2f5',
  },
  header: {
    backgroundColor: '#ffffff',
    paddingVertical: 30,
    paddingHorizontal: 20,
    marginBottom: 10,
    borderBottomWidth: 1,
    borderBottomColor: '#e8e8e8',
  },
  headerTitle: {
    fontSize: 28,
    fontWeight: '700',
    color: '#262626',
    textAlign: 'center',
    marginBottom: 5,
  },
  headerSubtitle: {
    fontSize: 16,
    color: '#8c8c8c',
    textAlign: 'center',
  },
  section: {
    marginBottom: 25,
  },
  sectionTitle: {
    fontSize: 20,
    fontWeight: '700',
    color: '#262626',
    paddingHorizontal: 20,
    paddingBottom: 15,
  },
  cascaderWrapper: {
    backgroundColor: '#ffffff',
    marginHorizontal: 15,
    borderRadius: 12,
    padding: 15,
    elevation: 3,
    shadowColor: '#000',
    shadowOffset: { width: 0, height: 2 },
    shadowOpacity: 0.1,
    shadowRadius: 4,
  },
  selectedValueCard: {
    backgroundColor: '#f6ffed',
    marginHorizontal: 15,
    borderRadius: 12,
    padding: 20,
    borderWidth: 1,
    borderColor: '#b7eb8f',
  },
  selectedValueText: {
    fontSize: 16,
    color: '#52c41a',
    fontWeight: '500',
    textAlign: 'center',
  },
  demosContainer: {
    backgroundColor: '#ffffff',
    marginHorizontal: 15,
    borderRadius: 15,
    padding: 20,
    elevation: 3,
    shadowColor: '#000',
    shadowOffset: { width: 0, height: 2 },
    shadowOpacity: 0.08,
    shadowRadius: 4,
  },
  demoItem: {
    flexDirection: 'row',
    alignItems: 'center',
    marginBottom: 20,
  },
  demoItemLast: {
    marginBottom: 0,
  },
  demoIcon: {
    marginRight: 15,
  },
  demoTitle: {
    fontSize: 16,
    fontWeight: '600',
    color: '#262626',
    marginBottom: 3,
  },
  demoDesc: {
    fontSize: 14,
    color: '#8c8c8c',
  },
  usageSection: {
    backgroundColor: '#ffffff',
    marginHorizontal: 15,
    borderRadius: 15,
    padding: 20,
    marginBottom: 20,
    elevation: 3,
    shadowColor: '#000',
    shadowOffset: { width: 0, height: 2 },
    shadowOpacity: 0.08,
    shadowRadius: 4,
  },
  codeBlock: {
    backgroundColor: '#1d1f21',
    borderRadius: 8,
    padding: 15,
    marginBottom: 15,
  },
  codeText: {
    fontFamily: 'monospace',
    color: '#c5c8c6',
    fontSize: 14,
    lineHeight: 22,
  },
  description: {
    fontSize: 15,
    color: '#595959',
    lineHeight: 22,
  },
  featuresSection: {
    backgroundColor: '#ffffff',
    marginHorizontal: 15,
    borderRadius: 15,
    padding: 20,
    marginBottom: 20,
    elevation: 3,
    shadowColor: '#000',
    shadowOffset: { width: 0, height: 2 },
    shadowOpacity: 0.08,
    shadowRadius: 4,
  },
  featuresList: {
    paddingLeft: 10,
  },
  featureItem: {
    flexDirection: 'row',
    alignItems: 'center',
    marginBottom: 15,
  },
  featureIcon: {
    marginRight: 15,
  },
  featureText: {
    fontSize: 16,
    color: '#262626',
  },
  footer: {
    paddingVertical: 20,
    alignItems: 'center',
  },
  footerText: {
    color: '#bfbfbf',
    fontSize: 14,
  },
  // Cascader Styles
  cascaderTrigger: {
    flexDirection: 'row',
    justifyContent: 'space-between',
    alignItems: 'center',
    backgroundColor: '#ffffff',
    borderWidth: 1,
    borderColor: '#d9d9d9',
    borderRadius: 6,
    paddingHorizontal: 15,
    paddingVertical: 12,
  },
  cascaderText: {
    fontSize: 16,
    color: '#595959',
  },
  cascaderOverlay: {
    flex: 1,
    backgroundColor: 'rgba(0, 0, 0, 0.5)',
    justifyContent: 'flex-end',
  },
  cascaderContainer: {
    backgroundColor: '#ffffff',
    height: height * 0.6,
    borderTopLeftRadius: 15,
    borderTopRightRadius: 15,
  },
  cascaderHeader: {
    flexDirection: 'row',
    justifyContent: 'space-between',
    alignItems: 'center',
    padding: 15,
    borderBottomWidth: 1,
    borderBottomColor: '#f0f0f0',
  },
  cascaderTitle: {
    fontSize: 18,
    fontWeight: '600',
    color: '#262626',
  },
  cascaderClose: {
    fontSize: 16,
    color: '#1890ff',
    fontWeight: '500',
  },
  cascaderColumns: {
    flexDirection: 'row',
    flex: 1,
  },
  cascaderColumn: {
    flex: 1,
    borderRightWidth: 1,
    borderRightColor: '#f0f0f0',
  },
  cascaderOption: {
    flexDirection: 'row',
    justifyContent: 'space-between',
    alignItems: 'center',
    paddingHorizontal: 15,
    paddingVertical: 12,
    borderBottomWidth: 1,
    borderBottomColor: '#f5f5f5',
  },
  selectedOption: {
    backgroundColor: '#e6f7ff',
  },
  optionText: {
    fontSize: 16,
    color: '#595959',
  },
  selectedOptionText: {
    color: '#1890ff',
    fontWeight: '500',
  },
});

export default CascaderComponentApp;
这是一个基于 React Native 的级联选择器组件实现。让我详细分析其代码逻辑:
组件架构与状态管理
该组件采用分层级联选择的设计模式,主要用于处理具有层级关系的数据选择场景,如地区选择、商品分类等。通过 useState 管理四个核心状态:visible 控制弹窗显示,selectedValues 存储选中值,activeColumns 维护当前显示的选项列,activeIndexes 跟踪每列选中项的索引位置。
图标组件实现逻辑
图标组件采用 Unicode 符号映射机制,通过 switch-case 语句将语义化的图标名称转换为对应的 Unicode 字符。这种设计避免了对外部图标库的依赖,提供了轻量级的图标解决方案。组件内部通过 View 容器和 Text 元素实现图标的居中显示和样式控制。
级联选择核心交互流程
当用户点击触发区域时,openCascader 函数初始化所有状态并显示弹窗。在弹窗中,每一列代表一个选择层级,当用户选择某一选项时,handleSelect 函数会更新选中值数组,并根据当前选项是否包含子级来决定是否加载下一层选项列。
选择逻辑的递进关系
组件通过 activeColumns 数组维护当前所有可见的选项列。每次选择操作都会更新 selectedValues 数组,并截断后续层级的选中状态,确保选择路径的一致性。当用户选择到叶子节点时,自动触发 onChange 回调并关闭弹窗。
选项路径回溯机制
getSelectedOptions 函数实现了从选中值数组到完整选项对象的回溯过程。它从根选项开始,根据每个选中的值逐层深入,构建出完整的选项路径,这对于后续的数据处理和展示至关重要。
数据流与状态同步
组件通过 props 接收外部传入的选项数据、默认值和变化回调。内部状态与外部 props 保持同步,确保组件行为的一致性和可预测性。
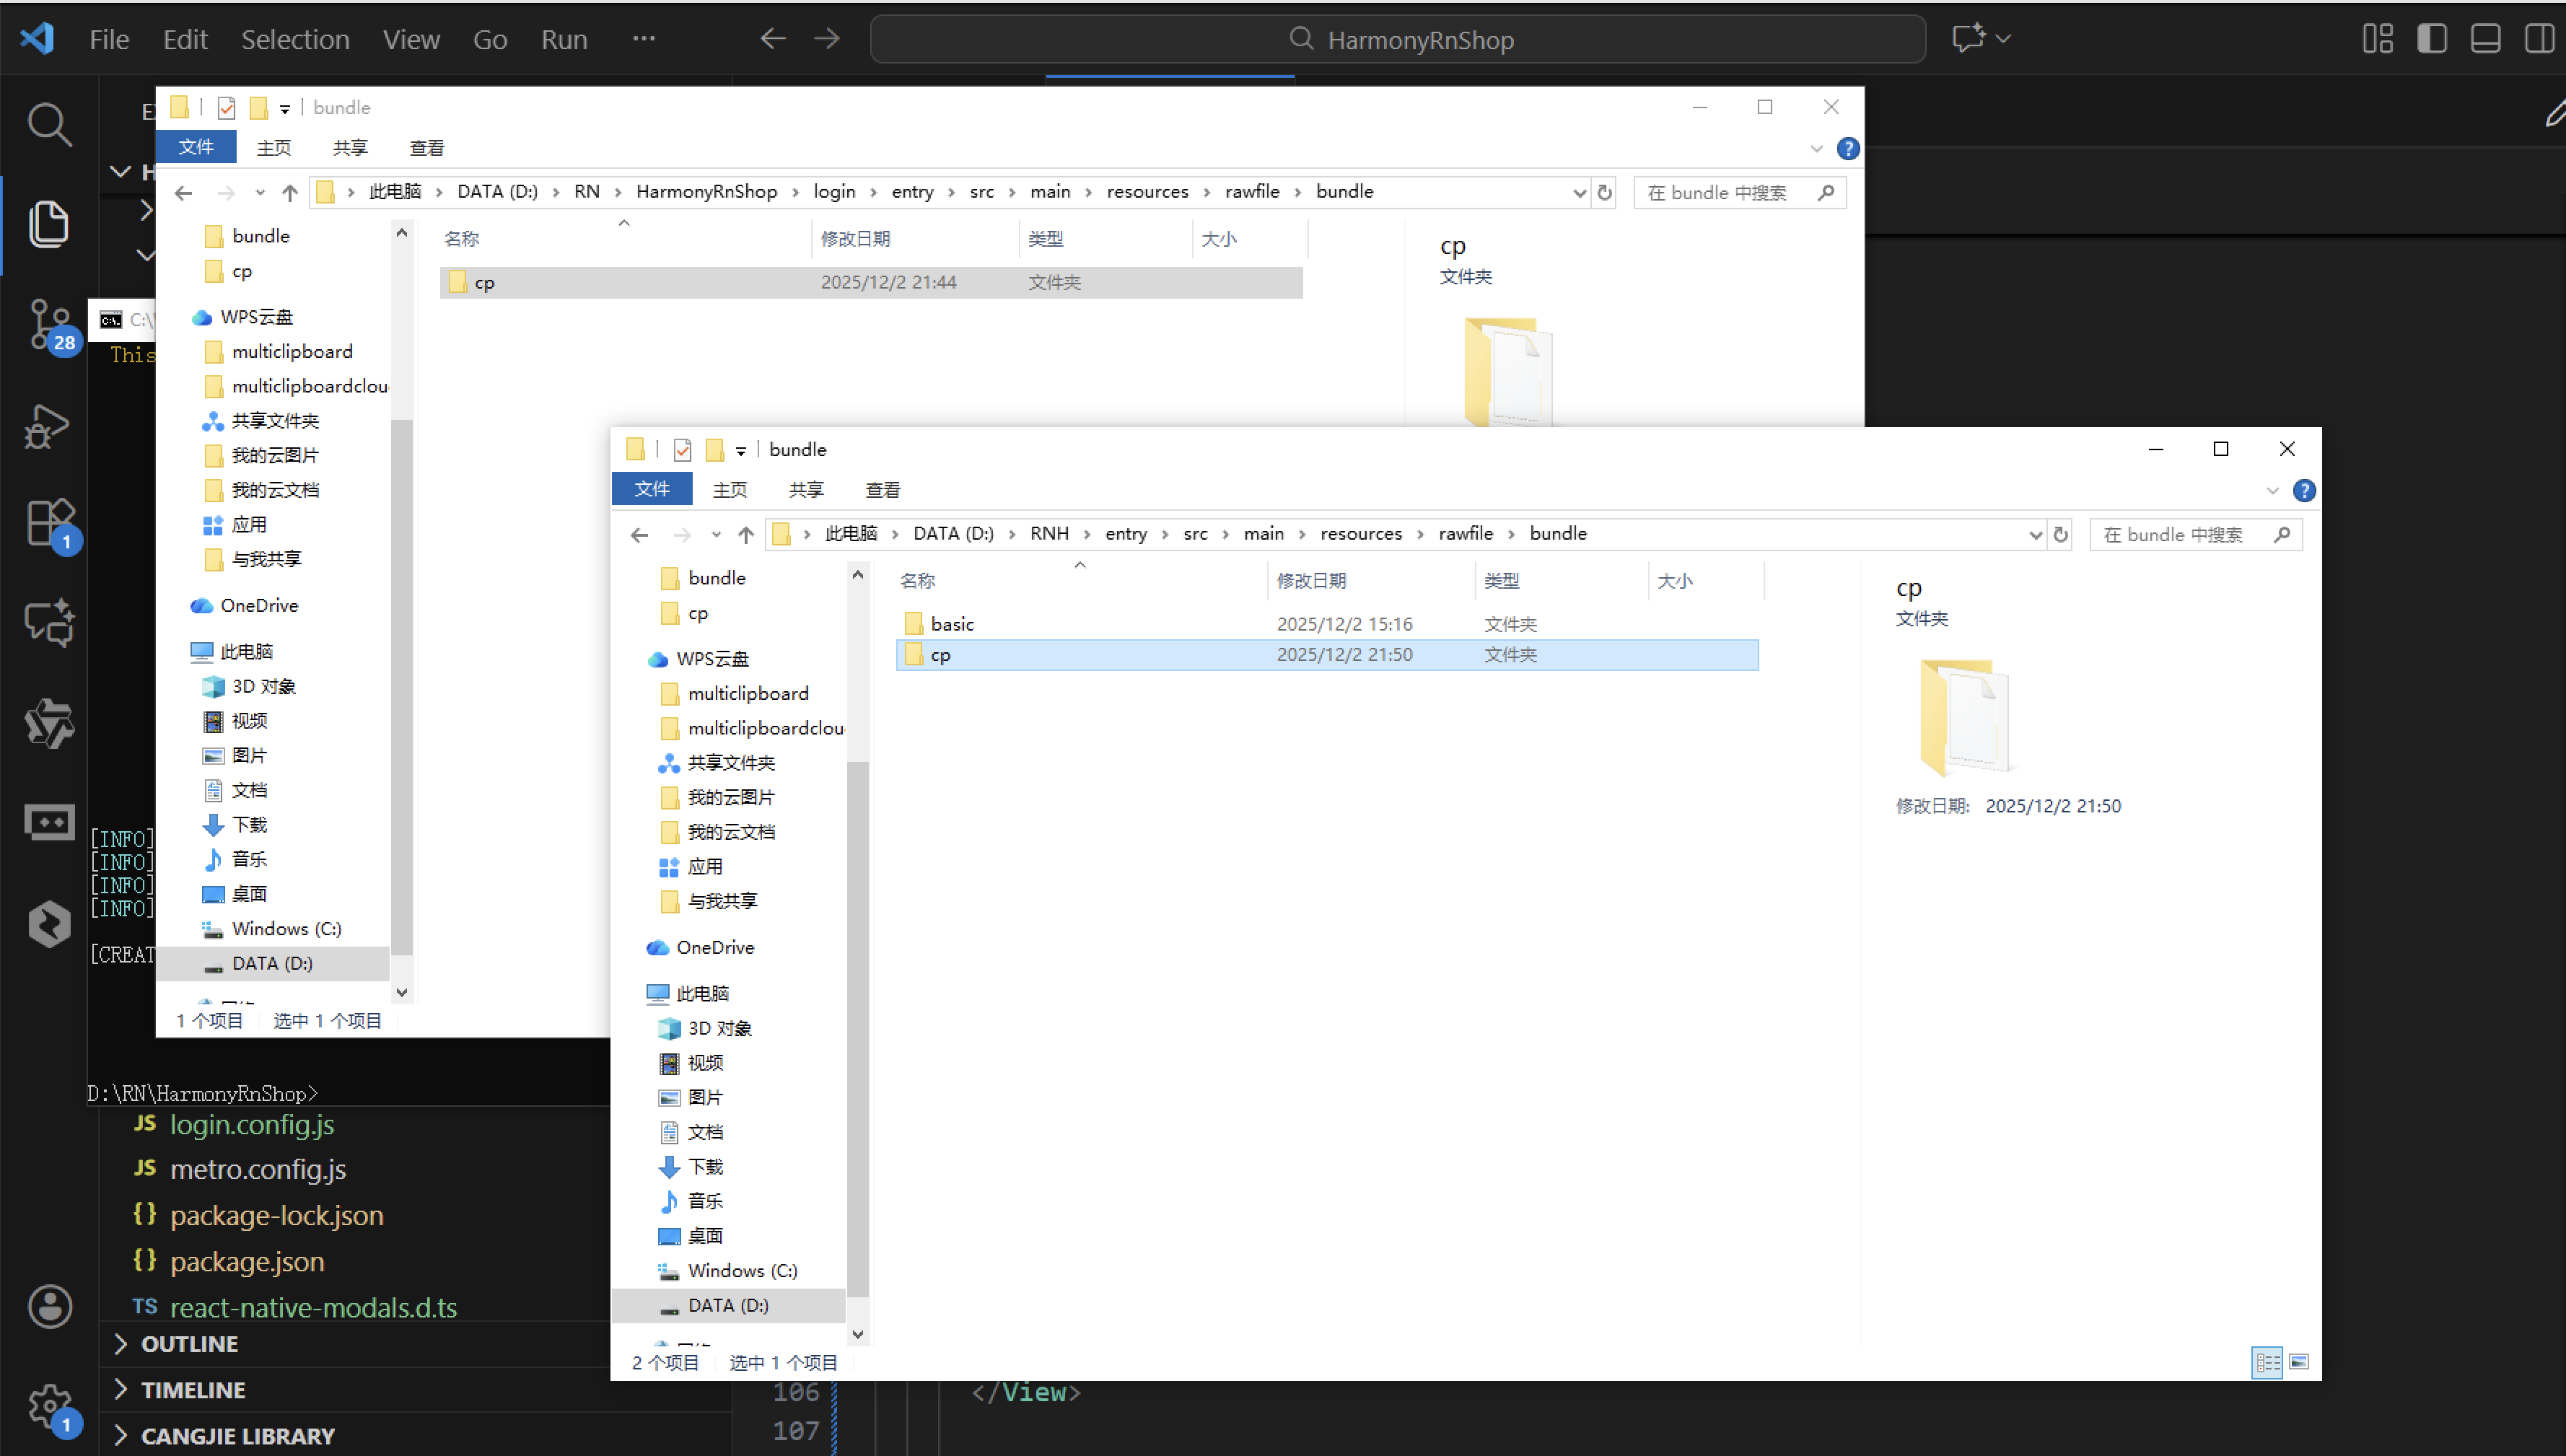
打包
接下来通过打包命令npn run harmony将reactNative的代码打包成为bundle,这样可以进行在开源鸿蒙OpenHarmony中进行使用。

打包之后再将打包后的鸿蒙OpenHarmony文件拷贝到鸿蒙的DevEco-Studio工程目录去:
最后运行效果图如下显示:

讨论HarmonyOS开发技术,专注于API与组件、DevEco Studio、测试、元服务和应用上架分发等。
更多推荐

 11
11 0
0- 0


 已为社区贡献13条内容

所有评论(0)