【鸿蒙南向开发】OpenHarmony装饰指定自定义组件:@BuilderParam装饰器
当开发者创建了自定义组件,并想对该组件添加特定功能时,例如在自定义组件中添加一个点击跳转操作。若直接在组件内嵌入事件方法,将会导致所有引入该自定义组件的地方均增加了该功能。为解决此问题,ArkUI引入了@BuilderParam装饰器,@BuilderParam用来装饰指向@Builder方法的变量,开发者可在初始化自定义组件时对此属性进行赋值,为自定义组件增加特定的功能。该装饰器用于声明任意UI描述的一个元素,类似slot占位符。
说明:
从API version 9开始,该装饰器支持在ArkTS卡片中使用。
装饰器使用说明
初始化@BuilderParam装饰的方法
@BuildParam装饰的方法只能被自定义构建函数(@Builder装饰的方法)初始化。
- 使用所属自定义组件的自定义构建函数或者全局的自定义构建函数,在本地初始化@BuilderParam。
@Builder function GlobalBuilder0() {}

@Component
struct Child {
  @Builder doNothingBuilder() {};

  @BuilderParam aBuilder0: () => void = this.doNothingBuilder;
  @BuilderParam aBuilder1: () => void = GlobalBuilder0;
  build(){}
}
- 用父组件自定义构建函数初始化子组件@BuildParam装饰的方法。
@Component
struct Child {
  @Builder componentBuilder() {
    Text(`Parent builder `)
  }

  @BuilderParam aBuilder0: () => void = this.componentBuilder;

  build() {
    Column() {
      this.aBuilder0()
    }
  }
}

@Entry
@Component
struct Parent {
  @Builder componentBuilder() {
    Text(`Parent builder `)
  }

  build() {
    Column() {
      Child({ aBuilder0: this.componentBuilder })
    }
  }
}
- 需注意this指向正确。
以下示例中,Parent组件在调用this.componentBuilder()时,this.label指向其所属组件,即“Parent”。@Builder componentBuilder()传给子组件@BuilderParam aBuilder0,在Child组件中调用this.aBuilder0()时,this.label指向在Child的label,即“Child”。对于@BuilderParam aBuilder1,在将this.componentBuilder传给aBuilder1时,调用bind绑定了this,因此其this.label指向Parent的label。
说明:
开发者谨慎使用bind改变函数调用的上下文,可能会使this指向混乱。
@Component
struct Child {
  @Builder componentBuilder() {
    Text(`Child builder `)
  }

  label: string = `Child`
  @BuilderParam aBuilder0: () => void = this.componentBuilder;
  @BuilderParam aBuilder1: () => void = this.componentBuilder;

  build() {
    Column() {
      this.aBuilder0()
      this.aBuilder1()
    }
  }
}

@Entry
@Component
struct Parent {
  label: string = `Parent`

  @Builder componentBuilder() {
    Text(`${this.label}`)
  }

  build() {
    Column() {
      this.componentBuilder()
      Child({ aBuilder0: this.componentBuilder, aBuilder1: this.componentBuilder })
    }
  }
}
使用场景
参数初始化组件
@BuilderParam装饰的方法可以是有参数和无参数的两种形式,需与指向的@Builder方法类型匹配。@BuilderParam装饰的方法类型需要和@Builder方法类型一致。
class GlobalBuilderParam {
  label: string = ""
}

@Builder function GlobalBuilder1($$ : GlobalBuilderParam) {
  Text($$.label)
    .width(400)
    .height(50)
    .backgroundColor(Color.Blue)
}

@Component
struct Child {
  @Builder componentBuilder() {
    Text(`Child builder `)
  }

  label: string = 'Child'
  // 无参数类,指向的componentBuilder也是无参数类型
  @BuilderParam aBuilder0: () => void = this.componentBuilder;
  // 有参数类型,指向的GlobalBuilder1也是有参数类型的方法
  @BuilderParam aBuilder1: ($$ : GlobalBuilderParam) => void = this.componentBuilder;

  build() {
    Column() {
      this.aBuilder0()
      this.aBuilder1({label: 'global Builder label' } )
    }
  }
}

@Entry
@Component
struct Parent {
  label: string = 'Parent'

  @Builder componentBuilder() {
    Text(`${this.label}`)
  }

  build() {
    Column() {
      this.componentBuilder()
      Child({ aBuilder0: this.componentBuilder, aBuilder1: GlobalBuilder1 })
    }
  }
}
尾随闭包初始化组件
在自定义组件中使用@BuilderParam装饰的属性时也可通过尾随闭包进行初始化。在初始化自定义组件时,组件后紧跟一个大括号“{}”形成尾随闭包场景。
说明:
此场景下自定义组件内有且仅有一个使用@BuilderParam装饰的属性。
开发者可以将尾随闭包内的内容看做@Builder装饰的函数传给@BuilderParam。示例如下:
// xxx.ets
class CustomContainerParam {
  header: string = '';
}
@Component
struct CustomContainer {
  @Builder componentCloser() {
    Text(`Custom closer `)
  }

  @Prop header: string = '';
  @BuilderParam closer: () => void = this.componentCloser;

  build() {
    Column() {
      Text(this.header)
        .fontSize(30)
      this.closer()
    }
  }
}

@Builder function specificParam(label1: string, label2: string) {
  Column() {
    Text(label1)
      .fontSize(30)
    Text(label2)
      .fontSize(30)
  }
}

@Entry
@Component
struct CustomContainerUser {
  @State text: string = 'header';
  param: CustomContainerParam = {
    header: this.text
  };

  build() {
    Column() {
      // 创建CustomContainer,在创建CustomContainer时,通过其后紧跟一个大括号“{}”形成尾随闭包
      // 作为传递给子组件CustomContainer @BuilderParam closer: () => void的参数
      CustomContainer(this.param) {
        Column() {
          specificParam('testA', 'testB')
        }.backgroundColor(Color.Yellow)
        .onClick(() => {
          this.text = 'changeHeader';
        })
      }
    }
  }
}
经常有很多小伙伴抱怨说:不知道学习鸿蒙开发哪些技术?不知道需要重点掌握哪些鸿蒙应用开发知识点?
为了能够帮助到大家能够有规划的学习,这里特别整理了一套纯血版鸿蒙(HarmonyOS Next)全栈开发技术的学习路线,包含了鸿蒙开发必掌握的核心知识要点,内容有(ArkTS、ArkUI开发组件、Stage模型、多端部署、分布式应用开发、WebGL、元服务、OpenHarmony多媒体技术、Napi组件、OpenHarmony内核、OpenHarmony驱动开发、系统定制移植等等)鸿蒙(HarmonyOS NEXT)技术知识点。
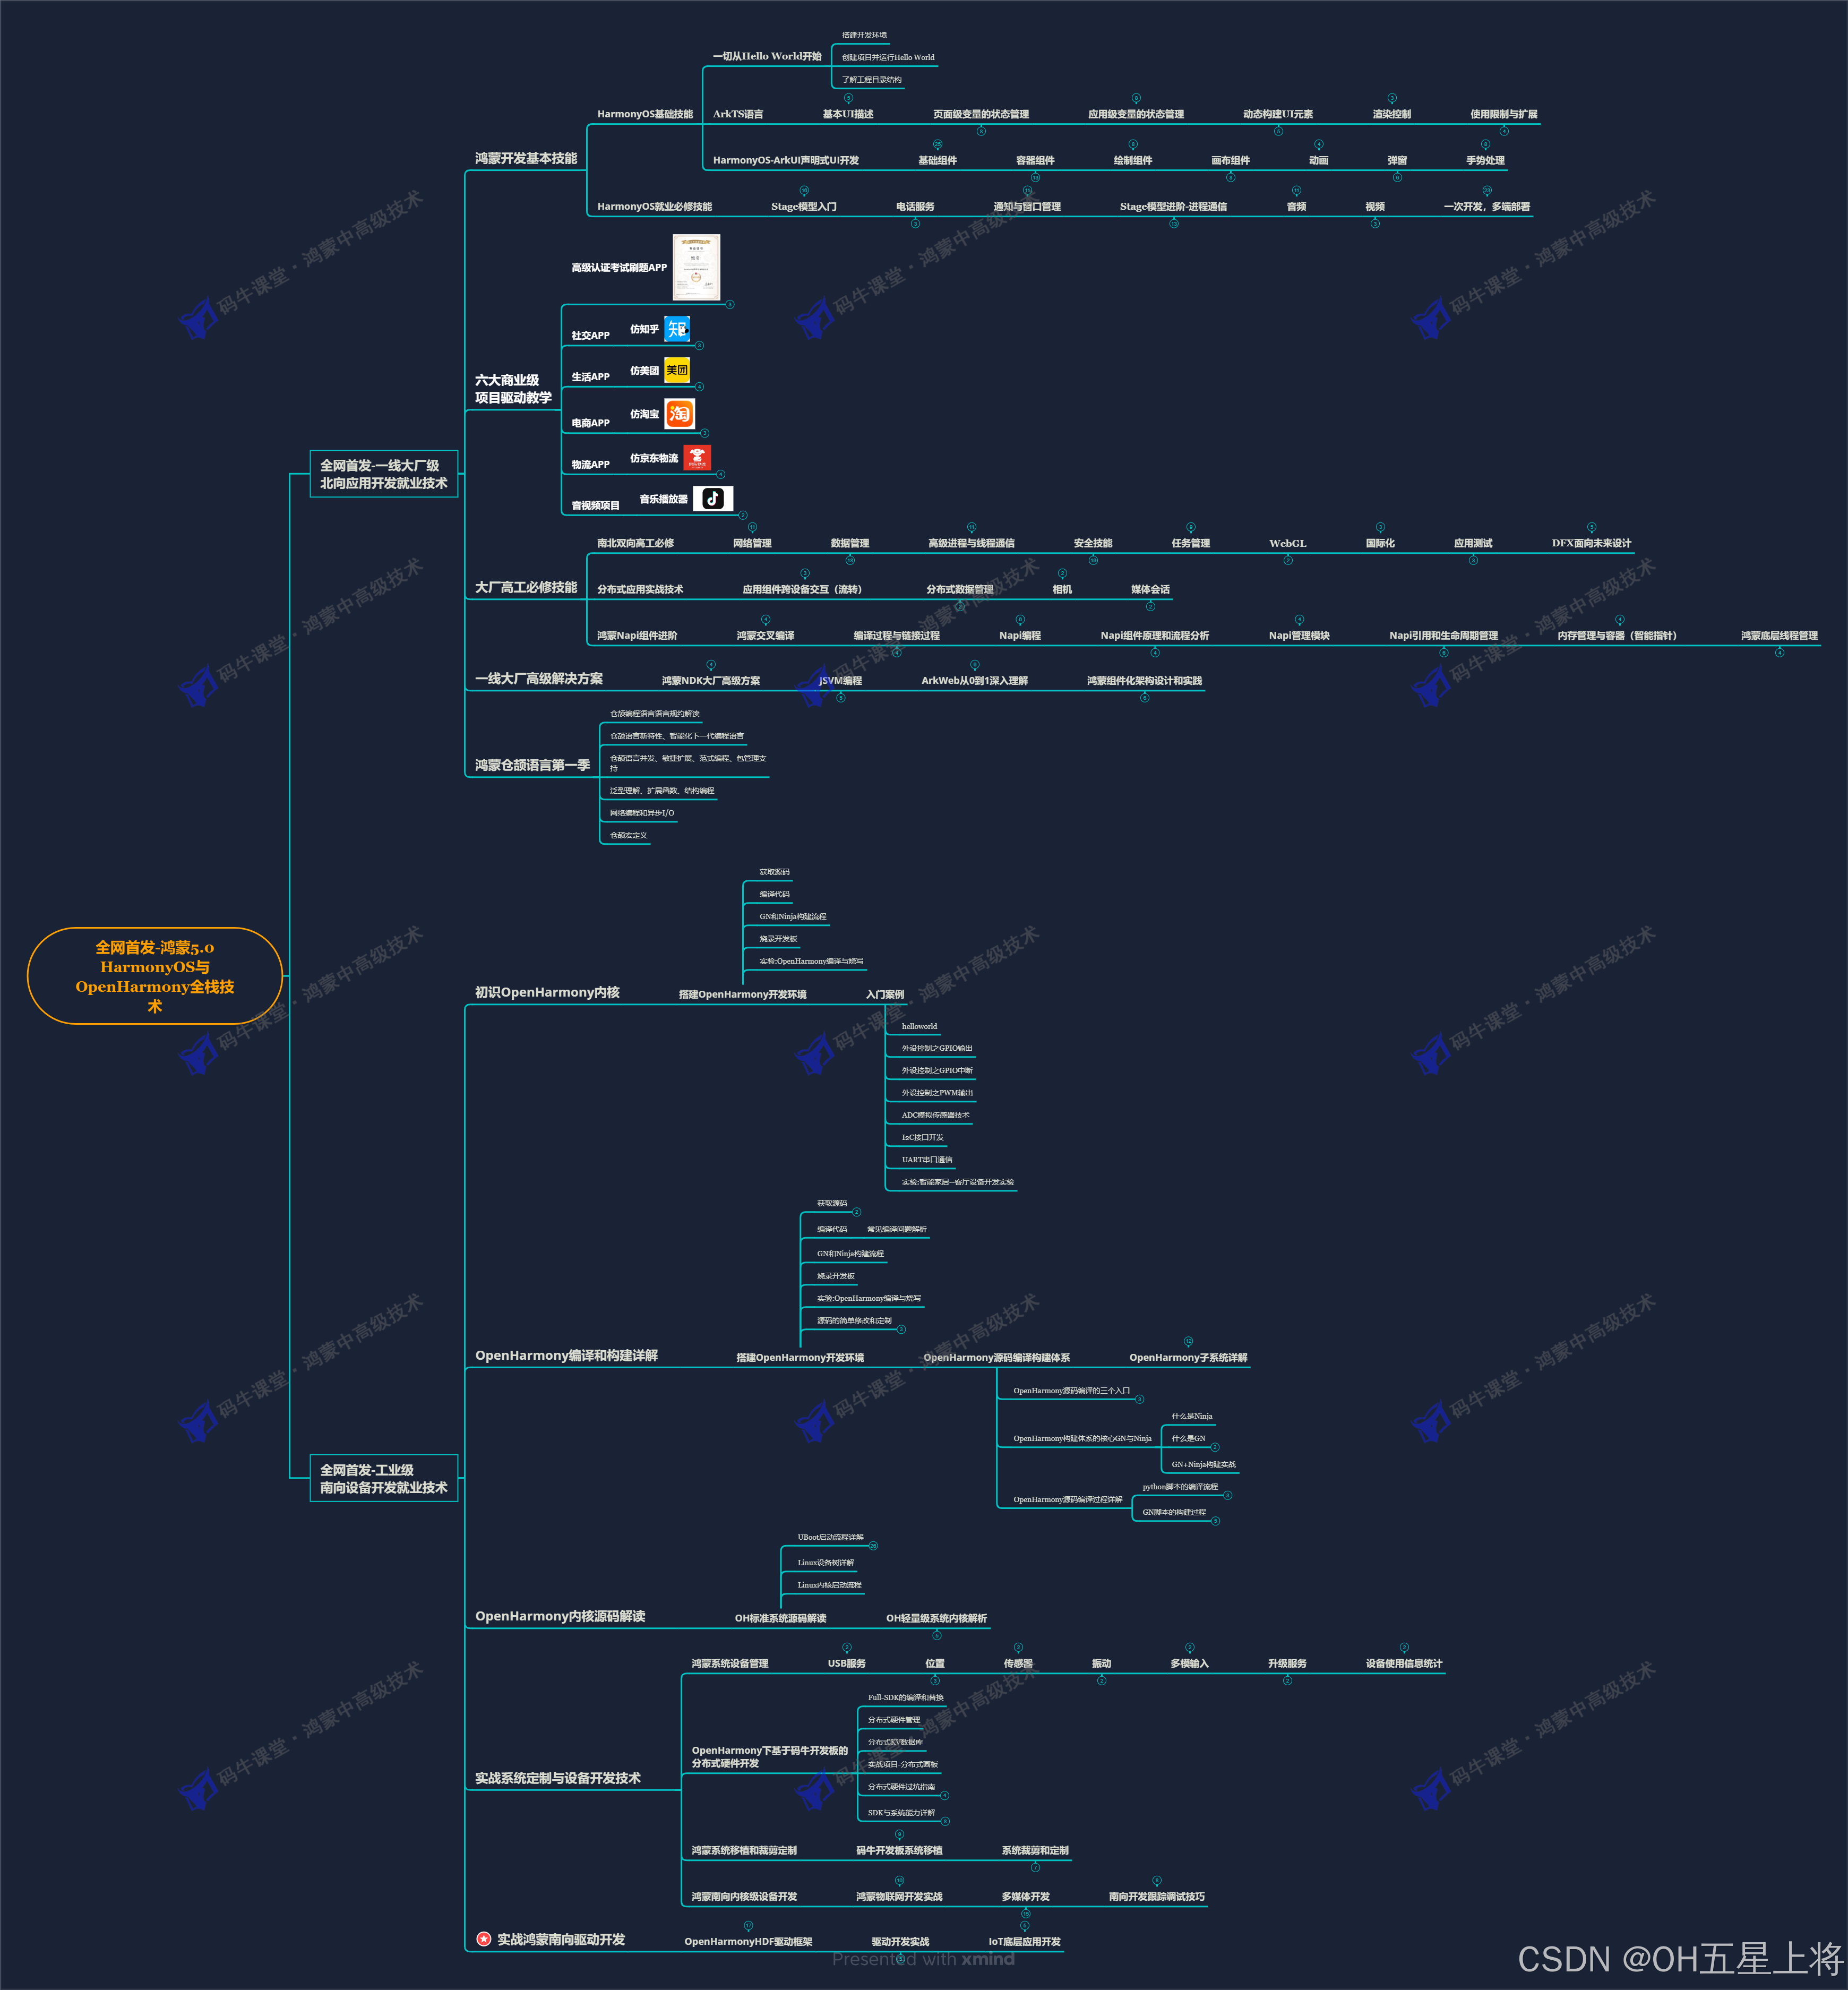
《鸿蒙 (Harmony OS)开发学习手册》(共计892页):https://gitcode.com/HarmonyOS_MN/733GH/overview
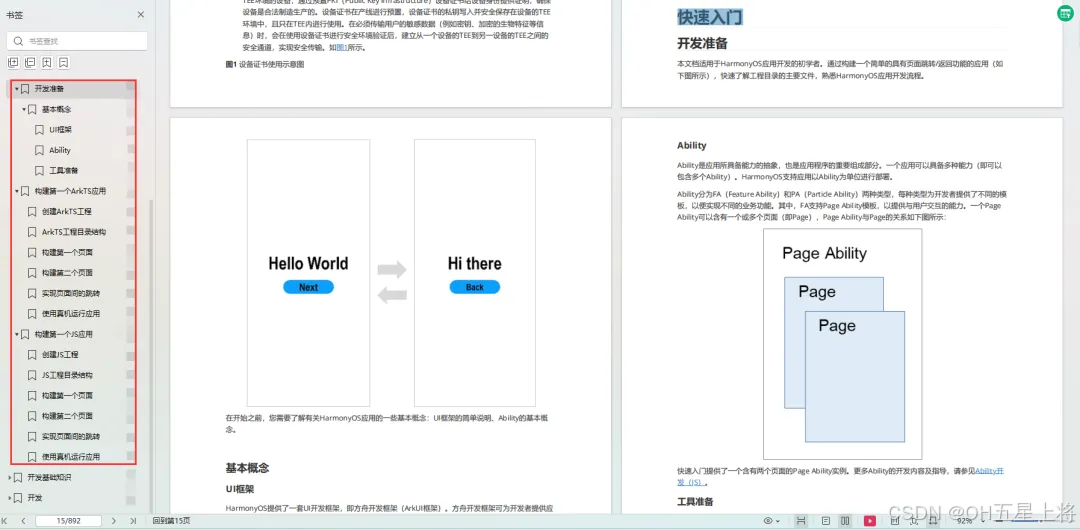
如何快速入门?
1.基本概念
2.构建第一个ArkTS应用
3.……
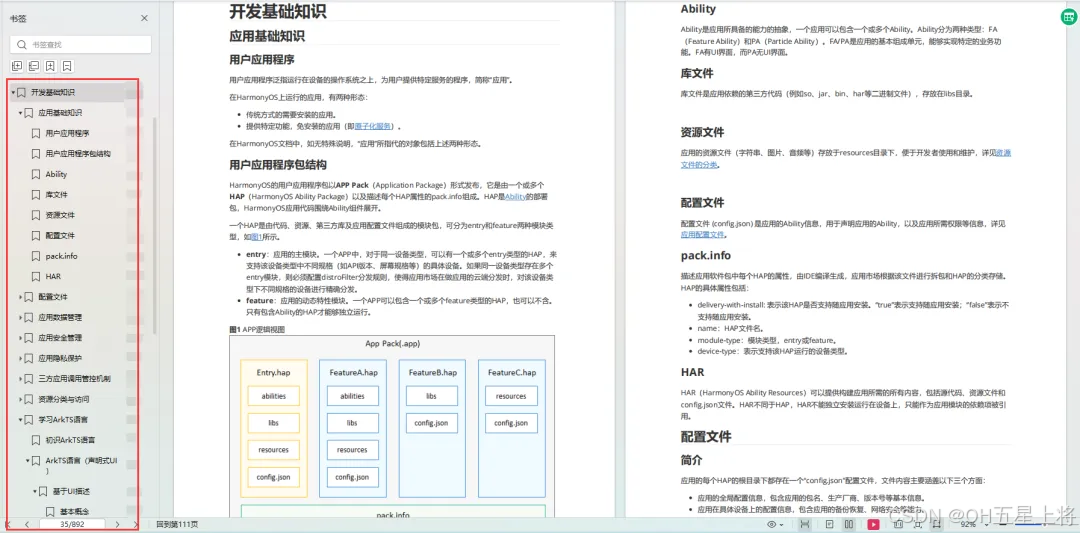
开发基础知识:
1.应用基础知识
2.配置文件
3.应用数据管理
4.应用安全管理
5.应用隐私保护
6.三方应用调用管控机制
7.资源分类与访问
8.学习ArkTS语言
9.……
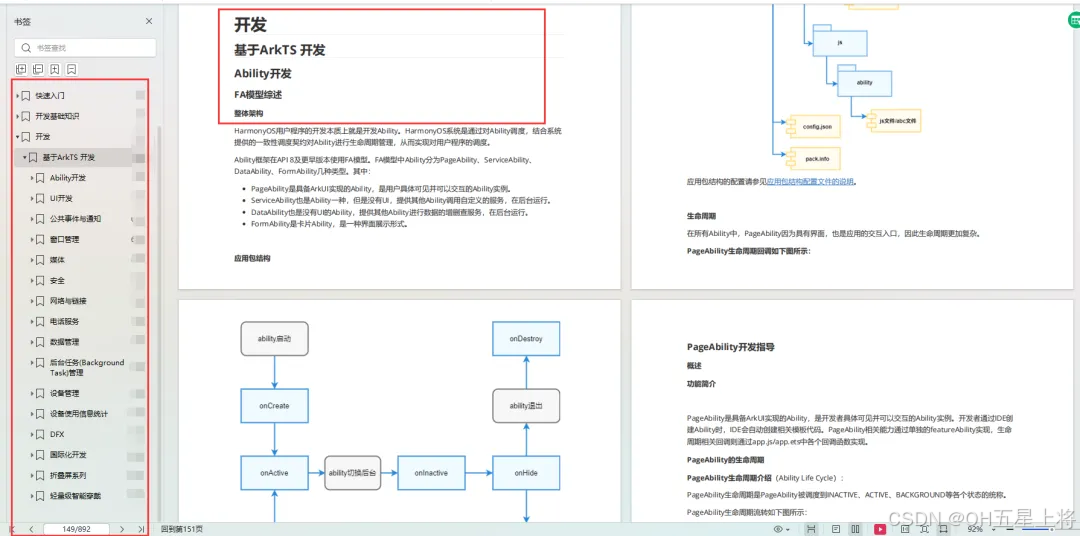
基于ArkTS 开发
1.Ability开发
2.UI开发
3.公共事件与通知
4.窗口管理
5.媒体
6.安全
7.网络与链接
8.电话服务
9.数据管理
10.后台任务(Background Task)管理
11.设备管理
12.设备使用信息统计
13.DFX
14.国际化开发
15.折叠屏系列
16.……
鸿蒙开发面试真题(含参考答案):https://gitcode.com/HarmonyOS_MN/733GH/overview
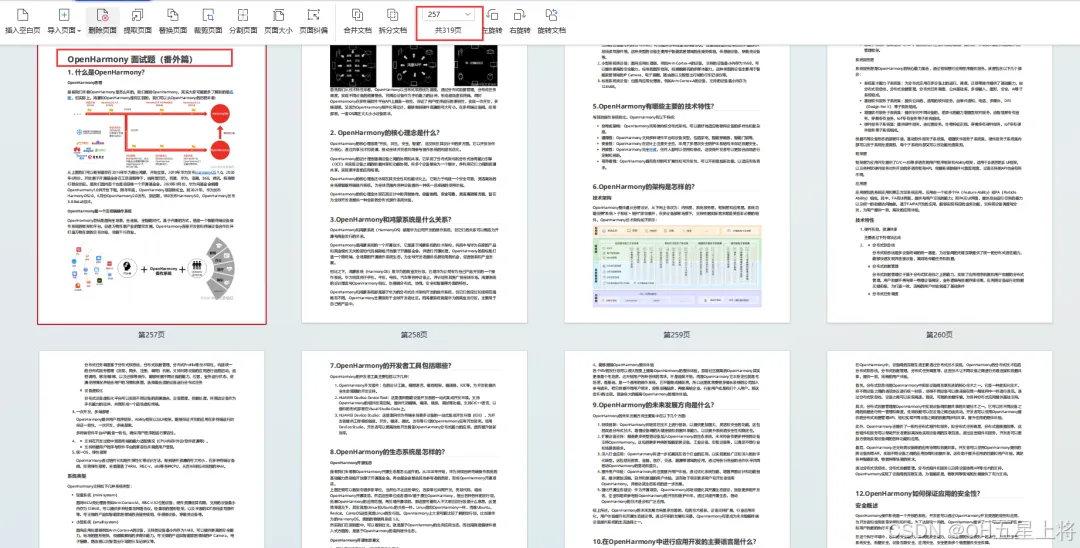
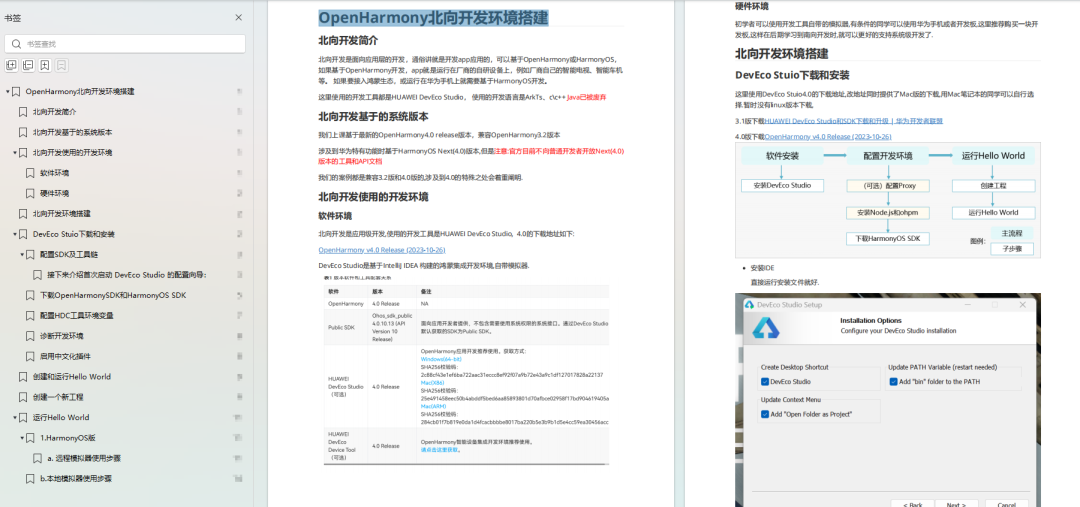
OpenHarmony 开发环境搭建
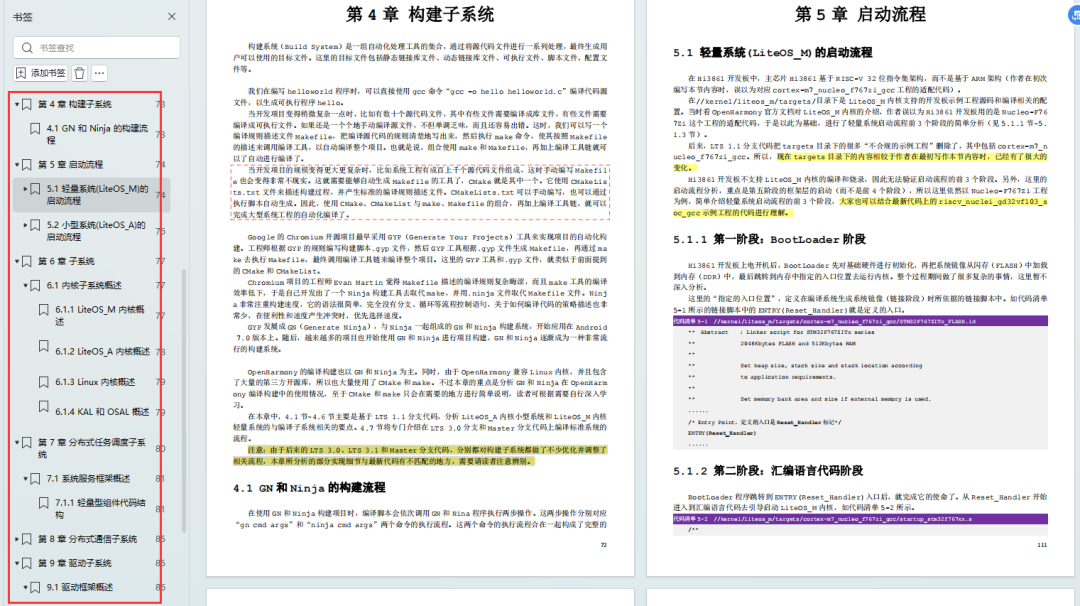
《OpenHarmony源码解析》:https://gitcode.com/HarmonyOS_MN/733GH/overview
- 搭建开发环境
- Windows 开发环境的搭建
- Ubuntu 开发环境搭建
- Linux 与 Windows 之间的文件共享
- ……
- 系统架构分析
- 构建子系统
- 启动流程
- 子系统
- 分布式任务调度子系统
- 分布式通信子系统
- 驱动子系统
- ……
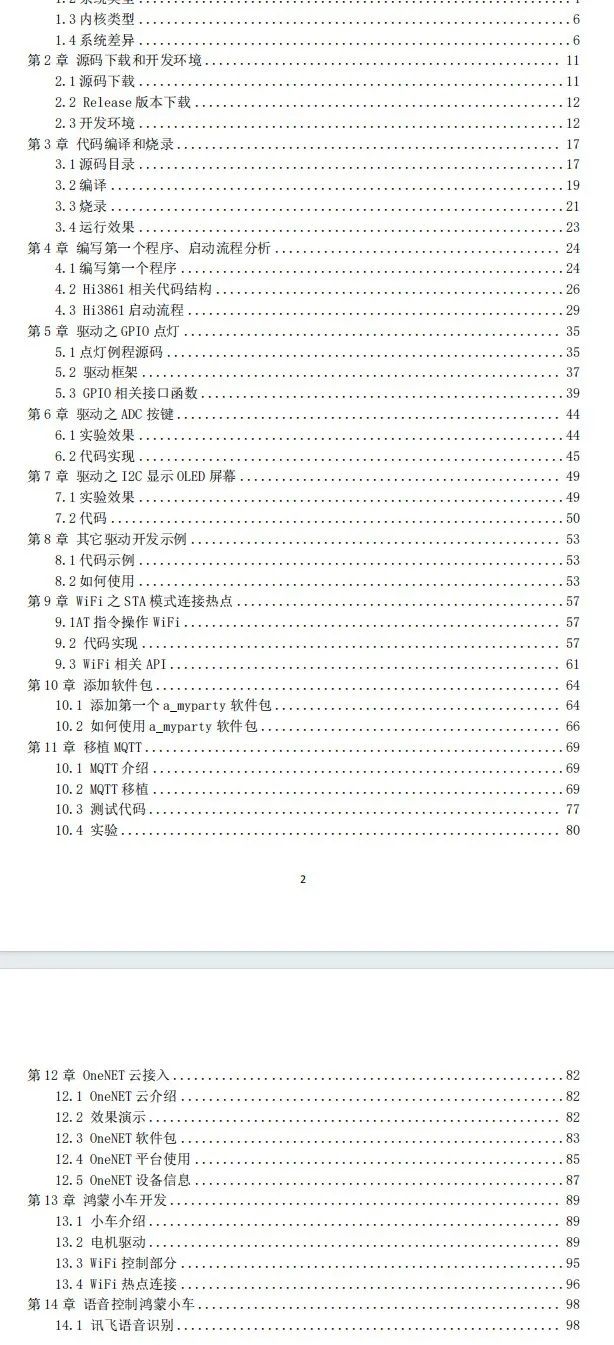
OpenHarmony 设备开发学习手册:https://gitcode.com/HarmonyOS_MN/733GH/overview


讨论HarmonyOS开发技术,专注于API与组件、DevEco Studio、测试、元服务和应用上架分发等。
更多推荐



 25
25 0
0- 0


 已为社区贡献69条内容

所有评论(0)