《HarmonyOS技术精讲-ArkWeb》实战:集成WebGL游戏引擎
这不是一个简单的WebView
HarmonyOS NEXT的ArkWeb组件,很多人第一次接触时容易犯一个错误:把它当成一个普通WebView,往里塞个iframe或者加载个移动版页面就完事了。
但ArkWeb真正强大的能力在于它和原生侧的双向数据通道——JSBridge。通过这个通道,ArkWeb可以调用原生能力,原生也可以反过来操作Web页面里的JS对象。
这个机制让很多以前在HarmonyOS上不好做的事情变得可行,比如集成WebGL 3D游戏引擎。
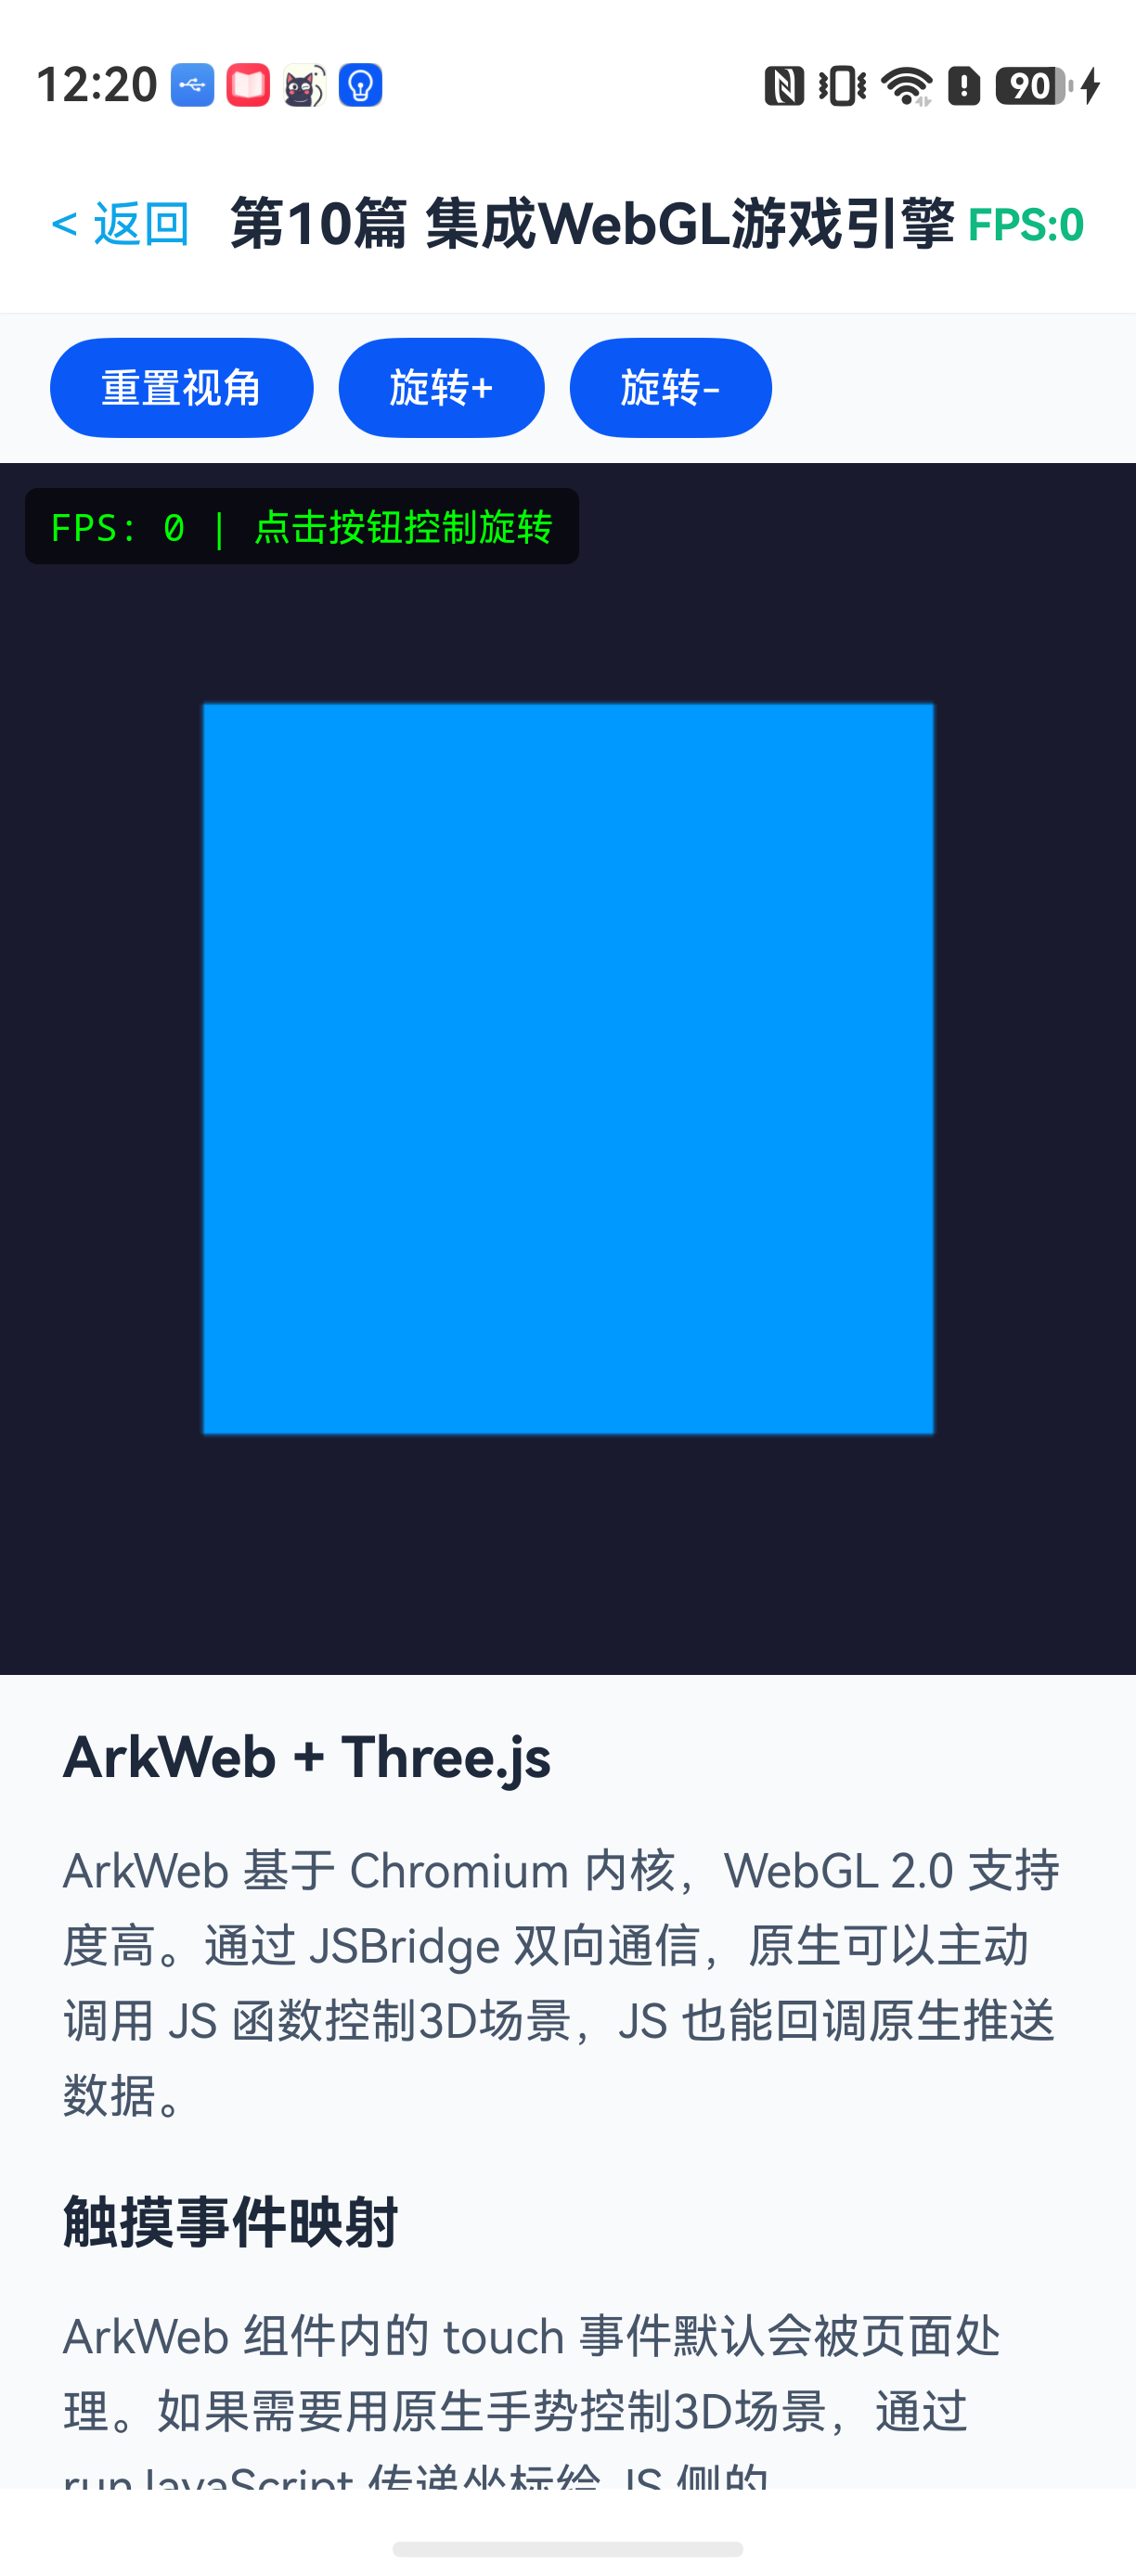
本文要解决的核心问题是:如何在ArkWeb中加载并驱动一个Three.js 3D场景,把原生的触摸事件通过JSBridge传递给Three.js,控制物体旋转,同时监控渲染帧率。
搞清楚几个关键概念
在开始编码前,先理清楚ArkWeb处理WebGL的方式和浏览器有什么不同。
| 能力 | 浏览器 | ArkWeb | 说明 |
|---|---|---|---|
| WebGL标准支持 | 完整 | WebGL 2.0 (基于 Chromium) | 实际上ArkWeb底层用的是Chromium内核,WebGL支持度很高 |
| 与原生通信 | 无 | JSBridge / port对象 | 这是核心差异,原生可以主动调用JS函数 |
| 触摸事件传递 | 自动 | 需要手动映射 | 页面内的touch事件可以正常捕获,但如果你想用原生的手势控制3D场景,就需要手动传坐标 |
| 性能监控 | DevTools | ArkWeb DevTools | ArkWeb有自己的DevTools,可以检查WebGL渲染性能 |
适合场景:需要混合原生UI和3D内容、需要利用原生能力的复杂可视化应用。
不适合场景:纯3D游戏且不需要原生能力——这时候直接开发原生3D应用更合适。
环境
DevEco Studio 版本:DevEco Studio 6.1.0 及以上
HarmonyOS SDK 版本:HarmonyOS 6.1.0(23) 及以上
目标设备:手机 / 平板
核心实现:从零搭建一个可交互的Three.js场景
整个项目分为两个部分:JS侧的HTML/Three.js代码 和 ArkTS侧的原生代码。
第一步:创建ArkWeb页面并加载HTML
在ArkTS中,通过 Web 组件加载HTML。这里用 controller 管理Web行为,用 jsProxy 建立JSBridge通道。
// pages/Index.ets
import { webview } from '@kit.ArkWeb';

@Entry
@Component
struct Index {
  private controller: webview.WebviewController = new webview.WebviewController();
  private jsProxy: webview.WebviewJsProxy = new webview.WebviewJsProxy();
  @State touchX: number = 0;
  @State touchY: number = 0;
  @State fps: number = 0;

  build() {
    Column() {
      // 原生FPS显示
      Text(`FPS: ${this.fps}`)
        .fontSize(16)
        .fontColor('#00FF00')
        .backgroundColor('#000000')
        .width('100%')
        .textAlign(TextAlign.Center)
        .padding(5)

      // ArkWeb容器
      Web({ src: $rawfile('three_scene.html'), controller: this.controller })
        .width('100%')
        .height('90%')
        .onPageEnd(() => {
          // 页面加载完成后,注入原生控制对象
          this.setupJSBridge();
        })
        .onDragStart((event) => {
          // 捕获触摸事件坐标
          this.sendTouchToJS(event);
        })
        .onDragMove((event) => {
          this.sendTouchToJS(event);
        })

      // 原生按钮示例
      Row() {
        Button('重置视角')
          .onClick(() => {
            // 通过bridge调用JS函数
            this.jsProxy.callJs('resetCamera()');
          })
      }
      .width('100%')
      .justifyContent(FlexAlign.Center)
      .padding(10)
    }
    .width('100%')
    .height('100%')
  }

  // 建立JSBridge
  setupJSBridge() {
    // 定义原生侧暴露给JS的对象
    let nativeObject = {
      onFpsUpdate: (fps: number) => {
        // 更新状态触发UI刷新
        this.fps = fps;
      }
    };

    // 注册JSBridge代理
    this.jsProxy = this.controller.getWebJsProxy();
    if (this.jsProxy) {
      this.jsProxy.registerNativeObject('nativeBridge', nativeObject);
    }
  }

  // 发送触摸坐标到JS侧
  sendTouchToJS(event: DragEvent) {
    if (this.jsProxy) {
      let x = event.getX();
      let y = event.getY();
      // 调用JS侧的onTouchCallback函数
      this.jsProxy.callJs('onTouchCallback(' + x + ',' + y + ')');
    }
  }
}
这段代码做了三件事:
- 加载
three_scene.html资源文件。 - 页面加载完成后,通过
registerNativeObject暴露一个名为nativeBridge的对象给JS侧,JS侧可以通过nativeBridge.onFpsUpdate()回调原生。 - 捕获原生的触摸事件,通过
callJs调用JS侧的onTouchCallback函数传递坐标。
注意点:onDragStart 和 onDragMove 是ArkUI的拖拽事件,这里用来模拟触摸。如果你需要精确的多点触控,可以考虑使用 onTouch 事件,但要注意 onTouch 在ArkWeb组件上默认会被拦截。实际开发中推荐使用 onDrag 系列,因为它可以避免和页面内部的滚动冲突。
第二步:Three.js 3D场景 HTML
在 resources/rawfile/ 目录下创建 three_scene.html。
<!DOCTYPE html>
<html lang="zh-CN">
<head>
  <meta charset="UTF-8">
  <meta name="viewport" content="width=device-width, initial-scale=1.0">
  <title>Three.js in ArkWeb</title>
  <style>
    body { margin: 0; overflow: hidden; background-color: #1a1a2e; }
    #fps-counter {
      position: absolute;
      top: 10px;
      left: 10px;
      color: #00ff00;
      font-family: monospace;
      font-size: 14px;
      background: rgba(0,0,0,0.6);
      padding: 4px 8px;
      border-radius: 4px;
      z-index: 100;
    }
  </style>
</head>
<body>
  <div id="fps-counter">FPS: 0</div>
  <script src="https://cdnjs.cloudflare.com/ajax/libs/three.js/r128/three.min.js"></script>
  <script>
    // 设置场景
    const scene = new THREE.Scene();
    scene.background = new THREE.Color(0x1a1a2e);

    // 设置相机
    const camera = new THREE.PerspectiveCamera(45, window.innerWidth / window.innerHeight, 0.1, 100);
    camera.position.set(0, 2, 5);
    camera.lookAt(0, 0, 0);

    // 渲染器
    const renderer = new THREE.WebGLRenderer({ antialias: true });
    renderer.setSize(window.innerWidth, window.innerHeight);
    renderer.shadowMap.enabled = true;
    document.body.appendChild(renderer.domElement);

    // 灯光
    const ambientLight = new THREE.AmbientLight(0x404040);
    scene.add(ambientLight);
    const directionalLight = new THREE.DirectionalLight(0xffffff, 1);
    directionalLight.position.set(5, 10, 7);
    directionalLight.castShadow = true;
    scene.add(directionalLight);

    // 创建一个旋转的立方体(颜色渐变)
    const geometry = new THREE.BoxGeometry(1.5, 1.5, 1.5);
    const material = new THREE.MeshStandardMaterial({
      color: 0x00aaff,
      emissive: 0x004466,
      roughness: 0.3,
      metalness: 0.7
    });
    const cube = new THREE.Mesh(geometry, material);
    cube.castShadow = true;
    scene.add(cube);

    // 添加一个地面平面
    const planeGeometry = new THREE.PlaneGeometry(5, 5);
    const planeMaterial = new THREE.MeshStandardMaterial({
      color: 0x2c3e50,
      side: THREE.DoubleSide
    });
    const plane = new THREE.Mesh(planeGeometry, planeMaterial);
    plane.rotation.x = -Math.PI / 2;
    plane.position.y = -1.2;
    plane.receiveShadow = true;
    scene.add(plane);

    // 帧率计算
    let frameCount = 0;
    let lastTime = performance.now();
    let currentFps = 0;

    // 原生侧回调函数(由ArkTS注入)
    let nativeBridge = null;
    if (window.nativeBridge) {
      nativeBridge = window.nativeBridge;
    }

    // 触摸控制变量
    let targetRotationX = 0;
    let targetRotationY = 0;
    let currentRotationX = 0;
    let currentRotationY = 0;

    // 动画循环
    function animate() {
      requestAnimationFrame(animate);

      // 平滑插值
      currentRotationX += (targetRotationX - currentRotationX) * 0.1;
      currentRotationY += (targetRotationY - currentRotationY) * 0.1;

      cube.rotation.x = currentRotationX;
      cube.rotation.y = currentRotationY;

      renderer.render(scene, camera);

      // 计算FPS
      frameCount++;
      let now = performance.now();
      let delta = now - lastTime;
      if (delta >= 1000) {
        currentFps = Math.round(frameCount * 1000 / delta);
        document.getElementById('fps-counter').textContent = 'FPS: ' + currentFps;
        // 通知原生侧
        if (nativeBridge && nativeBridge.onFpsUpdate) {
          nativeBridge.onFpsUpdate(currentFps);
        }
        frameCount = 0;
        lastTime = now;
      }
    }
    animate();

    // 窗口缩放适配
    window.addEventListener('resize', () => {
      camera.aspect = window.innerWidth / window.innerHeight;
      camera.updateProjectionMatrix();
      renderer.setSize(window.innerWidth, window.innerHeight);
    });

    // 被原生侧调用的触摸回调函数
    function onTouchCallback(x, y) {
      // 将触摸坐标映射到旋转角度 [-2, 2] 范围
      // 这里假设触摸区域是整个屏幕宽度
      targetRotationY = (x / window.innerWidth) * 4 - 2;  // X方向移动控制Y轴旋转
      targetRotationX = (y / window.innerHeight) * 2 - 1;  // Y方向移动控制X轴旋转
    }

    // 被原生侧调用的重置视角函数
    function resetCamera() {
      targetRotationX = 0;
      targetRotationY = 0;
      currentRotationX = 0;
      currentRotationY = 0;
    }

    // 检查WebGL支持
    function checkWebGLSupport() {
      try {
        let canvas = document.createElement('canvas');
        let gl = canvas.getContext('webgl2') || canvas.getContext('webgl');
        if (gl) {
          console.log('WebGL支持正常,渲染器类型:', gl.getParameter(gl.RENDERER));
          return true;
        } else {
          console.error('WebGL不支持');
          return false;
        }
      } catch (e) {
        console.error('WebGL检测异常:', e);
        return false;
      }
    }
    checkWebGLSupport();
  </script>
</body>
</html>
这段HTML做了几件关键的事:
- 创建了一个标准的Three.js场景,包含立方体、地面、灯光。
- 实现了帧率计算逻辑,每秒通过
nativeBridge.onFpsUpdate向原生侧推送FPS数据。 - 暴露了
onTouchCallback函数,供ArkTS通过callJs调用,来更新3D物体的旋转目标值。 - 使用插值算法平滑旋转,避免触摸事件频率过低导致的卡顿。
关于WebGL支持检测:checkWebGLSupport 函数在内核初始化时就会执行,ArkWeb基于Chromium内核,WebGL 2.0基本是全覆盖的。但真机测试时偶尔会遇到驱动问题,这个检测能帮助快速定位。
第三步:JSBridge双向通信机制详解
整个通信链路可以抽象为三层:
原生侧 (ArkTS)                     Web侧 (JS)
    |                                |
    |-- registerNativeObject ------> | (注入原生对象)
    |                                |
    |-- callJs('func()') ----------> | (调用JS函数)
    |                                |
    |   <--- nativeBridge.onXxx() -- | (JS回调原生)
关键代码解读:
在原生侧,setupJSBridge 函数中通过 this.jsProxy.registerNativeObject('nativeBridge', nativeObject) 注册了对象。在JS侧,这个对象直接挂在 window.nativeBridge 上。
这意味着你在JS里写的 window.nativeBridge.onFpsUpdate(60),实际上会回调到ArkTS的 nativeObject.onFpsUpdate() 方法,并且参数值60会正确传递。
反之,this.jsProxy.callJs('onTouchCallback(100,200)') 会直接执行JS全局作用域下的 onTouchCallback 函数。
有一个常见误区:callJs 的参数是字符串,所以拼接参数时要小心引号。例如 callJs('func("参数")'),如果参数是数字则不需要引号。
常见问题
问题1:触摸事件映射不准确
现象:滑动时3D物体旋转幅度忽大忽小,或者方向反了。
原因:onDrag 事件获取的坐标是相对于整个组件的,而JS侧的 window.innerWidth/innerHeight 是视口尺寸。如果ArkWeb组件不是全屏,坐标映射就会出现偏差。
解决方案:
在 setupJSBridge 时,把ArkWeb组件的实际宽高传给JS侧。
// 在Index.ets中增加
this.controller.onPageEnd(() => {
  // 获取组件实际宽高
  let webWidth = this.componentSize?.width ?? 0;
  let webHeight = this.componentSize?.height ?? 0;
  this.jsProxy.callJs('setViewport(' + webWidth + ',' + webHeight + ')');
});
JS侧增加接收函数:
let webWidth = window.innerWidth;
let webHeight = window.innerHeight;
function setViewport(w, h) {
  webWidth = w;
  webHeight = h;
}
function onTouchCallback(x, y) {
  targetRotationY = (x / webWidth) * 4 - 2;
  targetRotationX = (y / webHeight) * 2 - 1;
}
问题2:页面返回后WebGL上下文丢失
现象:从A页面跳转到B页面,再返回A页面时,Three.js场景黑屏或者报 WebGL context lost。
原因:ArkWeb在页面不可见时会释放GPU资源,这是浏览器的标准行为(节省内存)。但重新激活时,Three.js默认不会自动恢复上下文。
解决方案:在JS侧监听 WebGL 上下文恢复事件,并重新初始化场景。
// 在Three.js场景初始化后添加
renderer.domElement.addEventListener('webglcontextlost', function(event) {
  event.preventDefault();
  console.log('WebGL context lost');
  // 停止动画循环
});

renderer.domElement.addEventListener('webglcontextrestored', function() {
  console.log('WebGL context restored');
  // 重新设置渲染器,重新创建纹理等资源
  renderer.setSize(window.innerWidth, window.innerHeight);
  // 如果是复杂场景,建议在这里重新创建所有Mesh
  animate(); // 重新启动动画循环
});
对于更复杂的场景,推荐在ArkWeb的 onActive 生命周期回调中,主动刷新页面。
最佳实践
-
不要在
build()中频繁调用callJs:build()在每次状态变化时都会执行,如果写this.jsProxy.callJs(...)在里面,会导致大量不必要的JS调用。正确做法是在事件回调中触发。 -
GPU内存管理:Three.js场景中的纹理、几何体如果频繁创建和销毁,容易造成GPU内存泄漏。推荐在Scene初始化时一次性创建,通过修改
material.opacity或visible属性来控制显示隐藏,而不是反复add/remove。 -
JSBridge 参数安全性:
callJs的参数是字符串拼接,如果参数来自用户输入或网络数据,一定要做防注入处理。比如callJs('func("' + userInput + '")'),如果userInput包含",会破坏语法结构。建议使用encodeURIComponent编码。
Demo 入口
// entry/src/main/ets/pages/Index.ets
// 完整代码如上文所示
示例代码地址:项目地址
FAQ
Q:为什么真机跑Three.js场景很流畅,但模拟器上FPS很低?
A:Simulator的GPU模拟效率远低于真机。WebGL渲染依赖GPU,模拟器上无法获得硬件加速,所以FPS会显著下降。这是正常现象,以真机测试为准。
Q:页面退出后,Three.js的动画循环还在继续吗?
A:如果ArkWeb组件没有销毁,JS侧的 requestAnimationFrame 仍然会执行。正确做法是在页面onDisAppear 时调用 controller.stop() 或者JS侧的 cancelAnimationFrame。
Q:ArkWeb 加载Three.js CDN资源需要网络权限吗?
A:需要。在 module.json5 中申请 ohos.permission.INTERNET 权限。如果是加载本地资源文件(放到 rawfile 下),则不需要网络权限。
推荐阅读

讨论HarmonyOS开发技术,专注于API与组件、DevEco Studio、测试、元服务和应用上架分发等。
更多推荐


 3
3 0
0- 0


 已为社区贡献24条内容

所有评论(0)