HarmonyOS旅行探索——城市详情页的结构化信息展示
城市详情页是旅行 App 里信息密度最高的页面——一个页面里塞了 Hero 横幅、货币语言标签、景点列表、美食列表四个区块。从数据结构看,它是整个 App 里唯一一个"从外部接收 ID → 查找完整对象 → 分区展示嵌套数据"的页面,也是路由参数 ID 查询模式的唯一使用者。
完整效果
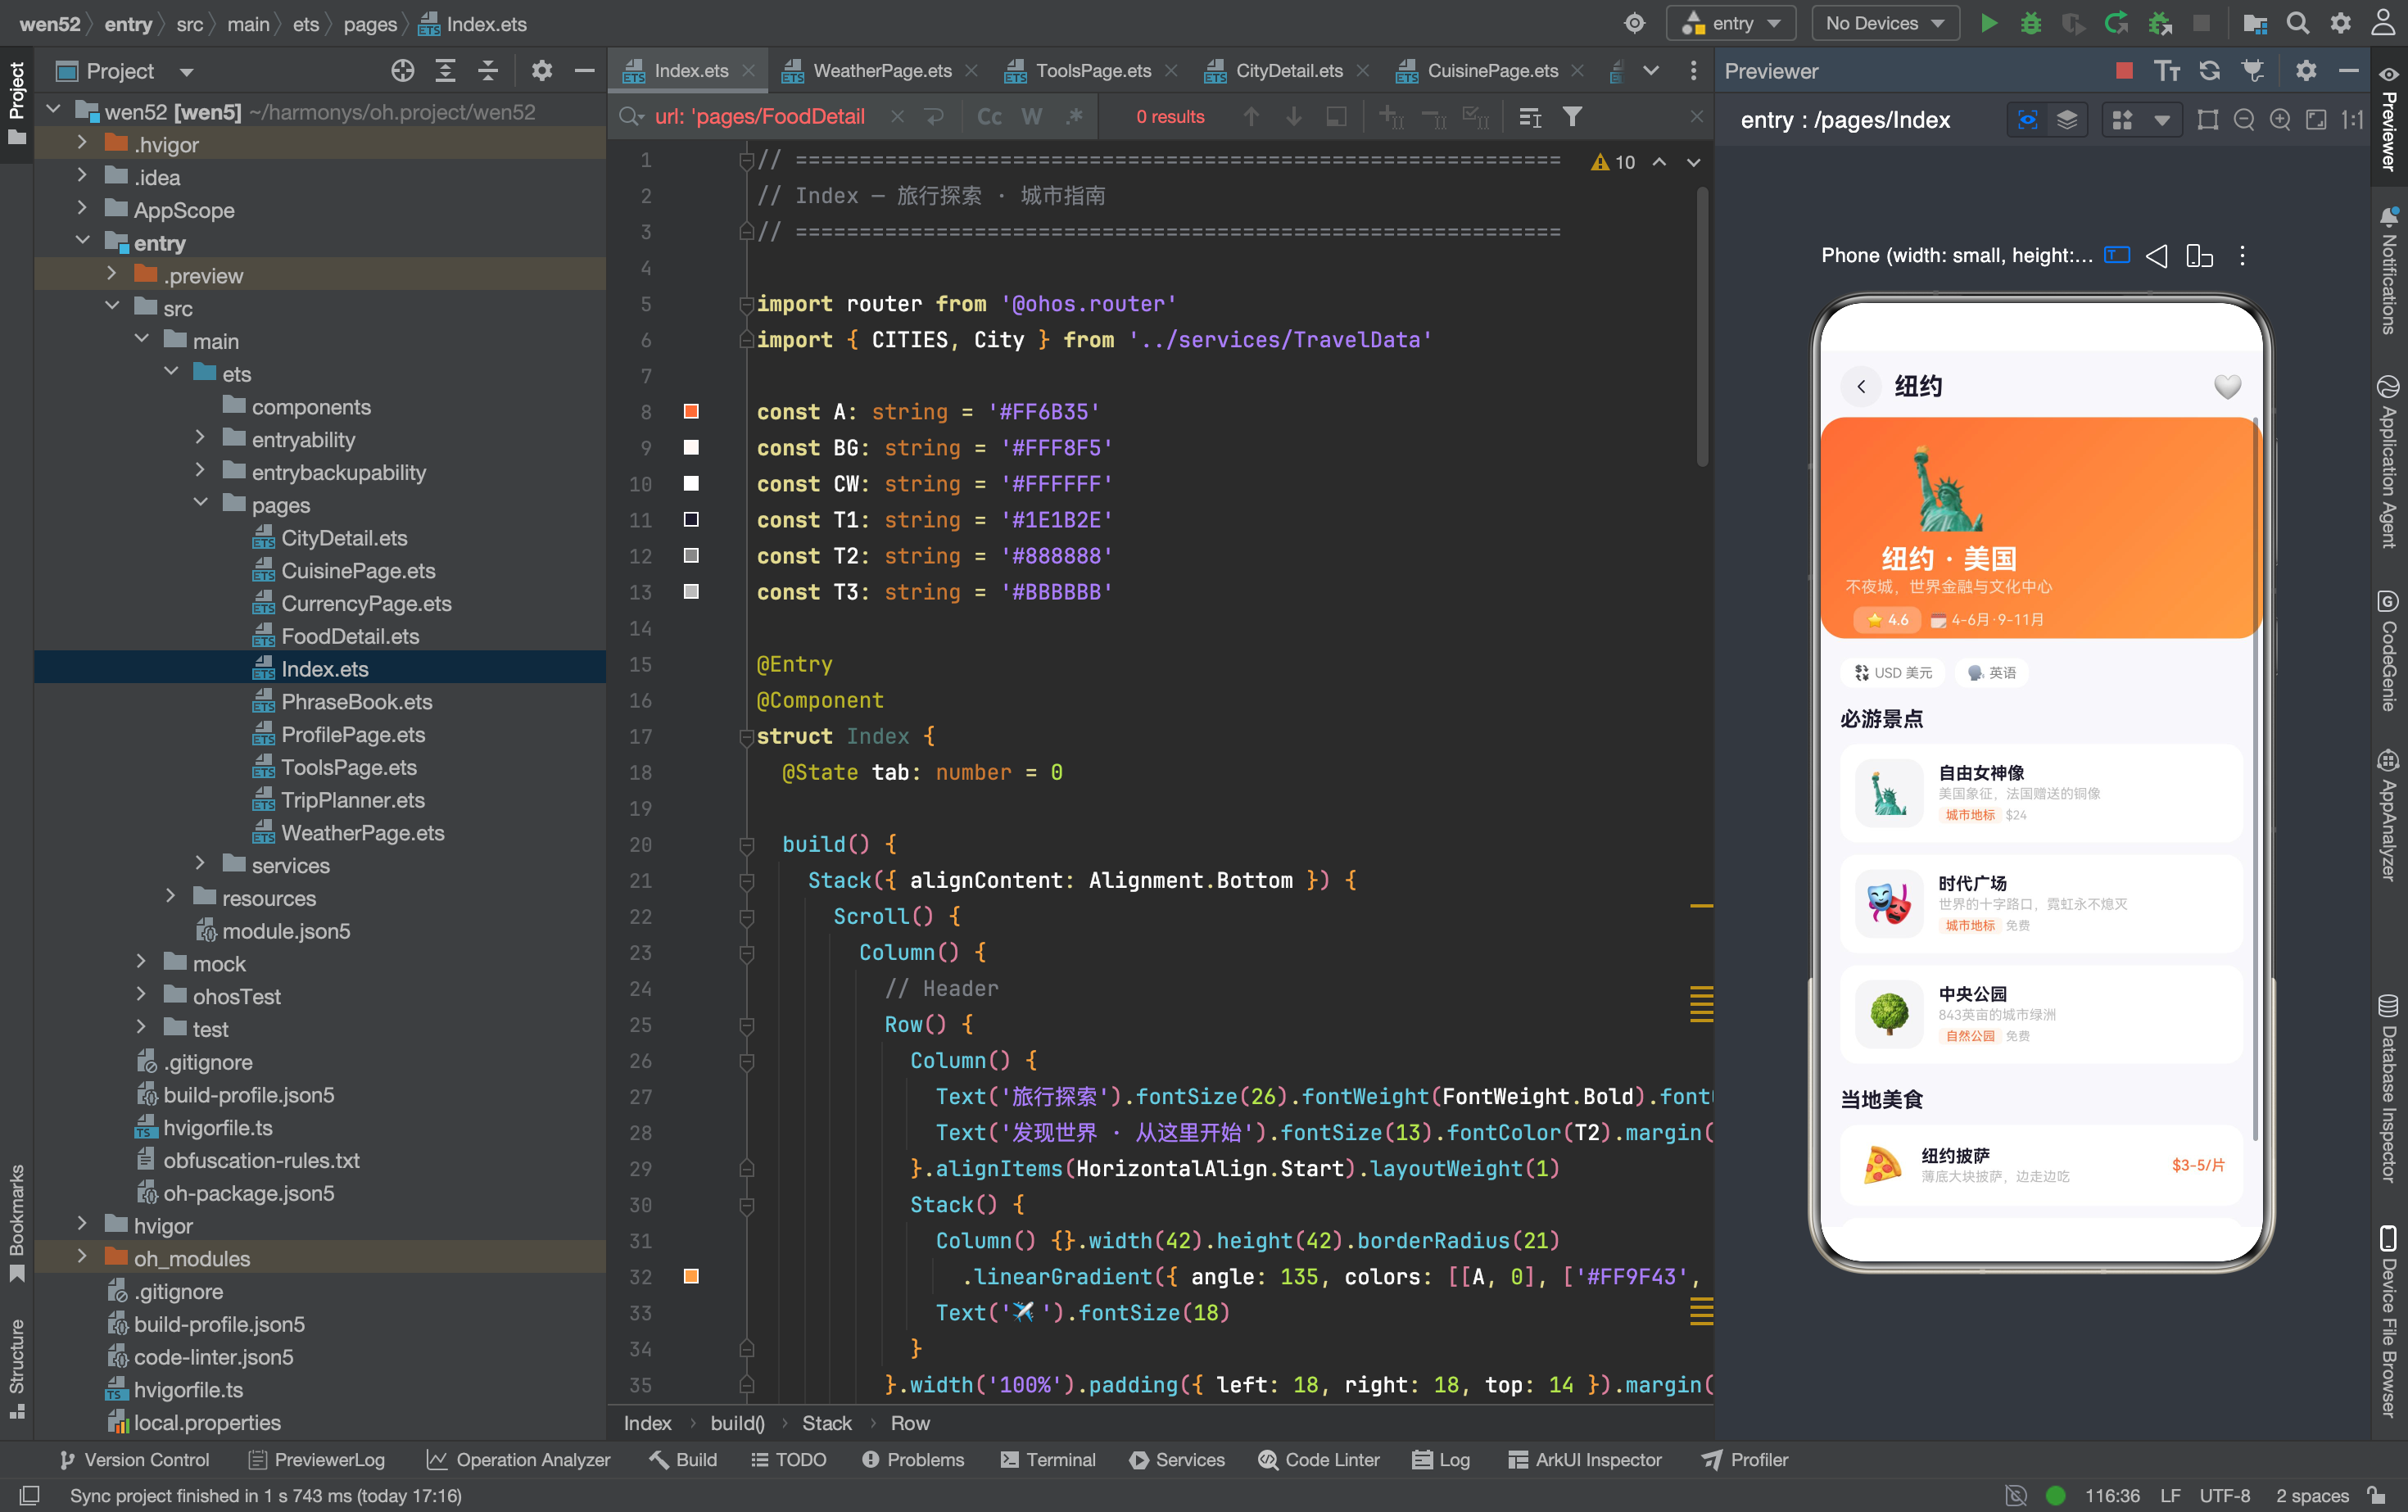
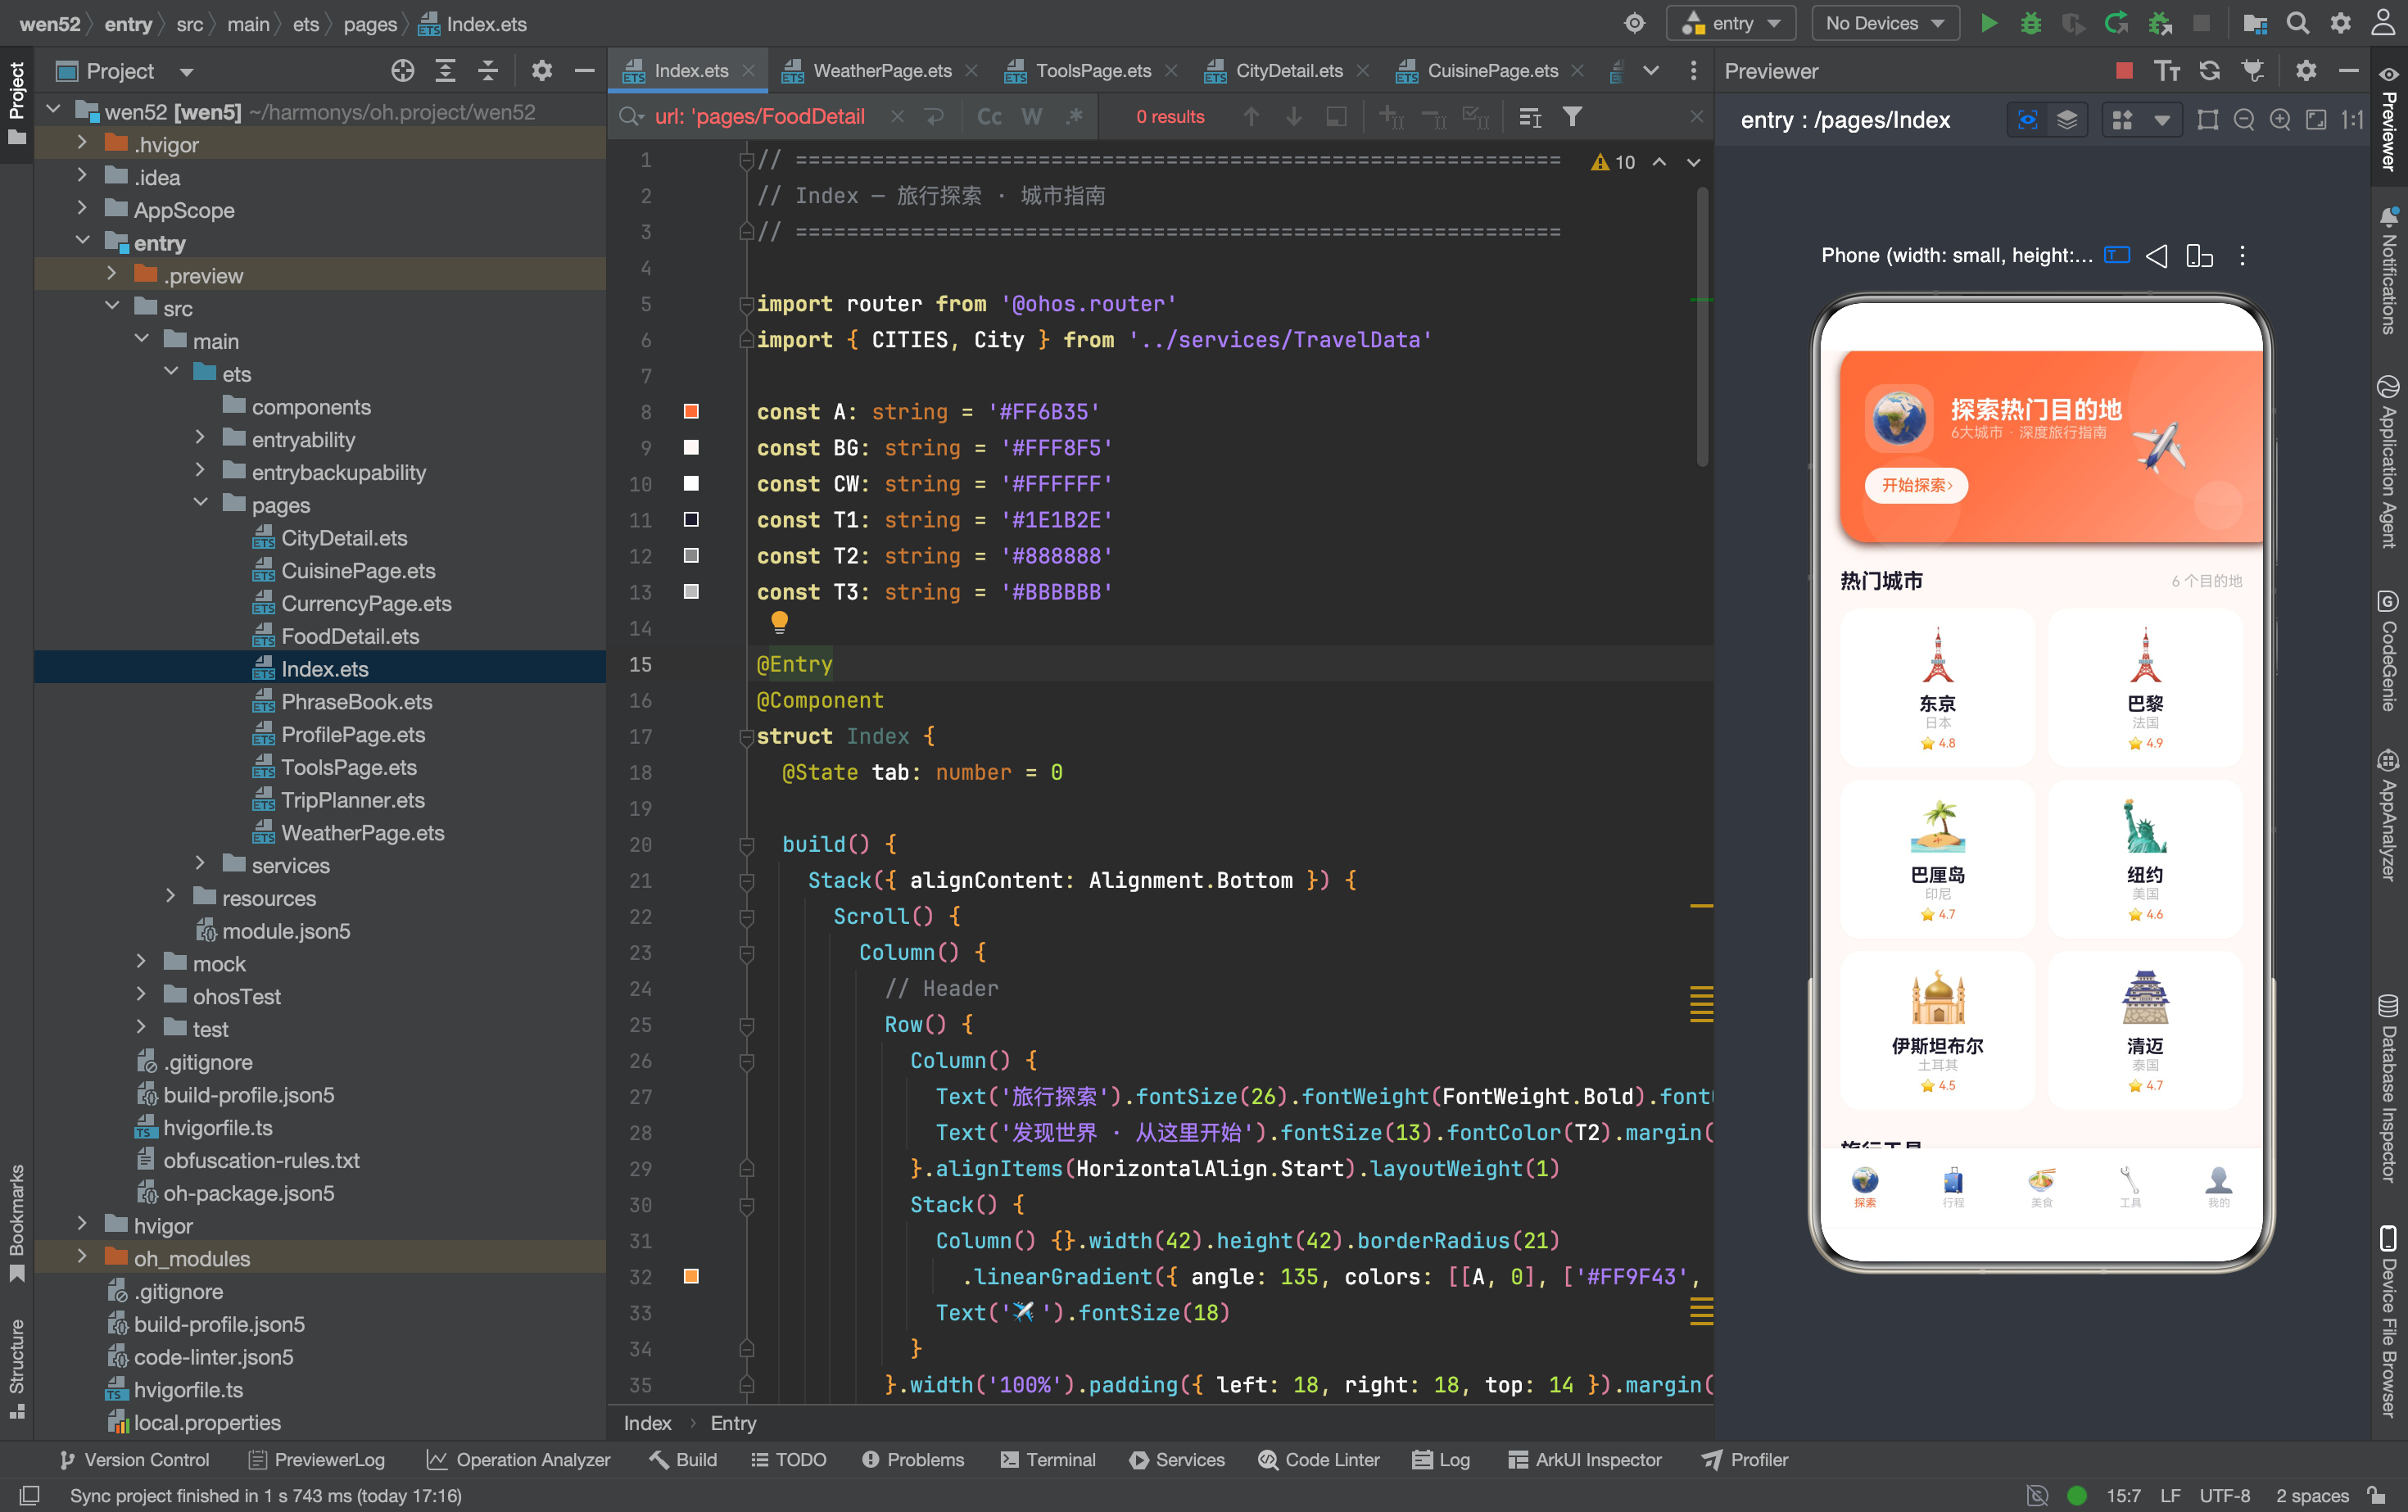
页面结构
从上到下四个区块:
- Hero 横幅:城市 emoji + 名称 + 国家 + 描述 + 评分 + 最佳季节
- 信息标签:货币和语言两个 Chip
- 必游景点:景点列表,每项有 emoji、名称、描述、分类标签、费用
- 当地美食:美食列表,每项有 emoji、名称、描述、价格
整体用 Scroll > Column 实现,内容超出屏幕时上下滚动。
参数接收与数据查找
@State city: City | undefined = undefined

aboutToAppear(): void {
  const p = router.getParams() as Record<string, Object>
  if (p && p['cityId']) {
    const id: number = p['cityId'] as number
    for (let i: number = 0; i < CITIES.length; i++) {
      if (CITIES[i].id === id) { this.city = CITIES[i]; break }
    }
  }
}
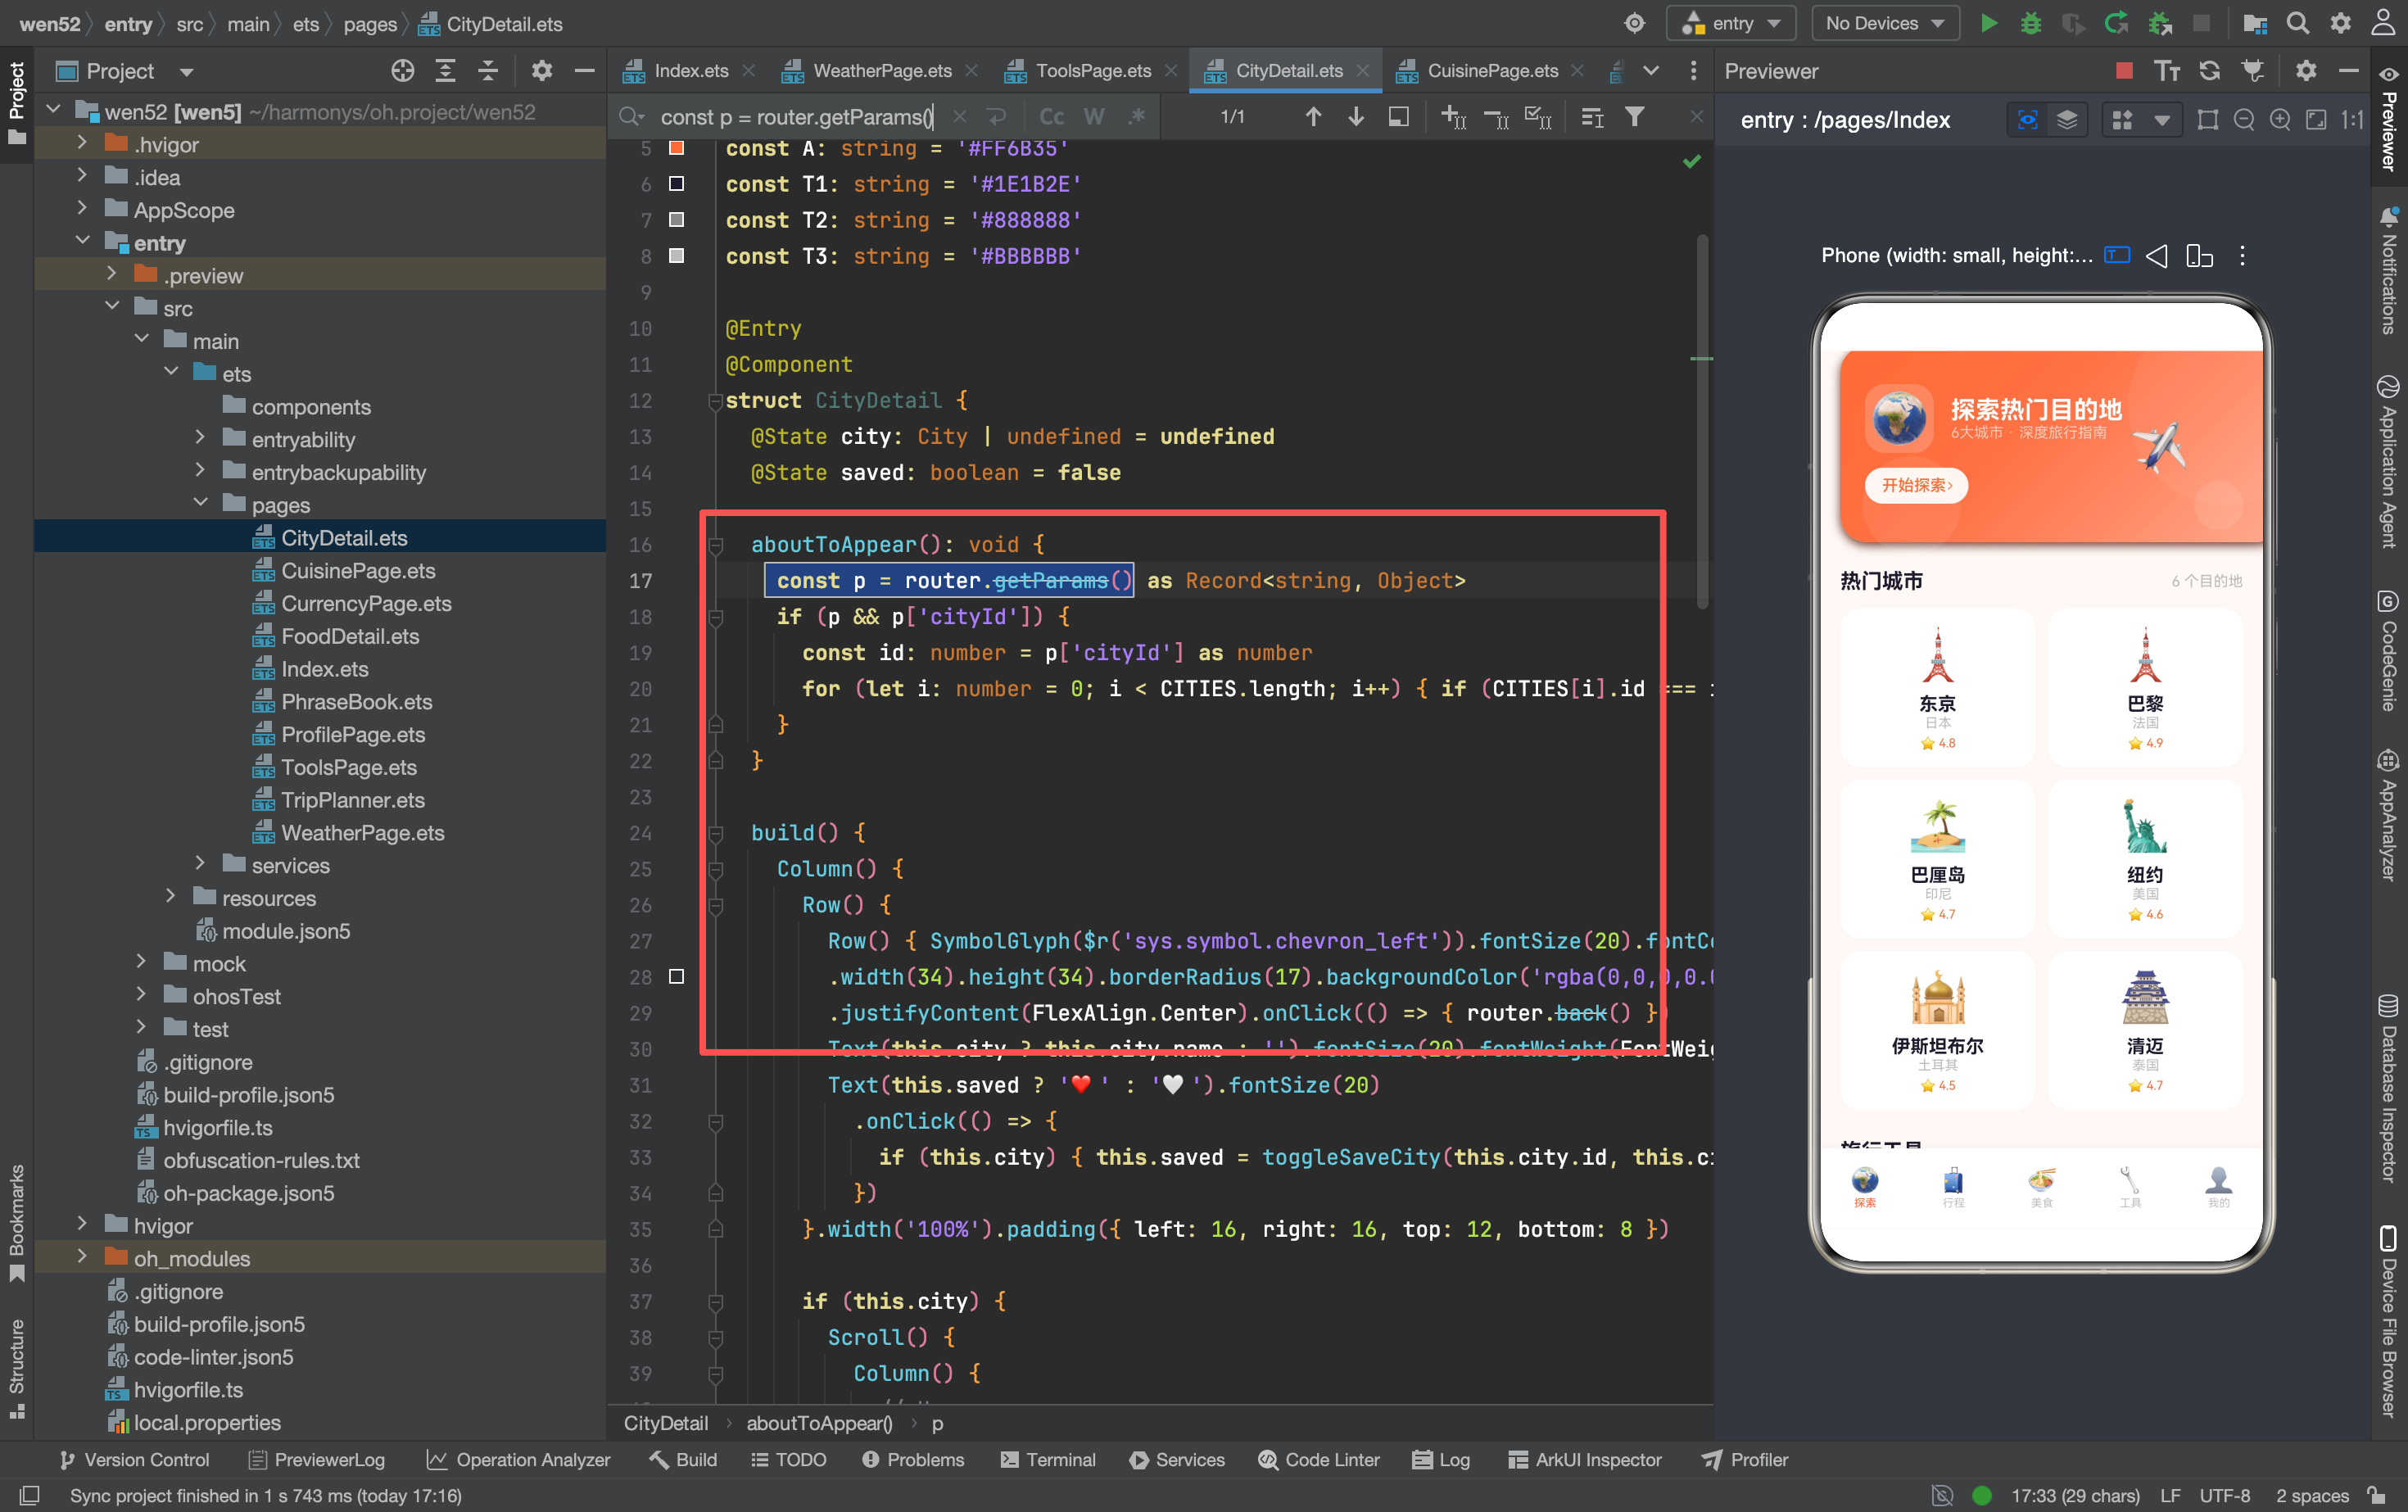
和美食详情页的全字段传递不同,城市详情页只接收一个 cityId,然后在 aboutToAppear 里遍历 CITIES 数组查找对应城市。找到后赋值给 @State city,UI 自动渲染。
city 的类型是 City | undefined——初始值是 undefined,找到数据后变成 City 对象。这意味着 build() 里需要处理 city 为空的情况。
条件渲染:city 为空时
if (this.city) {
  Scroll() {
    Column() {
      // Hero、标签、景点、美食
    }
  }
}
if (this.city) 保证了只有在找到城市数据时才渲染内容区。如果 cityId 无效或 CITIES 数组为空,页面只显示导航栏,内容区是空白。这是一个基本的空状态处理。
更好的做法是在找不到数据时显示一个提示(比如"城市不存在")并自动返回,但目前这个版本没有处理。
Hero 横幅
Stack({ alignContent: Alignment.BottomStart }) {
  Column() {}.width('100%').height(180).borderRadius(20)
    .linearGradient({ angle: 135, colors: [[A, 0], ['#FF9F43', 1]] })
  Column() {
    Text(this.city.emoji).fontSize(64)
    Text(this.city.name + ' · ' + this.city.country).fontSize(22)
      .fontWeight(FontWeight.Bold).fontColor(Color.White).margin({ top: 8 })
    Text(this.city.desc).fontSize(13)
      .fontColor('rgba(255,255,255,0.7)').margin({ top: 2 })
    Row() {
      Text('⭐ ' + this.city.rating.toString()).fontSize(12)
        .fontColor(Color.White).fontWeight(FontWeight.Medium)
        .padding({ left: 10, right: 10, top: 4, bottom: 4 })
        .backgroundColor('rgba(255,255,255,0.25)').borderRadius(8)
      Text('  🗓 ' + this.city.bestSeason).fontSize(12)
        .fontColor('rgba(255,255,255,0.8)')
    }.margin({ top: 8 })
  }.padding(20)
}
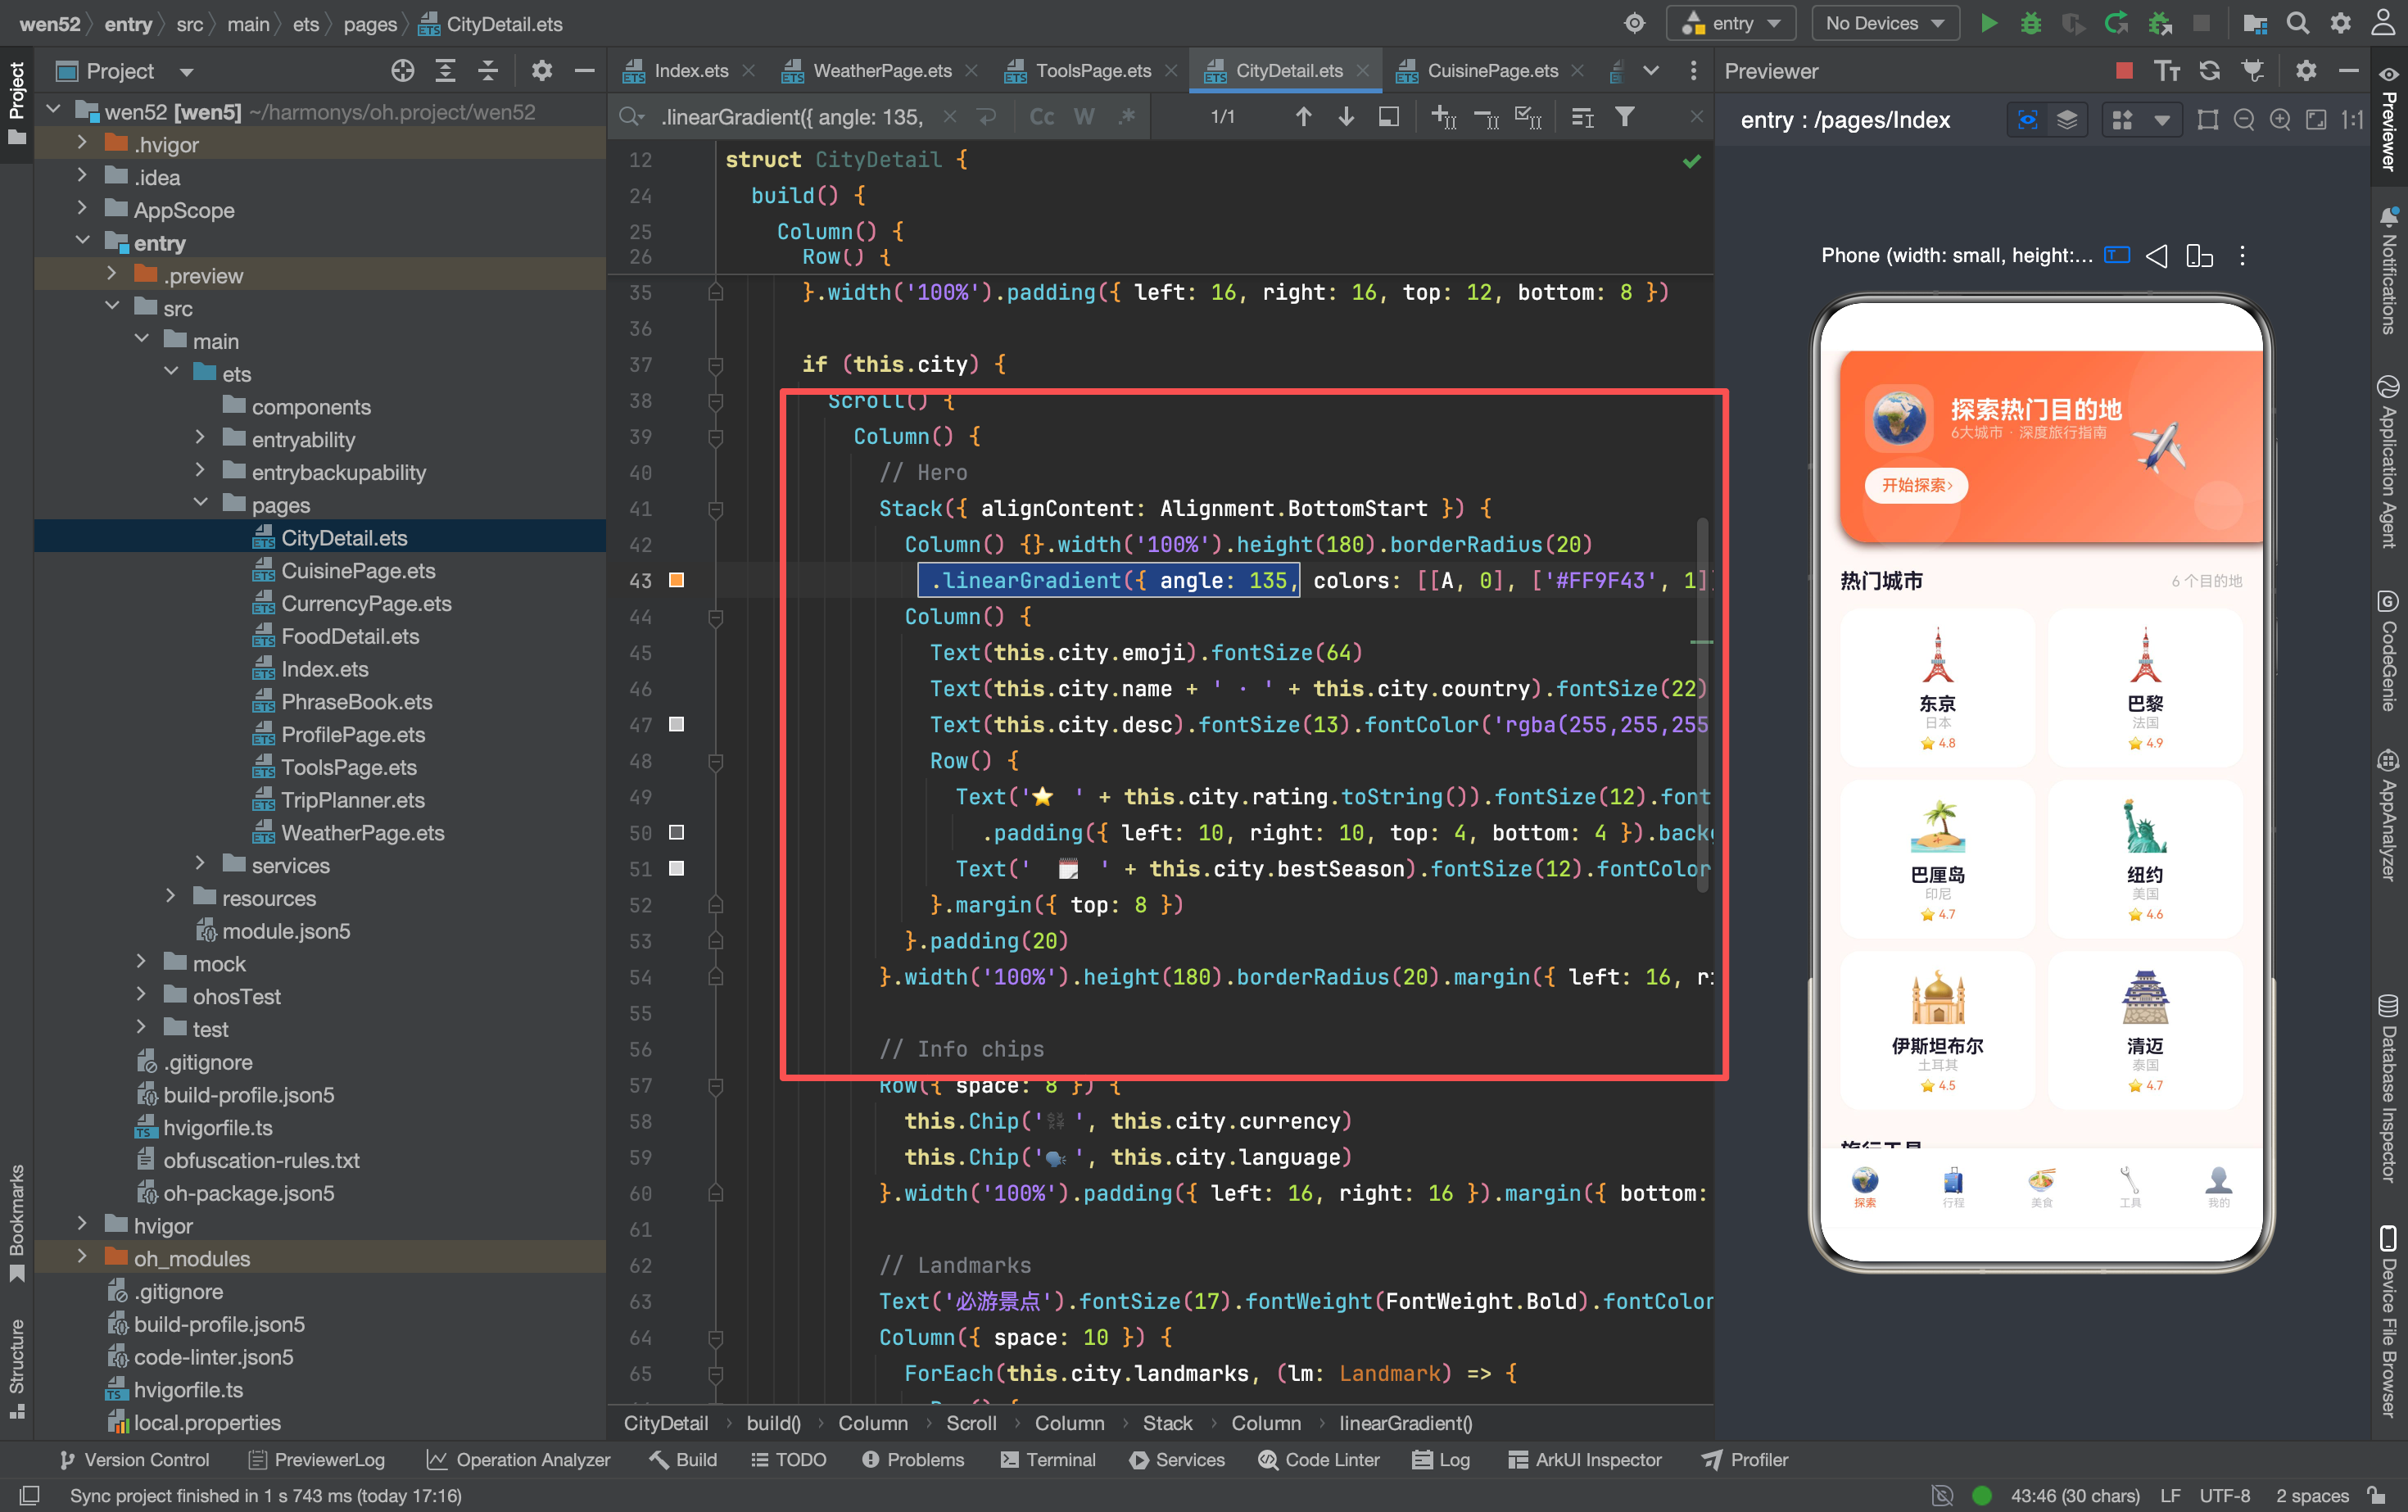
Stack({ alignContent: Alignment.BottomStart }) 把内容对齐到左下角——渐变背景铺满整个 180vp 区域,文字信息贴着底部排列。这和首页的 Hero(Alignment.Center 居中对齐)不同,详情页的 Hero 信息量更大,左下角对齐更符合阅读习惯。
评分标签用了半透明白色背景:
Text('⭐ ' + this.city.rating.toString())
  .backgroundColor('rgba(255,255,255,0.25)')
  .borderRadius(8)
rgba(255,255,255,0.25) 是 25% 不透明度的白色,在橙色渐变背景上形成一个磨砂玻璃效果。这种半透明标签在深色背景上很常见——既保证了文字可读性,又不会完全遮挡背景。
信息标签(Chip)
Row({ space: 8 }) {
  this.Chip('💱', this.city.currency)
  this.Chip('🗣', this.city.language)
}.width('100%').padding({ left: 16, right: 16 }).margin({ bottom: 16 })

@Builder Chip(icon: string, text: string) {
  Row() {
    Text(icon).fontSize(12)
    Text(' ' + text).fontSize(11).fontColor(T2)
  }.padding({ left: 10, right: 10, top: 5, bottom: 5 })
  .backgroundColor('#FFFFFF').borderRadius(10)
}
两个 Chip 分别显示货币和语言信息。Chip 的实现很简单——一个 Row 包裹 emoji + 文字,白底圆角。
这个 Chip Builder 在整个项目里只被城市详情页使用。和 ToolCard、Menu 等高频复用的 Builder 不同,Chip 的使用场景很窄,所以没有被其他页面引用。但把它抽成 Builder 仍然有价值——如果以后要在其他页面显示类似的信息标签(比如天气页面的"温度+湿度"标签),可以直接复用。
景点列表
Text('必游景点').fontSize(17).fontWeight(FontWeight.Bold).fontColor(T1)
  .width('100%').padding({ left: 16 }).margin({ bottom: 10 })

Column({ space: 10 }) {
  ForEach(this.city.landmarks, (lm: Landmark) => {
    Row() {
      Text(lm.emoji).fontSize(32).width(56).height(56).borderRadius(14)
        .backgroundColor('#F5F5F7').textAlign(TextAlign.Center)
      Column() {
        Text(lm.name).fontSize(14).fontWeight(FontWeight.Bold).fontColor(T1)
        Text(lm.desc).fontSize(11).fontColor(T3).maxLines(2).margin({ top: 2 })
        Row() {
          Text(lm.category).fontSize(10).fontColor(A)
            .padding({ left: 6, right: 6, top: 1, bottom: 1 })
            .backgroundColor('#FFF5F0').borderRadius(4)
          Text(' ' + lm.fee).fontSize(10).fontColor(T3)
        }.margin({ top: 4 })
      }.alignItems(HorizontalAlign.Start).margin({ left: 12 }).layoutWeight(1)
    }.width('100%').padding(12).backgroundColor('#FFFFFF').borderRadius(14)
  })
}
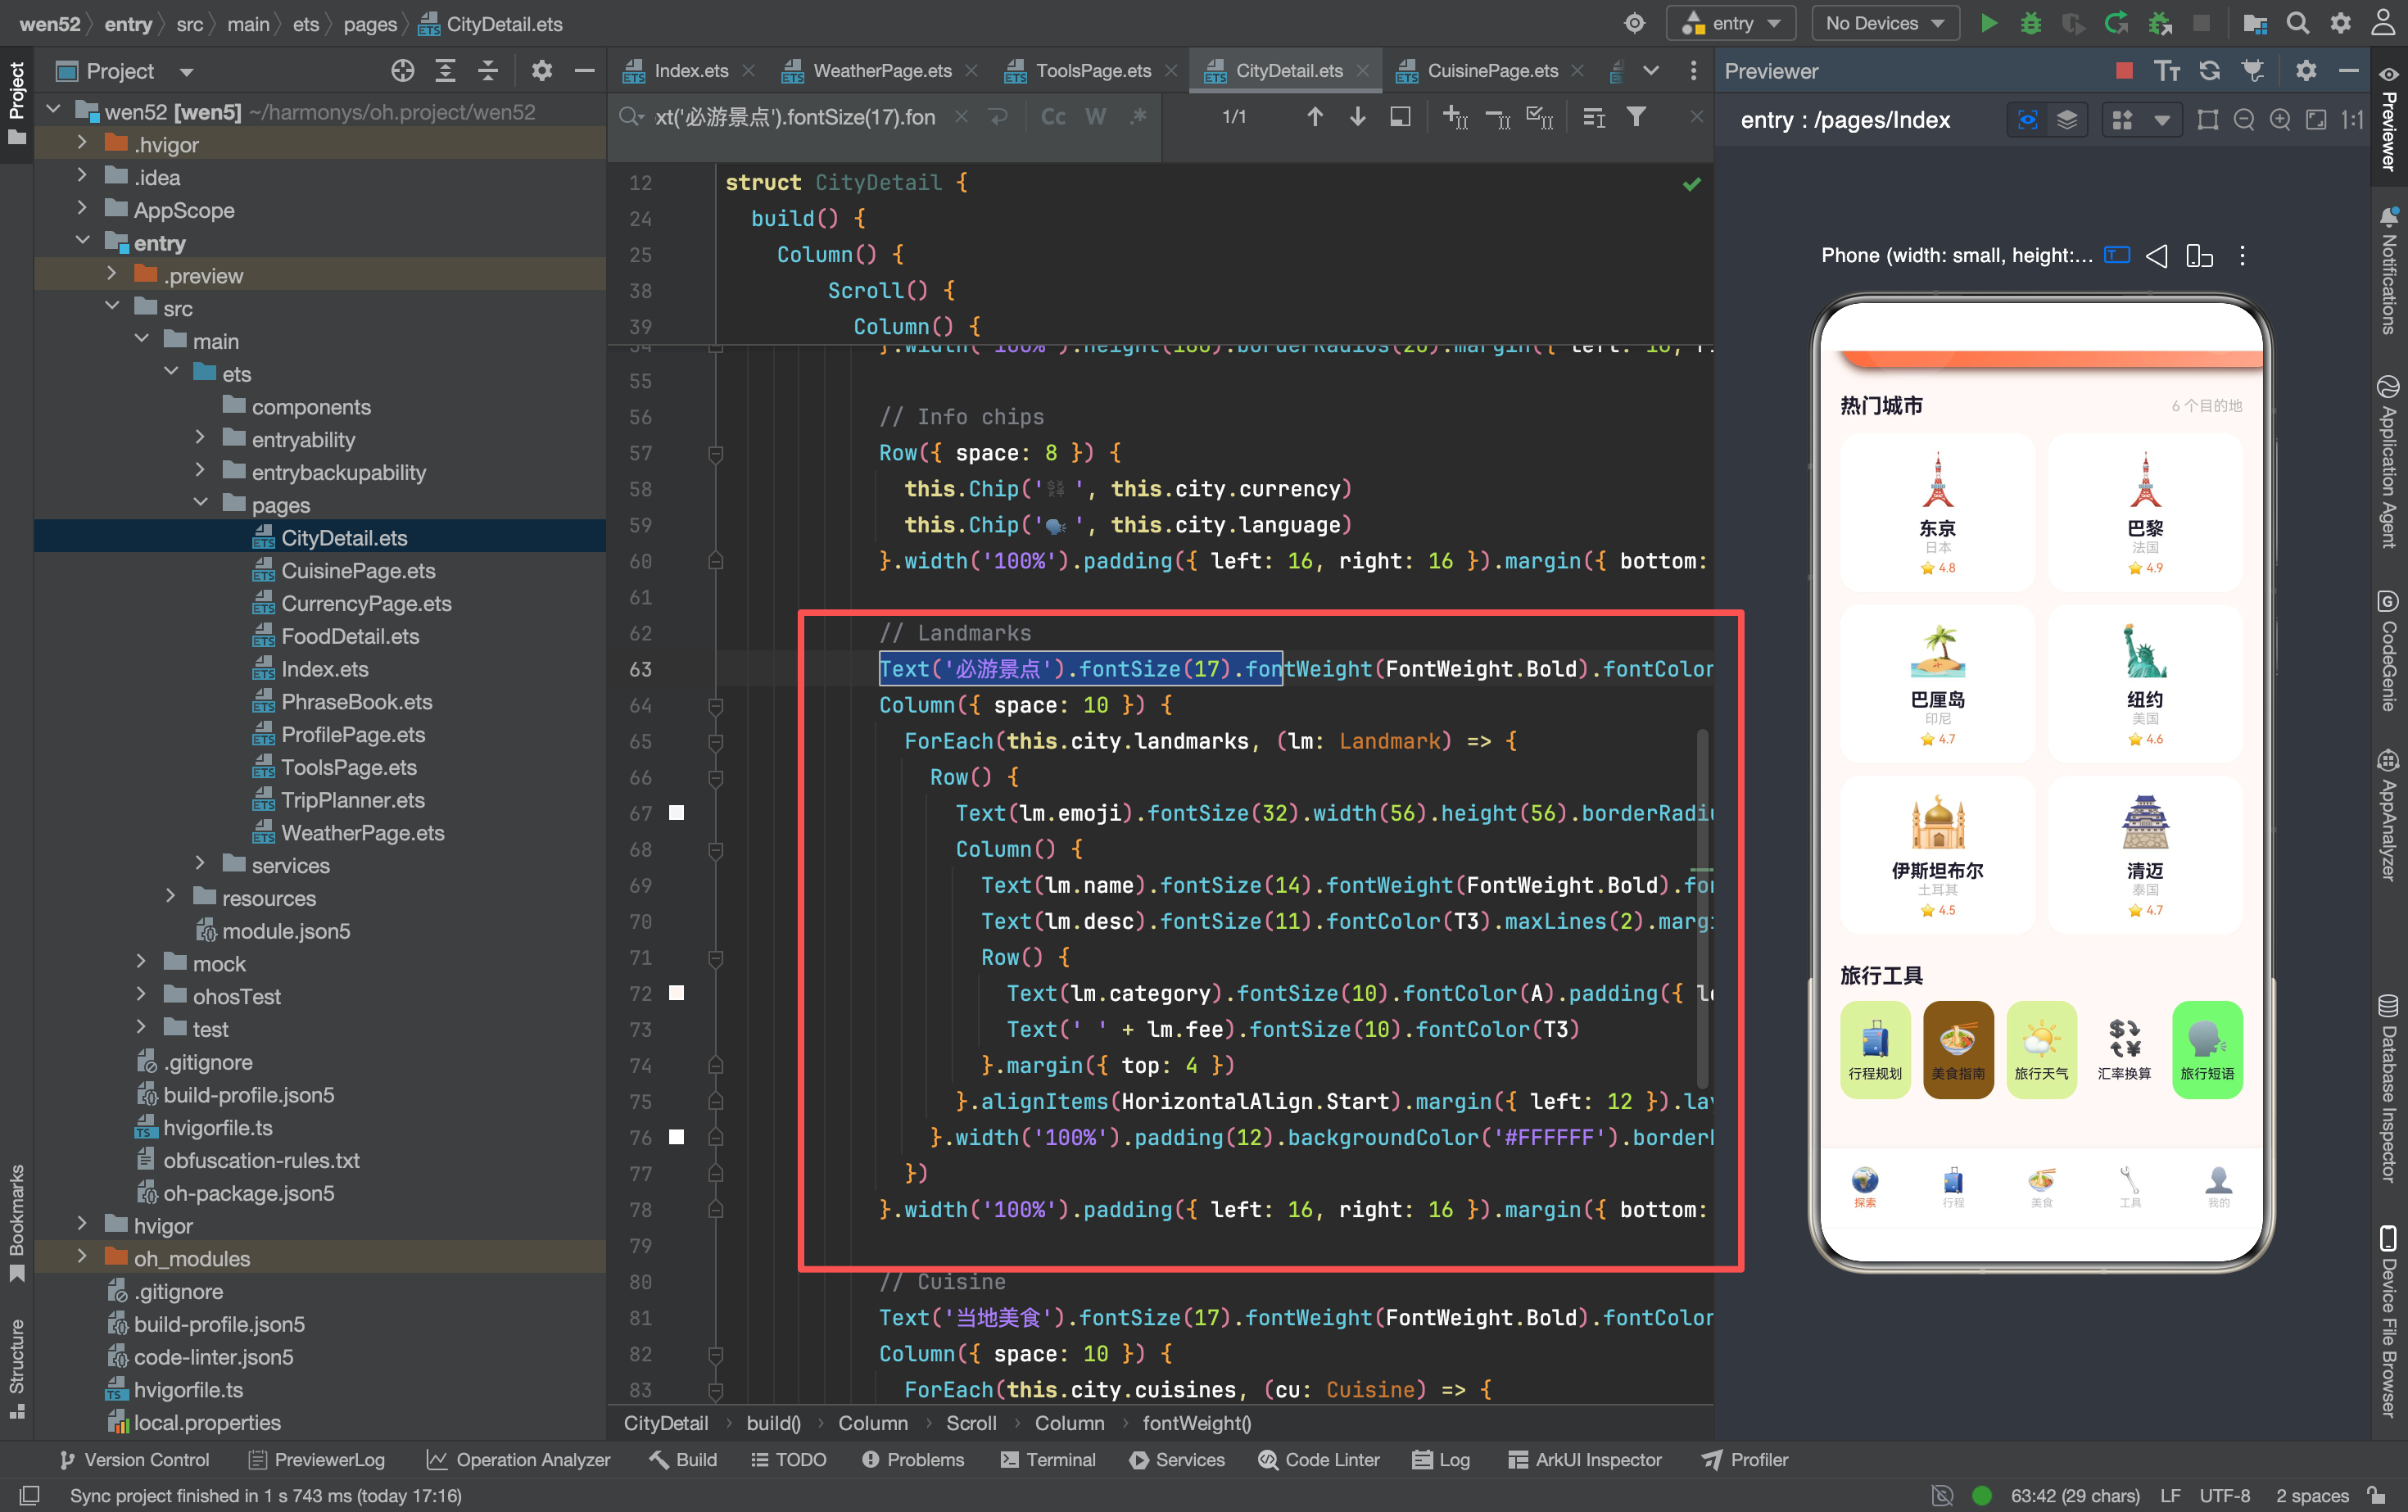
每个景点卡片分左右两部分:左侧是 56×56 的 emoji 容器(和美食指南的 FoodItem 用的是同一个尺寸),右侧是三层信息——景点名称、描述(最多两行)、分类标签 + 费用。
maxLines 的作用
Text(lm.desc).fontSize(11).fontColor(T3).maxLines(2)
maxLines(2) 限制描述文字最多显示两行。如果描述超过两行,会在末尾显示省略号(ArkTS 的默认行为)。这防止了某个景点的超长描述把整个卡片撑得很高,影响其他卡片的视觉一致性。
分类标签
Text(lm.category).fontSize(10).fontColor(A)
  .padding({ left: 6, right: 6, top: 1, bottom: 1 })
  .backgroundColor('#FFF5F0').borderRadius(4)
分类标签(如"历史文化"、“城市地标”)用 10px 字号 + 浅橙色背景,和美食指南的城市标签是同一套视觉语言。标签的圆角只有 4px(比城市标签的 3px 稍大),因为分类标签的文字通常更长(四个字),太小的圆角会让长文字显得拥挤。
美食列表
Text('当地美食').fontSize(17).fontWeight(FontWeight.Bold).fontColor(T1)
  .width('100%').padding({ left: 16 }).margin({ bottom: 10 })

Column({ space: 10 }) {
  ForEach(this.city.cuisines, (cu: Cuisine) => {
    Row() {
      Text(cu.emoji).fontSize(32)
      Column() {
        Text(cu.name).fontSize(14).fontWeight(FontWeight.Bold).fontColor(T1)
        Text(cu.desc).fontSize(11).fontColor(T3).margin({ top: 2 })
      }.alignItems(HorizontalAlign.Start).margin({ left: 12 }).layoutWeight(1)
      Text(cu.price).fontSize(12).fontColor(A).fontWeight(FontWeight.Medium)
    }.width('100%').padding(14).backgroundColor('#FFFFFF').borderRadius(14)
  })
}
美食列表比景点列表简单——没有 emoji 底色容器(直接显示 emoji),没有分类标签,右侧只有价格。这是因为美食的信息层级比景点少:景点需要分类和费用,美食只需要价格。
ForEach 的数据源
景点和美食的 ForEach 都直接遍历 this.city.landmarks 和 this.city.cuisines——这些数据是 City 对象自带的嵌套数组,不需要额外查询。这正是"嵌套数据结构"的优势:读取时直接访问,不需要二次查找。
如果用的是运动健康 App 那样的 ID 引用模式,这里就需要先取出 ID 数组,再逐个查询动作详情,代码会复杂很多。
页面间的数据关系
城市详情页的数据来源可以用一张图概括:
首页 (Index)
  │
  │ params: cityId
  ↓
CityDetail
  │
  ├→ CITIES[cityId]        (城市基本信息)
  │    ├→ city.landmarks    (景点数组,直接遍历)
  │    └→ city.cuisines     (美食数组,直接遍历)
  │
  └→ 跳转到美食详情页
       │ params: name, emoji, city, desc, price
       ↓
     FoodDetail
城市详情页是整个数据流的"中转站"——从首页接收 ID,查找完整数据,展示嵌套内容,再把部分字段传递给美食详情页。
这个中转站的设计让数据流变成了树状结构:首页是根节点,城市详情页是分支节点,美食详情页是叶子节点。每个节点只关心自己需要的数据,不需要了解整棵树的全貌。
和其他详情页的对比
| 维度 | CityDetail | FoodDetail | ExerciseDetail(运动健康) |
|---|---|---|---|
| 参数传递 | ID 查询 | 全字段 | ID 查询 |
| 数据嵌套 | 有(landmarks, cuisines) | 无 | 有(exercises) |
| Hero 高度 | 180vp | 200vp | 200vp |
| 内容区块 | 4 个 | 2 个 | 3 个 |
| 条件渲染 | 有(city 存在检查) | 无 | 有(exercise 存在检查) |
三个详情页的共同点是都有 Hero 横幅和条件渲染,区别在于数据复杂度和参数传递方式。城市详情页是三者中信息密度最高的,美食详情页是最简单的,运动详情页介于两者之间。

讨论HarmonyOS开发技术,专注于API与组件、DevEco Studio、测试、元服务和应用上架分发等。
更多推荐



 1
1 0
0- 0


 已为社区贡献159条内容

所有评论(0)