HarmonyOS APP实战-基于Image Kit的图像处理APP - 第4篇:图片缩放与裁剪
HarmonyOS APP实战-基于Image Kit的图像处理APP - 第4篇:缩放裁剪功能实现
1. 开篇
第3篇中,我们实现了图片解码与信息提取功能。核心产出了ImageInfoPage组件:它通过image.createImageSource创建图片源,调用imageSource.getImageProperty获取图片宽度、高度等信息,最终将PixelMap和图片元数据展示在界面上。现在我们有了可用的PixelMap像素数据,下一步就是对这张图片进行操作——缩放和裁剪是图片处理中最基础也最常用的两种变换操作。
本篇我们将开发PixelMapUtils工具类,封装PixelMap.scale和PixelMap.crop两个核心API。同时构建ScalePage(缩放页面)和CropPage(裁剪页面),分别提供滑块控制缩放比例、矩形选框选择裁剪区域两种交互方式,并实时预览效果。完成本篇后,APP的图片编辑能力将真正可用。
2. 核心实现
2.1 基础配置
在pages目录下创建ScalePage.ets和CropPage.ets,同时创建utils/PixelMapUtils.ets。本模块需要先配置必要的导入和类型声明。
// utils/PixelMapUtils.ets
// 工具类,封装PixelMap的常用操作方法

import { image } from '@kit.ImageKit';

/**
 * 缩放参数接口
 * 用于传递缩放比例,支持X轴和Y轴独立缩放
 */
export interface ScaleParams {
  scaleX: number; // X轴缩放比例,1.0为原始大小
  scaleY: number; // Y轴缩放比例,1.0为原始大小
}

/**
 * 裁剪区域接口
 * 定义矩形选区的位置和尺寸
 */
export interface CropRegion {
  x: number;      // 起始X坐标
  y: number;      // 起始Y坐标
  width: number;  // 选区宽度
  height: number; // 选区高度
}
关键点说明:
ScaleParams和CropRegion接口专门为本APP的缩放裁剪功能定义,后续页面组件直接使用- 导入
image模块是使用PixelMap及其方法的必要条件,在HarmonyOS的ArkTS开发中,所有图片处理API都封装在@kit.ImageKit中
2.2 核心逻辑:PixelMapUtils工具类
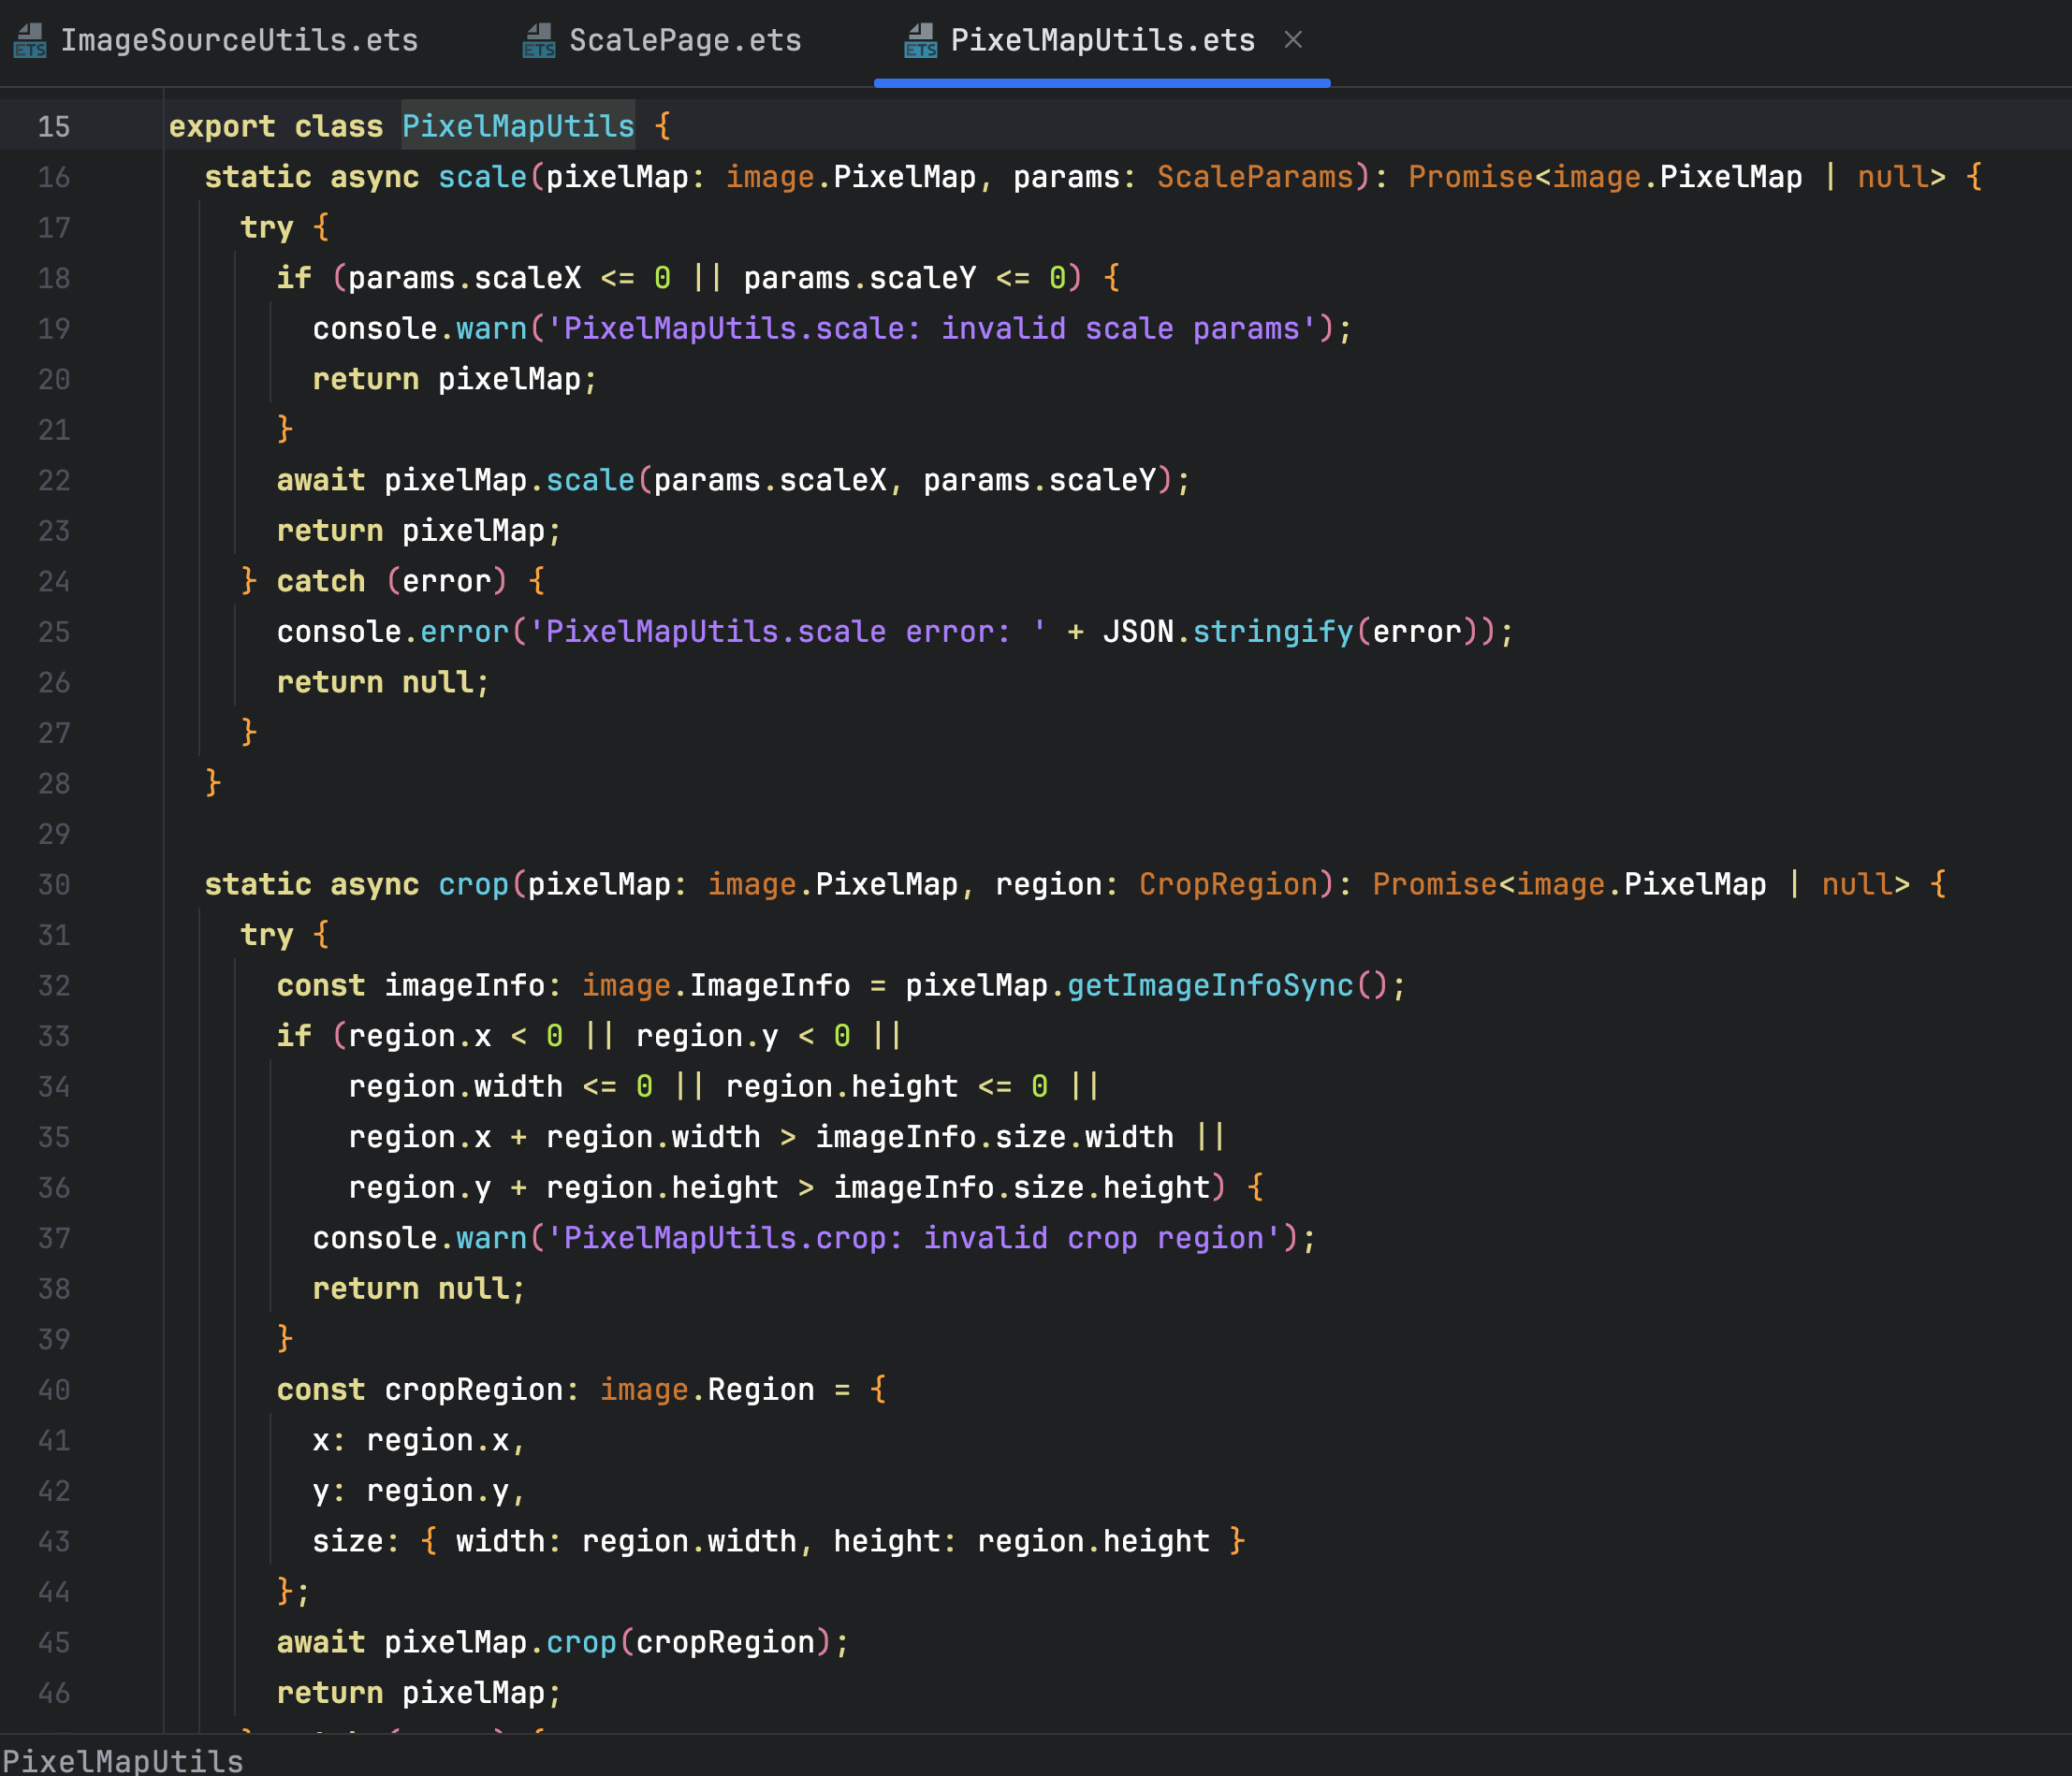
在PixelMapUtils.ets中实现缩放和裁剪两个静态方法,分别调用PixelMap.scale和PixelMap.crop。两个方法都返回新的PixelMap对象,不修改原始数据。
// utils/PixelMapUtils.ets(续)
// 完整的PixelMapUtils工具类,提供缩放和裁剪功能

export class PixelMapUtils {

  /**
   * 缩放PixelMap
   * @param pixelMap 原始PixelMap对象
   * @param params 缩放参数(scaleX,scaleY)
   * @returns 缩放后的新PixelMap,失败返回null
   */
  public static async scale(pixelMap: PixelMap, params: ScaleParams): Promise<PixelMap | null> {
    try {
      // 校验输入,缩放比例必须为正数,否则保持原样
      if (params.scaleX <= 0 || params.scaleY <= 0) {
        console.warn('PixelMapUtils.scale: invalid scale params, using default 1.0');
        return pixelMap;
      }

      // 调用PixelMap的scale方法进行缩放
      // 参数:scaleX, scaleY为浮点数,1.0表示原尺寸
      // 注意:scale是直接修改PixelMap对象本身的像素数据
      await pixelMap.scale(params.scaleX, params.scaleY);

      // 返回缩放后的PixelMap(原对象已被修改)
      return pixelMap;
    } catch (error) {
      console.error(`PixelMapUtils.scale error: ${JSON.stringify(error)}`);
      return null;
    }
  }

  /**
   * 裁剪PixelMap
   * @param pixelMap 原始PixelMap对象
   * @param region 裁剪区域(x, y, width, height)
   * @returns 裁剪后的新PixelMap,失败返回null
   */
  public static async crop(pixelMap: PixelMap, region: CropRegion): Promise<PixelMap | null> {
    try {
      // 校验裁剪区域的有效性:不能超出原图边界,宽高必须大于0
      const imageInfo = pixelMap.getImageInfoSync();
      if (region.x < 0 || region.y < 0 ||
          region.width <= 0 || region.height <= 0 ||
          region.x + region.width > imageInfo.size.width ||
          region.y + region.height > imageInfo.size.height) {
        console.warn('PixelMapUtils.crop: invalid crop region');
        return null;
      }

      // 调用PixelMap的crop方法进行裁剪
      // 参数为Region对象,包含x, y, width, height四个属性
      // crop会返回一个新的PixelMap,不修改原始对象
      const croppedPixelMap: PixelMap = await pixelMap.crop(region);
      return croppedPixelMap;
    } catch (error) {
      console.error(`PixelMapUtils.crop error: ${JSON.stringify(error)}`);
      return null;
    }
  }
}
关键点说明:
PixelMap.scale是异步方法,直接修改原始PixelMap的像素数据,因此最终返回是同一个对象,但像素数据已变PixelMap.crop也是异步方法,但它不修改原始对象,而是返回一个全新的PixelMap,原始数据保留- 两个方法都有异常捕获,因为图片处理涉及大量内存操作,需要处理可能的失败场景
- 裁剪区域需要校验合法性:不能为负,不能超出原图尺寸,宽度高度必须为正
2.3 完整模块:CropPage裁剪页面
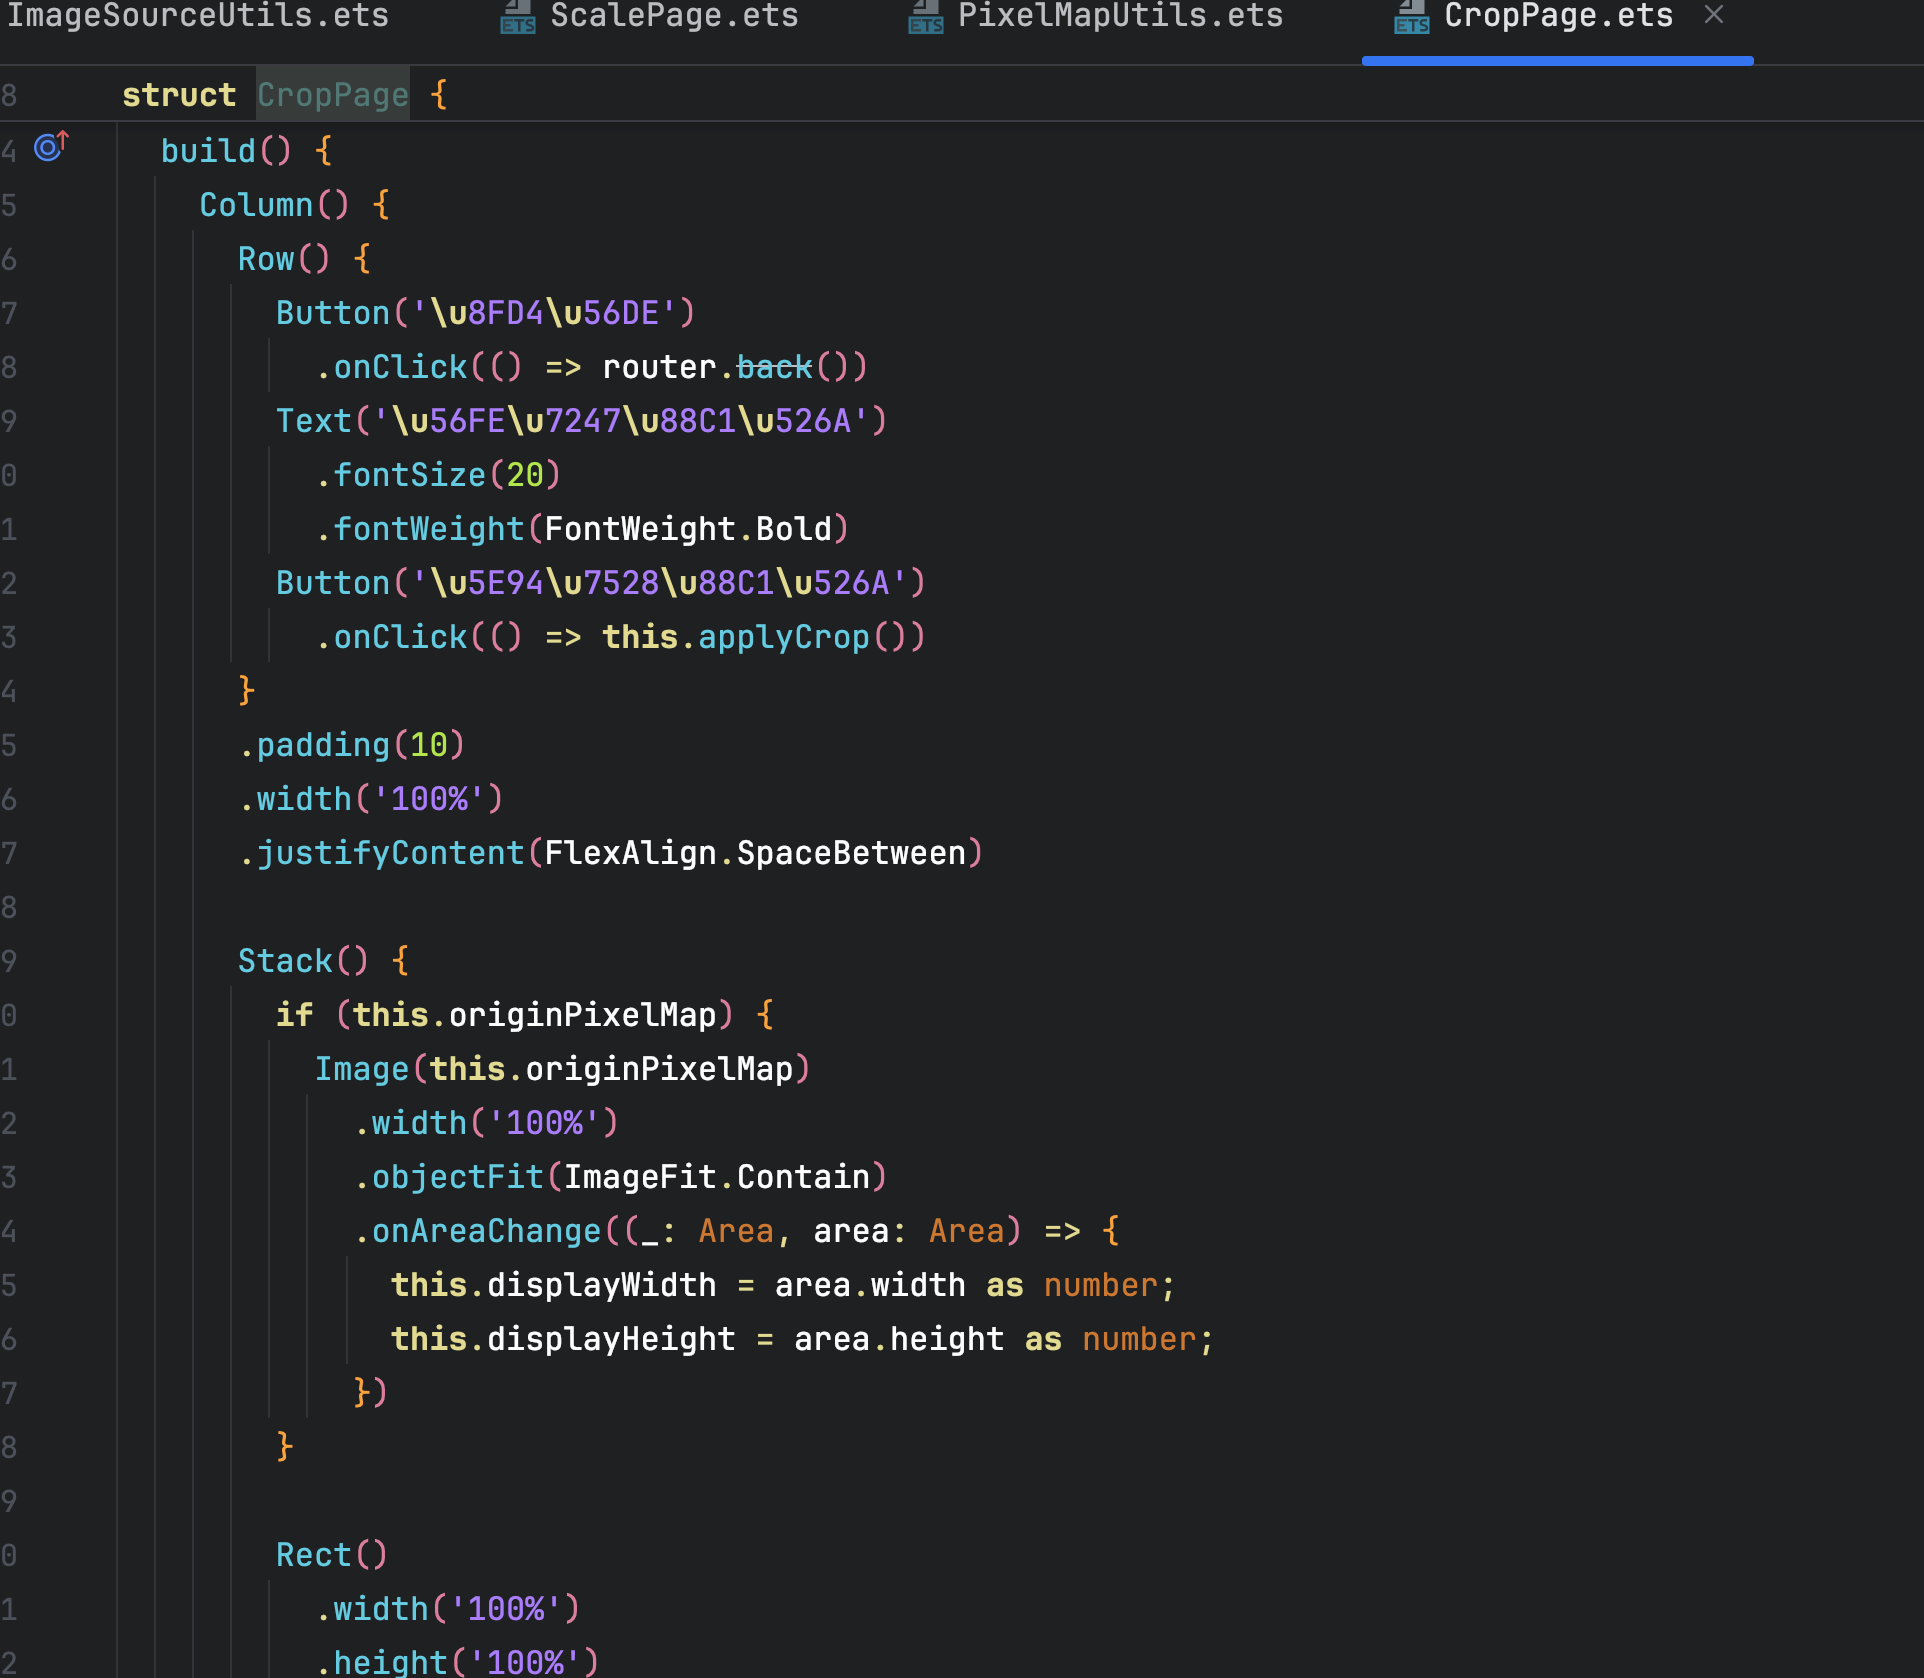
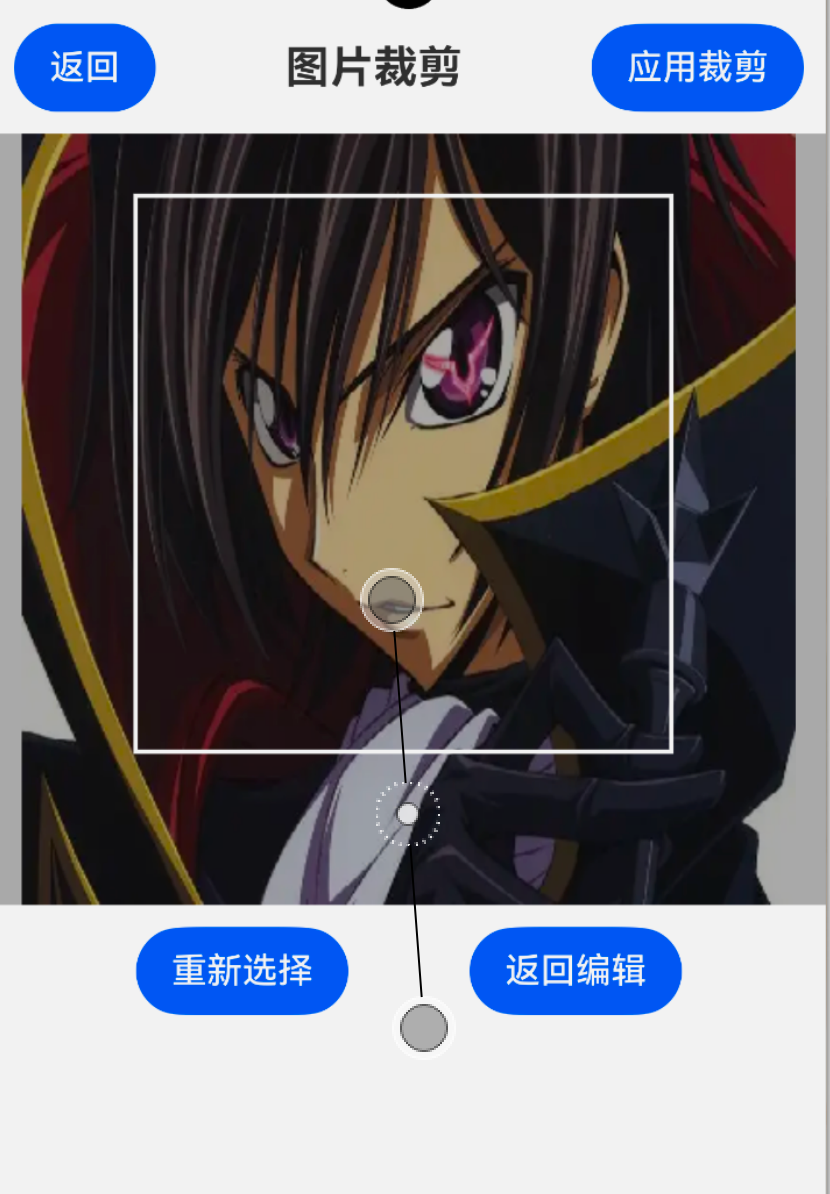
裁剪页面提供矩形选框交互:用户通过触摸拖拽选择一个矩形区域,确认后调用PixelMap.crop裁剪并显示结果。缩放页面原理类似但交互更简单(滑块控制比例),这里重点展示裁剪页面的完整代码。
// pages/CropPage.ets
// 图片裁剪页面,支持矩形选框选择裁剪区域

import { image } from '@kit.ImageKit';
import { PixelMapUtils, CropRegion } from '../utils/PixelMapUtils';
import { router } from '@kit.ArkUI';

@Entry
@Component
struct CropPage {
  // 从上一页传递过来的原始PixelMap
  @State private originPixelMap: PixelMap | null = null;
  // 裁剪后生成的PixelMap
  @State private croppedPixelMap: PixelMap | null = null;
  // 选框的起始坐标和尺寸(在图片显示坐标系中)
  @State private rectX: number = 0;
  @State private rectY: number = 0;
  @State private rectWidth: number = 100;
  @State private rectHeight: number = 100;
  // 是否正在拖拽选框
  private isDragging: boolean = false;
  // 图片在屏幕上的实际显示尺寸(用于坐标映射)
  @State private displayWidth: number = 0;
  @State private displayHeight: number = 0;

  // 页面返回,携带裁剪结果回上一页
  private goBackWithResult(): void {
    if (this.croppedPixelMap) {
      router.back({
        url: 'pages/EditPage',
        params: {
          pixelMap: this.croppedPixelMap
        }
      });
    }
  }

  build() {
    Column() {
      // 标题栏
      Row() {
        Button('返回').onClick(() => router.back())
        Text('图片裁剪')
        Button('应用裁剪').onClick(async () => {
          if (this.originPixelMap == null) return;
          // 将屏幕坐标映射到图片真实坐标
          // 假设图片等比例缩放显示,需要计算比例因子
          const imageInfo = this.originPixelMap.getImageInfoSync();
          const scaleW = imageInfo.size.width / this.displayWidth;
          const scaleH = imageInfo.size.height / this.displayHeight;
          // 使用较精确的缩放因子(取平均或各自独立,这里使用各自的)
          const region: CropRegion = {
            x: Math.round(this.rectX * scaleW),
            y: Math.round(this.rectY * scaleH),
            width: Math.round(this.rectWidth * scaleW),
            height: Math.round(this.rectHeight * scaleH)
          };
          const result = await PixelMapUtils.crop(this.originPixelMap, region);
          if (result) {
            this.croppedPixelMap = result;
          }
        })
      }
      .padding(10)
      .width('100%')
      .justifyContent(FlexAlign.SpaceBetween)

      // 显示图片的区域,作为裁剪框的容器
      Stack() {
        // 原图预览
        Image(this.originPixelMap)
          .width('100%')
          .objectFit(ImageFit.Contain)
          .onAreaChange((_, area) => {
            // 获取图片实际显示区域大小
            this.displayWidth = area.width as number;
            this.displayHeight = area.height as number;
          })

        // 裁剪矩形选框(透明遮罩+边框)
        Stack() {
          // 半透明遮罩覆盖非选区
          Rect()
            .width('100%')
            .height('100%')
            .fill('rgba(0,0,0,0.3)')
          // 选框内部透明,露出图片
          Rect()
            .width(this.rectWidth)
            .height(this.rectHeight)
            .position({ x: this.rectX, y: this.rectY })
            .fill('rgba(255,255,255,0)')
            .strokeWidth(2)
            .stroke(Color.White)
        }

        // 触摸事件处理(拖拽选框或调整选框大小)
        .onTouch((event: TouchEvent) => {
          if (event.touches.length === 0) return;
          const touch = event.touches[0];
          switch (event.type) {
            case TouchType.Down:
              // 点击在选框区域内时,开始拖拽
              if (touch.x >= this.rectX && touch.x <= this.rectX + this.rectWidth &&
                  touch.y >= this.rectY && touch.y <= this.rectY + this.rectHeight) {
                this.isDragging = true;
              }
              break;
            case TouchType.Move:
              if (this.isDragging) {
                // 拖拽选框移动(保持选框大小不变)
                this.rectX = Math.max(0, Math.min(this.displayWidth - this.rectWidth, touch.x - this.rectWidth / 2));
                this.rectY = Math.max(0, Math.min(this.displayHeight - this.rectHeight, touch.y - this.rectHeight / 2));
              } else {
                // 一手指拖拽时,计算新的选框起点(简易实现:从点击点开始)
                this.rectX = Math.min(touch.x, this.rectX + this.rectWidth);
                this.rectY = Math.min(touch.y, this.rectY + this.rectHeight);
                this.rectWidth = Math.abs(touch.x - this.rectX);
                this.rectHeight = Math.abs(touch.y - this.rectY);
              }
              break;
            case TouchType.Up:
              this.isDragging = false;
              break;
          }
        })
        .clip(true)
      }
      .width('100%')
      .height('70%')

      // 底部操作区:显示裁剪后效果缩略图,提供确认按钮
      Row() {
        // 裁剪结果预览
        Image(this.croppedPixelMap)
          .width(120)
          .height(120)
          .objectFit(ImageFit.Contain)
          .border({ width: 1, color: '#cccccc' })
        Column() {
          Button('重新选择').onClick(() => {
            this.croppedPixelMap = null;
          })
          Button('返回编辑').onClick(() => this.goBackWithResult())
        }
      }
      .padding(10)
      .width('100%')
      .justifyContent(FlexAlign.SpaceEvenly)
    }
    .width('100%')
    .height('100%')
    .onPageShow(() => {
      // 从路由参数获取原始PixelMap
      const params = router.getParams() as Record<string, Object>;
      if (params && params['pixelMap']) {
        this.originPixelMap = params['pixelMap'] as PixelMap;
      }
    })
  }
}
关键点说明:
- 裁剪交互分为两种:点击选框内部拖拽移动选框位置,点击选框外部重新绘制选框
- 屏幕坐标与图片真实坐标的映射计算是通过
displayWidth和图片真实尺寸的比例因子实现的,保证了裁剪区域的精确性 onAreaChange用于获取Image组件实际显示区域大小,配合objectFit为ImageFit.Contain时图片可能留有空白边距- 裁剪结果通过
router.back传回编辑页面,完成闭环操作 - 本页面使用了
PixelMapUtils.crop工具方法,并在UI层完成坐标映射和校验
3. 运行验证
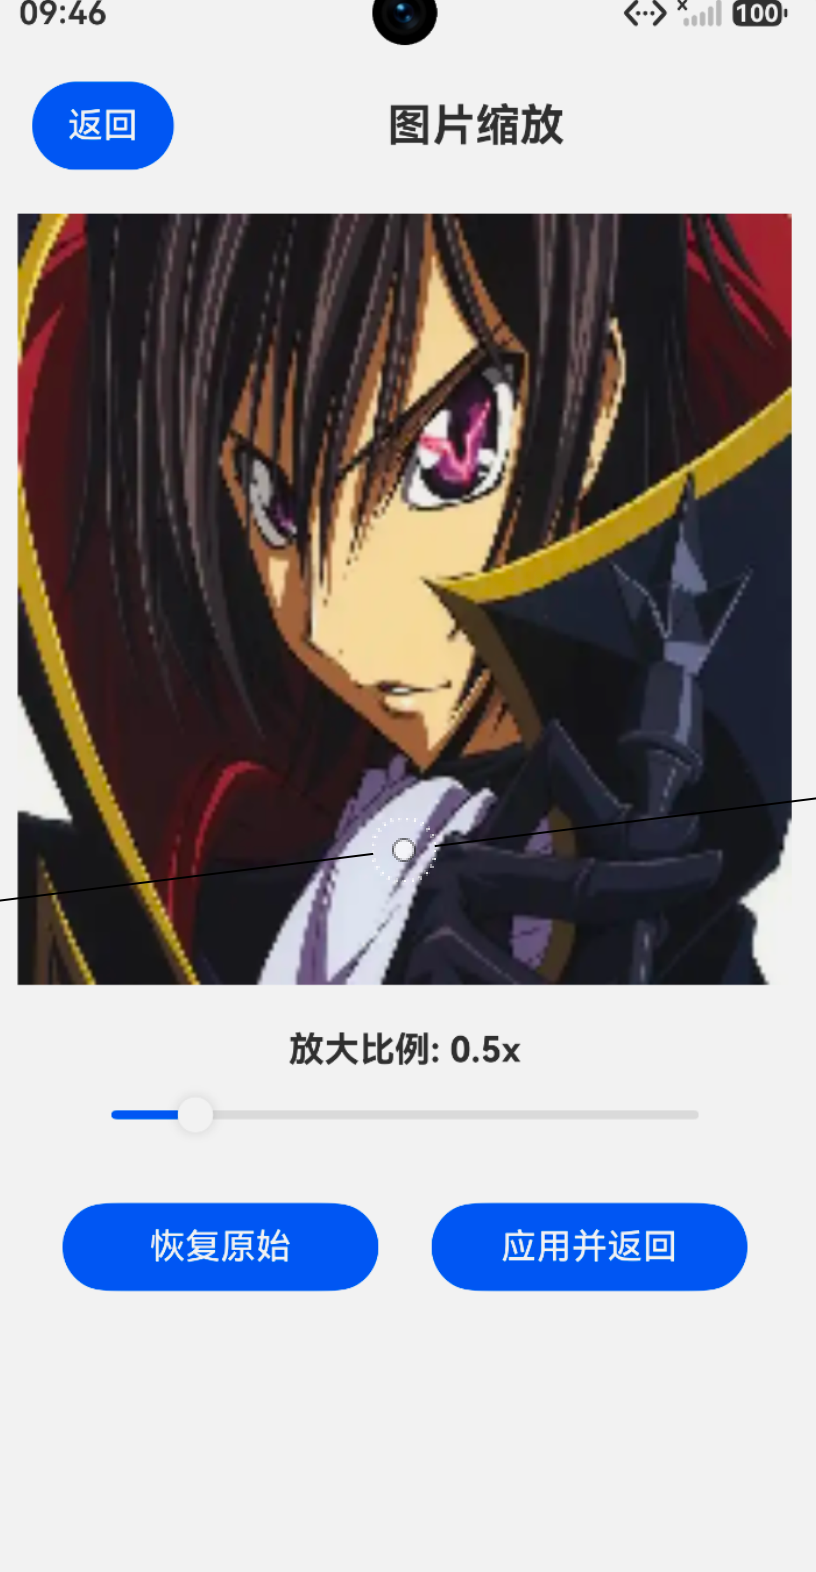
启动APP后,从首页选择一张图片,进入编辑页面。点击“缩放”按钮进入ScalePage,拖动滑块(滑块值从0.1到3.0),图片实时缩放,缩放后的图片可以保存或返回继续编辑。点击“裁剪”按钮进入CropPage,手指在图片上拖拽绘制矩形选框,选框可以自由移动,点击“应用裁剪”后出现裁剪结果缩略图,确认后携带裁剪结果返回编辑页面。
预期效果:缩放滑块平滑,图片实时响应;裁剪选框边线清晰可拖拽,裁剪边缘精确无偏移。运行过程无崩溃或异常弹窗。
4. 小结与预告
本篇完成了缩放和裁剪两大核心交互功能:PixelMapUtils工具类封装了PixelMap.scale和PixelMap.crop两个关键API的调用逻辑;CropPage和ScalePage页面负责接收用户交互参数,调用工具类处理图片,并实时显示处理结果。现在APP可以做到图片缩放(任意比例)和矩形区域裁剪,这两个基础操作是一切图片编辑的基石。
下一篇「旋转翻转效果」将使用PixelMap的rotate和flip方法,实现图片以90°、180°、270°为单位旋转以及水平/垂直翻转。操作同样支持实时预览,并会加入方向感知的图标按钮交互。

讨论HarmonyOS开发技术,专注于API与组件、DevEco Studio、测试、元服务和应用上架分发等。
更多推荐



 9
9 0
0- 0


 已为社区贡献194条内容

所有评论(0)