HarmonyOS @ohos/hypium 单元测试框架
适用版本:HarmonyOS 6.1(API 12)及以上
验证环境:Pura 90 Pro 模拟器(HarmonyOS 6.1.1,API 24)
关键概念:describe、it、expect、beforeEach/afterEach、纯函数测试
前言
@ohos/hypium 是 HarmonyOS 官方单元测试框架,API 与 Jest/Jasmine 高度相似。本文通过测试四个纯函数(add、factorial、isPrime、clamp)演示完整的 hypium 测试组织方式,以及在 UI 中展示测试结果的模式。
一、hypium 基础 API
测试文件结构
// test/ExampleTest.test.ets
import { describe, it, expect, beforeEach, afterAll } from '@ohos/hypium'

export default function exampleTest() {
  describe('add() 测试套件', () => {

    beforeEach(() => {
      // 每个 it 前执行:重置状态、初始化 mock
    })

    it('add(1,2) 应返回 3', 0, () => {
      const result = add(1, 2)
      expect(result).assertEqual(3)
    })

    it('add(0,0) 应返回 0', 0, () => {
      expect(add(0, 0)).assertEqual(0)
    })

    it('负数相加', 0, () => {
      expect(add(-1, 1)).assertEqual(0)
    })
  })
}
常用 expect 断言
// 相等
expect(result).assertEqual(3)
expect(result).assertNotEqual(0)

// 布尔
expect(flag).assertTrue()
expect(flag).assertFalse()

// null
expect(value).assertNull()
expect(value).assertUndefined()

// 数组(需要自定义匹配)
expect(arr.length).assertEqual(3)
expect(arr[0]).assertEqual('first')

// 异常抛出(ArkTS 需要 try/catch)
try {
  factorial(-1)
  expect(false).assertTrue()  // 不应到达这里
} catch (e) {
  expect(true).assertTrue()   // 应该抛出异常
}
二、被测函数设计(纯函数)
纯函数(无副作用、相同输入相同输出)是最容易测试的代码:
// 四个被测纯函数
function add(a: number, b: number): number {
  return a + b
}

function factorial(n: number): number {
  if (n < 0) { throw new Error('负数无阶乘') }
  if (n === 0 || n === 1) { return 1 }
  let result = 1
  for (let i = 2; i <= n; i++) { result *= i }
  return result
}

function isPrime(n: number): boolean {
  if (n < 2) { return false }
  for (let i = 2; i * i <= n; i++) {
    if (n % i === 0) { return false }
  }
  return true
}

function clamp(val: number, min: number, max: number): number {
  if (val < min) { return min }
  if (val > max) { return max }
  return val
}
三、完整测试套件
describe('add() 测试', () => {
  it('add(1,2) = 3', 0, () => { expect(add(1, 2)).assertEqual(3) })
  it('add(0,0) = 0', 0, () => { expect(add(0, 0)).assertEqual(0) })
  it('add(-1,1) = 0', 0, () => { expect(add(-1, 1)).assertEqual(0) })
  it('add(100,-200) = -100', 0, () => { expect(add(100, -200)).assertEqual(-100) })
})

describe('factorial() 测试', () => {
  it('factorial(0) = 1', 0, () => { expect(factorial(0)).assertEqual(1) })
  it('factorial(1) = 1', 0, () => { expect(factorial(1)).assertEqual(1) })
  it('factorial(5) = 120', 0, () => { expect(factorial(5)).assertEqual(120) })
  it('factorial(10) = 3628800', 0, () => { expect(factorial(10)).assertEqual(3628800) })
  it('factorial(-1) 抛出异常', 0, () => {
    try { factorial(-1); expect(false).assertTrue() }
    catch (e) { expect(true).assertTrue() }
  })
})

describe('isPrime() 测试', () => {
  it('isPrime(2) = true', 0, () => { expect(isPrime(2)).assertTrue() })
  it('isPrime(4) = false', 0, () => { expect(isPrime(4)).assertFalse() })
  it('isPrime(17) = true', 0, () => { expect(isPrime(17)).assertTrue() })
  it('isPrime(1) = false', 0, () => { expect(isPrime(1)).assertFalse() })
  it('isPrime(100) = false', 0, () => { expect(isPrime(100)).assertFalse() })
})

describe('clamp() 测试', () => {
  it('值在范围内', 0, () => { expect(clamp(5, 0, 10)).assertEqual(5) })
  it('值小于最小值', 0, () => { expect(clamp(-1, 0, 10)).assertEqual(0) })
  it('值大于最大值', 0, () => { expect(clamp(15, 0, 10)).assertEqual(10) })
})
四、运行测试
# 在项目目录运行单元测试
cd your-project
hvigorw --mode module -p module=entry@default -p product=default -p requiredDeviceType=phone test

# 或使用 ark 命令
ark test --device 127.0.0.1:5557
五、UI 内嵌测试结果展示
本演示在 UI 中嵌入了等价的测试逻辑(非 hypium 框架本身,而是等价的断言逻辑),便于在模拟器上直观看到测试通过/失败状态:
// 轻量断言函数
function assertEqual<T>(actual: T, expected: T, label: string): TestCase {
  const tc = new TestCase()
  tc.name = label
  tc.passed = actual === expected
  if (!tc.passed) {
    tc.error = `期望 ${expected},实际 ${actual}`
  }
  return tc
}

// 显示 ✓/✗ 和错误详情
ForEach(suite.cases, (tc: TestCase) => {
  Row({ space: 8 }) {
    Text(tc.passed ? '✓' : '✗').fontColor(tc.passed ? '#07C160' : '#FA3A3A')
    Text(tc.name).fontSize(11)
    if (!tc.passed) {
      Text(tc.error).fontSize(10).fontColor('#FA3A3A')
    }
  }
})
模拟器运行截图
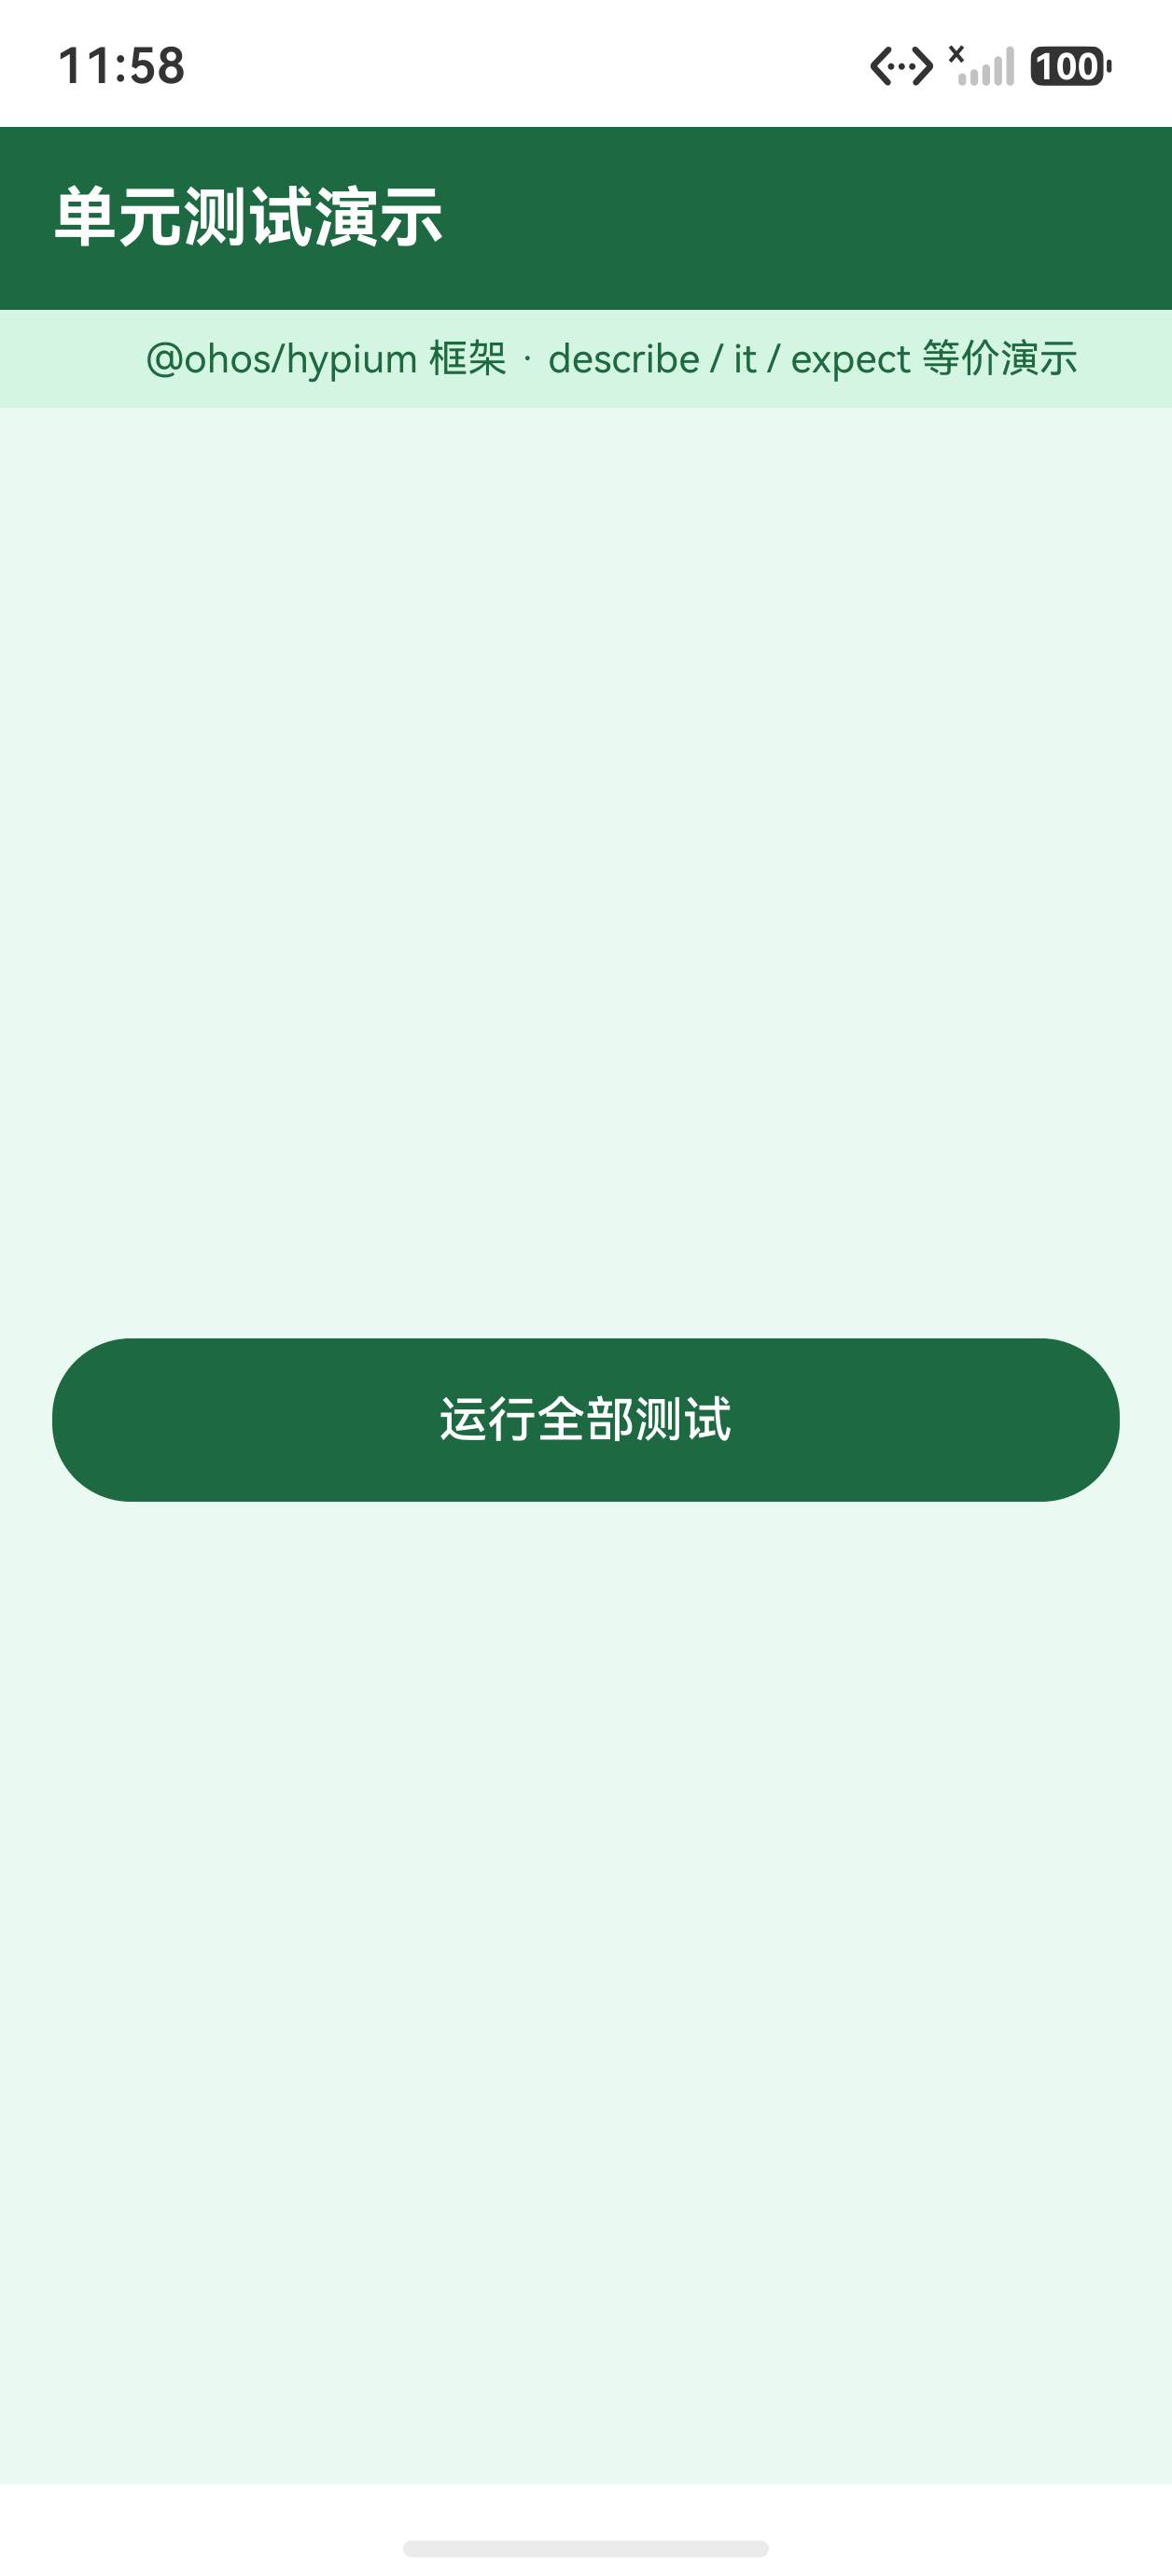
初始状态
执行完成
点击「运行全部测试」后,统计卡显示通过 18/失败 0,四个测试套件各自展示每个 it 的 ✓/✗ 状态。
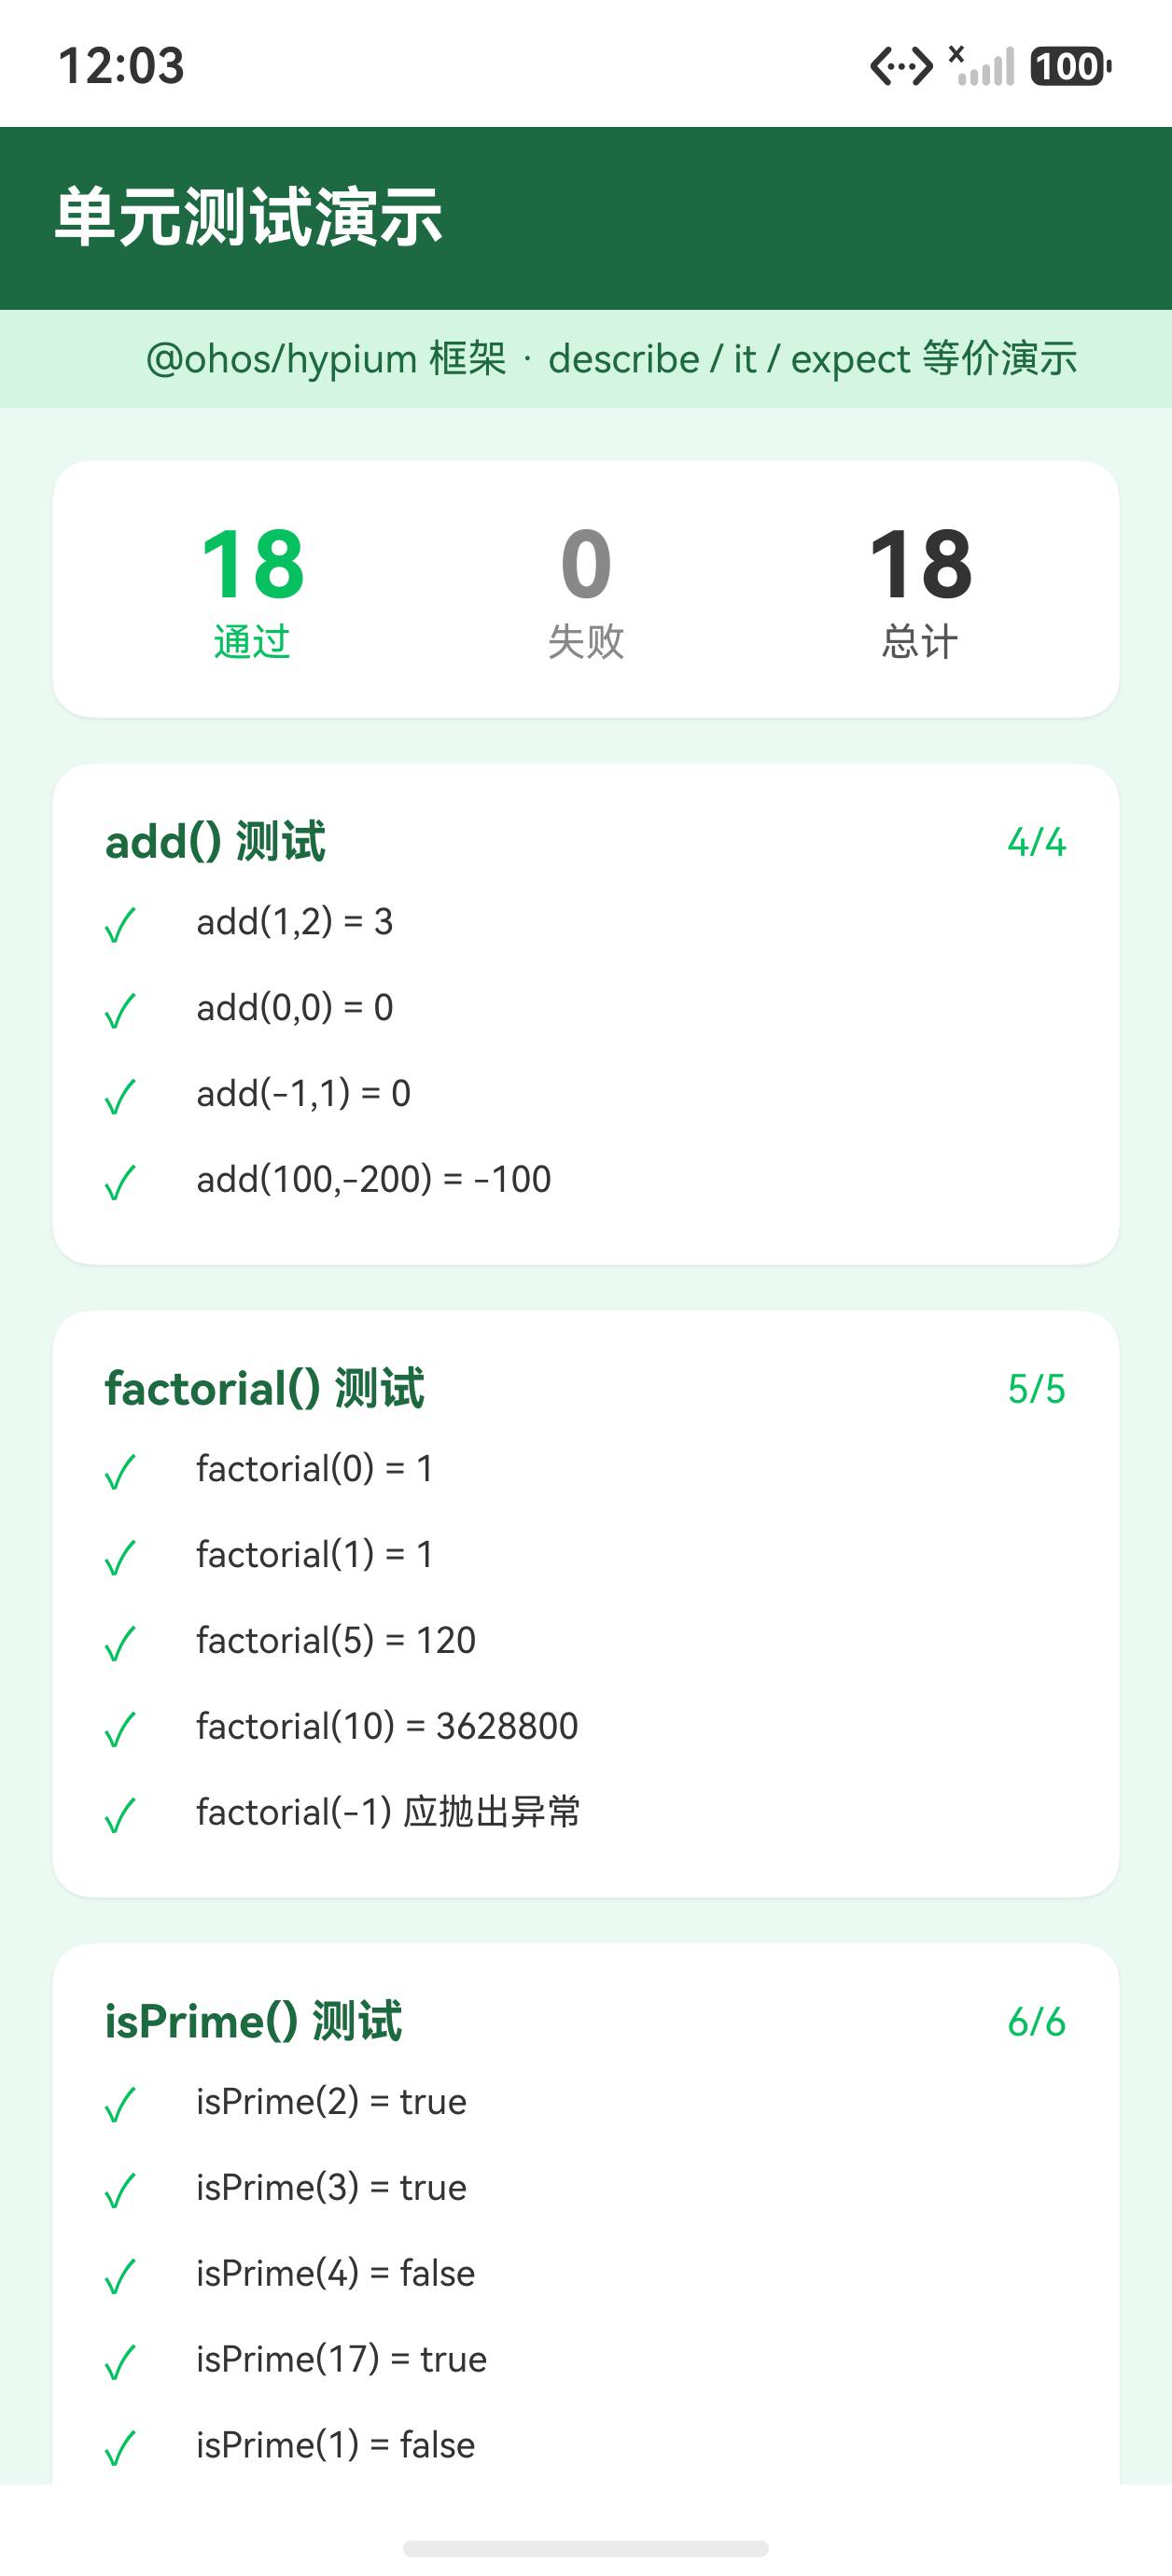
实测测试结果:18 通过 / 0 失败
| 测试套件 | 用例数 | 结果 |
|---|---|---|
| add() 测试 | 4 | ✓ 全部通过 |
| factorial() 测试 | 5 | ✓ 全部通过(含异常测试) |
| isPrime() 测试 | 6 | ✓ 全部通过 |
| clamp() 测试 | 3 | ✓ 全部通过 |
常见问题
Q:hypium 支持异步测试吗?
A:支持。it 的第三个参数(callback)可以是 async,并且支持 done 回调模式:
it('异步测试', 0, async (done) => {
  const result = await fetchData()
  expect(result.status).assertEqual(200)
  done()
})
Q:如何 mock 依赖(如网络请求、数据库)?
A:ArkTS 暂不支持自动 mock(无 jest.mock)。推荐依赖注入模式:将依赖作为参数传入,测试时传入 mock 实现:
// 生产代码
function loadUser(fetcher: (id: number) => Promise<User>, id: number): Promise<User> {
  return fetcher(id)
}

// 测试代码
const mockFetcher = async (id: number): Promise<User> => {
  return { id, name: 'Mock User' }
}
const user = await loadUser(mockFetcher, 42)
expect(user.name).assertEqual('Mock User')
Q:测试文件应该放在哪里?
A:HarmonyOS 项目标准目录结构:entry/src/ohosTest/ets/test/ 放测试文件,entry/src/ohosTest/ets/TestAbility.ets 为测试入口。hvigor test 命令会自动发现并执行这个目录下的所有 .test.ets 文件。

讨论HarmonyOS开发技术,专注于API与组件、DevEco Studio、测试、元服务和应用上架分发等。
更多推荐



 6
6 0
0- 0


 已为社区贡献56条内容

所有评论(0)