小白3天精通跨平台React Native鸿蒙开发:改造登陆页面为MutilBundle加载方案
·
配置文件修改:
那么,接下来我们就来修改一下以前我们做的登陆页面是如何来进行多页面路由进行跳转的呢?
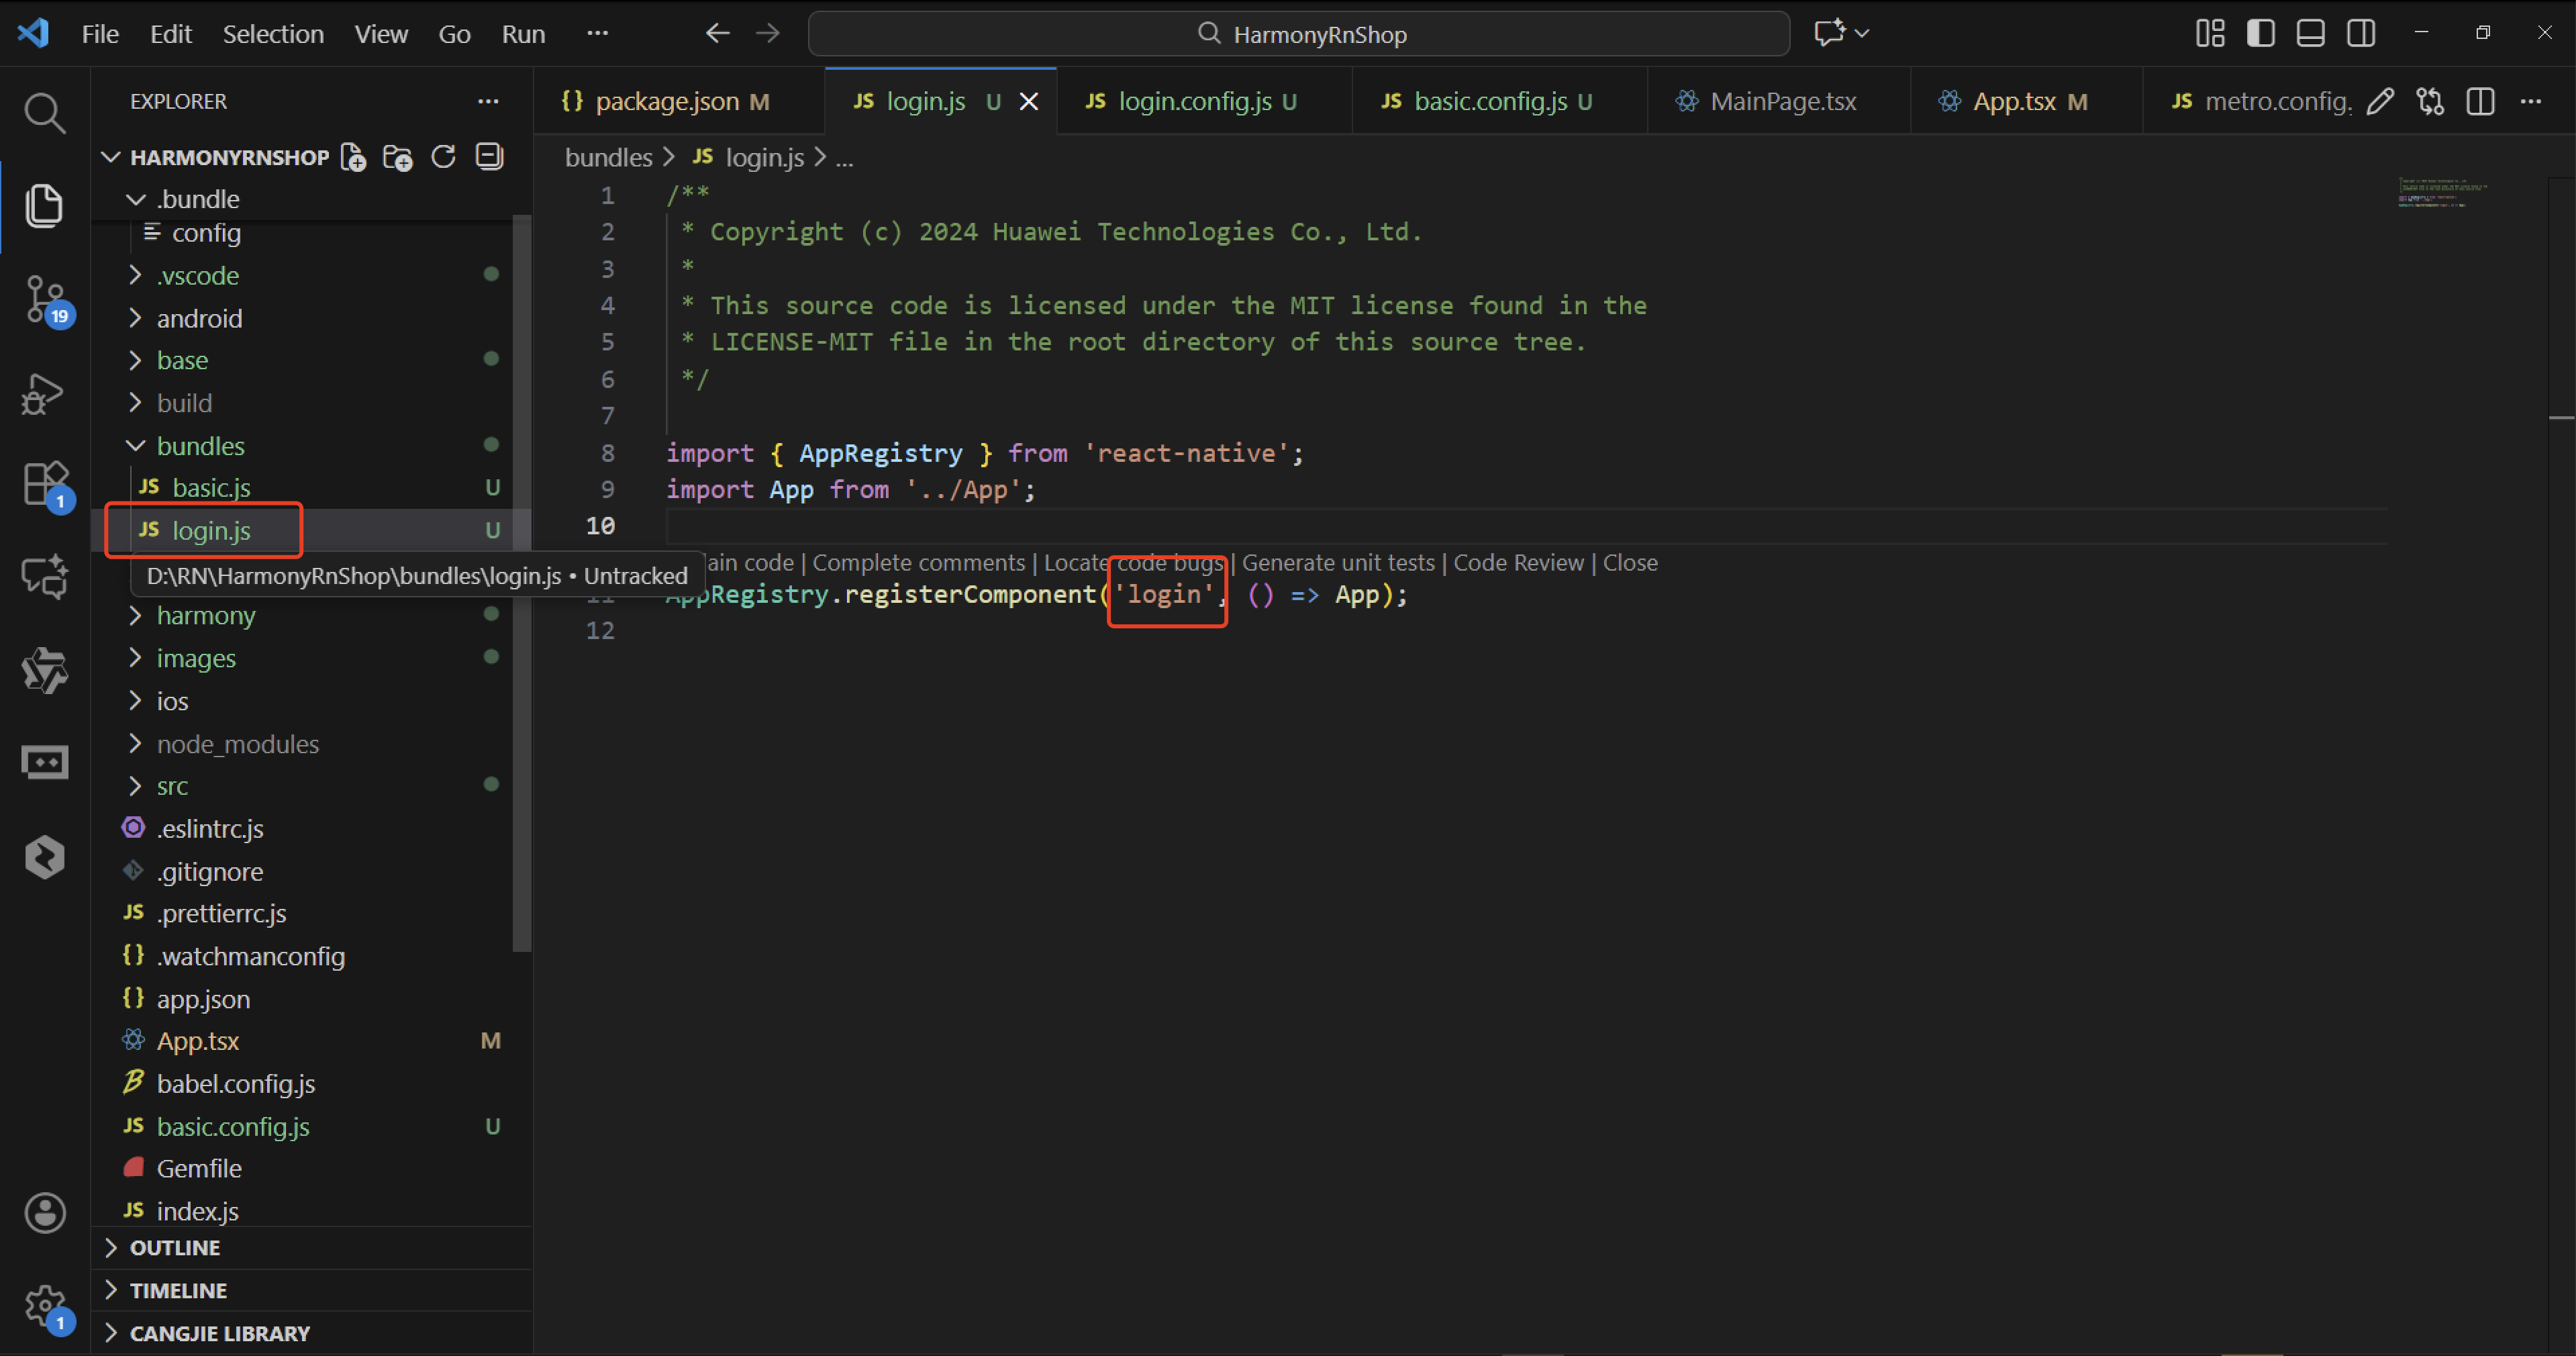
import { AppRegistry } from 'react-native';
import App from '../App';

AppRegistry.registerComponent('login', () => App);
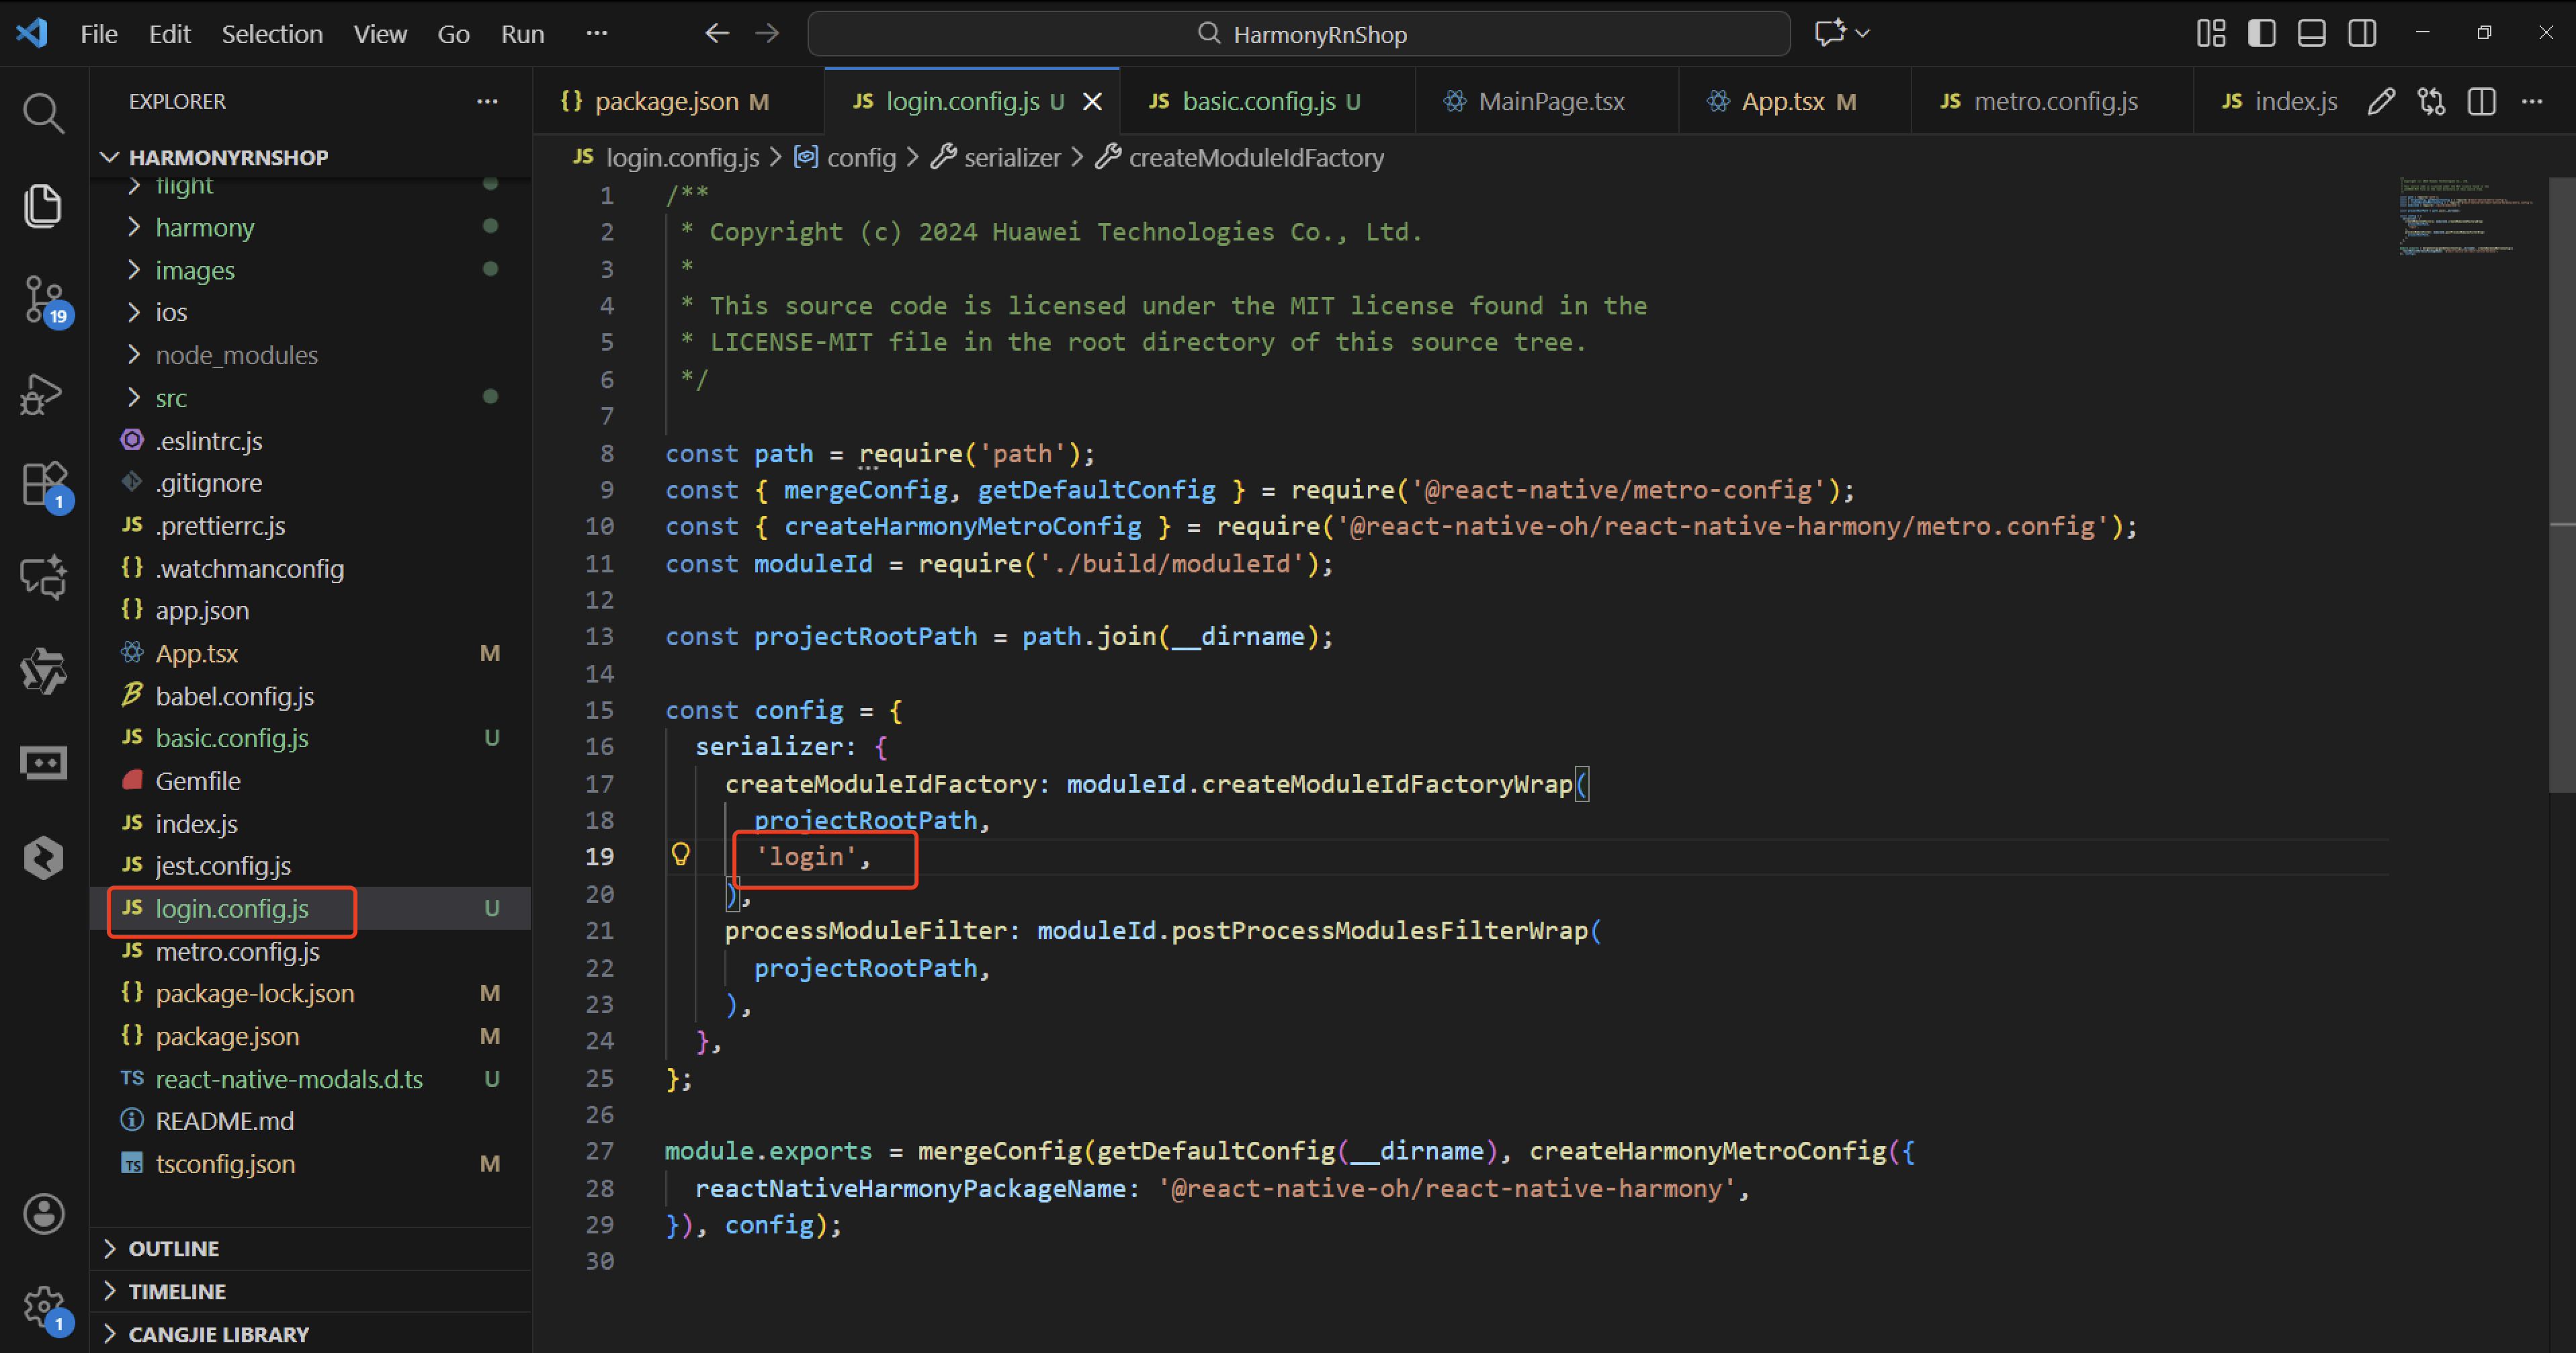
const path = require('path');
const { mergeConfig, getDefaultConfig } = require('@react-native/metro-config');
const { createHarmonyMetroConfig } = require('@react-native-oh/react-native-harmony/metro.config');
const moduleId = require('./build/moduleId');

const projectRootPath = path.join(__dirname);

const config = {
  serializer: {
    createModuleIdFactory: moduleId.createModuleIdFactoryWrap(
      projectRootPath,
      'login',   => 这里需要改一下
    ),
    processModuleFilter: moduleId.postProcessModulesFilterWrap(
      projectRootPath,
    ),
  },
};

module.exports = mergeConfig(getDefaultConfig(__dirname), createHarmonyMetroConfig({
  reactNativeHarmonyPackageName: '@react-native-oh/react-native-harmony',
}), config);
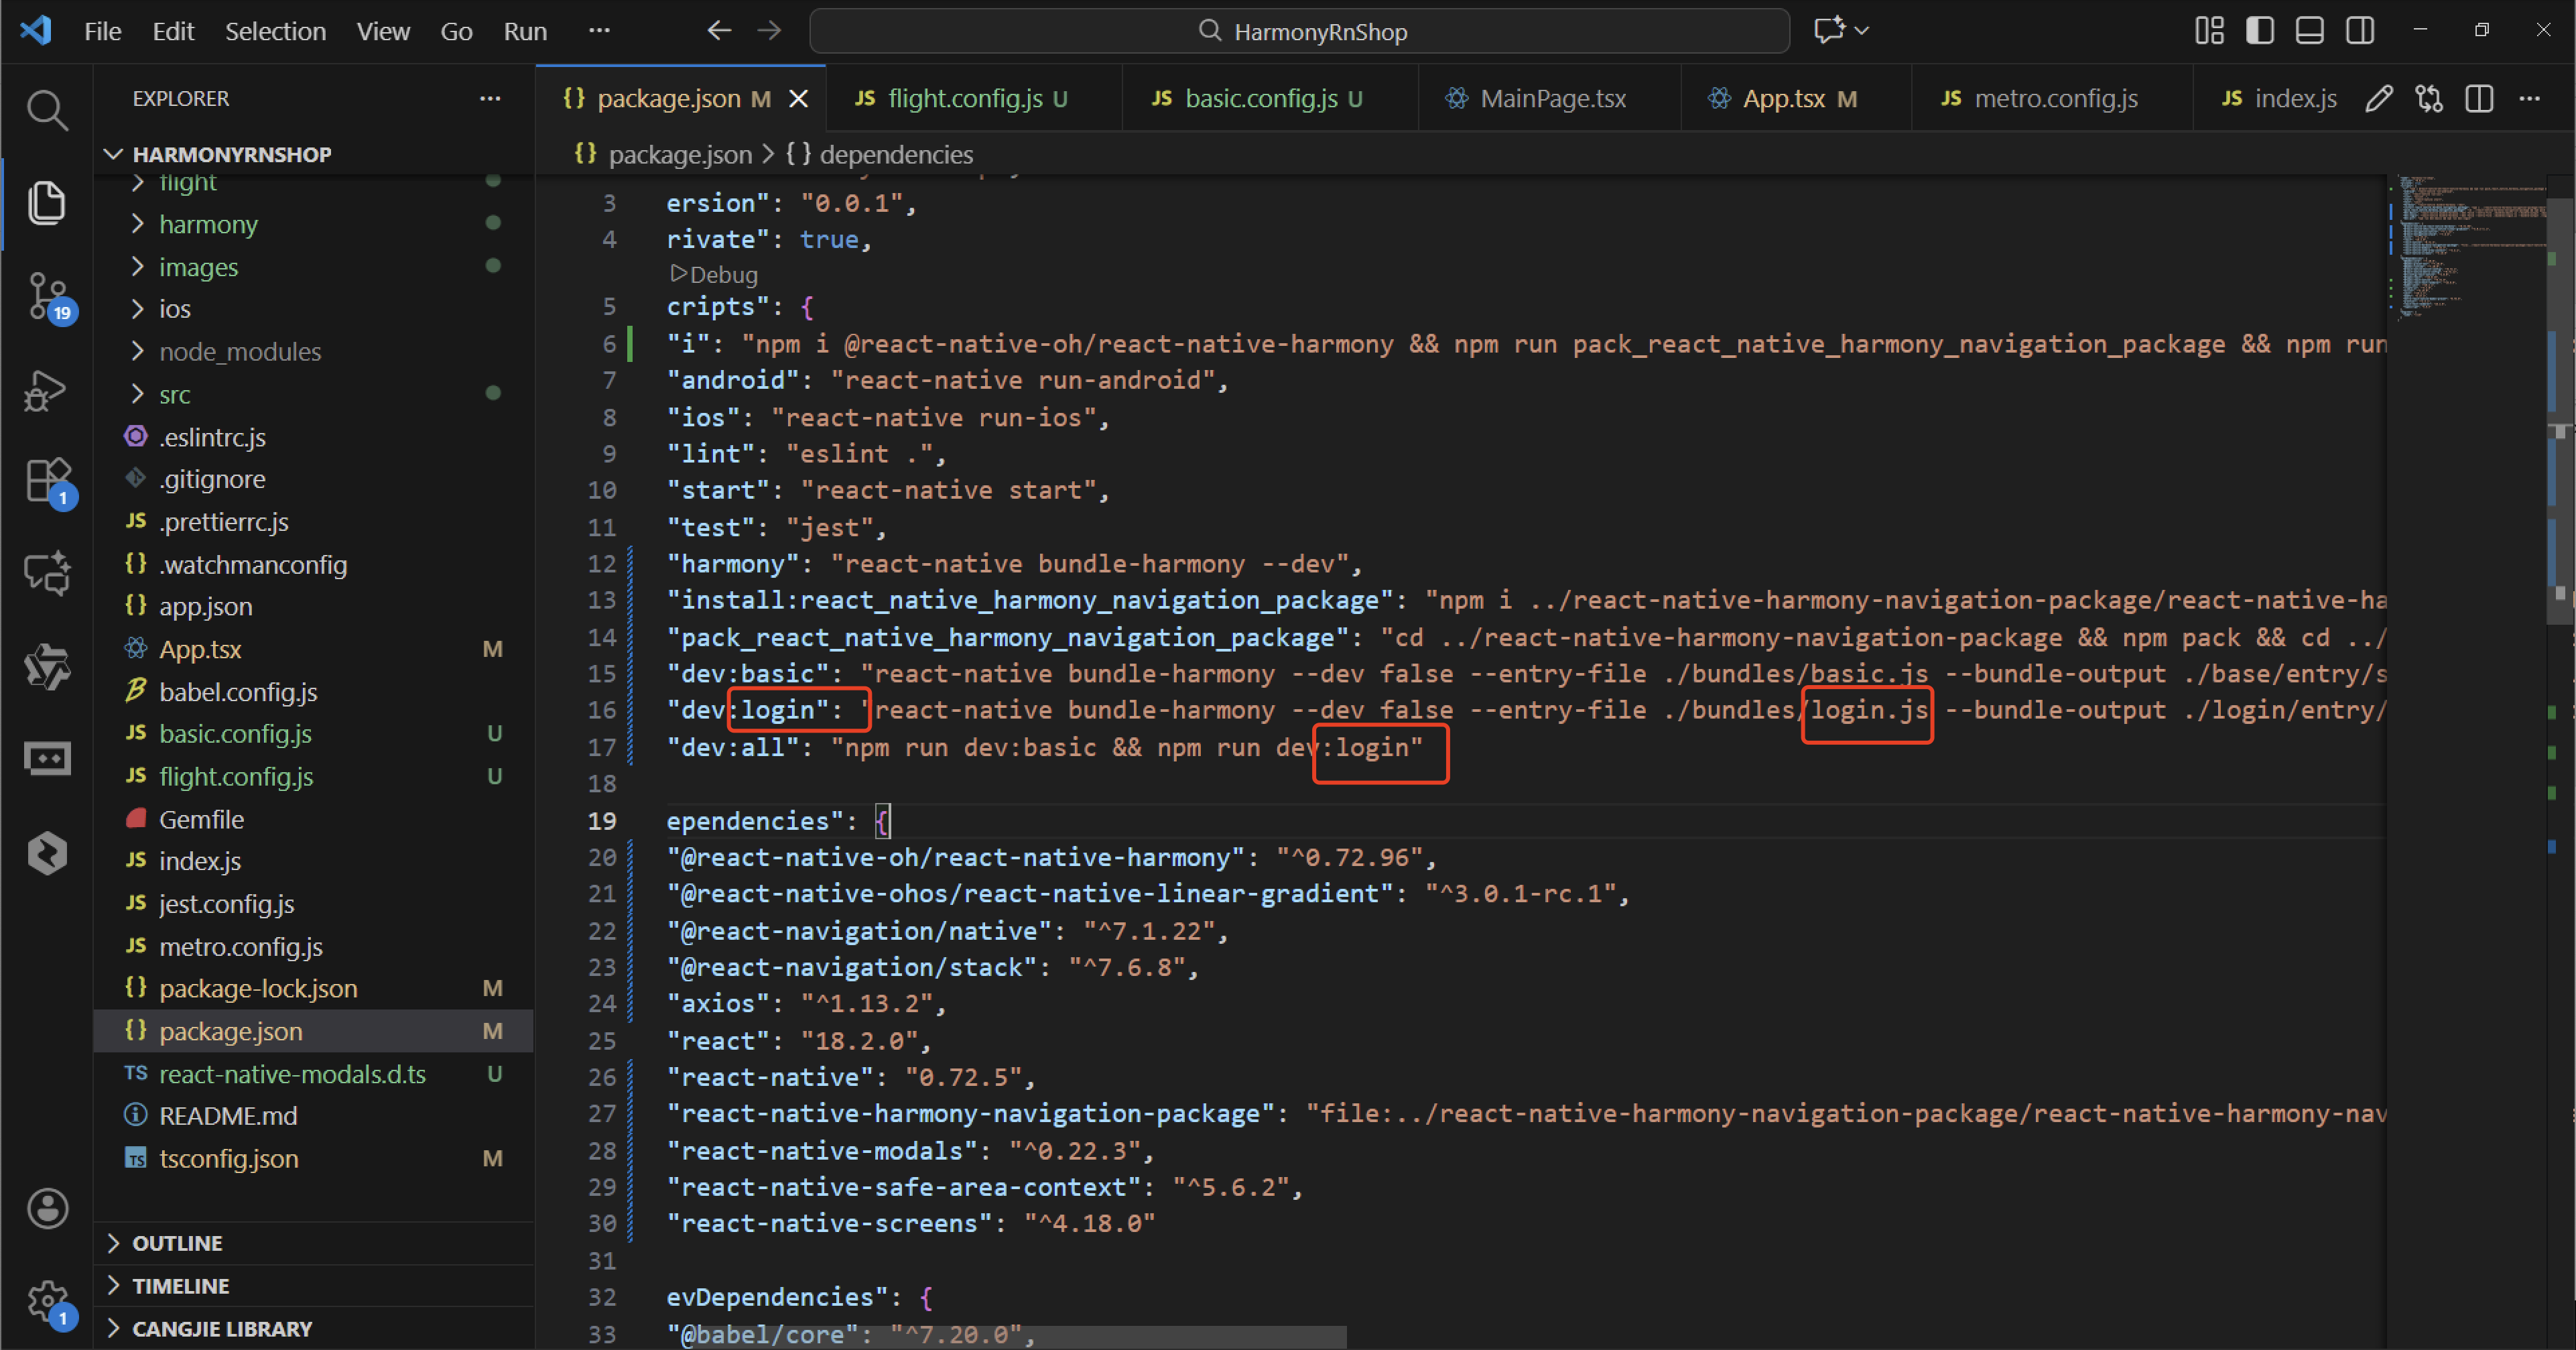
{
  "name": "FlightRN",
  "version": "0.0.1",
  "private": true,
  "scripts": {
    "android": "react-native run-android",
    "ios": "react-native run-ios",
    "lint": "eslint .",
    "start": "react-native start --reset-cache",
    "test": "jest",
    "dev": "react-native bundle-harmony --dev false --bundle-output ../NativeProject/entry/src/main/resources/rawfile/bundle.harmony.js",
    "dev:basic": "react-native bundle-harmony --dev false --entry-file ./bundles/basic.js --bundle-output ../NativeProject/entry/src/main/resources/rawfile/bundle/basic/basic.harmony.bundle --assets-dest ../NativeProject/entry/src/main/resources/rawfile/assets --config ./basic.config.js",
    "dev:login": "react-native bundle-harmony --dev false --entry-file ./bundles/login.js --bundle-output ../NativeProject/entry/src/main/resources/rawfile/bundle/cp/login.harmony.bundle --assets-dest ../NativeProject/entry/src/main/resources/rawfile/assets --config ./login.config.js",
    "dev:all": "npm run dev:basic && npm run dev:login"
  },
  "dependencies": {
    "react": "18.2.0",
    "react-native": "0.72.5"
  },
  "devDependencies": {
    "crypto-js": "^4.2.0",
    "@babel/core": "^7.20.0",
    "@babel/preset-env": "^7.20.0",
    "@babel/runtime": "^7.20.0",
    "@react-native/eslint-config": "^0.72.2",
    "@react-native/metro-config": "^0.72.11",
    "@tsconfig/react-native": "^3.0.0",
    "@types/react": "^18.0.24",
    "@types/react-test-renderer": "^18.0.0",
    "babel-jest": "^29.2.1",
    "eslint": "^8.19.0",
    "jest": "^29.2.1",
    "metro-react-native-babel-preset": "0.76.8",
    "prettier": "^2.4.1",
    "react-test-renderer": "18.2.0",
    "typescript": "4.8.4"
  },
  "engines": {
    "node": ">=16"
  }
}
二、主文件进行修改:
import React from 'react';
import { View, Text, Dimensions, StyleSheet, Image, TextInput, TouchableOpacity, Alert } from 'react-native';
import { Modal, ModalContent, ModalPortal } from 'react-native-modals';

//获取屏幕的宽高
const screenHight =Math.round( Dimensions.get('window').height);
import axios from 'axios';

const AppStyles = StyleSheet.create({
  wrap: {
    width: '100%',
    height: screenHight,
    backgroundColor: '#85BDFF'
  },
  title: {
    width: '100%',
    height: 72,
    fontFamily: 'OPPOSans, OPPOSans',
    fontWeight: 'normal',
    paddingTop: 50,
    fontSize: 36,
    color: '#304057',
    lineHeight: 72,
    textAlign: 'center',
    fontStyle: 'normal'
  },
  banner: {
    paddingTop: 50,
    paddingRight: 32,
    paddingLeft: 32,
  },
  bannerItem: {
    paddingTop: 10,
    display: 'flex',
    flexDirection:'row',
    alignItems: 'center',
    justifyContent: 'center',
    width: '50%',
  },
  loginBox: {
    position: 'relative',
    width: '100%',
    paddingTop: 29,
    paddingLeft: 20,
    paddingRight: 20,
    borderTopRightRadius: 30,
    borderTopLeftRadius: 30,
    backgroundColor: '#F2F8FF',
    flex: 1
  },
  loginBoxCode: {
    marginTop: 20,
    position: 'relative',
    width: '100%',
  },
  loginBoxCodeBtn: {
    position: 'absolute',
    right: 4,
    top: 4,
    width: 110,
    height: 40,
    lineHeight: 40,
    borderRadius: 10,
    backgroundColor: '#1669E3',
    textAlign: 'center',
    fontWeight: 'bold',
    fontSize: 14,
    color: '#FFFFFF',
  },
  loginBtn: {
    position: 'absolute',
    left: 20,
    bottom: 30,
    width: '100%',
    height: 48,
    lineHeight: 48,
    borderRadius: 10,
    backgroundColor: '#1669E3',
    textAlign: 'center',
    fontWeight: 'bold',
    fontSize: 14,
    color: '#FFFFFF',
  }
})
function Login() {
  const [phone, onChangePhone] = React.useState('');
  const [code, onChangeCode] = React.useState('');
  const [visible, setVisible] = React.useState(false);
  const submitLogin = () => {
    console.log('submitLogin', phone, code);
    var regex = /^1[3-9]\d{9}$/;
    if (!regex.test(phone)) {
      Alert.alert('请输入正确的手机号码');
      return;
    }
    var regex = /^\d{6}$/;
    if (!regex.test(code)) {
      Alert.alert('请输入正确的验证码');
      return;
    }
    // setVisible(true);
    axios.get('https://xxxxx/id_type?t=1764427207873', {
      headers: {
        'Content-Type': 'application/json',
        'projectid': 'xxxxx'
      }
    })
    .then(function (response) {
      console.log("get id_type success:", JSON.stringify(response));
      Alert.alert(JSON.stringify(response));
      // navigation.navigate('IndexPath')
    })
    .catch(function (error) {
      console.log(error);
    });
  }

  return (
    <View style={AppStyles.wrap}>
      <Text style={AppStyles.title}>鸿蒙ReactNative系统</Text>
      <View style={AppStyles.banner}>
        <View style={{display:'flex',flexDirection:'row',justifyContent:'space-between'}}>
          <View style={AppStyles.bannerItem}>
            <Image style={{width:27,height:27}} source={require('./images/checked.png')}></Image>
            <Text style={{paddingLeft: 4}}>实时业绩便捷查询</Text>
          </View>
          <View style={AppStyles.bannerItem}>
            <Image style={{width:27,height:27}} source={require('./images/checked.png')}></Image>
            <Text style={{paddingLeft: 4}}>订单状态轻松把控</Text>
          </View>
        </View>
        <View style={{display:'flex',flexDirection:'row',justifyContent:'space-between'}}>
          <View style={AppStyles.bannerItem}>
            <Image style={{width:27,height:27}} source={require('./images/checked.png')}></Image>
            <Text style={{paddingLeft: 4}}>宣传数据全程管理</Text>
          </View>
          <View style={AppStyles.bannerItem}>
            <Image style={{width:27,height:27}} source={require('./images/checked.png')}></Image>
            <Text style={{paddingLeft: 4}}>海量素材一站转发</Text>
          </View>
        </View>
      </View>

      <Image style={{width:289, height: 182, display: 'flex', alignSelf: 'center', margin: 20}} source={require('./images/login-bg.png')}></Image>

      <View style={AppStyles.loginBox}>
        <TextInput style={{width: '100%', height: 48, borderRadius: 10, backgroundColor: '#FFFFFF', paddingLeft: 16, paddingRight: 16, fontSize: 14, color: '#304057'}}
         placeholder="请输入手机号" onChangeText={onChangePhone} value={phone}
         keyboardType="numeric"
         maxLength={11}></TextInput>

        <View style={AppStyles.loginBoxCode}>
          <TextInput style={{width: '100%', height: 48, borderRadius: 10, backgroundColor: '#FFFFFF', paddingLeft: 16, paddingRight: 16, fontSize: 14, color: '#304057'}}
          placeholder="请输入验证码" onChangeText={onChangeCode} value={code}
          keyboardType="numeric"
          maxLength={6}></TextInput>
          <Text style={AppStyles.loginBoxCodeBtn}>获取验证码</Text>
        </View>

        <TouchableOpacity style={AppStyles.loginBtn} onPress={submitLogin}>
          <Text style={{fontSize: 14, color: '#FFFFFF', lineHeight: 48, textAlign: 'center', fontWeight: 'bold'}}>登陆</Text>
        </TouchableOpacity>
      </View>

      <ModalPortal>
        <Modal
          visible={visible}
          onTouchOutside={() => {
            setVisible(false)
          }}
          onSwipeOut={() => setVisible(false)}
        >
          <ModalContent>
            <Text>登录成功!欢迎使用我们的应用。</Text>
            <Text>手机号:{phone}</Text>
            <TouchableOpacity
              style={{marginTop: 20, padding: 10, backgroundColor: '#1669E3', borderRadius: 5}}
              onPress={() => setVisible(false)}
            >
              <Text style={{color: '#FFFFFF', textAlign: 'center'}}>确定</Text>
            </TouchableOpacity>
          </ModalContent>
        </Modal>
      </ModalPortal>
    </View>
  );
}

export default Login;
文件打包:
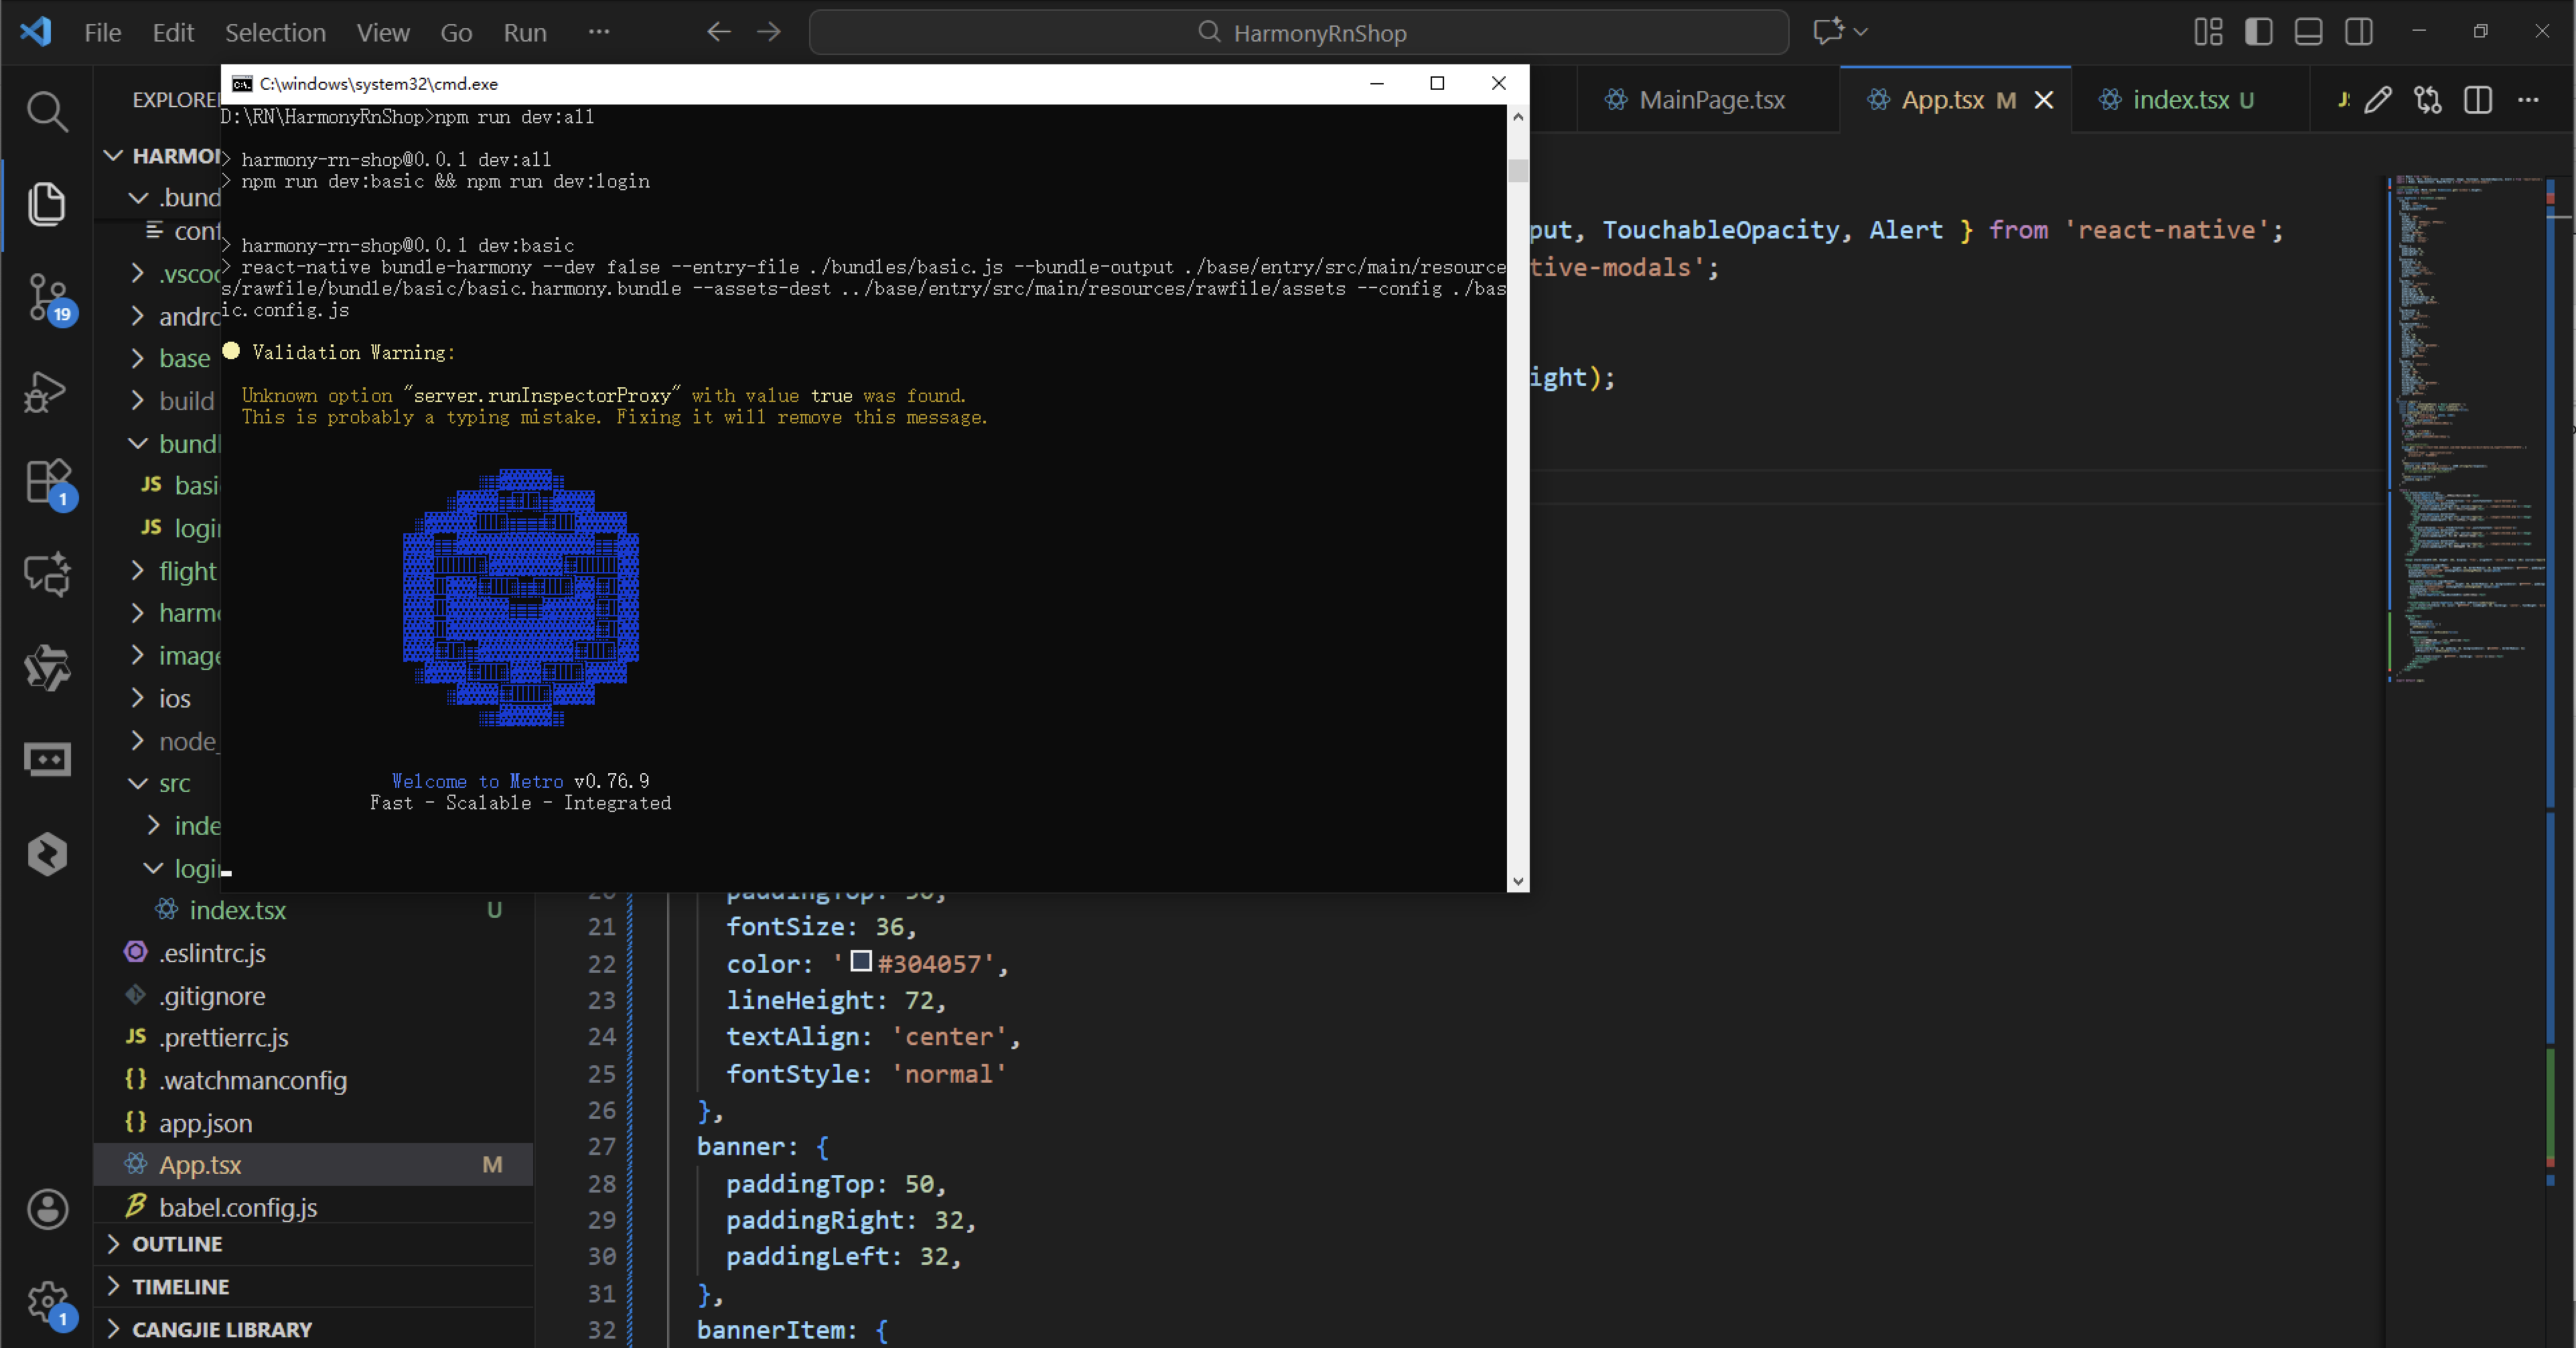
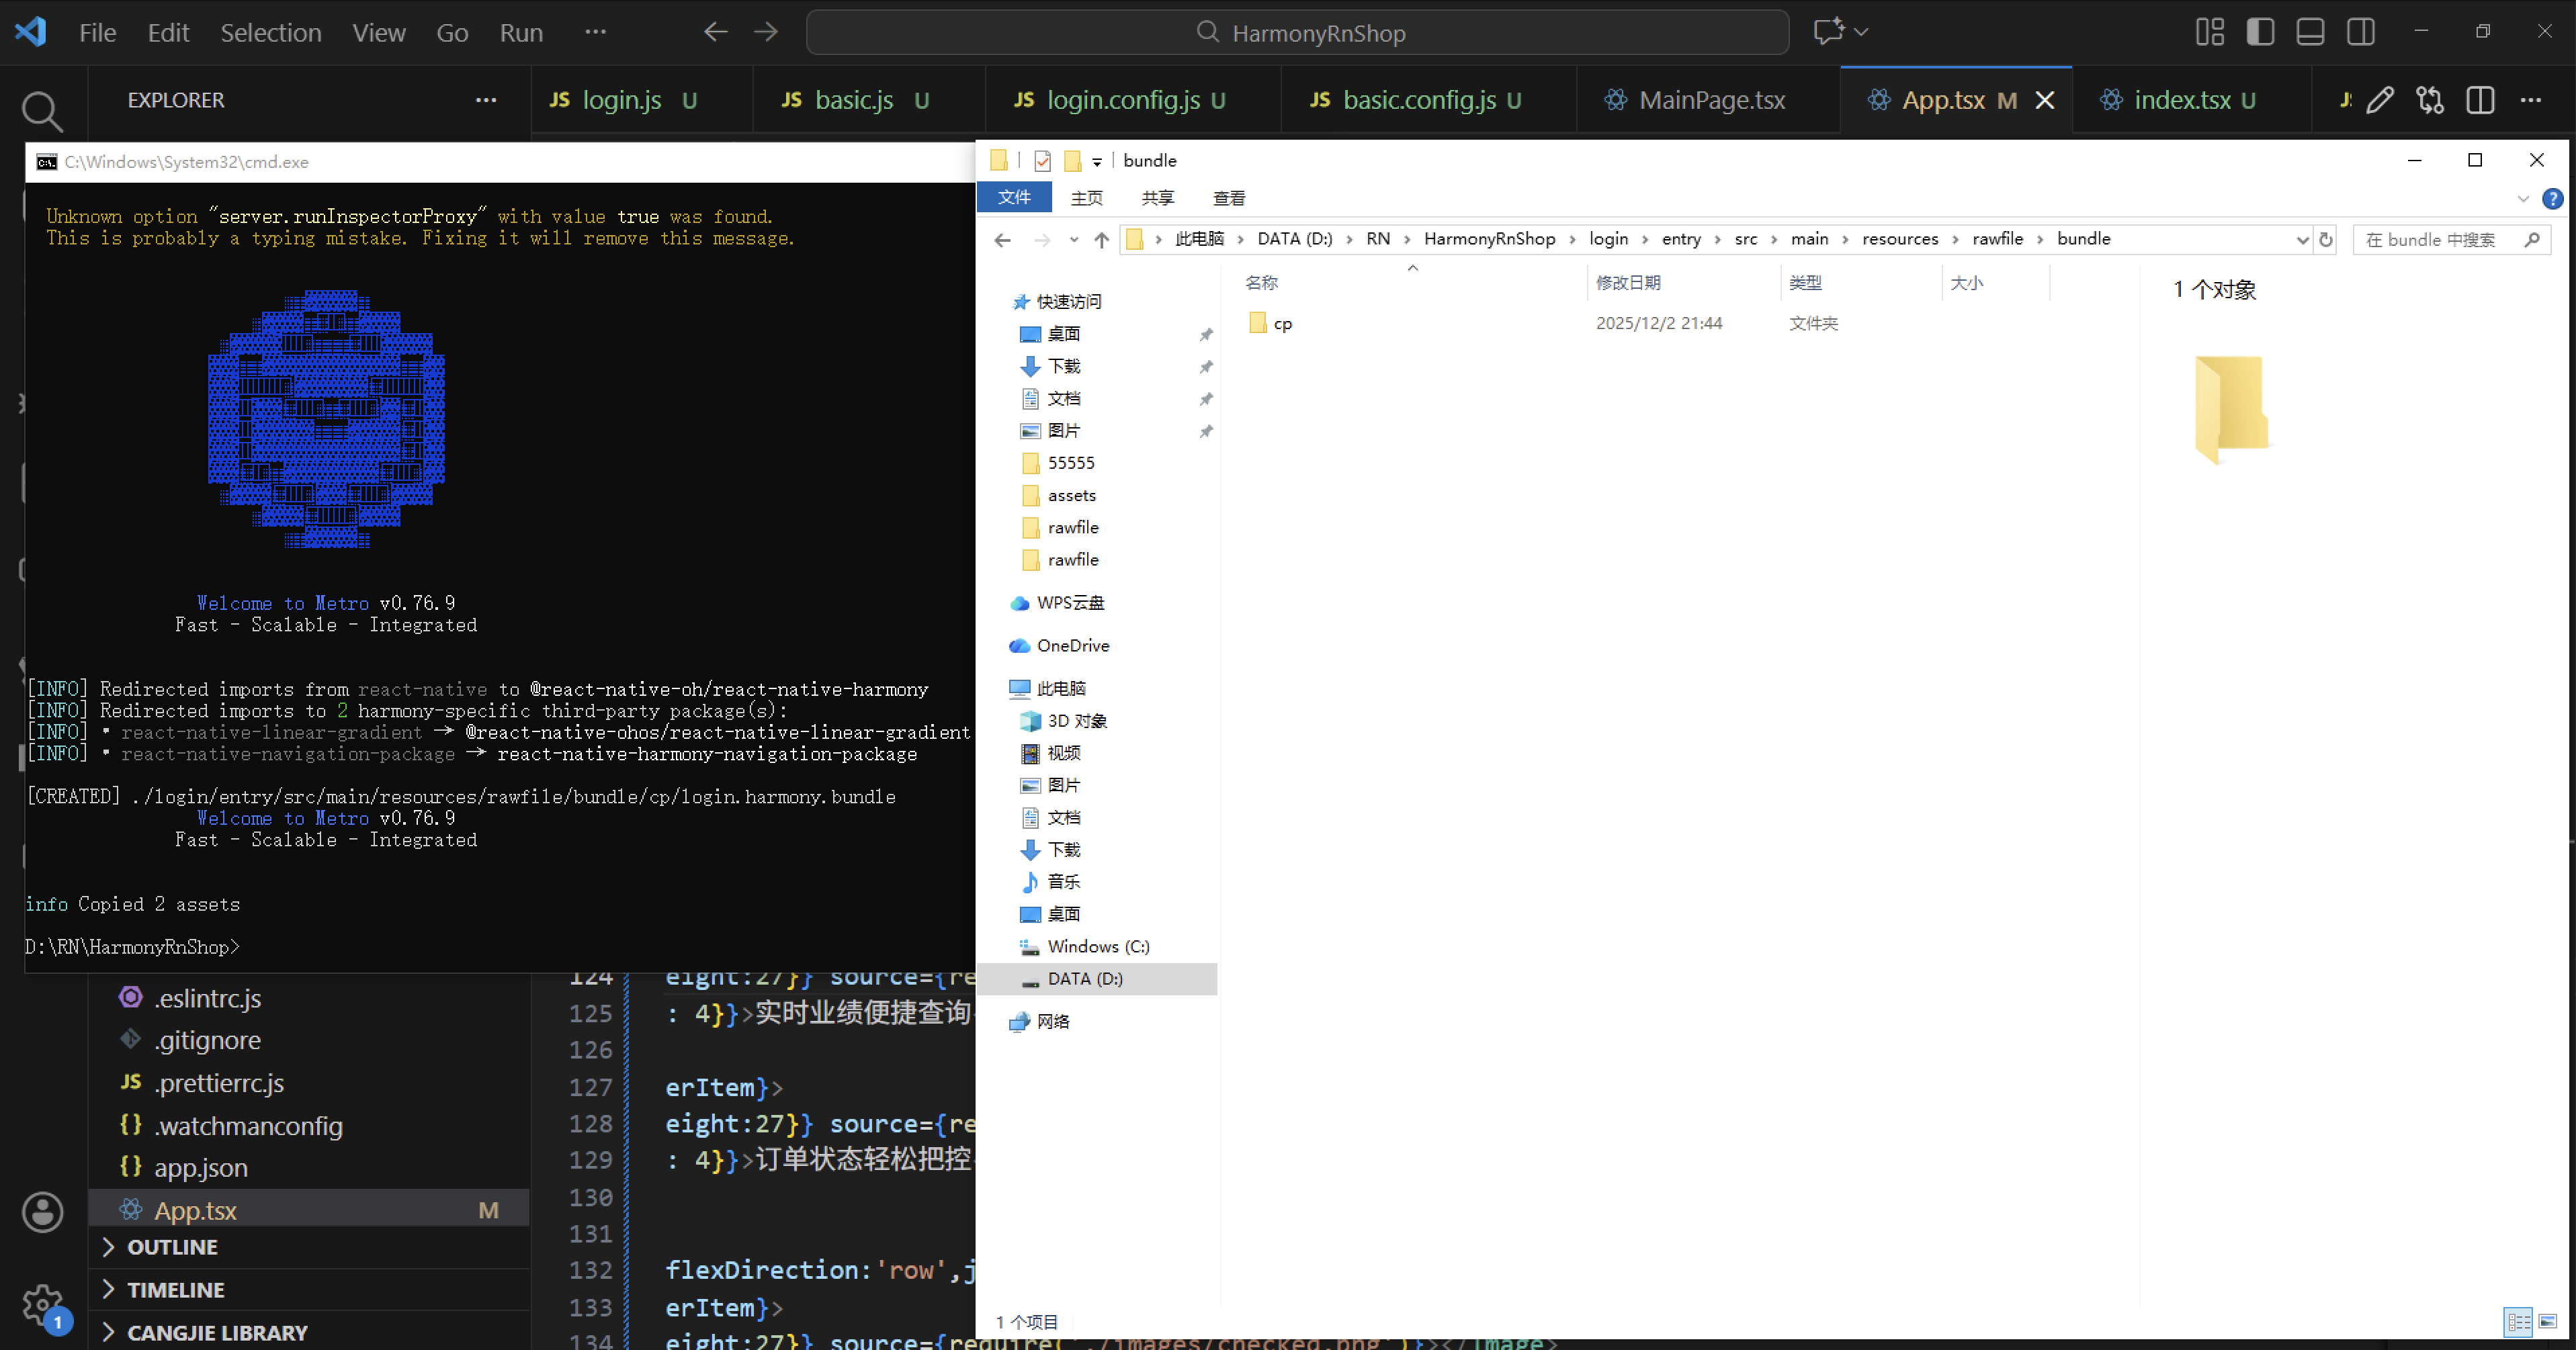
接下来通过打包命令npn run harmony将reactNative的代码打包成为bundle,这样可以进行在开源鸿蒙OpenHarmony中进行使用。
打包之后的文件:
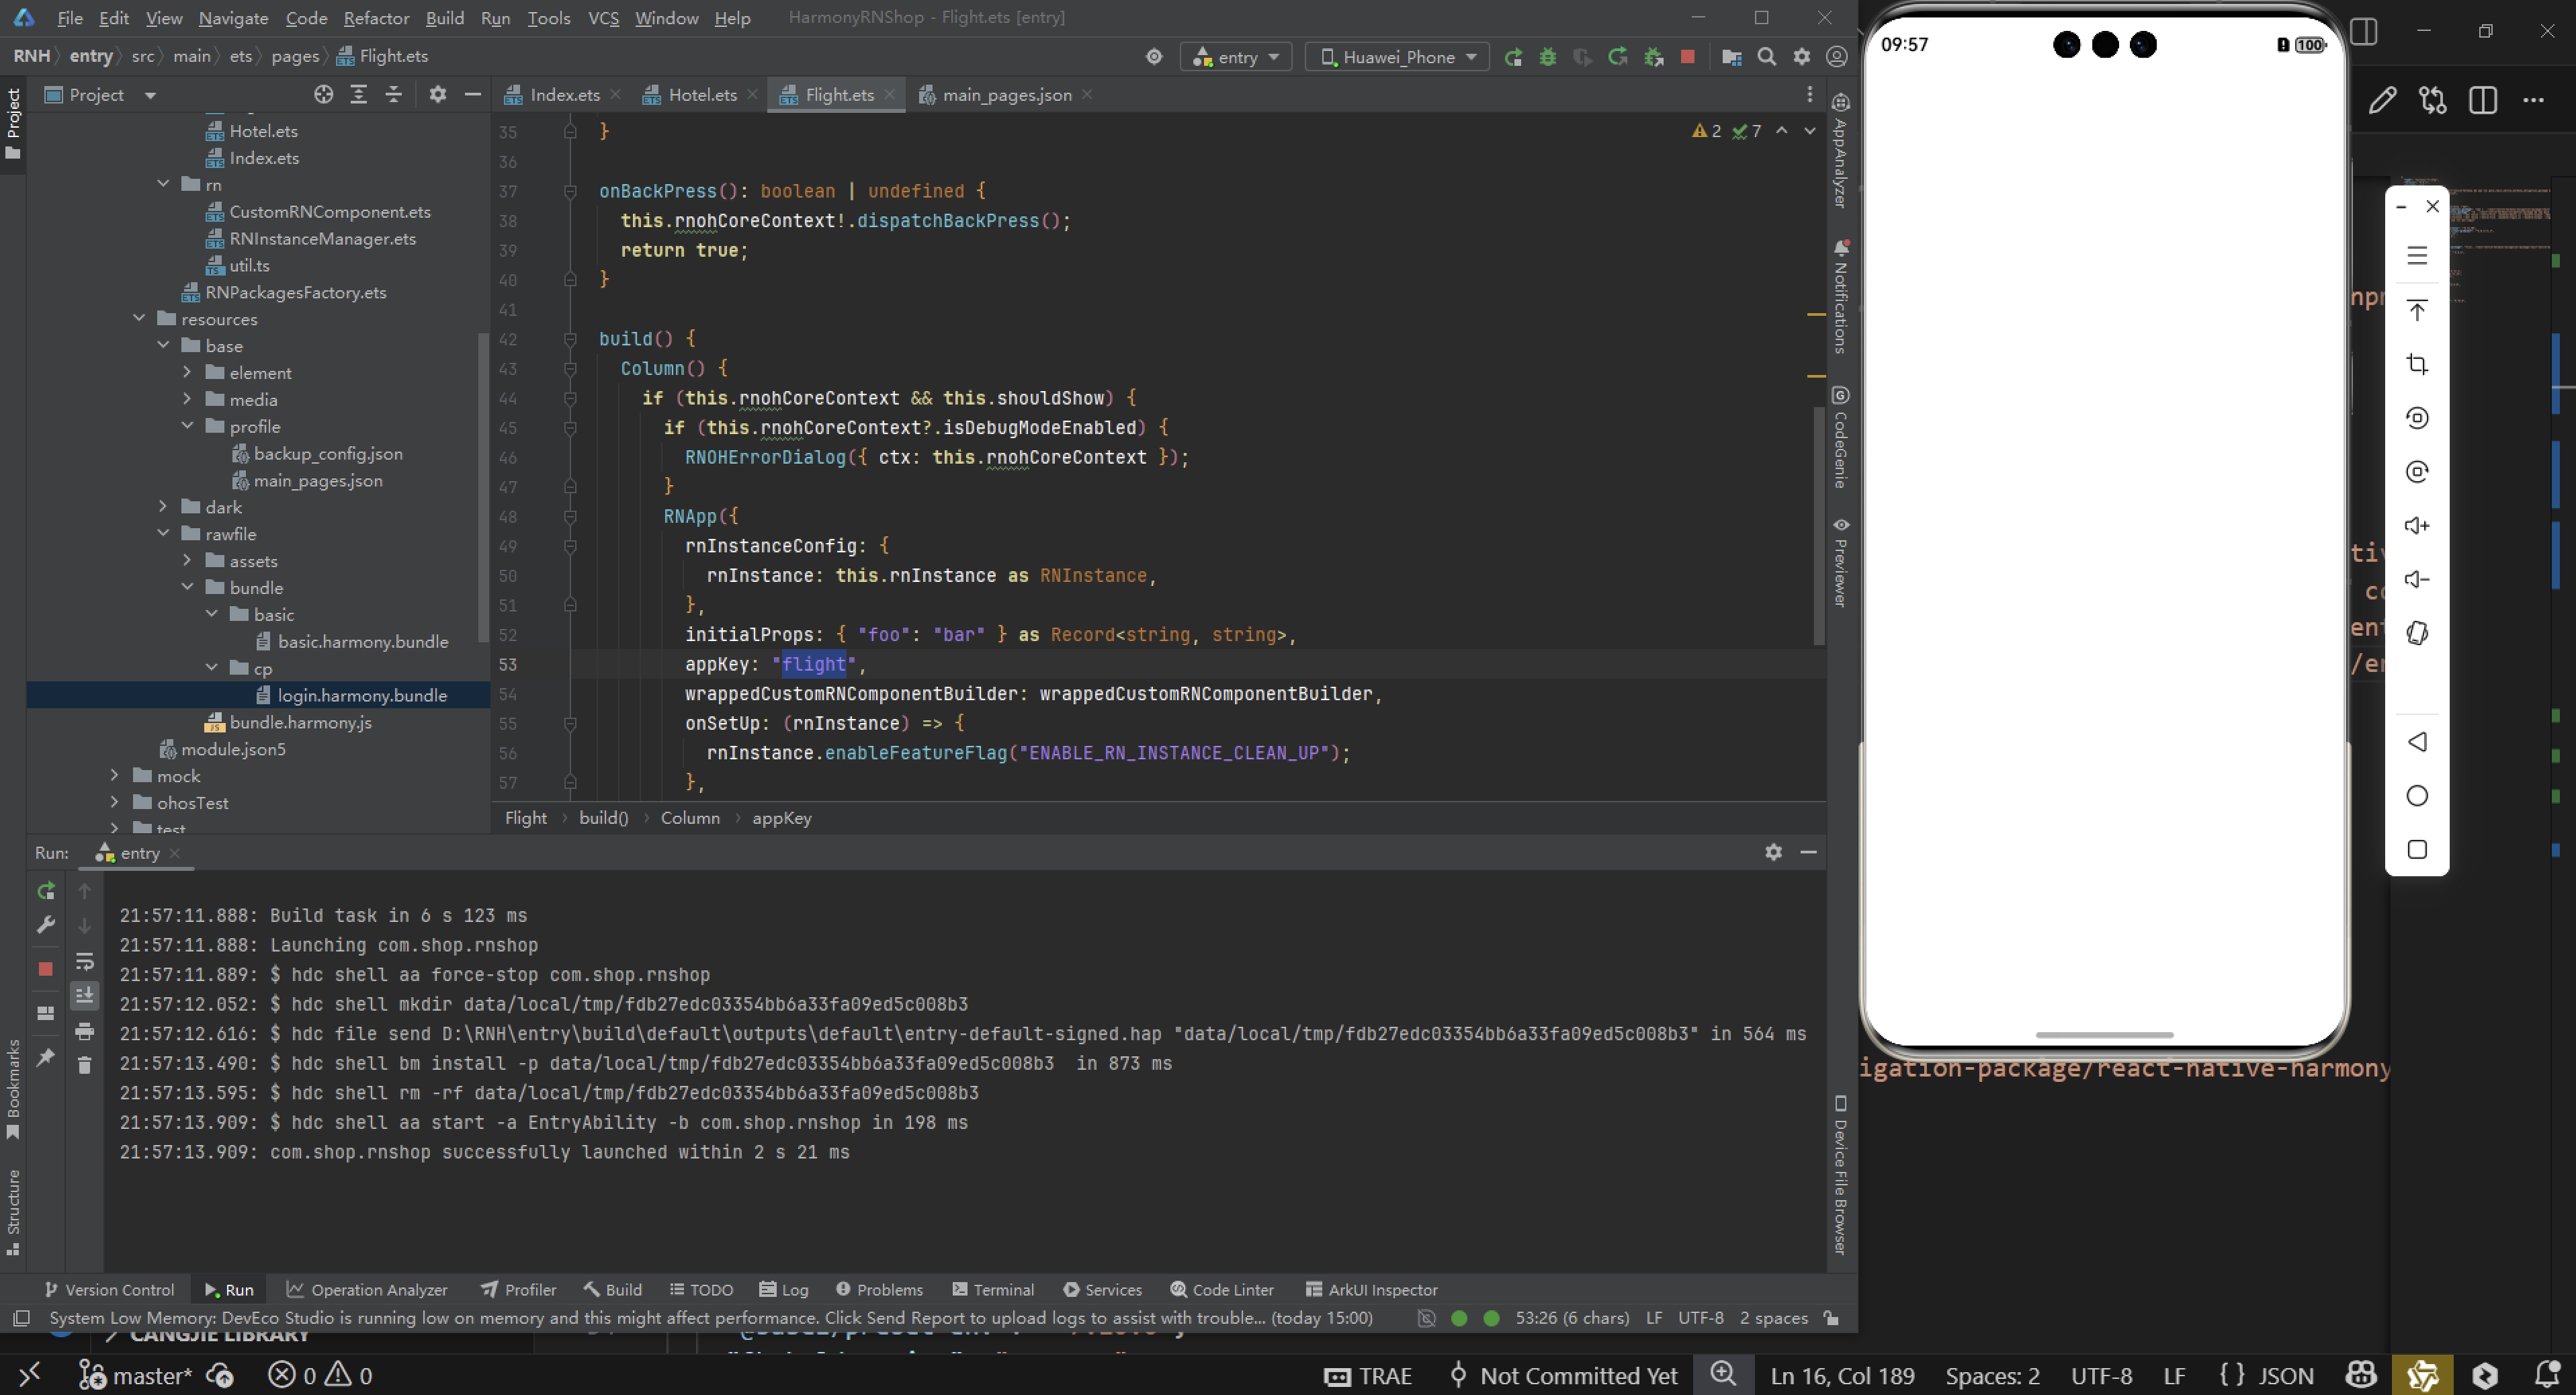
复制到鸿蒙工程中运行,但是是一个空白项目:
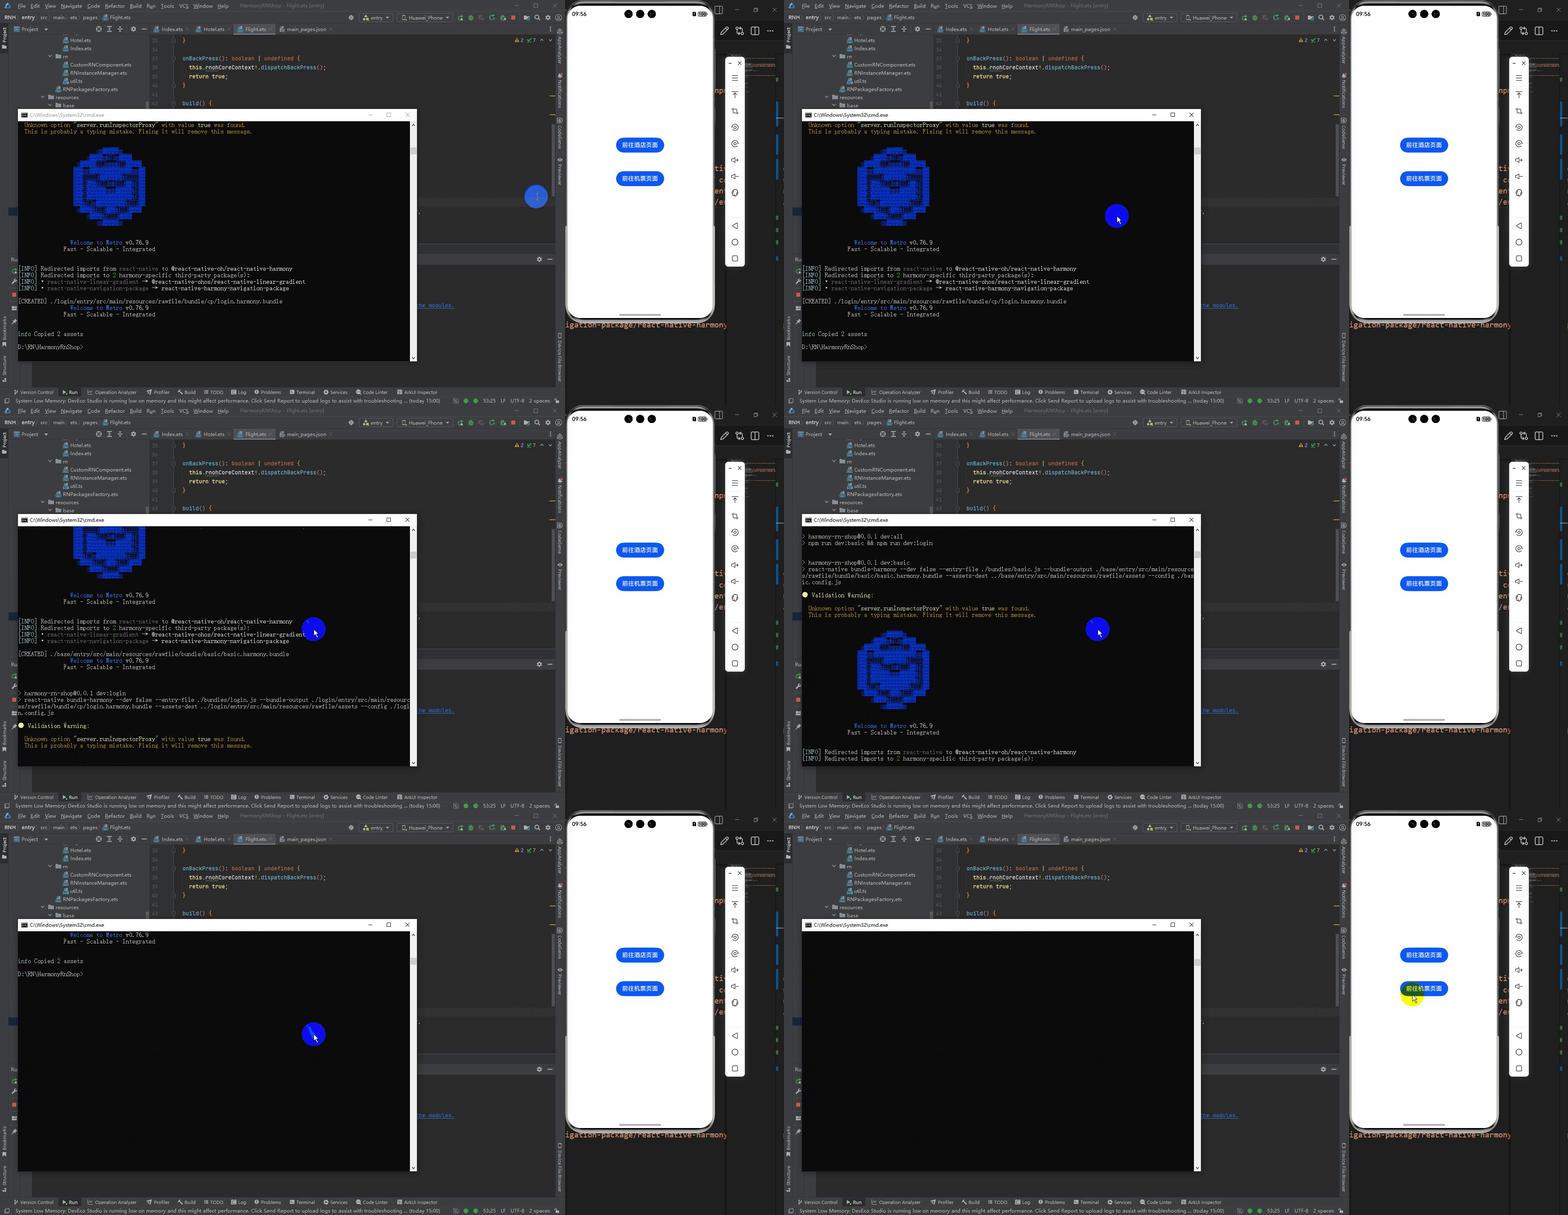
最终实现效果是:
欢迎大家加入开源鸿蒙跨平台开发者社区,一起共建开源鸿蒙跨平台生态。

讨论HarmonyOS开发技术,专注于API与组件、DevEco Studio、测试、元服务和应用上架分发等。
更多推荐



 1
1 0
0- 0


 已为社区贡献144条内容

所有评论(0)