HarmonyOS7 @Prop 父子组件单向传参:数据从父到子的正确姿势
前言
组件化的核心问题之一就是组件之间怎么通信。父组件有个计数器的值,想让子组件也能显示这个值——怎么传?
ArkUI 提供了 @Prop 装饰器来解决这个问题。@Prop 让子组件能够接收父组件传递的数据,并且当父组件的数据变化时,子组件接收到的值也会自动更新。但要注意,这是单向的——子组件改不了父组件的值。
基础概念
@Prop 的定位
在 ArkUI 的状态管理体系中,@Prop 处于这样的位置:
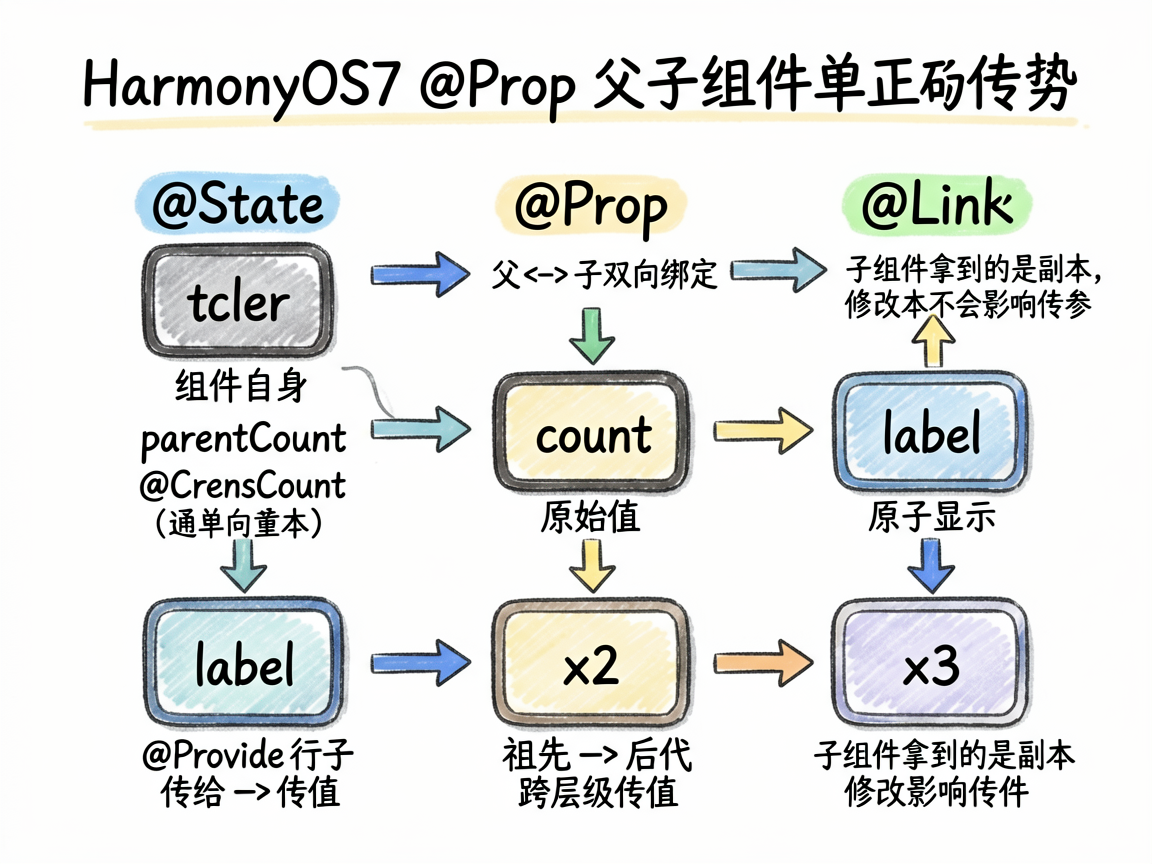
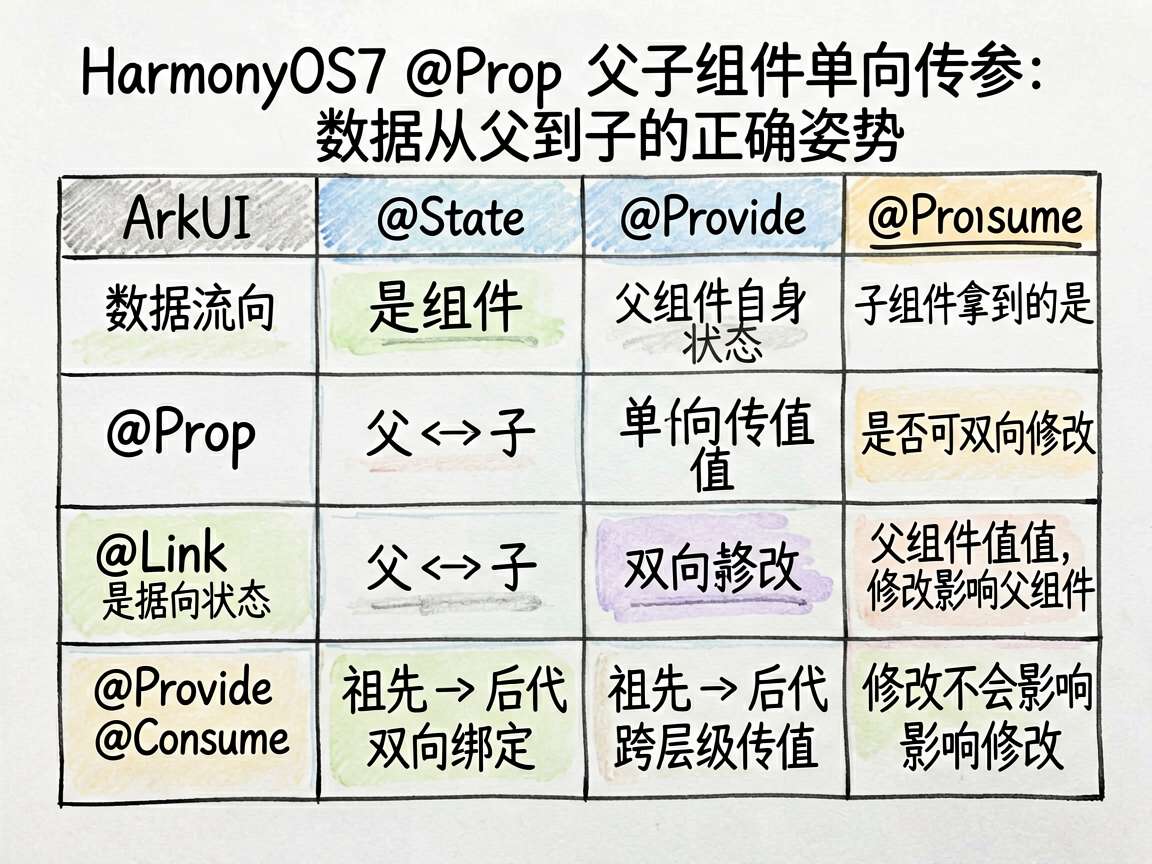
| 装饰器 | 数据流向 | 说明 |
|---|---|---|
@State | 组件自身 | 组件内部的状态 |
@Prop | 父 → 子 | 父组件向子组件传值(单向) |
@Link | 父 ↔ 子 | 父子双向绑定 |
@Provide/@Consume | 祖先 → 后代 | 跨层级传值 |
@Prop 是"只读传参"——子组件拿到的是父组件值的副本,改了这个副本不会影响父组件。
从简到繁
子组件定义
先定义一个接受 @Prop 的子组件:
@Component
struct ChildCounter {
  @Prop count: number = 0
  @Prop label: string = ''

  build() {
    Column() {
      Text(this.label)
        .fontSize(12).fontColor('#999999')
      Text(this.count.toString())
        .fontSize(24).fontWeight(FontWeight.Bold).fontColor('#4D96FF')
    }
    .width(80).height(80)
    .backgroundColor('#F8F9FA').borderRadius(12)
    .justifyContent(FlexAlign.Center)
    .alignItems(HorizontalAlign.Center)
  }
}
@Prop count: number = 0 声明了一个接受父组件传入的属性,默认值为 0。@Prop label: string = '' 同理。
子组件的 build() 方法中可以直接使用 this.count 和 this.label,就像使用 @State 变量一样。
父组件传参
@Entry
@Component
struct PropParentChild {
  @State parentCount: number = 0

  build() {
    Column() {
      // 父组件的计数器
      Text('父组件计数器')
        .fontSize(14).margin({ bottom: 12 })
      Text(this.parentCount.toString())
        .fontSize(40).fontWeight(FontWeight.Bold).fontColor('#4D96FF')

      Row({ space: 10 }) {
        Button('-1').onClick(() => { this.parentCount-- })
        Button('+1').onClick(() => { this.parentCount++ })
        Button('+10').onClick(() => { this.parentCount += 10 })
        Button('归零').onClick(() => { this.parentCount = 0 })
      }
      .width('100%').justifyContent(FlexAlign.SpaceEvenly).margin({ top: 12 })

      // 子组件接收 @Prop
      Text('子组件接收 @Prop')
        .fontSize(14).fontWeight(FontWeight.Medium).margin({ bottom: 12 })
      Row({ space: 12 }) {
        ChildCounter({ count: this.parentCount, label: '原始值' })
        ChildCounter({ count: this.parentCount * 2, label: 'x2' })
        ChildCounter({ count: this.parentCount * 3, label: 'x3' })
      }
      .width('100%').justifyContent(FlexAlign.Center)
    }
  }
}
注意子组件的调用方式:
ChildCounter({ count: this.parentCount, label: '原始值' })
ChildCounter({ count: this.parentCount * 2, label: 'x2' })
ChildCounter({ count: this.parentCount * 3, label: 'x3' })
三个子组件分别显示原始值、2 倍值和 3 倍值。传入的 count 值可以是表达式(this.parentCount * 2),不一定要直接传状态变量。
数据流分析
当用户点击 +1 按钮时,数据流是这样的:
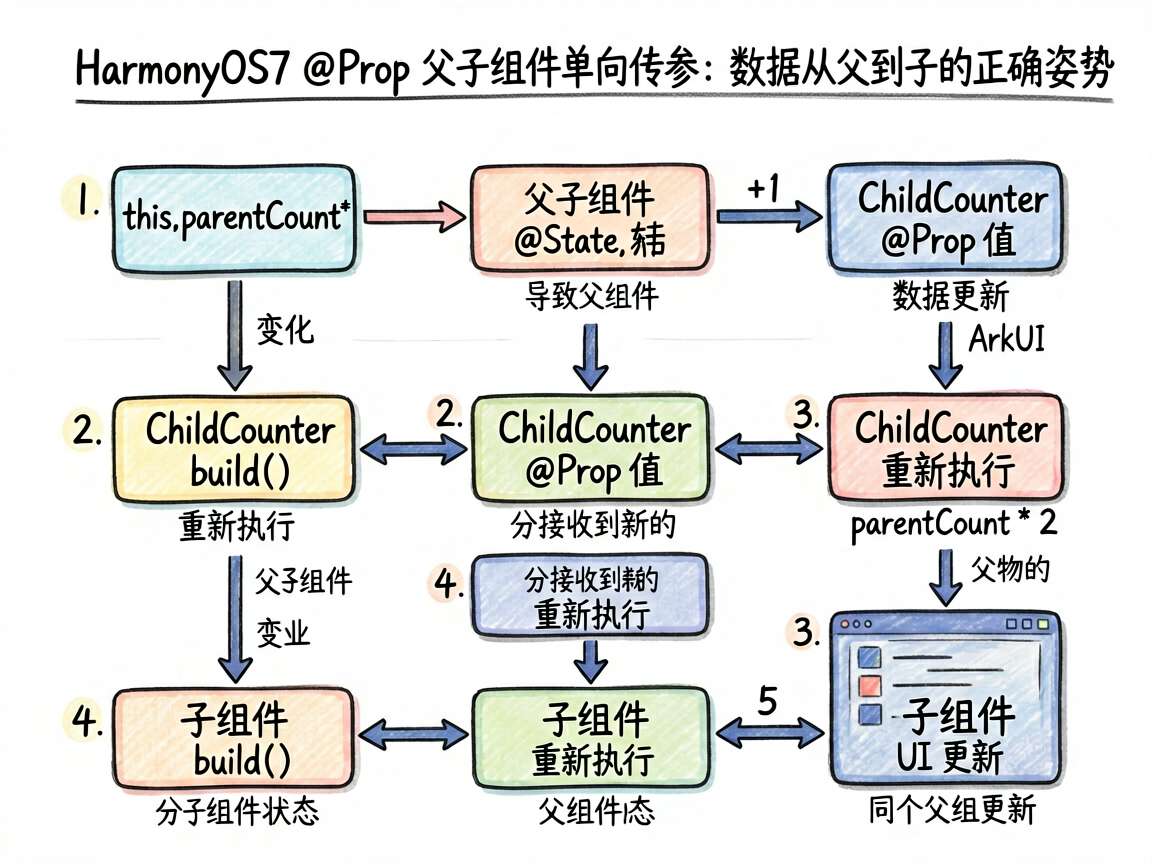
1. this.parentCount++  (父组件 @State 变化)
2. 父组件 build() 重新执行
3. 子组件的 @Prop count 接收到新值
4. 子组件 build() 重新执行
5. 子组件 UI 更新
三个子组件各自接收到不同的计算值(parentCount、parentCount * 2、parentCount * 3),各自独立更新。
@Prop 的单向性
@Prop 最重要的特性就是单向性。如果子组件尝试修改 @Prop 变量:
@Component
struct ChildCounter {
  @Prop count: number = 0

  build() {
    Column() {
      Text(this.count.toString())
      // 这样做不会报错,但修改的是本地副本
      // 不会影响父组件
      Button('+1').onClick(() => { this.count++ })
    }
  }
}
子组件内部修改 this.count 只会改变本地副本,父组件的 parentCount 不会受影响。而且下次父组件更新时,这个本地修改也会被覆盖掉。
经验法则:
@Prop变量当"只读"来用。如果需要子组件修改父组件的值,用@Link。
常见问题
Q: @Prop 能传对象吗?
可以,但对象的更新规则和 @State 一样——需要整体赋值新对象才能触发更新。
Q: @Prop 能传数组吗?
可以,但性能不如简单类型好。大数组频繁传参会有拷贝开销。
Q: 子组件修改 @Prop 值会报错吗?
不会报错,但修改是临时的,下次父组件更新时会被覆盖。编译期可能会有警告。
Q: 多个 @Prop 变量,只有部分变化时,子组件会整体重新渲染吗?
会的。任何一个 @Prop 变化都会触发子组件的 build() 重新执行。
进阶技巧
@Prop 配合计算
父组件可以传计算后的值:
ChildCounter({
  count: Math.max(0, this.parentCount),  // 保证非负
  label: '非负值'
})
@Prop 配合条件
ChildCounter({
  count: this.parentCount > 100 ? 100 : this.parentCount,
  label: '上限100'
})
多个子组件的批量更新
父组件的一个 @State 变化,可以同时传递给任意多个子组件,每个子组件接收到不同的计算值。这是 @Prop 的强大之处——一次修改,多处响应。
写在最后
@Prop 是 ArkUI 组件通信的基础工具。记住两个关键词:单向和副本。父组件的值传给子组件,子组件拿到的是副本,改不了原始值。
当你的组件结构比较简单——父组件控制状态,子组件只负责显示——@Prop 就够用了。如果需要子组件也能修改父组件的值(比如开关组件、滑块组件),那就得用 @Link。

讨论HarmonyOS开发技术,专注于API与组件、DevEco Studio、测试、元服务和应用上架分发等。
更多推荐


 3
3 0
0- 0


 已为社区贡献100条内容

所有评论(0)