HarmonyOS 6.0 图片缓存与预加载策略
图片是App里最占资源的部分——一张高清图几MB,列表里几十张图就是上百MB。不做缓存,每次都从网络加载,流量炸了、内存炸了、用户体验也炸了。HarmonyOS的Image组件有内置的内存缓存,但磁盘缓存和预加载需要自己搞。这篇把图片缓存的完整策略讲清楚。
Image组件的缓存机制
Image组件默认开启内存缓存。同一个URL的图片只下载一次,后续直接从内存读取:
Image('https://example.com/photo.jpg')
  .width(200)
  .height(200)
  .objectFit(ImageFit.Cover)
Image内部维护了一个LRU缓存池。缓存容量由系统控制,开发者无法直接调整。图片组件销毁后,缓存中的图片不会立即清除——只要还有内存空间,下次加载同URL会命中缓存。
缓存控制
通过imageCacheSize调整缓存大小(仅在特定版本支持):
Image('https://example.com/photo.jpg')
  .width(200)
  .height(200)
  .autoResize(true)
autoResize=true(默认)会根据组件尺寸缩小解码后的图片。200x200的Image不会解码出4K的bitmap再缩放,而是直接解码出200x200的图。这个属性对内存优化极其重要——不加的话每个Image组件都持有原始尺寸的bitmap,内存很快就会爆。
磁盘缓存
Image组件的内置缓存只在内存中,应用重启后缓存丢失。要做磁盘缓存需要手动实现:
import { http } from '@kit.NetworkKit';
import { fileIo } from '@kit.CoreFileKit';
import { common } from '@kit.AbilityKit';

class ImageDiskCache {
  private context: common.UIAbilityContext;
  private cacheDir: string;

  constructor(context: common.UIAbilityContext) {
    this.context = context;
    this.cacheDir = context.cacheDir + '/image_cache';
    if (!fileIo.accessSync(this.cacheDir)) {
      fileIo.mkdirSync(this.cacheDir);
    }
  }

  private urlToKey(url: string): string {
    let hash = 0;
    for (let i = 0; i < url.length; i++) {
      hash = ((hash << 5) - hash) + url.charCodeAt(i);
      hash = hash & hash;
    }
    return Math.abs(hash).toString(16);
  }

  async get(url: string): Promise<string | null> {
    let key = this.urlToKey(url);
    let filePath = this.cacheDir + '/' + key;
    if (fileIo.accessSync(filePath)) {
      return filePath;
    }
    return null;
  }

  async put(url: string): Promise<string> {
    let key = this.urlToKey(url);
    let filePath = this.cacheDir + '/' + key;

    if (fileIo.accessSync(filePath)) {
      return filePath;
    }

    let httpRequest = http.createHttp();
    let response = await httpRequest.request(url, {
      method: http.RequestMethod.GET,
      expectDataType: http.HttpDataType.ARRAY_BUFFER
    });
    httpRequest.destroy();

    if (response.responseCode === 200 && response.result instanceof ArrayBuffer) {
      let file = fileIo.openSync(filePath, fileIo.OpenMode.CREATE | fileIo.OpenMode.WRITE_ONLY);
      fileIo.writeSync(file.fd, response.result);
      fileIo.closeSync(file.fd);
      return filePath;
    }
    return url;
  }
}
urlToKey把URL转成短文件名——URL太长不能直接当文件名。用简单的hash算法生成唯一key。
注意:这个hash不是加密hash,存在碰撞可能。 生产环境建议用SHA-256,但ArkTS里需要用cryptoFramework模块。简单场景用这个足够了。
缓存优先加载
先查缓存,缓存没有再下载:
@State imageSrc: string | Resource = $r('app.media.placeholder')

async loadImage(url: string): Promise<void> {
  let cachedPath = await this.diskCache.get(url);
  if (cachedPath !== null) {
    this.imageSrc = 'file://' + cachedPath;
  } else {
    this.imageSrc = url;
    let localPath = await this.diskCache.put(url);
  }
}
缓存命中时用file://协议加载本地文件,未命中时先用URL加载(Image组件会自动下载),同时在后台存入磁盘缓存。
问题:这段代码有竞态条件。 如果缓存还没写完,用户就退出页面了,put操作可能写到一半。解决方式是加锁或者不等待put完成(后台写入):
async loadImage(url: string): Promise<void> {
  let cachedPath = await this.diskCache.get(url);
  if (cachedPath !== null) {
    this.imageSrc = 'file://' + cachedPath;
  } else {
    this.imageSrc = url;
    this.diskCache.put(url).catch(() => {});
  }
}
catch静默处理写入失败——图片已经显示了,缓存写入失败不影响UI。
预加载
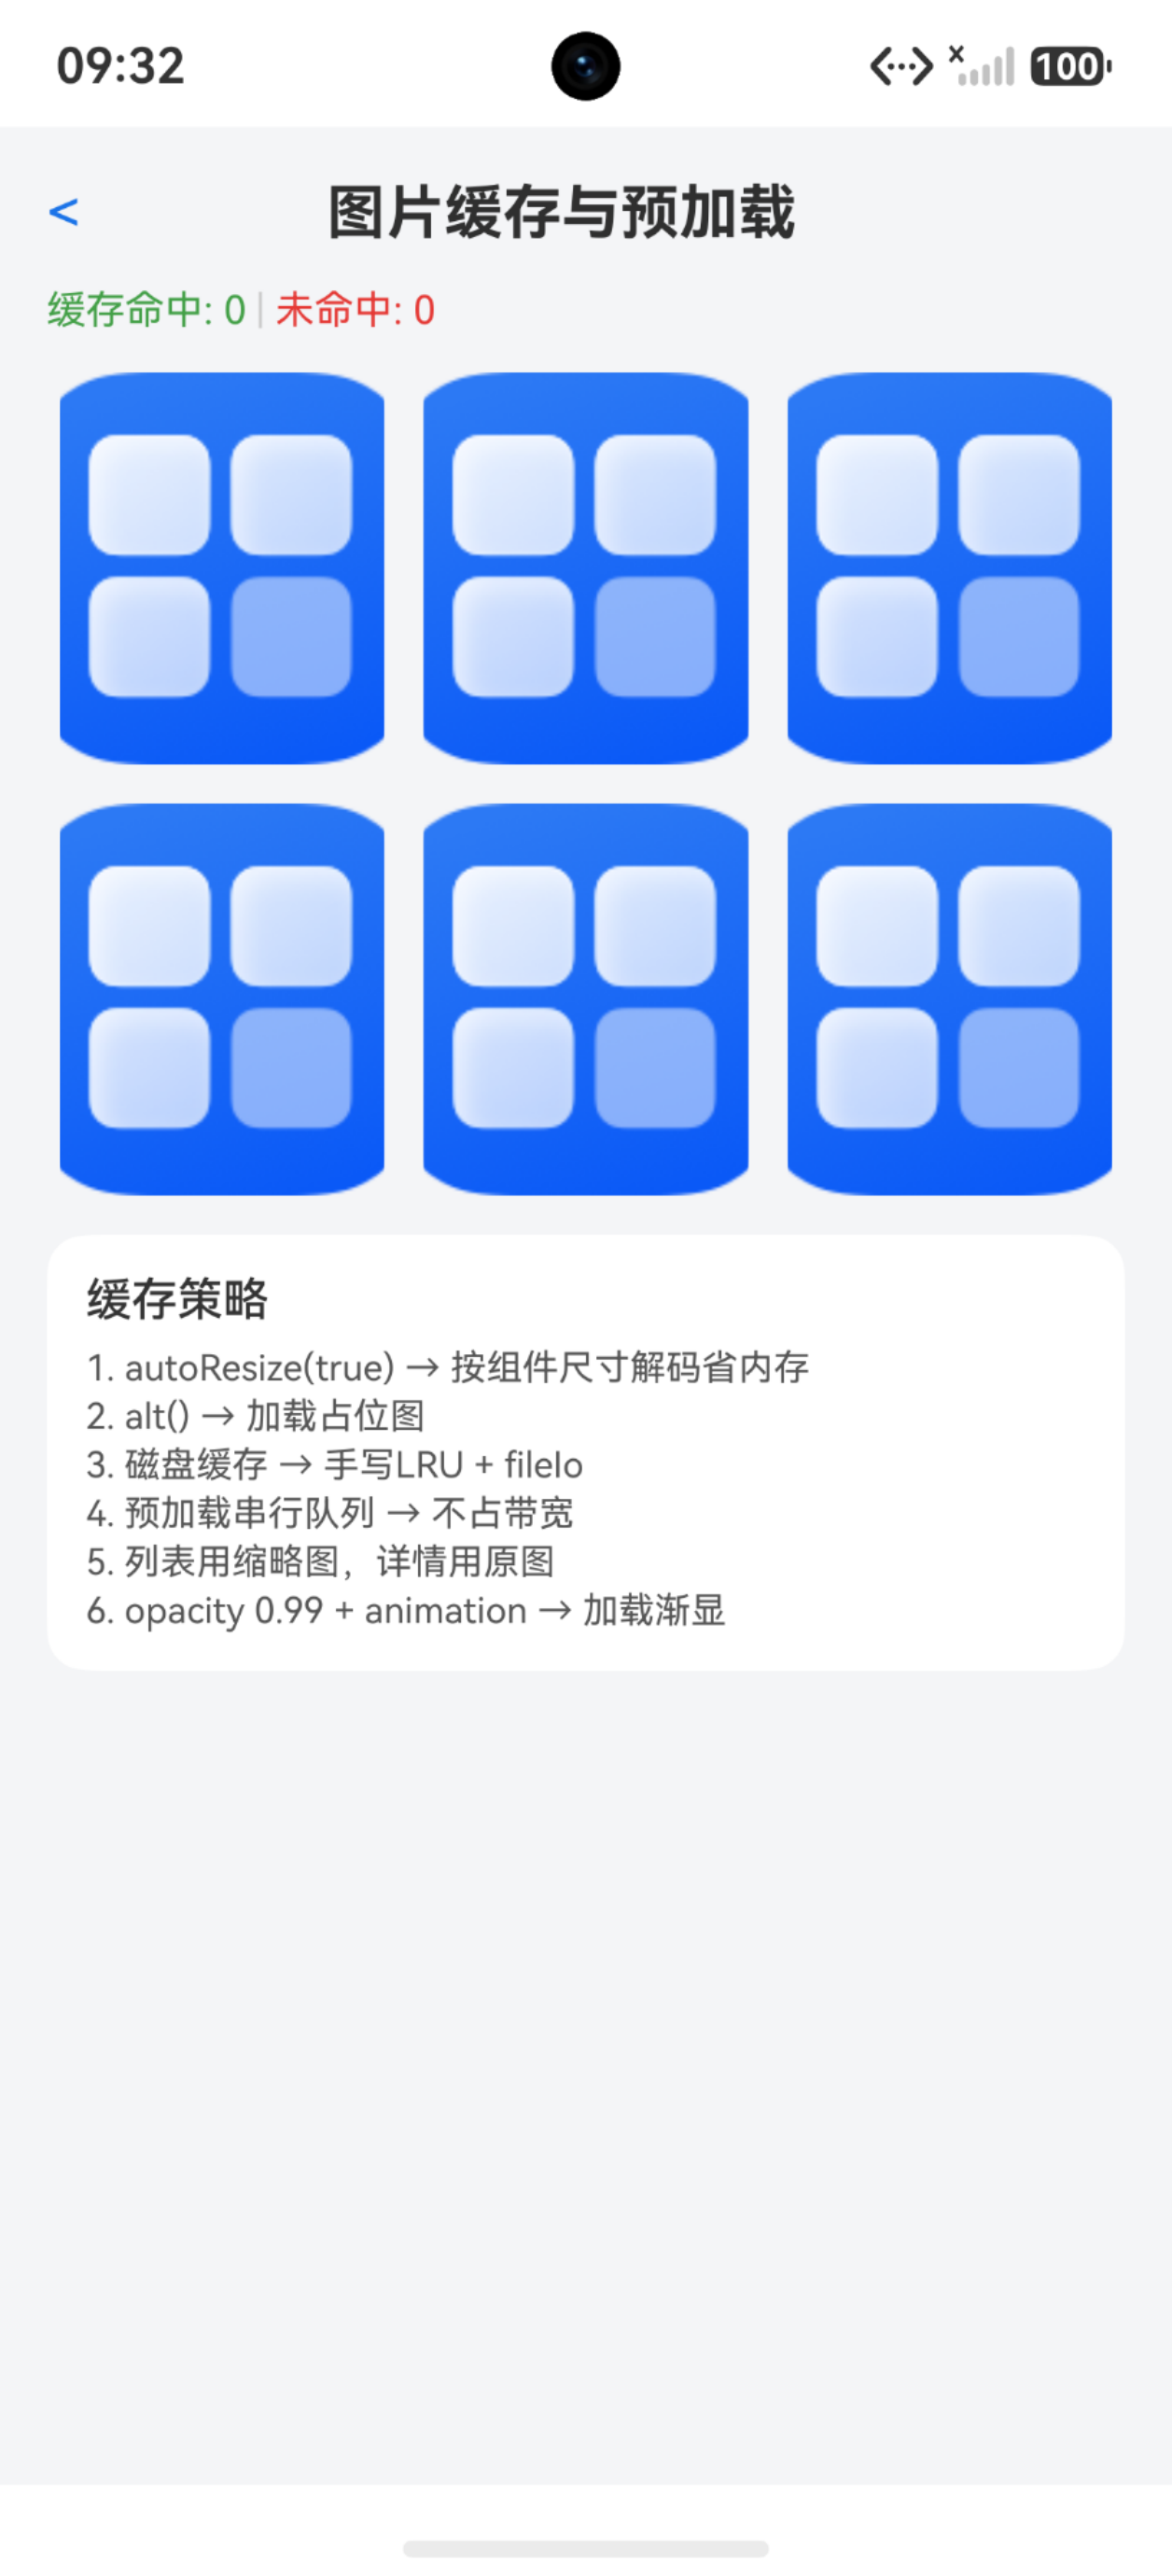
预加载是提前下载图片,等用户真正看到时直接从缓存读取。适用场景:分页列表下一页的图片、轮播下一张图、详情页的图片。
class ImagePreloader {
  private diskCache: ImageDiskCache;
  private preloadQueue: string[] = [];
  private isPreloading: boolean = false;

  constructor(diskCache: ImageDiskCache) {
    this.diskCache = diskCache;
  }

  enqueue(urls: string[]): void {
    for (let i = 0; i < urls.length; i++) {
      if (this.preloadQueue.indexOf(urls[i]) < 0) {
        this.preloadQueue.push(urls[i]);
      }
    }
    this.processQueue();
  }

  private async processQueue(): Promise<void> {
    if (this.isPreloading || this.preloadQueue.length === 0) {
      return;
    }
    this.isPreloading = true;

    while (this.preloadQueue.length > 0) {
      let url = this.preloadQueue.shift();
      if (url !== undefined) {
        let cached = await this.diskCache.get(url);
        if (cached === null) {
          await this.diskCache.put(url);
        }
      }
    }

    this.isPreloading = false;
  }
}
预加载队列串行执行——同时下载多张图会占满带宽,影响当前页面的图片加载。一张下载完再下下一张。
使用:
// 列表加载第一页后,预加载第二页的图片
aboutToAppear(): void {
  this.loadPage(1).then(() => {
    let nextPageUrls = this.getPageImageUrls(2);
    this.preloader.enqueue(nextPageUrls);
  });
}
内存缓存管理
大量图片列表需要控制内存使用。几个策略:
- autoResize:Image组件默认开启,按组件尺寸解码
- 列表缓存控制:LazyForEach的cachedCount控制预渲染项数
List() {
  LazyForEach(this.dataSource, (item: DataItem) => {
    ListItem() {
      Image(item.coverUrl)
        .width('100%')
        .height(200)
        .objectFit(ImageFit.Cover)
        .autoResize(true)
    }
  }, (item: DataItem) => item.id)
}
.cachedCount(3)
cachedCount=3表示屏幕外额外缓存3个ListItem。超过3个的会被回收,Image的bitmap也会释放。
- 缩略图策略:列表用小图,详情用大图
// 列表用缩略图URL
Image(item.thumbUrl)
  .width(120)
  .height(80)

// 详情用原图URL
Image(item.originalUrl)
  .width('100%')
后端通常提供不同尺寸的图片——缩略图50KB,原图2MB。列表只加载缩略图,点击进详情才加载原图。
缓存清理
磁盘缓存不能无限增长。定期清理:
class ImageDiskCache {
  private maxCacheSize: number = 50 * 1024 * 1024; // 50MB

  cleanIfNeeded(): void {
    let totalSize = this.getCacheSize();
    if (totalSize > this.maxCacheSize) {
      this.cleanOldest(totalSize - this.maxCacheSize);
    }
  }

  private getCacheSize(): number {
    let totalSize = 0;
    let files = fileIo.listFileSync(this.cacheDir);
    for (let i = 0; i < files.length; i++) {
      let stat = fileIo.statSync(this.cacheDir + '/' + files[i]);
      totalSize += stat.size;
    }
    return totalSize;
  }

  private cleanOldest(targetBytes: number): void {
    let files = fileIo.listFileSync(this.cacheDir);
    let fileInfos: { name: string; time: number; size: number }[] = [];
    for (let i = 0; i < files.length; i++) {
      let stat = fileIo.statSync(this.cacheDir + '/' + files[i]);
      fileInfos.push({
        name: files[i],
        time: stat.mtime,
        size: stat.size
      });
    }
    fileInfos.sort((a, b) => a.time - b.time);

    let freed = 0;
    for (let i = 0; i < fileInfos.length && freed < targetBytes; i++) {
      fileIo.unlinkSync(this.cacheDir + '/' + fileInfos[i].name);
      freed += fileInfos[i].size;
    }
  }
}
超过50MB时按修改时间从旧到新删除,直到总大小降到50MB以下。这就是简易的LRU磁盘缓存。
在aboutToAppear中调用cleanIfNeeded,每次打开应用时检查一次。
占位图与错误图
加载中的占位图和加载失败的错误图:
Image(item.coverUrl)
  .width(120)
  .height(80)
  .objectFit(ImageFit.Cover)
  .alt($r('app.media.image_placeholder'))
  .onError(() => {
    this.failedImages.add(item.id);
    this.failedImages = new Set(this.failedImages);
  })
alt是加载中的占位图,图片下载完成前显示。onError在加载失败时触发。
加载失败时显示错误图:
if (this.failedImages.has(item.id)) {
  Image($r('app.media.image_error'))
    .width(120)
    .height(80)
} else {
  Image(item.coverUrl)
    .width(120)
    .height(80)
    .alt($r('app.media.image_placeholder'))
    .onError(() => {
      this.failedImages.add(item.id);
      this.failedImages = new Set(this.failedImages);
    })
}
失败后替换为错误图。点击错误图可以重试:
Image($r('app.media.image_error'))
  .onClick(() => {
    this.failedImages.delete(item.id);
    this.failedImages = new Set(this.failedImages);
  })
渐显动画
图片加载完成时从透明渐显,避免突然蹦出:
@State imageOpacity: number = 0

Image(item.coverUrl)
  .width(120)
  .height(80)
  .opacity(this.imageOpacity)
  .onComplete(() => {
    animateTo({ duration: 300 }, () => {
      this.imageOpacity = 1;
    });
  })
onComplete在图片解码完成时触发,animateTo驱动opacity从0到1的渐显。
问题:如果每个列表项都有独立的imageOpacity,需要用数组或Map管理。 更简单的做法是用renderGroup+animation:
Image(item.coverUrl)
  .width(120)
  .height(80)
  .opacity(0.99)
  .animation({ duration: 300, curve: Curve.EaseOut })
opacity 0.99几乎看不出差异,但会在图片从alt切换到实际图片时触发animation过渡。这个hack不需要@State变量。
踩坑清单
| 问题 | 原因 | 解决 |
|---|---|---|
| 列表滚动卡顿 | Image没开autoResize | autoResize(true) |
| 图片内存爆了 | 加载了原图而非缩略图 | 列表用thumbUrl |
| 重启后图片重新加载 | 没有磁盘缓存 | 实现diskCache |
| 缓存越来越大 | 没有清理策略 | 定期按LRU清理 |
| 预加载影响当前加载 | 并发下载占满带宽 | 预加载串行队列 |
| 加载失败无反馈 | 没处理onError | 显示错误图+重试 |
| 图片突然出现 | 没有渐显 | opacity+animation |
| 缓存文件名冲突 | hash碰撞 | 用更长的hash或SHA-256 |
| file://协议加载失败 | 路径不正确 | 确认cacheDir路径 |
| cachedCount太大 | 预渲染太多项 | cachedCount=3~5 |
图片缓存的核心策略:内存缓存靠autoResize+cachedCount,磁盘缓存靠手写LRU,预加载靠串行队列,展示靠占位图+渐显。 不做这四件事,图片列表的体验永远是"加载中→突然出现→偶尔白图"。

讨论HarmonyOS开发技术,专注于API与组件、DevEco Studio、测试、元服务和应用上架分发等。
更多推荐



 7
7 0
0- 0


 已为社区贡献100条内容

所有评论(0)