HarmonyOS7 Canvas 基本图形怎么组合:CanvasShapeGallery 实战讲解
文章目录
前言
如果说 Canvas 入门阶段是“先画出来”,那再往前一步,就是“把不同图形拼成一个有结构的画面”。这一步很关键,因为从这里开始,Canvas 才真正摆脱演示性质,开始具备做图表、做插画、做信息面板的能力。
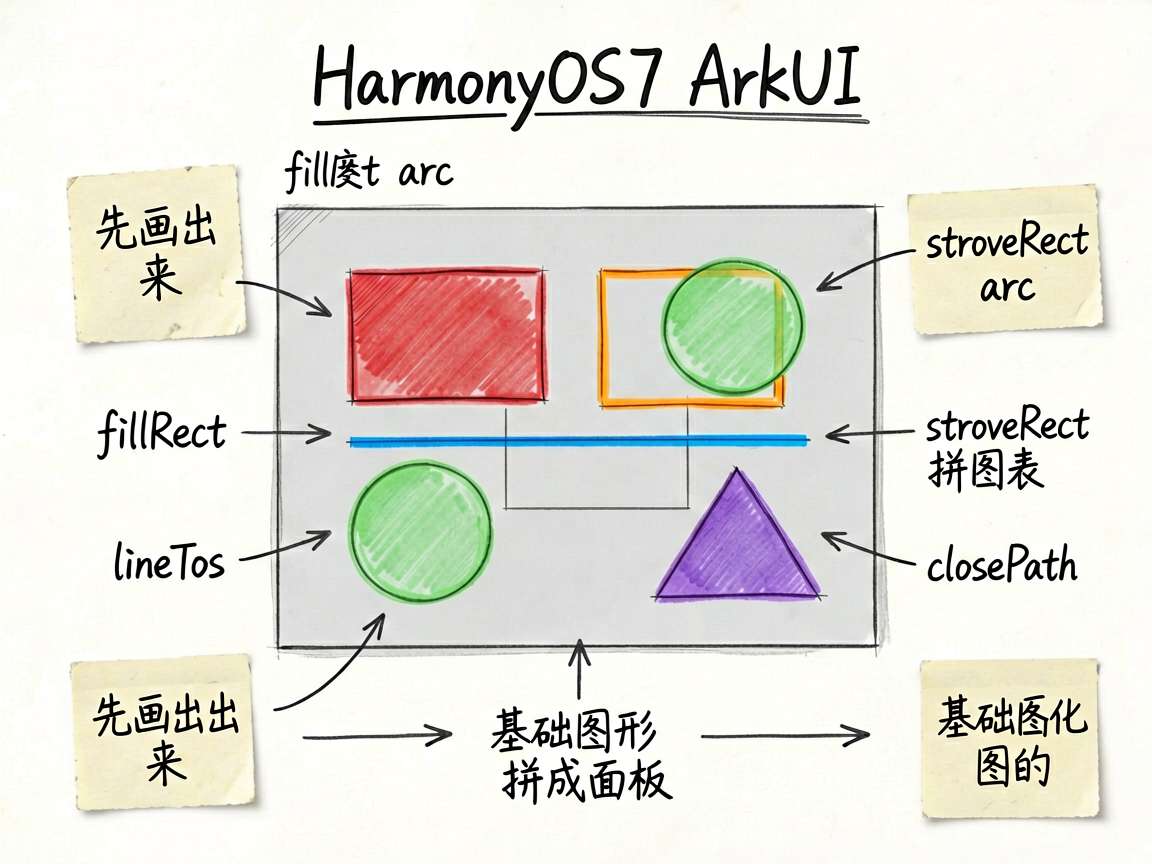
这个案例特别适合用来理解这个过渡。它没有搞复杂 UI,而是老老实实把矩形、描边矩形、圆形、直线和三角形放到一张画布里。你会发现,很多所谓“复杂图案”,底层其实都是这些基础图形的组合。
案例覆盖了哪些绘制能力
这一页主要演示了五类东西:
- 填充矩形
- 描边矩形
- 圆形
- 线条
- 路径闭合后的三角形
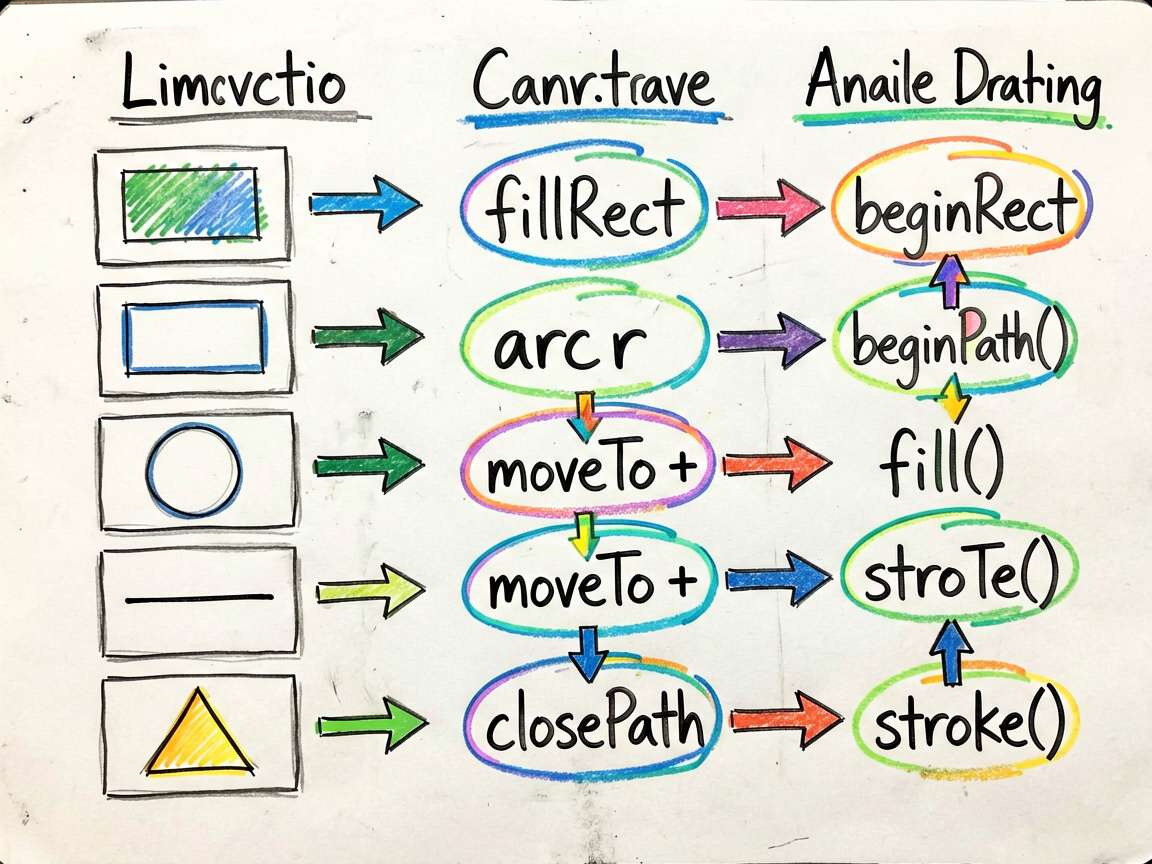
它的价值在于,让你第一次系统感受到 Canvas 里“立即绘制”和“路径绘制”是两套不同的工作方式。
完整代码
import { DEMO_BG_COLOR, DEMO_CARD_COLOR, DEMO_THEME_COLOR, DEMO_SUBTEXT_COLOR } from './types'

@Entry
@Component
struct CanvasShapeGallery {
  @State isShow: boolean = true
  private settings: RenderingContextSettings = new RenderingContextSettings(true)
  private context: CanvasRenderingContext2D = new CanvasRenderingContext2D(this.settings)

  build() {
    Column() {
      if (this.isShow) {
        Scroll() {
          Column({ space: 16 }) {
            Text('Canvas 图形绘制').fontSize(16).fontColor(DEMO_THEME_COLOR).fontWeight(FontWeight.Bold)

            Column() {
              Text('基本图形绘制').fontSize(13).fontColor('#4D96FF').margin({ bottom: 8 })
              Column() {
                Canvas(this.context)
                  .onReady(() => {
                    this.context.fillStyle = '#FF6B6B'
                    this.context.fillRect(10, 10, 80, 50)

                    this.context.strokeStyle = '#FFA500'
                    this.context.lineWidth = 2
                    this.context.strokeRect(100, 10, 80, 50)

                    this.context.beginPath()
                    this.context.arc(230, 35, 25, 0, Math.PI * 2)
                    this.context.fillStyle = '#6BCB77'
                    this.context.fill()

                    this.context.beginPath()
                    this.context.moveTo(10, 80)
                    this.context.lineTo(350, 80)
                    this.context.strokeStyle = '#4D96FF'
                    this.context.lineWidth = 2
                    this.context.stroke()

                    this.context.beginPath()
                    this.context.moveTo(180, 120)
                    this.context.lineTo(150, 180)
                    this.context.lineTo(210, 180)
                    this.context.closePath()
                    this.context.fillStyle = '#9B59B6'
                    this.context.fill()
                  })
                  .width('100%')
                  .height(200)
                  .backgroundColor('#F0F0F0')
                  .borderRadius(8)
              }
            }
            .backgroundColor(DEMO_CARD_COLOR)
            .padding(12)
            .borderRadius(12)

            Column({ space: 6 }) {
              Text('绘制方法说明').fontSize(14).fontColor(DEMO_THEME_COLOR).fontWeight(FontWeight.Bold)
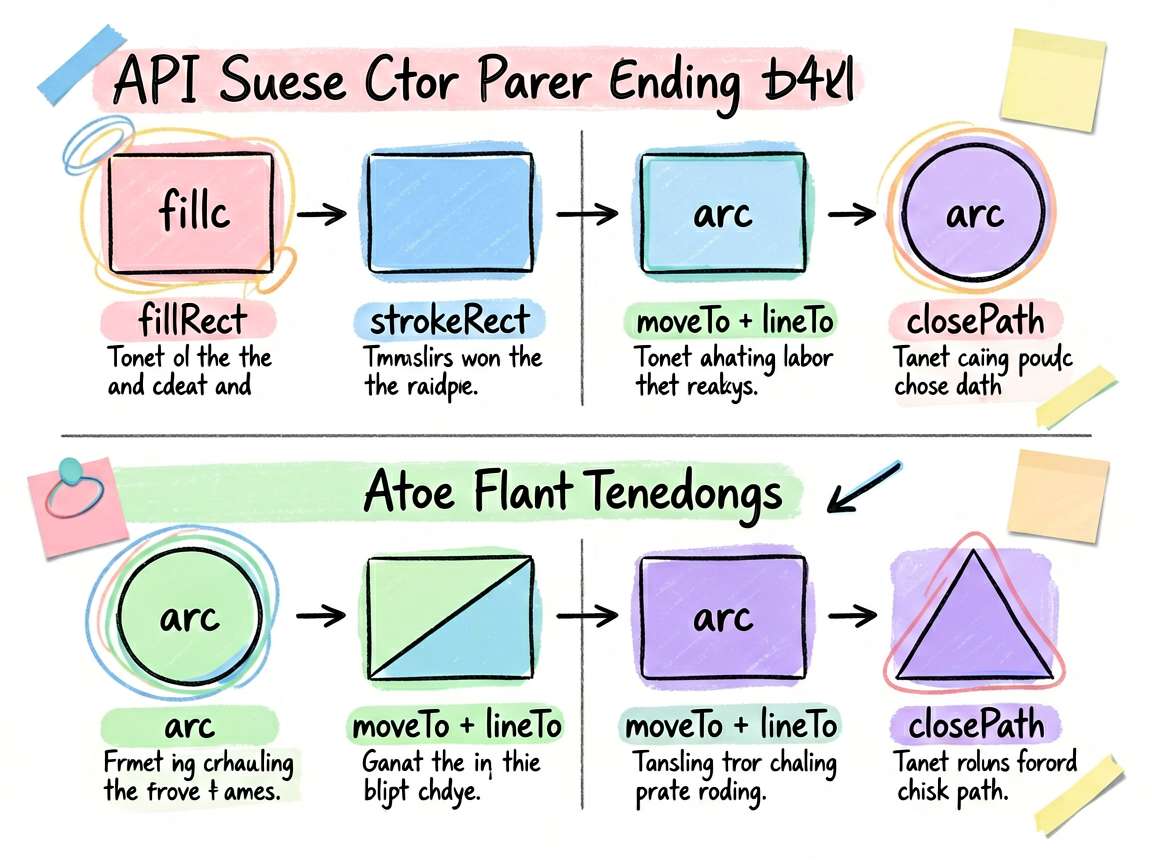
              Text('fillRect(x, y, w, h) - 填充矩形').fontSize(12).fontColor('#FF6B6B')
              Text('strokeRect(x, y, w, h) - 描边矩形').fontSize(12).fontColor('#FFA500')
              Text('arc(x, y, r, start, end) - 圆弧/圆').fontSize(12).fontColor('#6BCB77')
              Text('moveTo/lineTo + stroke() - 绘制线条').fontSize(12).fontColor('#4D96FF')
              Text('beginPath/closePath + fill() - 路径填充').fontSize(12).fontColor('#9B59B6')
              Text('clearRect(x, y, w, h) - 清除区域').fontSize(12).fontColor('#333333')
            }
            .width('100%')
            .backgroundColor('#E8F4FD')
            .padding(14)
            .borderRadius(12)
          }
          .width('100%')
        }
      }

      Text('CanvasShapeGallery - 矩形、圆形、线条与路径')
        .fontSize(12)
        .fontColor(DEMO_SUBTEXT_COLOR)
        .margin({ top: 12 })
    }
    .width('100%')
    .height('100%')
    .backgroundColor(DEMO_BG_COLOR)
    .padding(16)
  }
}
第一类:fillRect() 是最快的图形入口
这一句最直接:
this.context.fillRect(10, 10, 80, 50)
它会直接在画布上画出一个填充矩形,不需要你先开路径,也不需要额外 fill()。这类 API 适合做什么?
适合做卡片底板、柱状图柱子、色块占位、背景分区。凡是“规则矩形块”,它都是最快的做法。
第二类:strokeRect() 适合强调边界
和填充矩形对应的,是描边矩形:
this.context.strokeStyle = '#FFA500'
this.context.lineWidth = 2
this.context.strokeRect(100, 10, 80, 50)
这里最关键的是,描边效果依赖两个状态:边线颜色和线宽。你不设置也能画,但样式通常不是你想要的。
描边矩形特别适合做框选区域、提示区、高亮边框,或者草图风格的视觉结构。它不像填充块那么重,但能把区域边界表达清楚。
第三类:圆形靠 arc() 完成
案例里用这段代码画圆:
this.context.beginPath()
this.context.arc(230, 35, 25, 0, Math.PI * 2)
this.context.fillStyle = '#6BCB77'
this.context.fill()
这一段里最容易忽略的是 beginPath()。因为圆不是像矩形那样的“立即绘制”方法,它属于路径系统的一部分。你先开始路径,再定义圆弧,最后执行填充。
arc(x, y, r, start, end) 里:
x, y是圆心r是半径start, end是弧度范围
当起止范围覆盖整圈,也就是 0 到 2π,它画出来就是完整圆形。
第四类:线条本质上是路径
案例中的横线写法是:
this.context.beginPath()
this.context.moveTo(10, 80)
this.context.lineTo(350, 80)
this.context.strokeStyle = '#4D96FF'
this.context.lineWidth = 2
this.context.stroke()
这段代码把路径思维讲得很清楚。
moveTo() 是把画笔移动到起点,lineTo() 是拉出一条到目标点的线,最后 stroke() 才真正描出来。
很多初学者一开始不理解为什么只写 lineTo() 不够,原因就在这:路径是“先描述,再提交”。
第五类:三角形告诉你路径能拼出任意形状
案例最后画了一个三角形:
this.context.beginPath()
this.context.moveTo(180, 120)
this.context.lineTo(150, 180)
this.context.lineTo(210, 180)
this.context.closePath()
this.context.fillStyle = '#9B59B6'
this.context.fill()
这里的重点不只是“三角形怎么画”,而是你开始真正理解路径的价值。
只要你会用 moveTo() 和 lineTo(),你理论上可以拼出任意多边形。再往后做箭头、气泡、仪表盘指针、流程节点,都是沿着这个思路展开。
closePath() 的作用也要记住。它会把最后一个点和起点闭合,这样填充的时候区域才完整。
两套绘制思维要分清
这个案例其实同时演示了两套东西。
一套是立即绘制:fillRect()、strokeRect(),写了就画。
另一套是路径绘制:beginPath()、moveTo()、lineTo()、arc()、fill()、stroke(),先描述形状,再决定用描边还是填充。
你如果把这两套思维分清,后面读别人的 Canvas 代码会轻松很多。
为什么这个案例适合拿来练手
它不是在讲某个炫酷效果,而是在帮你建立“图形库意识”。
你可以很自然地拿这页代码去继续扩展:
- 给圆加描边
- 给线条加虚线
- 把三角形改成五边形
- 把几个图形拼成图标或信息模块
一旦你开始自己改,Canvas 的手感就会慢慢出来。
常见坑我顺手提一下
第一个坑,是路径之间忘记 beginPath(),结果前一个形状和后一个形状串到一起。
第二个坑,是改了 fillStyle 或 strokeStyle 以后忘记这其实是上下文状态,后面所有图形都会继续吃这个样式。
第三个坑,是不会区分 fill() 和 stroke() 的作用,导致本来想画实心图形却只画了轮廓。
写在最后
Canvas 真正有意思的地方,不是 API 多,而是它允许你用很少的基础图形拼出几乎无限的视觉结果。矩形、圆、线、多边形,这几个东西看着朴素,但组合起来就能做出很丰富的界面表达。
把这一页练顺,后面你再碰文字、渐变、动画,就不会只是死记函数名了。

讨论HarmonyOS开发技术,专注于API与组件、DevEco Studio、测试、元服务和应用上架分发等。
更多推荐


 4
4 0
0- 0


 已为社区贡献82条内容

所有评论(0)