依托HarmonyOS 6.1最新特性实现图片编辑APP(五):PixelMap位图操作与自定义滤镜
·
依托HarmonyOS 6.1最新特性实现图片编辑APP(五):PixelMap位图操作与自定义滤镜
前言
在上一篇文章中,我们学习了 PixelMap 的图像变换操作。本文将进一步深入,探讨PixelMap的位图操作——即像素级别的读写和处理能力。这是实现自定义滤镜、色彩调整、特效渲染等高级功能的基础。
PixelMap 提供了直接读写像素数据的能力,开发者可以像操作二维数组一样操作图像的每个像素,从而实现任意自定义的图像处理算法。结合滤镜链(Filter Chain)的概念,我们可以构建一个灵活可扩展的滤镜系统。
像素格式(Pixel Format)描述了像素数据在内存中如何排列和表达颜色分量,会影响内存占用、透明度能力及解码处理路径。理解像素格式是进行位图操作的前提。
一、像素数据读写基础
1.1 PixelMap像素格式
PixelMap 支持多种像素格式,每种格式有不同的内存布局:
| 像素格式 | 每像素字节数 | 颜色分量 | 透明通道 | 典型用途 |
|---|---|---|---|---|
| RGBA_8888 | 4字节 | R/G/B各8位 | 8位Alpha | 通用编辑、需要透明度 |
| RGB_565 | 2字节 | R5/G6/B5 | 无 | 预览、缩略图 |
| NV12 | 1.5字节 | Y+UV分量 | 无 | 视频帧、相机预览 |
| NV21 | 1.5字节 | Y+VU分量 | 无 | 视频帧、相机预览 |
1.2 读取像素数据
import { image } from '@kit.ImageKit';
import { BusinessError } from '@kit.BasicServicesKit';

// 像素数据读写工具
class PixelDataAccessor {
  private pixelMap: image.PixelMap;

  constructor(pixelMap: image.PixelMap) {
    this.pixelMap = pixelMap;
  }

  // 读取整个像素缓冲区
  async readAllPixels(): Promise<ArrayBuffer | undefined> {
    try {
      const buffer = await this.pixelMap.readPixelsToBuffer();
      console.info(`Read ${buffer.byteLength} bytes of pixel data.`);
      return buffer;
    } catch (error) {
      console.error(`Failed to read pixels: ${error}`);
      return undefined;
    }
  }

  // 读取指定区域的像素数据
  async readRegionPixels(region: image.Region): Promise<ArrayBuffer | undefined> {
    try {
      const buffer = await this.pixelMap.readPixels(region);
      console.info(`Read region pixels: ${region.size.width} x ${region.size.height}`);
      return buffer;
    } catch (error) {
      console.error(`Failed to read region pixels: ${error}`);
      return undefined;
    }
  }

  // 将像素数据写入PixelMap
  async writePixels(buffer: ArrayBuffer): Promise<void> {
    try {
      await this.pixelMap.writeBufferToPixels(buffer);
      console.info(`Wrote ${buffer.byteLength} bytes to PixelMap.`);
    } catch (error) {
      console.error(`Failed to write pixels: ${error}`);
    }
  }

  // 写入指定区域的像素数据
  async writeRegionPixels(region: image.Region, buffer: ArrayBuffer): Promise<void> {
    try {
      await this.pixelMap.writePixels(region, buffer);
      console.info(`Wrote region pixels: ${region.size.width} x ${region.size.height}`);
    } catch (error) {
      console.error(`Failed to write region pixels: ${error}`);
    }
  }
}
1.3 RGBA像素操作
// RGBA颜色结构
interface RGBAColor {
  r: number; // 0-255
  g: number; // 0-255
  b: number; // 0-255
  a: number; // 0-255
}

// RGBA像素操作工具
class RGBAPixelOperator {
  // 将ArrayBuffer转为RGBA颜色数组
  static bufferToRGBAColors(buffer: ArrayBuffer): RGBAColor[] {
    const pixels = new Uint8Array(buffer);
    const colors: RGBAColor[] = [];

    for (let i = 0; i < pixels.length; i += 4) {
      colors.push({
        r: pixels[i],
        g: pixels[i + 1],
        b: pixels[i + 2],
        a: pixels[i + 3]
      });
    }

    return colors;
  }

  // 将RGBA颜色数组转回ArrayBuffer
  static colorsToBuffer(colors: RGBAColor[]): ArrayBuffer {
    const buffer = new ArrayBuffer(colors.length * 4);
    const pixels = new Uint8Array(buffer);

    for (let i = 0; i < colors.length; i++) {
      const offset = i * 4;
      pixels[offset] = colors[i].r;
      pixels[offset + 1] = colors[i].g;
      pixels[offset + 2] = colors[i].b;
      pixels[offset + 3] = colors[i].a;
    }

    return buffer;
  }

  // 获取指定位置的像素颜色
  static getPixelAt(colors: RGBAColor[], width: number, x: number, y: number): RGBAColor {
    const index = y * width + x;
    return colors[index];
  }

  // 设置指定位置的像素颜色
  static setPixelAt(colors: RGBAColor[], width: number, x: number, y: number, color: RGBAColor): void {
    const index = y * width + x;
    colors[index] = { ...color };
  }

  // 钳制颜色值到0-255范围
  static clamp(value: number): number {
    return Math.max(0, Math.min(255, Math.round(value)));
  }
}
二、基础色彩调整滤镜
2.1 亮度调整
// 亮度调整滤镜
class BrightnessFilter {
  // 亮度调整(-255到255,正值增亮,负值变暗)
  static apply(colors: RGBAColor[], brightness: number): RGBAColor[] {
    return colors.map(color => ({
      r: RGBAPixelOperator.clamp(color.r + brightness),
      g: RGBAPixelOperator.clamp(color.g + brightness),
      b: RGBAPixelOperator.clamp(color.b + brightness),
      a: color.a
    }));
  }
}
2.2 对比度调整
// 对比度调整滤镜
class ContrastFilter {
  // 对比度调整(0.0到2.0,1.0为原始对比度)
  static apply(colors: RGBAColor[], contrast: number): RGBAColor[] {
    const factor = (259 * (contrast * 255)) / (255 * (259 - contrast * 255));

    return colors.map(color => ({
      r: RGBAPixelOperator.clamp(factor * (color.r - 128) + 128),
      g: RGBAPixelOperator.clamp(factor * (color.g - 128) + 128),
      b: RGBAPixelOperator.clamp(factor * (color.b - 128) + 128),
      a: color.a
    }));
  }
}
2.3 饱和度调整
// 饱和度调整滤镜
class SaturationFilter {
  // 饱和度调整(0.0灰度到2.0高饱和度,1.0为原始)
  static apply(colors: RGBAColor[], saturation: number): RGBAColor[] {
    return colors.map(color => {
      // 计算灰度值(使用加权平均)
      const gray = 0.299 * color.r + 0.587 * color.g + 0.114 * color.b;

      return {
        r: RGBAPixelOperator.clamp(gray + saturation * (color.r - gray)),
        g: RGBAPixelOperator.clamp(gray + saturation * (color.g - gray)),
        b: RGBAPixelOperator.clamp(gray + saturation * (color.b - gray)),
        a: color.a
      };
    });
  }
}
2.4 色温调整
// 色温调整滤镜
class ColorTemperatureFilter {
  // 色温调整(1000K到40000K,6500K为自然光)
  static apply(colors: RGBAColor[], temperature: number): RGBAColor[] {
    // 将色温转换为RGB调整因子
    const temp = temperature / 100;
    let redFactor: number;
    let blueFactor: number;

    if (temp <= 66) {
      redFactor = 255;
      blueFactor = 99.4708025861 * Math.log(temp) - 161.1195681661;
    } else {
      redFactor = 329.698727446 * Math.pow(temp - 60, -0.1332047592);
      blueFactor = 255;
    }

    redFactor = RGBAPixelOperator.clamp(redFactor) / 255;
    blueFactor = RGBAPixelOperator.clamp(blueFactor) / 255;

    return colors.map(color => ({
      r: RGBAPixelOperator.clamp(color.r * redFactor),
      g: color.g,
      b: RGBAPixelOperator.clamp(color.b * blueFactor),
      a: color.a
    }));
  }
}
三、艺术效果滤镜
3.1 灰度滤镜
// 灰度滤镜
class GrayscaleFilter {
  // 标准灰度(加权平均法)
  static apply(colors: RGBAColor[]): RGBAColor[] {
    return colors.map(color => {
      const gray = 0.299 * color.r + 0.587 * color.g + 0.114 * color.b;
      const g = RGBAPixelOperator.clamp(gray);
      return { r: g, g: g, b: g, a: color.a };
    });
  }

  // 复古灰度(带褐色调)
  static sepia(colors: RGBAColor[]): RGBAColor[] {
    return colors.map(color => {
      const r = RGBAPixelOperator.clamp(0.393 * color.r + 0.769 * color.g + 0.189 * color.b);
      const g = RGBAPixelOperator.clamp(0.349 * color.r + 0.686 * color.g + 0.168 * color.b);
      const b = RGBAPixelOperator.clamp(0.272 * color.r + 0.534 * color.g + 0.131 * color.b);
      return { r, g, b, a: color.a };
    });
  }
}
3.2 反色/负片滤镜
// 反色滤镜
class InvertFilter {
  // 完全反色
  static apply(colors: RGBAColor[]): RGBAColor[] {
    return colors.map(color => ({
      r: 255 - color.r,
      g: 255 - color.g,
      b: 255 - color.b,
      a: color.a
    }));
  }

  // 部分反色(参数0-1,0为原图,1为完全反色)
  static partialInvert(colors: RGBAColor[], amount: number): RGBAColor[] {
    return colors.map(color => ({
      r: RGBAPixelOperator.clamp(color.r + (255 - 2 * color.r) * amount),
      g: RGBAPixelOperator.clamp(color.g + (255 - 2 * color.g) * amount),
      b: RGBAPixelOperator.clamp(color.b + (255 - 2 * color.b) * amount),
      a: color.a
    }));
  }
}
3.3 模糊滤镜(简易实现)
// 简易模糊滤镜(Box Blur)
class BlurFilter {
  // Box模糊(kernelSize必须是奇数)
  static apply(
    colors: RGBAColor[],
    width: number,
    height: number,
    kernelSize: number = 3
  ): RGBAColor[] {
    const result = new Array(colors.length);
    const halfKernel = Math.floor(kernelSize / 2);

    for (let y = 0; y < height; y++) {
      for (let x = 0; x < width; x++) {
        let r = 0, g = 0, b = 0, a = 0, count = 0;

        for (let ky = -halfKernel; ky <= halfKernel; ky++) {
          for (let kx = -halfKernel; kx <= halfKernel; kx++) {
            const nx = x + kx;
            const ny = y + ky;

            if (nx >= 0 && nx < width && ny >= 0 && ny < height) {
              const pixel = colors[ny * width + nx];
              r += pixel.r;
              g += pixel.g;
              b += pixel.b;
              a += pixel.a;
              count++;
            }
          }
        }

        result[y * width + x] = {
          r: Math.round(r / count),
          g: Math.round(g / count),
          b: Math.round(b / count),
          a: Math.round(a / count)
        };
      }
    }

    return result;
  }
}
四、滤镜链系统实现
4.1 滤镜接口定义
// 滤镜接口
interface Filter {
  name: string;
  category: string;
  apply(colors: RGBAColor[], width: number, height: number): RGBAColor[];
}

// 滤镜配置
interface FilterConfig {
  name: string;
  params: Record<string, number>;
  enabled: boolean;
}

// 滤镜链管理器
class FilterChainManager {
  private filters: FilterConfig[] = [];
  private originalColors: RGBAColor[] | undefined;

  // 添加滤镜到链中
  addFilter(config: FilterConfig): void {
    this.filters.push(config);
  }

  // 移除滤镜
  removeFilter(index: number): void {
    if (index >= 0 && index < this.filters.length) {
      this.filters.splice(index, 1);
    }
  }

  // 移动滤镜位置
  moveFilter(fromIndex: number, toIndex: number): void {
    if (fromIndex >= 0 && fromIndex < this.filters.length &&
        toIndex >= 0 && toIndex < this.filters.length) {
      const filter = this.filters.splice(fromIndex, 1)[0];
      this.filters.splice(toIndex, 0, filter);
    }
  }

  // 切换滤镜启用状态
  toggleFilter(index: number): void {
    if (index >= 0 && index < this.filters.length) {
      this.filters[index].enabled = !this.filters[index].enabled;
    }
  }

  // 执行整个滤镜链
  applyFilterChain(colors: RGBAColor[], width: number, height: number): RGBAColor[] {
    let result = colors;

    for (const config of this.filters) {
      if (!config.enabled) continue;

      switch (config.name) {
        case 'brightness':
          result = BrightnessFilter.apply(result, config.params.value || 0);
          break;
        case 'contrast':
          result = ContrastFilter.apply(result, config.params.value || 1.0);
          break;
        case 'saturation':
          result = SaturationFilter.apply(result, config.params.value || 1.0);
          break;
        case 'grayscale':
          result = GrayscaleFilter.apply(result);
          break;
        case 'sepia':
          result = GrayscaleFilter.sepia(result);
          break;
        case 'invert':
          result = InvertFilter.apply(result);
          break;
        case 'blur':
          result = BlurFilter.apply(result, width, height, config.params.kernelSize || 3);
          break;
      }
    }

    return result;
  }

  // 获取当前滤镜链
  getFilters(): FilterConfig[] {
    return [...this.filters];
  }

  // 清空滤镜链
  clear(): void {
    this.filters = [];
  }
}
4.2 滤镜引擎集成
// 完整的滤镜引擎
class FilterEngine {
  private pixelMap: image.PixelMap;
  private filterChain: FilterChainManager;
  private width: number = 0;
  private height: number = 0;

  constructor(pixelMap: image.PixelMap) {
    this.pixelMap = pixelMap;
    this.filterChain = new FilterChainManager();
  }

  // 初始化引擎
  async initialize(): Promise<void> {
    let info = await this.pixelMap.getImageInfo();
    this.width = info.size.width;
    this.height = info.size.height;
  }

  // 应用滤镜链到PixelMap
  async applyFilters(): Promise<void> {
    try {
      // 1. 读取像素数据
      const buffer = await this.pixelMap.readPixelsToBuffer();
      if (!buffer) return;

      // 2. 转换为RGBA颜色数组
      let colors = RGBAPixelOperator.bufferToRGBAColors(buffer);

      // 3. 应用滤镜链
      colors = this.filterChain.applyFilterChain(colors, this.width, this.height);

      // 4. 转回ArrayBuffer并写入
      const resultBuffer = RGBAPixelOperator.colorsToBuffer(colors);
      await this.pixelMap.writeBufferToPixels(resultBuffer);

      console.info('Filter chain applied successfully.');
    } catch (error) {
      console.error(`Filter application failed: ${error}`);
    }
  }

  // 添加滤镜
  addFilter(name: string, params: Record<string, number> = {}): void {
    this.filterChain.addFilter({
      name: name,
      params: params,
      enabled: true
    });
  }

  // 移除滤镜
  removeFilter(index: number): void {
    this.filterChain.removeFilter(index);
  }

  // 获取滤镜链
  getFilterChain(): FilterConfig[] {
    return this.filterChain.getFilters();
  }

  // 清空滤镜
  clearFilters(): void {
    this.filterChain.clear();
  }
}
五、预设滤镜效果
5.1 预设滤镜定义
// 预设滤镜效果
class PresetFilters {
  // 预设滤镜定义
  static readonly PRESETS: Record<string, FilterConfig[]> = {
    'vintage': [
      { name: 'brightness', params: { value: 10 }, enabled: true },
      { name: 'contrast', params: { value: 0.8 }, enabled: true },
      { name: 'saturation', params: { value: 0.6 }, enabled: true },
      { name: 'sepia', params: {}, enabled: true }
    ],
    'cool': [
      { name: 'brightness', params: { value: -5 }, enabled: true },
      { name: 'contrast', params: { value: 1.1 }, enabled: true },
      { name: 'saturation', params: { value: 0.8 }, enabled: true }
    ],
    'warm': [
      { name: 'brightness', params: { value: 5 }, enabled: true },
      { name: 'contrast', params: { value: 1.05 }, enabled: true },
      { name: 'saturation', params: { value: 1.2 }, enabled: true }
    ],
    'dramatic': [
      { name: 'contrast', params: { value: 1.5 }, enabled: true },
      { name: 'saturation', params: { value: 1.3 }, enabled: true },
      { name: 'brightness', params: { value: -10 }, enabled: true }
    ],
    'monochrome': [
      { name: 'grayscale', params: {}, enabled: true },
      { name: 'contrast', params: { value: 1.2 }, enabled: true }
    ],
    'soft': [
      { name: 'blur', params: { kernelSize: 3 }, enabled: true },
      { name: 'brightness', params: { value: 15 }, enabled: true },
      { name: 'saturation', params: { value: 0.9 }, enabled: true }
    ]
  };

  // 应用预设滤镜
  static async applyPreset(
    engine: FilterEngine,
    presetName: string
  ): Promise<void> {
    const filters = PresetFilters.PRESETS[presetName];
    if (!filters) {
      console.error(`Unknown preset: ${presetName}`);
      return;
    }

    engine.clearFilters();
    for (const filter of filters) {
      engine.addFilter(filter.name, filter.params);
    }

    await engine.applyFilters();
    console.info(`Preset '${presetName}' applied.`);
  }

  // 获取所有预设名称
  static getPresetNames(): string[] {
    return Object.keys(PresetFilters.PRESETS);
  }
}
5.2 滤镜页面UI
// 滤镜选择页面
@Entry
@Component
struct FilterPage {
  @State currentPreset: string = 'none';
  @State pixelMap: image.PixelMap | undefined;
  private filterEngine: FilterEngine | undefined;

  async initEngine(): Promise<void> {
    if (this.pixelMap) {
      this.filterEngine = new FilterEngine(this.pixelMap);
      await this.filterEngine.initialize();
    }
  }

  async applyPreset(presetName: string): Promise<void> {
    if (!this.filterEngine) return;

    if (presetName === 'none') {
      this.filterEngine.clearFilters();
      // 重新加载原始图片
    } else {
      await PresetFilters.applyPreset(this.filterEngine, presetName);
    }
    this.currentPreset = presetName;
  }

  build() {
    Column() {
      // 图片预览
      if (this.pixelMap) {
        Image(this.pixelMap)
          .width('100%')
          .layoutWeight(1)
          .objectFit(ImageFit.Contain)
      }

      // 滤镜预设选择
      Scroll() {
        Row() {
          ForEach(PresetFilters.getPresetNames(), (preset: string) => {
            Column() {
              Text(preset)
                .fontSize(12)
                .padding(8)
                .backgroundColor(this.currentPreset === preset ? '#007AFF' : '#F0F0F0')
                .fontColor(this.currentPreset === preset ? Color.White : Color.Black)
                .borderRadius(8)
            }
            .onClick(() => {
              this.applyPreset(preset);
            })
            .margin(5)
          })
        }
        .padding(10)
      }
      .height(80)
      .scrollable(ScrollDirection.Horizontal)
    }
    .width('100%')
    .height('100%')
  }
}
六、滤镜效果对比
6.1 滤镜效果对比表
| 滤镜名称 | 效果描述 | 核心参数 | 性能影响 | 适用场景 |
|---|---|---|---|---|
| 亮度 | 调整整体明暗 | brightness(-255~255) | 低 | 曝光补偿 |
| 对比度 | 调整明暗差异 | contrast(0.0~2.0) | 低 | 增强画面层次 |
| 饱和度 | 调整色彩鲜艳度 | saturation(0.0~2.0) | 低 | 色彩风格调整 |
| 灰度 | 去除色彩信息 | 无 | 低 | 黑白风格 |
| 复古 | 模拟老照片效果 | 无 | 低 | 怀旧风格 |
| 模糊 | 柔化图像细节 | kernelSize(3/5/7) | 中 | 背景虚化 |
| 反色 | 颜色取反 | amount(0.0~1.0) | 低 | 特殊效果 |
| 色温 | 调整冷暖色调 | temperature | 低 | 白平衡调整 |
总结
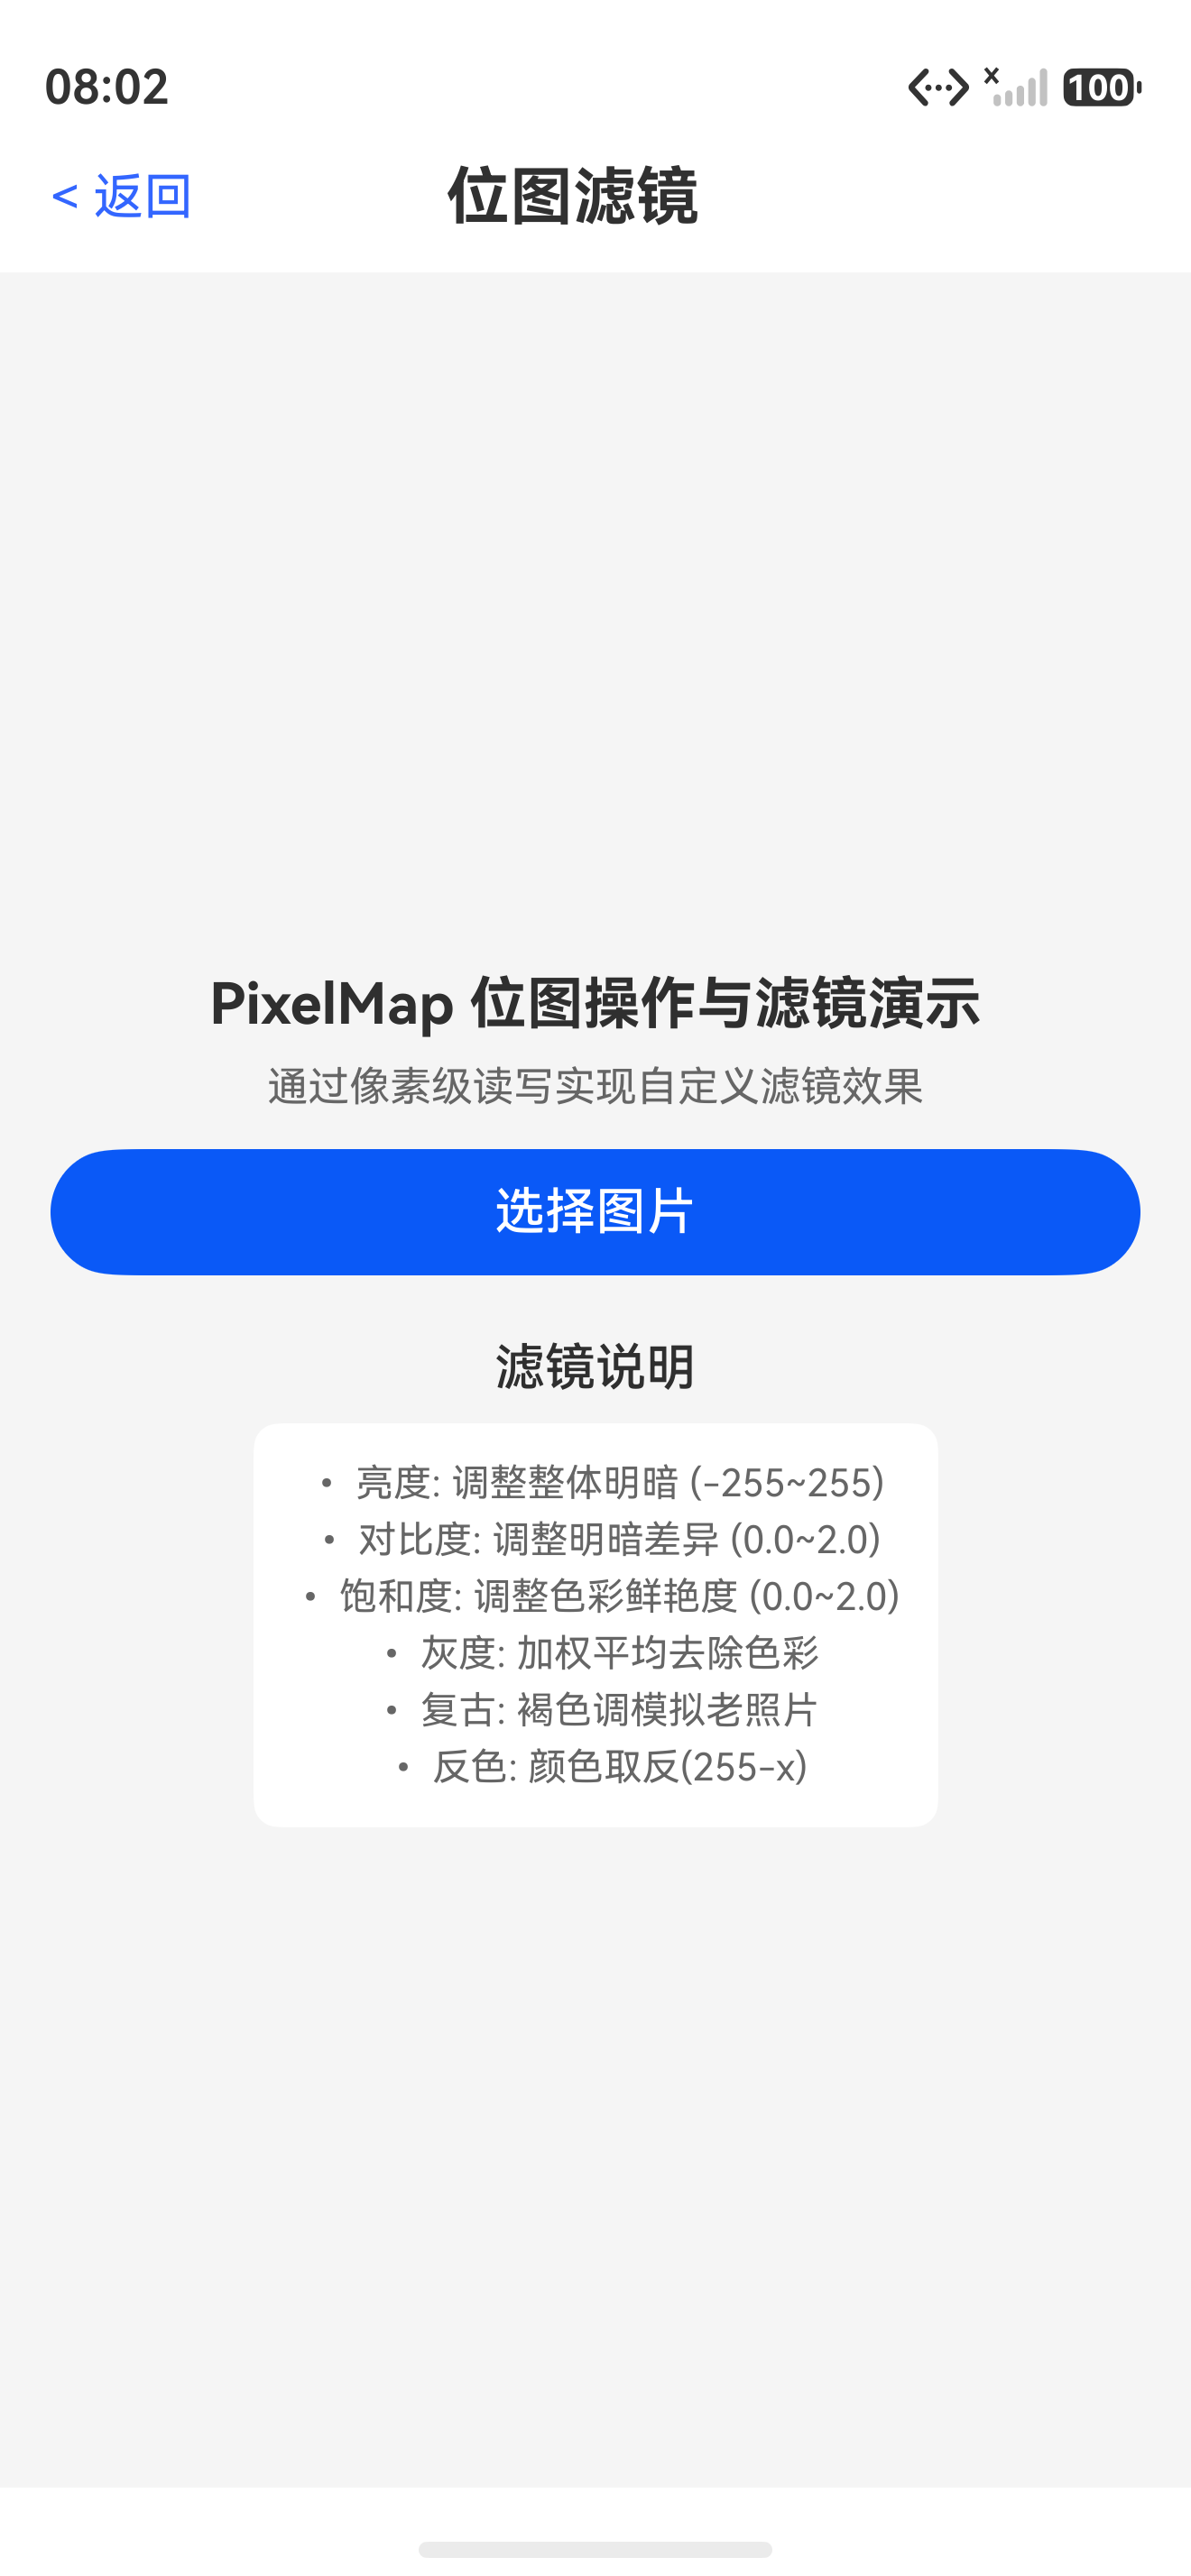
本文深入介绍了 HarmonyOS 6.1 Image Kit 中 PixelMap 的位图操作能力,包括像素数据的读写、色彩调整滤镜(亮度、对比度、饱和度、色温)、艺术效果滤镜(灰度、复古、反色、模糊)以及滤镜链系统的完整实现。
通过像素级操作,开发者可以实现任意自定义的图像处理效果,这为ImageEditor Pro提供了无限的创意可能性。下一篇文章,我们将探讨图片元数据(Exif/XMP)的读取和编辑。
如果这篇文章对你有帮助,欢迎点赞👍、收藏⭐、关注🔔,你的支持是我持续创作的动力!
相关资源:
- 使用PixelMap完成位图操作:官方文档
- 使用PixelMap完成图像变换:图像变换
- PixelMap接口:Interface (PixelMap)
- 图片编辑和处理:编辑处理指南
- 图片开发指导(ArkTS):开发指南
- 图片解码指南:ImageSource解码
- 拼图示例:Game Puzzle
- 开源鸿蒙跨平台社区:社区链接

讨论HarmonyOS开发技术,专注于API与组件、DevEco Studio、测试、元服务和应用上架分发等。
更多推荐



 8
8 0
0- 0


 已为社区贡献64条内容

所有评论(0)