在Ubuntu上通过VNC Viewer连接Jetson nano桌面
1 在Ubuntu上安装VNC Viewer客户端1、首先在自己的电脑Ubuntu系统上安装VNC Viewer客户端2、下载Linux版本的VNC Viewer客户端软件VNC Viewer客户端下载地址3、下载好之后,直接双击VNC-Viewer-5.3.1-Linux-x86.deb就可以安装4、打开VNC Viewer界面如下:2 在Jetson nano中安装 VNC 服务端可以先通过s
1 在Ubuntu上安装VNC Viewer客户端
1、首先在自己的电脑Ubuntu系统上安装VNC Viewer客户端
2、下载Linux版本的VNC Viewer客户端软件
3、下载好之后,直接双击VNC-Viewer-5.3.1-Linux-x86.deb就可以安装
4、打开VNC Viewer界面如下:

2 在Jetson nano中安装 VNC 服务端
可以先通过ssh username@ip连接到Jetson nano上,然后安装vino
1、更新源
sudo apt update
2、安装VNC server服务端
sudo apt install vino
zhihui@zhihui-desktop:~$ sudo apt install vino
[sudo] password for zhihui:
Reading package lists... Done
Building dependency tree
Reading state information... Done
vino is already the newest version (3.22.0-3ubuntu1.2).
The following packages were automatically installed and are no longer required:
  apt-clone archdetect-deb bogl-bterm busybox-static cryptsetup-bin dpkg-repack gir1.2-timezonemap-1.0 gir1.2-xkl-1.0
  grub-common kde-window-manager kpackagetool5 kwayland-data kwin-common kwin-data kwin-x11 libdebian-installer4 libjpeg62
  libkdecorations2-5v5 libkdecorations2private5v5 libkf5activities5 libkf5declarative-data libkf5declarative5
  libkf5globalaccelprivate5 libkf5idletime5 libkf5kcmutils-data libkf5kcmutils5 libkf5package-data libkf5package5 libkf5plasma5
  libkf5quickaddons5 libkf5waylandclient5 libkf5waylandserver5 libkscreenlocker5 libkwin4-effect-builtins1 libkwineffects11
  libkwinglutils11 libkwinxrenderutils11 libqgsttools-p1 libqt5designer5 libqt5help5 libqt5multimedia5
  libqt5multimedia5-plugins libqt5multimediaquick-p5 libqt5multimediawidgets5 libqt5opengl5 libqt5quickwidgets5 libqt5sql5
  libqt5test5 libxcb-composite0 libxcb-cursor0 libxcb-damage0 os-prober python3-dbus.mainloop.pyqt5 python3-icu python3-pam
  python3-pyqt5 python3-pyqt5.qtsvg python3-pyqt5.qtwebkit qml-module-org-kde-kquickcontrolsaddons qml-module-qtmultimedia
  qml-module-qtquick2 rdate tasksel tasksel-data
Use 'sudo apt autoremove' to remove them.
0 upgraded, 0 newly installed, 0 to remove and 246 not upgraded.
zhihui@zhihui-desktop:~$
默认,Jetson nano好像已经安装了VNC server服务端了!
3、最好重新启动一下Jetson nano
sudo reboot
4、然后在Jetson nano的桌面显示的情况下的terminal(不是用ssh连接的terminal)中启动VNC server
/usr/lib/vino/vino-server
正确启动如下:
zhihui@zhihui-desktop:~$ /usr/lib/vino/vino-server
18/06/2021 11时07分08秒 Autoprobing TCP port in (all) network interface
18/06/2021 11时07分08秒 Listening IPv6://[::]:5900
18/06/2021 11时07分08秒 Listening IPv4://0.0.0.0:5900
18/06/2021 11时07分08秒 Autoprobing selected port 5900
18/06/2021 11时07分08秒 Advertising security type: 'TLS' (18)
18/06/2021 11时07分08秒 Re-binding socket to listen for VNC connections on TCP port 5900 in (all) interface
18/06/2021 11时07分08秒 Listening IPv6://[::]:5900
18/06/2021 11时07分08秒 Listening IPv4://0.0.0.0:5900
18/06/2021 11时07分08秒 Clearing securityTypes
18/06/2021 11时07分08秒 Advertising security type: 'TLS' (18)
18/06/2021 11时07分08秒 Clearing securityTypes
18/06/2021 11时07分08秒 Advertising security type: 'TLS' (18)
18/06/2021 11时07分08秒 Advertising authentication type: 'No Authentication' (1)
18/06/2021 11时07分08秒 Re-binding socket to listen for VNC connections on TCP port 5900 in (all) interface
18/06/2021 11时07分08秒 Listening IPv6://[::]:5900
18/06/2021 11时07分08秒 Listening IPv4://0.0.0.0:5900
18/06/2021 11时07分08秒 Clearing securityTypes
18/06/2021 11时07分08秒 Clearing authTypes
18/06/2021 11时07分08秒 Advertising security type: 'TLS' (18)
18/06/2021 11时07分08秒 Advertising authentication type: 'No Authentication' (1)
18/06/2021 11时07分08秒 Advertising security type: 'No Authentication' (1)
3 开始通过VNC Viewer连接Jetson nano桌面
首先,要确保Jetson nano和你自己的电脑连接的是同一个局域网,你连接到同一个wifi就可以!
1、获取Jetson nano的IP地址
ifconfig
我获取的Jetson nano的ip地址为:192.168.2.40
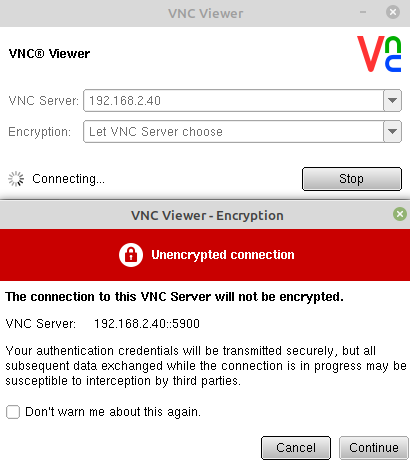
2、把这个ip地址填入到VNC Viewer中的:VNC Server
3、点击连接Connect,然后提示未加密连接,直接点击继续就可以!
4、成功连接到Jetson nano的桌面
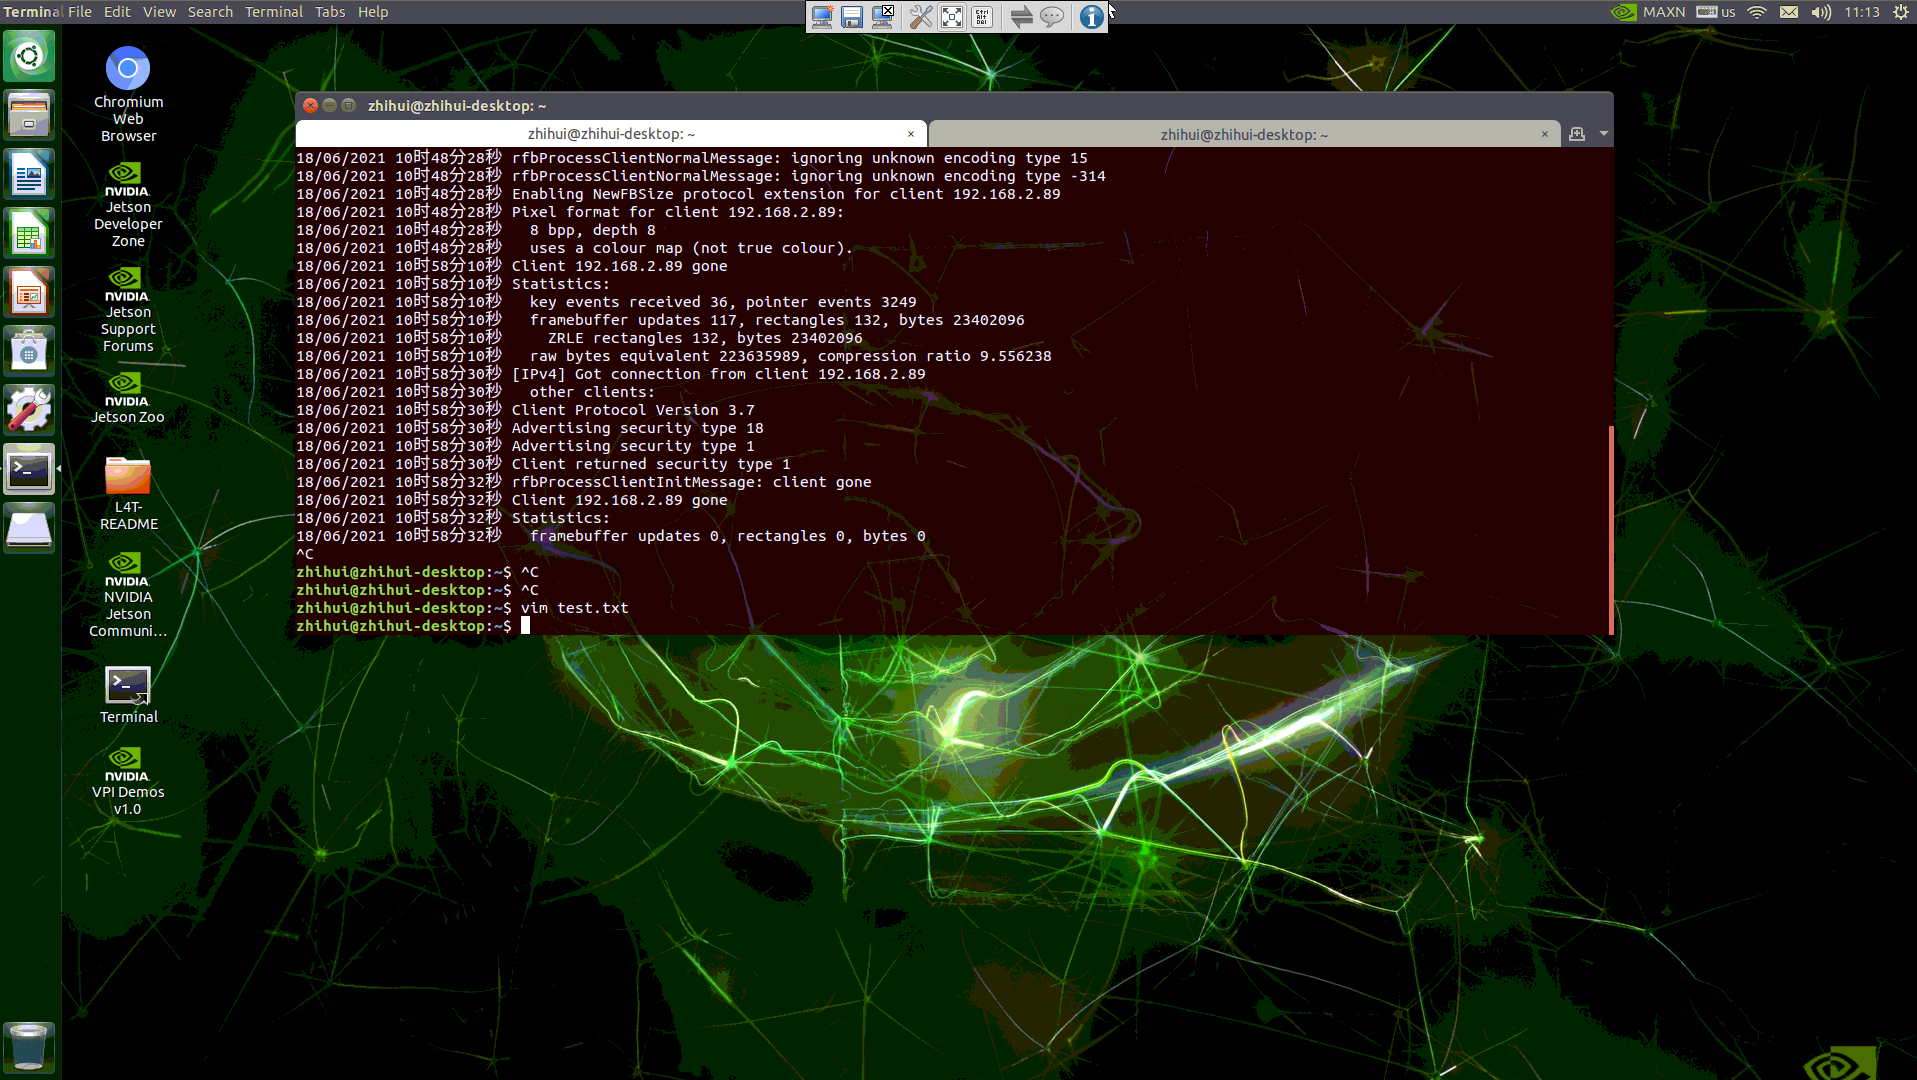
但是,这种方式连接到桌面之后延迟太高,基本上敲一个命令,要4秒左右才能刷新出来!!!所以,如果有外置显示器,最好还是整一个外置的显示器吧!
参考:https://makeronsite.com/jetson_nano_vnc.html
参考:https://blog.csdn.net/weixin_45410343/article/details/109134585

讨论HarmonyOS开发技术,专注于API与组件、DevEco Studio、测试、元服务和应用上架分发等。
更多推荐


 3
3 0
0- 0


 已为社区贡献7条内容

所有评论(0)