鸿蒙应用服务能力之 Location Kit(位置服务)
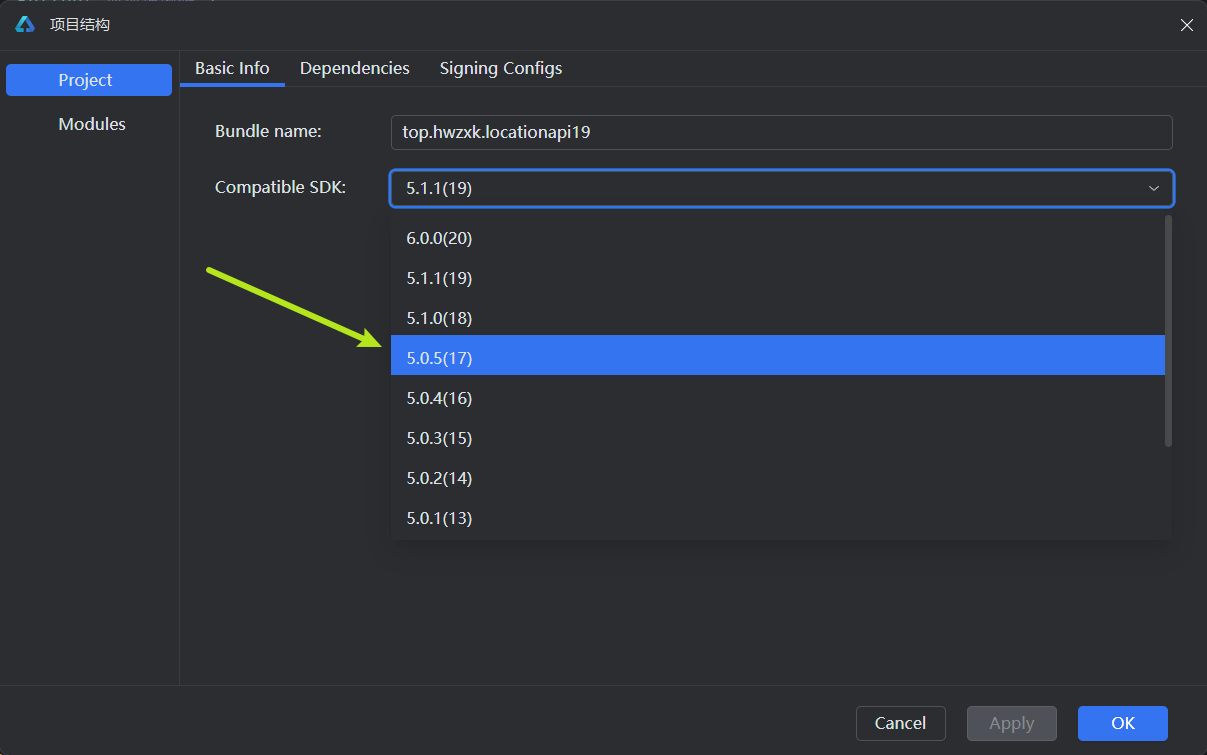
温馨提示:本次代码采用API19编写,状态管理使用V2版本,如需运行在真机上,请根据设备系统自行切换API版本:
简介
位置服务提供 GNSS 定位、网络定位(蜂窝基站、WLAN、蓝牙定位技术)、地理编码、逆地理编码、国家码和地理围栏等基本功能。
使用位置服务时请打开设备“位置”开关。如果“位置”开关关闭并且代码未设置捕获异常,可能导致应用异常。
完整使用可参考官方文档:
使用方法
1. 申请位置权限
1.1. 在 module.json5 配置文件中声明权限
- ohos.permission.LOCATION:用于获取精准位置,精准度在米级别。
- ohos.permission.APPROXIMATELY_LOCATION:用于获取模糊位置,精确度为5公里。
需要同时设置这两个权限才能获取到精确位置。
"requestPermissions": [
  {
    "name": "ohos.permission.LOCATION",
    "reason": "$string:location_reason",
    "usedScene": {
      "when": "inuse"
    }
  },
  {
    "name": "ohos.permission.APPROXIMATELY_LOCATION",
    "reason": "$string:location_reason",
    "usedScene": {
      "when": "inuse"
    }
  }
],
1.2. string.json 文件中增加 reason(可选)
{
  "string": [
    {
      "name": "location_reason",
      "value": "你的位置信息将用于你的定位"
    }
  ]
}
2. 获取设备位置信息
2.1. 先判断位置开关是否打开
查询当前位置开关状态,返回结果为布尔值,true代表位置开关开启,false代表位置开关关闭,示例代码如下:
import { geoLocationManager } from '@kit.LocationKit';

// 判断位置服务是否已经开启
if (!geoLocationManager.isLocationEnabled()) {
  promptAction.openToast({ message: '请打开位置服务开关' })
  return
}
如果位置开关未开启,可以使用
abilityAccessCtrl.createAtManager( ).requestGlobalSwitch( )
拉起全局开关设置弹框,引导用户打开位置开关,示例代码如下:
let atManager = abilityAccessCtrl.createAtManager()
// 用于UIAbility/UIExtensionAbility拉起全局开关设置弹框
let res = await atManager.requestGlobalSwitch(uiContext.getHostContext() as Context, abilityAccessCtrl.SwitchType.LOCATION)
if (!res) {
  promptAction.showToast({ message: '请打开位置服务开关' })
  return
}
效果如下所示:
requestGlobalSwitch(context: Context, type: SwitchType): Promise<boolean>
该方法内有两个参数:第一个是上下文,第二个是全局开关类型,具体可参考:requestGlobalSwitch( )
2.2. 单次获取当前设备位置
方法一:获取系统缓存的最新位置
geoLocationManager.getLastLocation( )
推荐优先使用该接口获取位置,可以减少系统功耗。为了方便展示位置信息,我们可以将获取到的经纬度显示在界面上。示例代码如下:
// 上一次定位的经度
@Local lastLatitude: number = 0
// 上一次定位的纬度
@Local lastLongitude: number = 0

// 获取上一次位置
public getLastLocation() {
  try {
    let location = geoLocationManager.getLastLocation();
    this.lastLatitude = location.latitude
    this.lastLongitude = location.longitude
  }
  catch (err) {
    console.error("错误信息:" + JSON.stringify(err))
  }
}
效果如图所示:
方法二:获取当前位置
可以使用 geoLocationManager.getCurrentLocation( ) 方法获取当前位置。
getCurrentLocation(request: CurrentLocationRequest | SingleLocationRequest, callback: AsyncCallback<Location>): void
参数:
| 参数名 | 类型 | 必填 | 说明 |
|---|---|---|---|
| request | CurrentLocationRequestCurrentLocationRequest | SingleLocationRequest | 是 |
设置位置请求参数。 SingleLocationRequest为API12新增参数。 |
| callback | AsyncCallback<Location> | 是 | 回调函数,返回当前位置信息。 |
示例代码如下:
// 当前位置经度
@Local latitude: number = 0
// 当前位置纬度
@Local longitude: number = 0

// 获取当前位置
public getCurrentLocation() {
  let requestInfo: geoLocationManager.LocationRequest = {
    'priority': geoLocationManager.LocationRequestPriority.ACCURACY,
    'scenario': geoLocationManager.LocationRequestScenario.NAVIGATION,
    'maxAccuracy': 1
  }

  let locationChange = (error: BusinessError, location: geoLocationManager.Location): void => {
    this.latitude = location.latitude
    this.longitude = location.longitude
  }

  try {
    geoLocationManager.getCurrentLocation(requestInfo, locationChange)
  }
  catch (err) {
    console.error("错误信息:" + JSON.stringify(err))
  }
}
2.3. 持续定位
该方法多用于导航、运动轨迹、出行等场景。
// 开启持续定位
async startContinuousLocation() {
  let requestInfo: geoLocationManager.LocationRequest = {
    'scenario': geoLocationManager.LocationRequestScenario.DAILY_LIFE_SERVICE, // 设置定位使用场景-生活服务场景
    'priority': geoLocationManager.LocationRequestPriority.FIRST_FIX, // 如果使用场景不满足可以设置定位策略-快速定位优先策略
    'timeInterval': 1,
    'distanceInterval': 0,
    'maxAccuracy': 0
  }

  // 开启位置变化订阅,并发起定位请求
  geoLocationManager.on('locationChange', requestInfo, (location: geoLocationManager.Location) => {
    console.log('位置信息: ' + JSON.stringify(location))
    // this.address.push('位置信息: ')
    this.address.push(location.latitude + "  " + location.longitude)
  })
}
最后在不需要获取定位信息的时候要及时结束定位,否则会导致设备功耗高、耗电快。
geoLocationManager.off('locationChange')
效果如下图所示:
2.4. 正地理编码与逆地理编码
-
正地理编码:将地理位置信息转化为具体经纬度坐标。
-
逆地理编码:将具体的经纬度坐标转化为地理位置信息。
(1)先查询正地理编码与逆地理编码服务是否可用
调用 isGeoServiceAvailable( ) 方法查询正地理编码与逆地理编码服务是否可用,如果服务可用再继续后续操作,示例代码如下:
import { geoLocationManager } from '@kit.LocationKit';

try {
    let isAvailable = geoLocationManager.isGeocoderAvailable();
} catch (err) {
    console.error("errCode:" + JSON.stringify(err));
}
(2)获取转化结果
调用 getAddressesFromLocationName 把位置信息转化为经纬度坐标,也就是正地理编码,示例代码如下:
// 正地理编码
public getGeoCode() {
  // 判断正地理编码与逆地理编码服务状态
  if (geoLocationManager.isGeocoderAvailable()) {
    let geoCodeRequest: geoLocationManager.GeoCodeRequest = {
      "description": "江苏省南京市浦口区龙湖江北天街",
      "maxItems": 5
    }
    try {
      geoLocationManager.getAddressesFromLocationName(geoCodeRequest, (error, data) => {
        if (error) {
          console.error("错误信息:" + JSON.stringify(error))
        }
        else {
          uiContext.showAlertDialog({ message: "正地理编码转换成功:" + JSON.stringify(data, null, 2) })
        }
      })
    }
    catch (err) {
      console.error("错误信息:" + JSON.stringify(err))
    }
  }
}
效果如下所示:

调用 getAddressesFromLocation,把经纬度坐标转化为地理位置信息,也就是逆地理编码,我们可以把前面获取到的经纬度作为参数传入,然后获取实际地理位置信息,示例代码如下:
// 逆地理编码
async reverseGeocoding(latitude: number, longitude: number) {
  // 判断正地理编码与逆地理编码服务状态
  if (geoLocationManager.isGeocoderAvailable()) {
    let reverseGeocoderRequest: geoLocationManager.ReverseGeoCodeRequest = {
      'latitude': latitude,
      'longitude': longitude,
      'maxItems': 5
    }
    geoLocationManager.getAddressesFromLocation(reverseGeocoderRequest, (error, data) => {
      if (error) {
        console.error("错误信息:" + error.message)
      }
      else {
        uiContext.showAlertDialog({ message: "逆地理编码结果:" + JSON.stringify(data, null, 2) })
      }
    })
  }
}
示例效果如下(因为需要获取实际位置,因此点击获取当前位置时会有一点延迟):
完整代码请参考:HarmonyOS_Location

讨论HarmonyOS开发技术,专注于API与组件、DevEco Studio、测试、元服务和应用上架分发等。
更多推荐


 13
13 0
0- 0


 已为社区贡献9条内容

所有评论(0)