Canvas实现高亮型新手引导功能
·
一般APP刚启动时候,第一次会有一个新手指引,就是第一步--下一步--下一步;在鸿蒙上这种功能是怎么实现的呢,下面根据具体功能分析一下怎么实现,arkTs提供给了canvas绘制功能。我们可以用这个来绘制自己想要的ui。
首先,初始化canvas。
private settings: RenderingContextSettings = new RenderingContextSettings(true)
private context: CanvasRenderingContext2D = new CanvasRenderingContext2D(this.settings)
然后
Canvas(this.context)
  .width('100%')
  .height('110%')
这里可以封装一个组件,在使用的地方用stack包裹进去
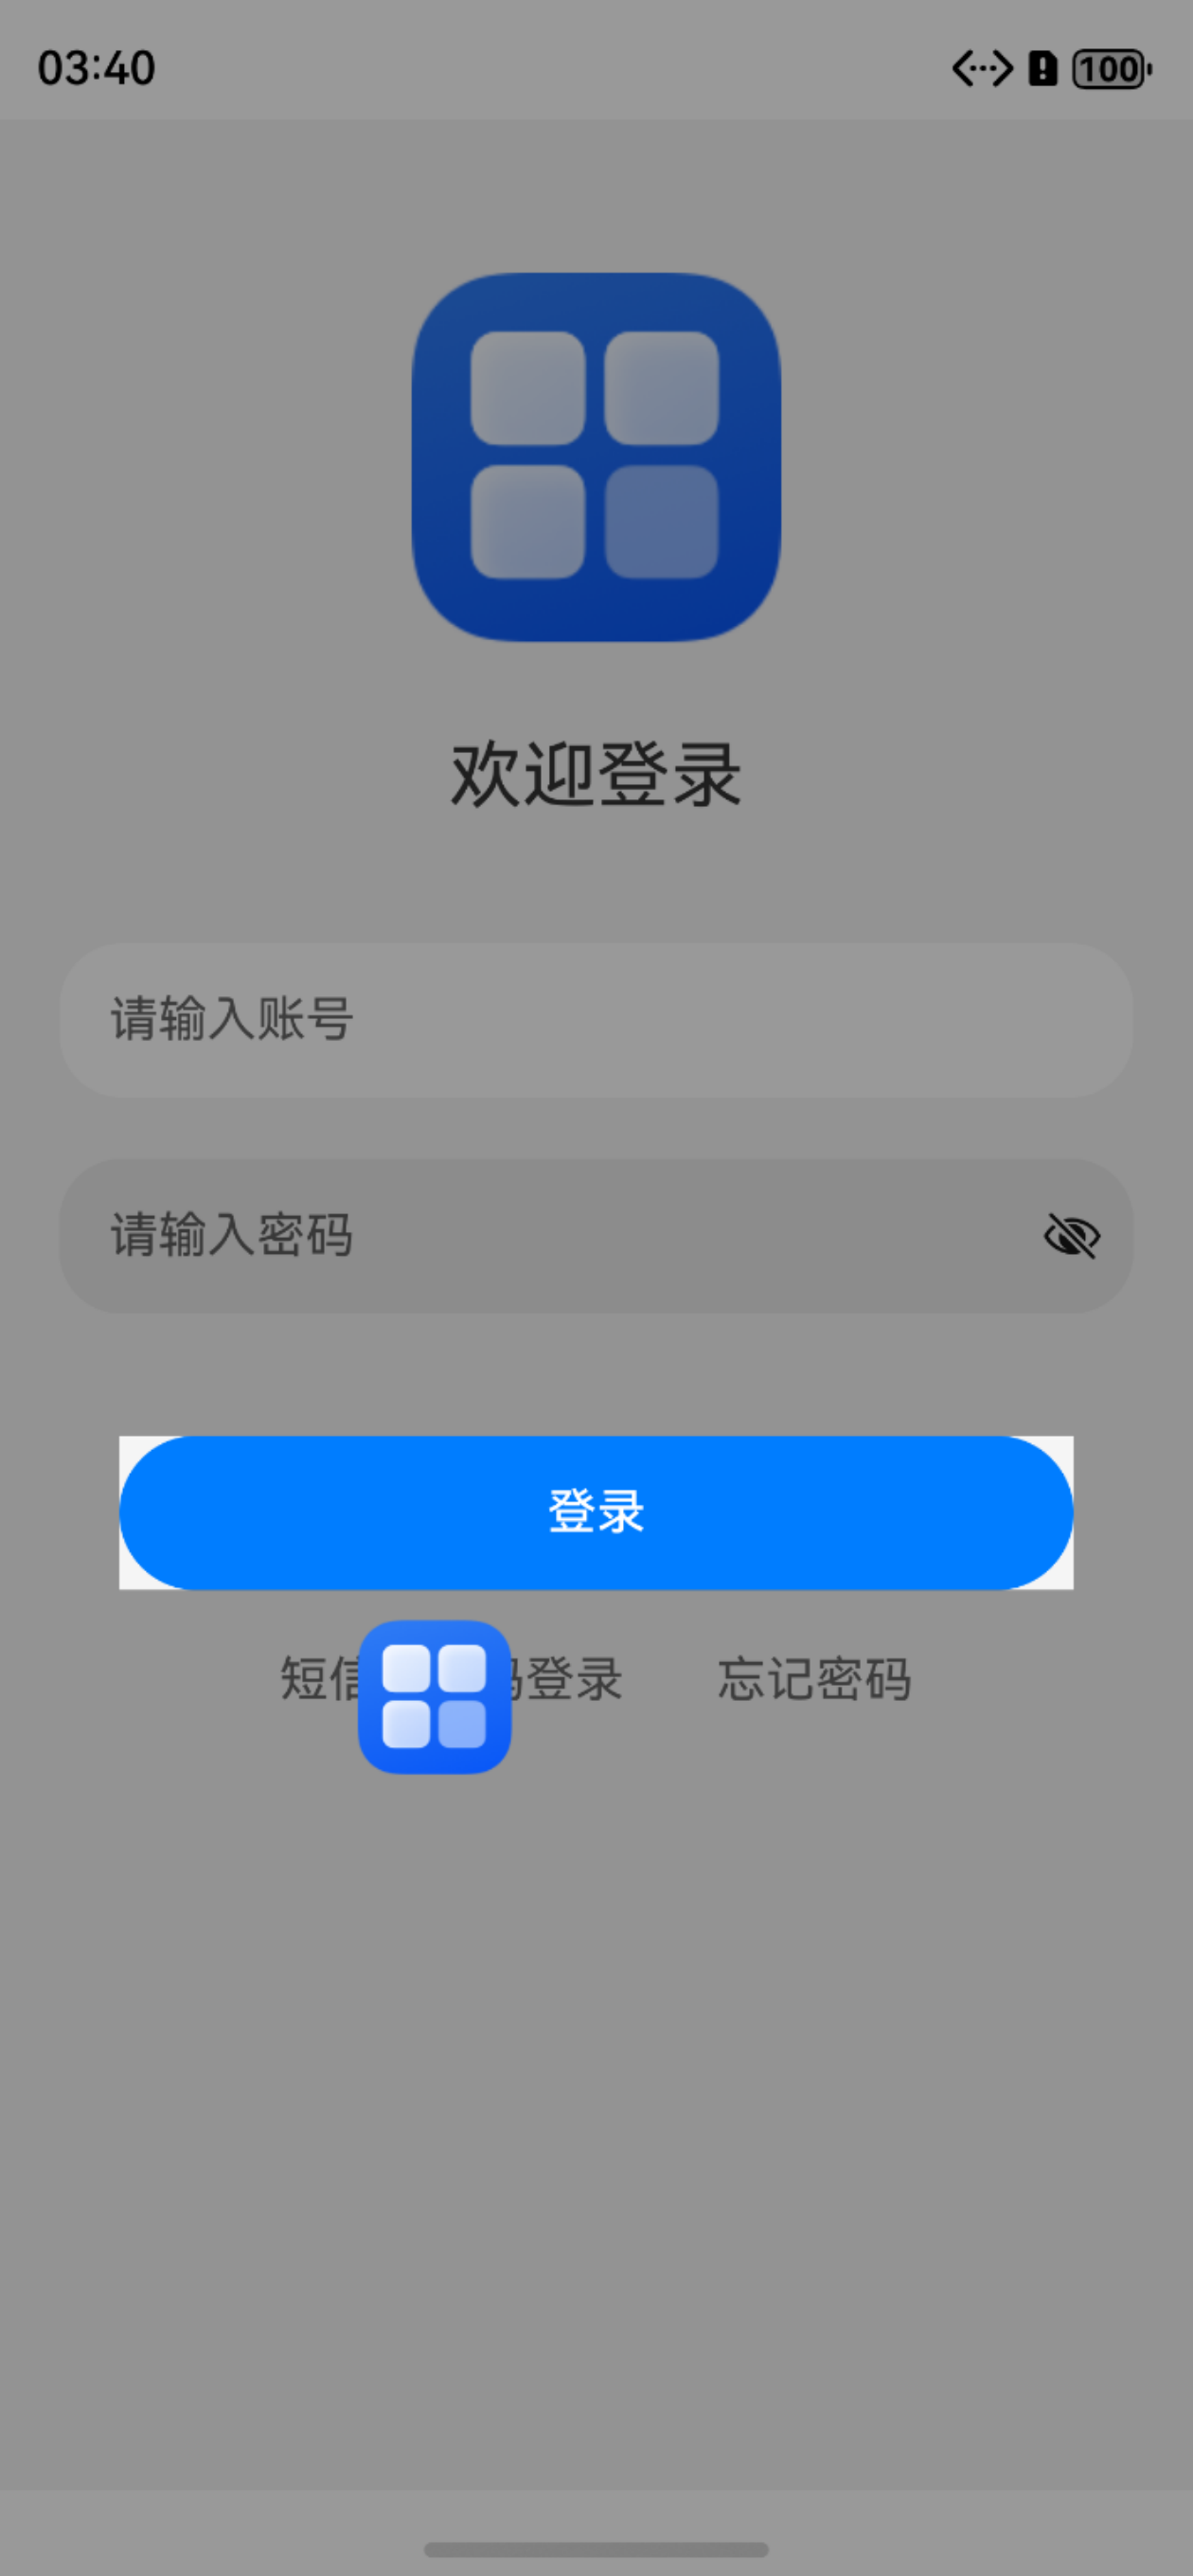
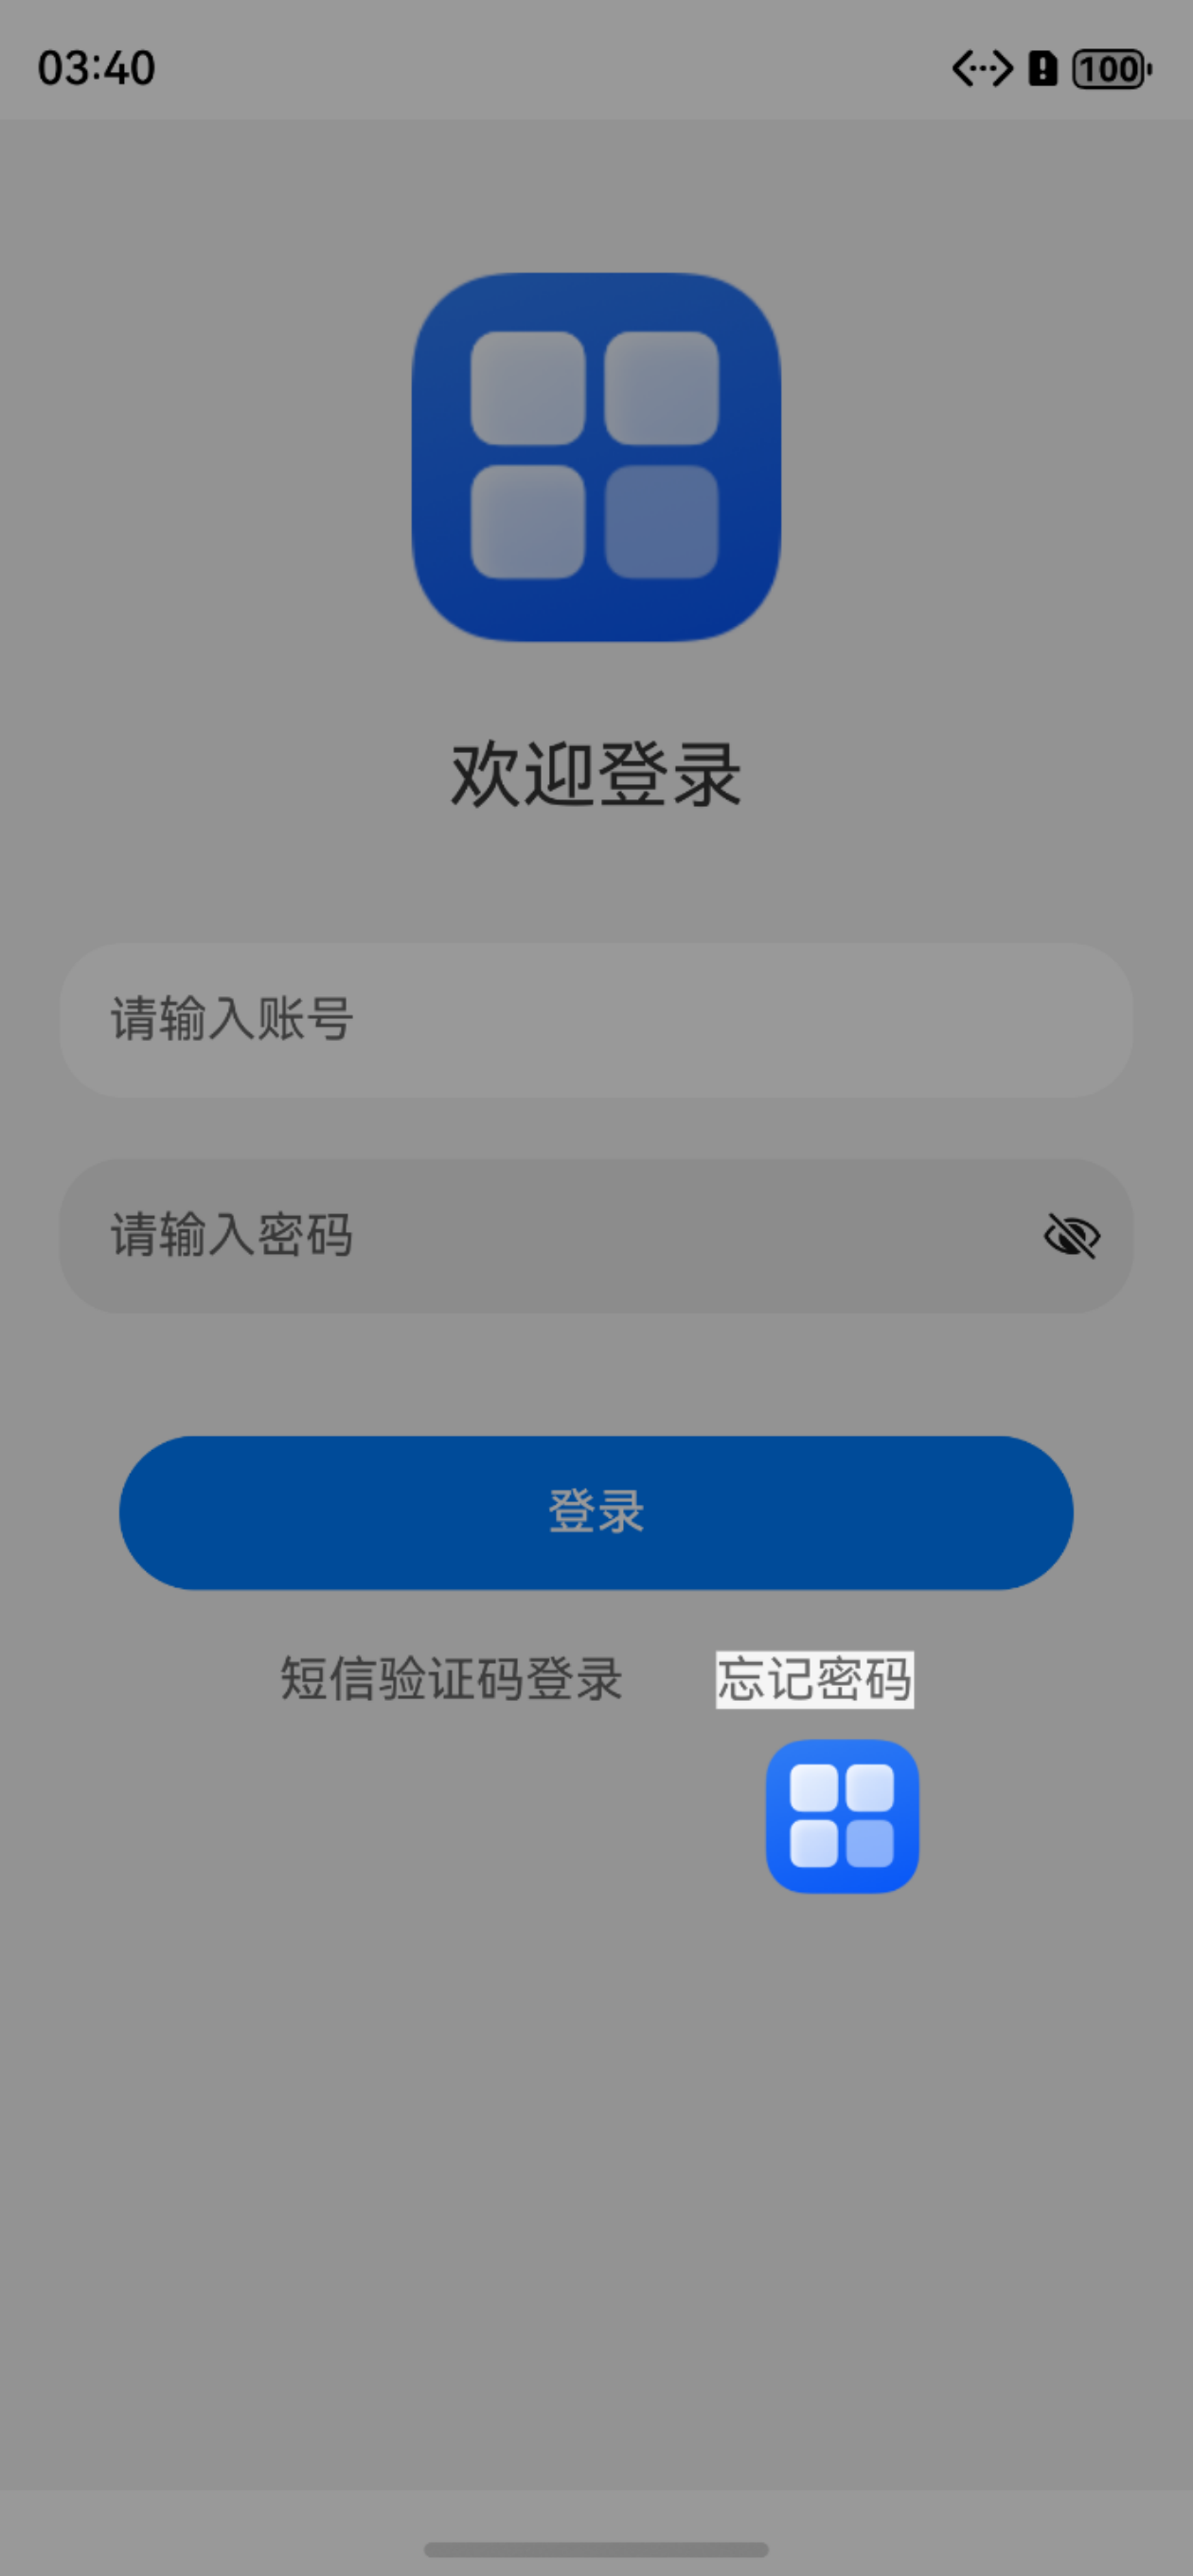
首先要绘制一个蒙版
this.context.fillStyle = 'rgba(0, 0, 0, 0.4)'
// 绘制原型路径进行半透明填充
this.context.beginPath()
this.context.moveTo(0, 0)
this.context.lineTo(0, this.context.height)
this.context.lineTo(this.context.width, this.context.height)
this.context.lineTo(this.context.width, 0)
this.context.lineTo(0, 0)
然后这里用了绘制了一个图片用来引导
const context = getContext(this);
const resourceMgr: resourceManager.ResourceManager = context.resourceManager;
const fileData: Uint8Array = await resourceMgr.getMediaContent(resource);
const buffer = fileData.buffer;
const imageSource: image.ImageSource = image.createImageSource(buffer);
const pixelMap: image.PixelMap = await imageSource.createPixelMap();
这样绘制完第一步,接着第二步、第三步。
也可以把数据封装好传进去
这里需要获取你要挖空的组件的坐标和长宽
所用用到获取dom元素的坐标的方法onAreaChange
.onAreaChange((oldValue: Area, newValue: Area) => {
  this.areas.push(newValue)
  console.log('Ace: on area change1:', JSON.stringify(this.areas), this.num)
})
最后把获取到area传给canvas绘制即可
整个代码如下:
Canvas(this.context)
  .width('100%')
  .height('110%')
  .backgroundColor(Color.Transparent)
  .onReady(() => {
    if (this.step == 1) {
      this.context.fillStyle = 'rgba(0, 0, 0, 0.4)'
      // 绘制原型路径进行半透明填充
      this.context.beginPath()
      this.context.moveTo(0, 0)
      this.context.lineTo(0, this.context.height)
      this.context.lineTo(this.context.width, this.context.height)
      this.context.lineTo(this.context.width, 0)
      this.context.lineTo(0, 0)
      this.context.rect(this.areas[2].globalPosition.x as number, this.areas[2].globalPosition.y as number, this.areas[2].width as number, this.areas[2].height as number)
      this.drawImage($r("app.media.startIcon"), this.areas[2].globalPosition.x as number + (this.areas[2].width as number) / 4, this.areas[2].globalPosition.y as number + (this.areas[2].height as number) + 10, 50, 50)
      this.context.fill()
      this.context.closePath()

      this.step = 2
    }
  })
  .onClick(() => {
    // console.log('Ace: on area change:', JSON.stringify(this.areas))
    if (this.step == 2) {
      this.context.reset()
      this.context.fillStyle = 'rgba(0, 0, 0, 0.4)'
      // 绘制原型路径进行半透明填充
      this.context.beginPath()
      this.context.moveTo(0, 0)
      this.context.lineTo(0, this.context.height)
      this.context.lineTo(this.context.width, this.context.height)
      this.context.lineTo(this.context.width, 0)
      this.context.lineTo(0, 0)
      this.context.rect(this.areas[1].globalPosition.x as number, this.areas[1].globalPosition.y as number, this.areas[1].width as number, this.areas[1].height as number)
      this.drawImage($r("app.media.startIcon"), this.areas[1].globalPosition.x as number + (this.areas[1].width as number) / 4, this.areas[1].globalPosition.y as number + (this.areas[1].height as number) + 10, 50, 50)
      this.context.fill()
      this.context.closePath()

      this.step = 3
      return
    }

    if (this.step == 3) {
      this.context.reset()
      this.context.fillStyle = 'rgba(0, 0, 0, 0.4)'
      // 绘制原型路径进行半透明填充
      this.context.beginPath()
      this.context.moveTo(0, 0)
      this.context.lineTo(0, this.context.height)
      this.context.lineTo(this.context.width, this.context.height)
      this.context.lineTo(this.context.width, 0)
      this.context.lineTo(0, 0)
      this.context.rect(this.areas[0].globalPosition.x as number, this.areas[0].globalPosition.y as number, this.areas[0].width as number, this.areas[0].height as number)
      this.drawImage($r("app.media.startIcon"), this.areas[0].globalPosition.x as number + (this.areas[0].width as number) / 4, this.areas[0].globalPosition.y as number + (this.areas[0].height as number) + 10, 50, 50)
      this.context.fill()
      this.context.closePath()

      this.step = 4
      return
    }

    if (this.step == 4) {
      if (this.hasGuide) {
        this.hasGuide('1')
      }
    }
  })
  .expandSafeArea([SafeAreaType.SYSTEM])
最后效果如下:

当然,目前封装好的插件可以使用
@ohos/high_light_guide
具体使用参考:
https://ohpm.openharmony.cn/#/cn/detail/@ohos%2Fhigh_light_guide
谢谢观看!

讨论HarmonyOS开发技术,专注于API与组件、DevEco Studio、测试、元服务和应用上架分发等。
更多推荐

 0
0 0
0- 0


 已为社区贡献12条内容

所有评论(0)