HarmonyOS4+NEXT星河版入门与项目实战(14)------ ForEach循环与 List 表单实现
·
文章目录
1、展示效果
本节内容是如何实现 List 列表组件效果,实现下图商品的展示效果: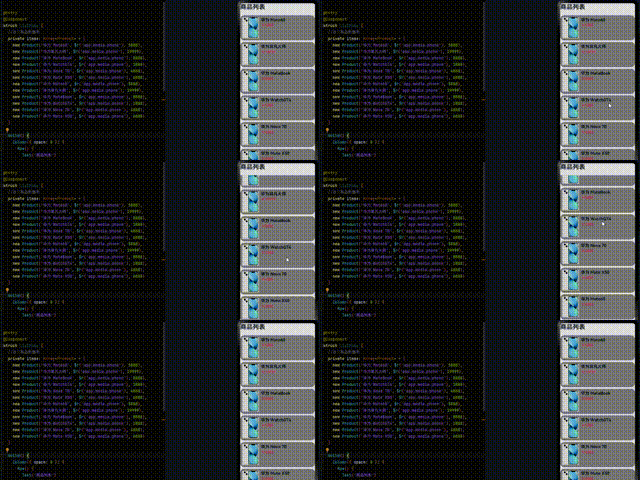
2、页面布局分析
如下图所示,我们使用 foreach 循环生成多条数据,达到实现 list 列表效果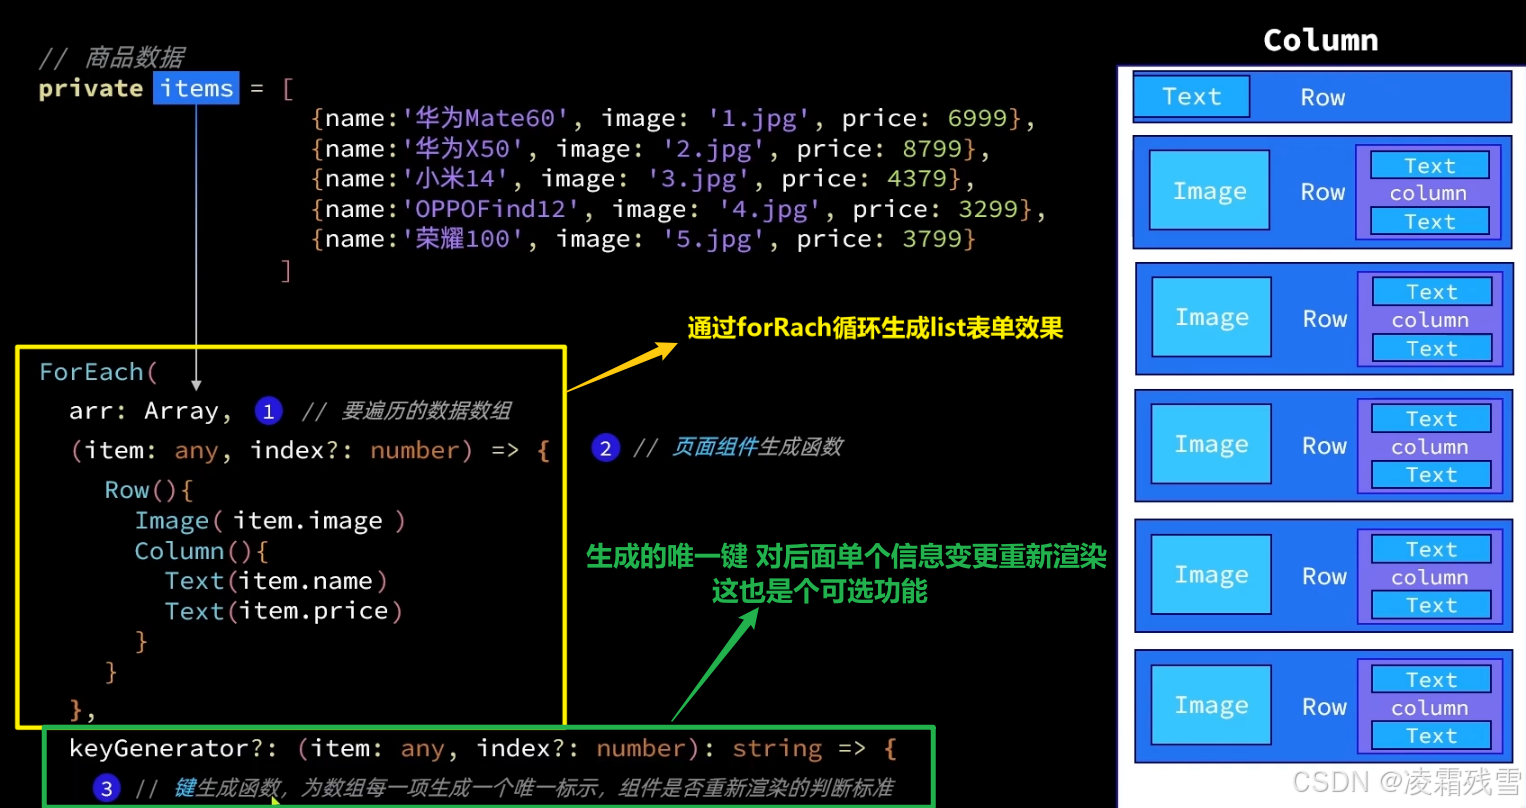
3、代码实现
1、商品类定义
每个列表都是由若干个子项组成,而这个子项就是一个对象,要显示的每一个数据都是对象的属性。所以这里我们先定义一个商品对象,它包含 名称、图片和价格三个属性。如下所示:
//定义一个商品类
class Product {
  name: string //商品名称
  image: ResourceStr //商品图片
  price: number //商品价格
  //构造函数初始化赋值
  constructor(name: string, image: ResourceStr, price: number) {
    this.name = name
    this.image = image
    this.price = price
  }
}
2、单个效果实现
接下来我们实现一个列表项的效果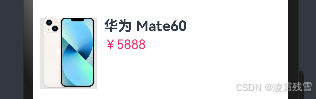
布局分析为一行两列效果,如下: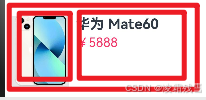
代码如下(示例):
 Row({ space: 10 }) {
          Image(item.image)
            .width(80)
          Column({ space: 4 }) {
            Text(item.name)
              .fontSize(20)
              .fontWeight(FontWeight.Bold)
            Text('¥' + item.price)
              .fontSize(18)
              .fontColor('#F36')
          }
          .height('100%')
          .alignItems(HorizontalAlign.Start)
        }
2、循环实现List
 ForEach(this.items, (item: Product) => {
        Row({ space: 10 }) {
          Image(item.image)
            .width(80)
          Column({ space: 4 }) {
            Text(item.name)
              .fontSize(20)
              .fontWeight(FontWeight.Bold)
            Text('¥' + item.price)
              .fontSize(18)
              .fontColor('#F36')
          }
          .height('100%')
          .alignItems(HorizontalAlign.Start)
        }
        .width('100%')
        .backgroundColor('#ff999999')
        .borderRadius(20)
        .height(120)
        .padding(10)
      })
3、完整代码
//定义一个商品类
class Product {
  name: string //商品名称
  image: ResourceStr //商品图片
  price: number //商品价格
  //构造函数初始化赋值
  constructor(name: string, image: ResourceStr, price: number) {
    this.name = name
    this.image = image
    this.price = price
  }
}


@Entry
@Component
struct ListPage {
  //定义商品数据源
  private items: Array<Product> = [
    new Product('华为 Mate60', $r('app.media.phone'), 5888),
    new Product('华为非凡大师', $r('app.media.phone'), 19999),
    new Product('华为 MateBook', $r('app.media.phone'), 8888),
    new Product('华为 WatchGT4', $r('app.media.phone'), 1888),
    new Product('华为 Nova 70', $r('app.media.phone'), 4888),
    new Product('华为 Mate X50', $r('app.media.phone'), 6888)
  ]

  build() {
    Column({ space: 8 }) {
      Row() {
        Text('商品列表')
          .fontSize(30)
          .fontWeight(FontWeight.Bold)
      }
      .width('100%')
      .margin({ bottom: 20 })

      ForEach(this.items, (item: Product) => {
        Row({ space: 10 }) {
          Image(item.image)
            .width(80)
          Column({ space: 4 }) {
            Text(item.name)
              .fontSize(20)
              .fontWeight(FontWeight.Bold)
            Text('¥' + item.price)
              .fontSize(18)
              .fontColor('#F36')
          }
          .height('100%')
          .alignItems(HorizontalAlign.Start)
        }
        .width('100%')
        .backgroundColor('#ff999999')
        .borderRadius(20)
        .height(120)
        .padding(10)
      })
    }
  }
}
4、运行效果
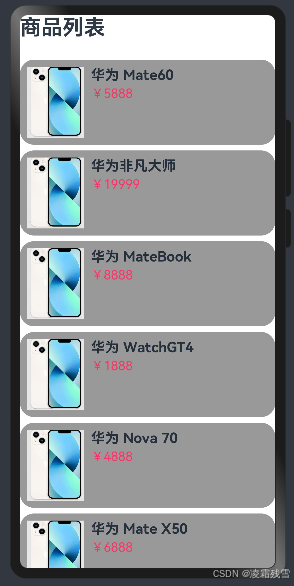
5、List 控件实现
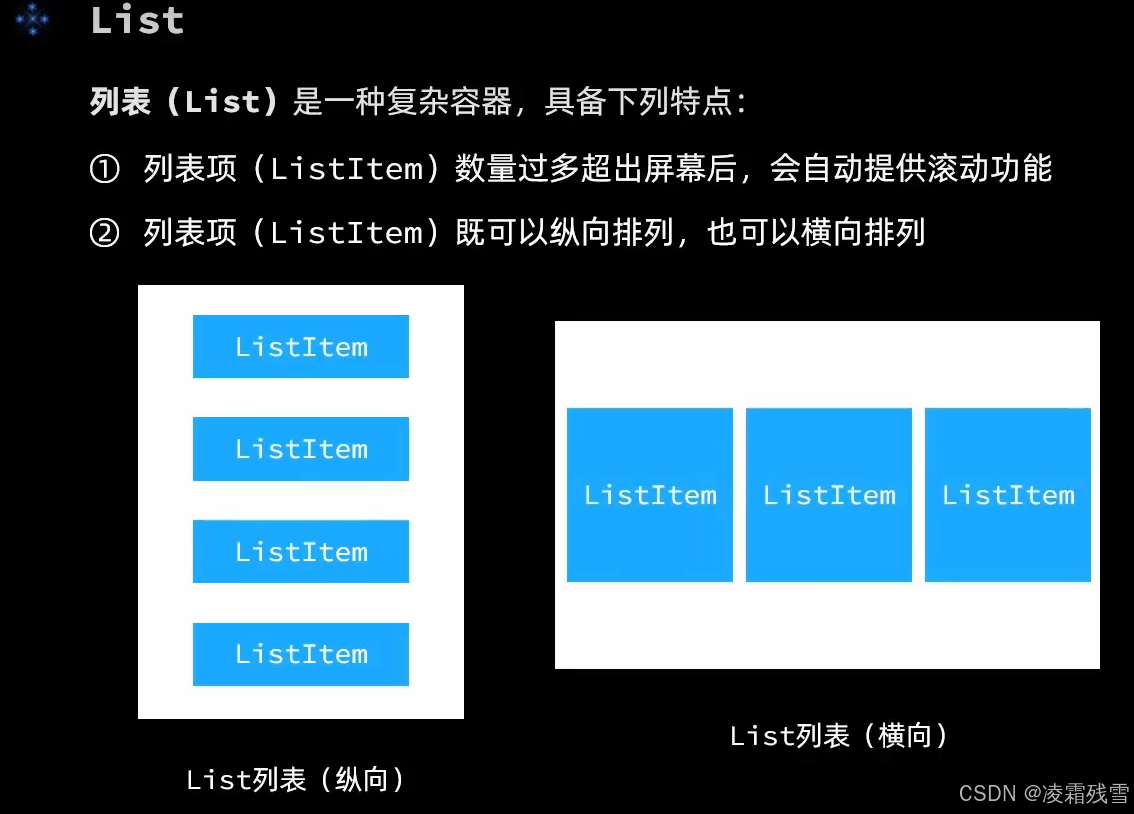
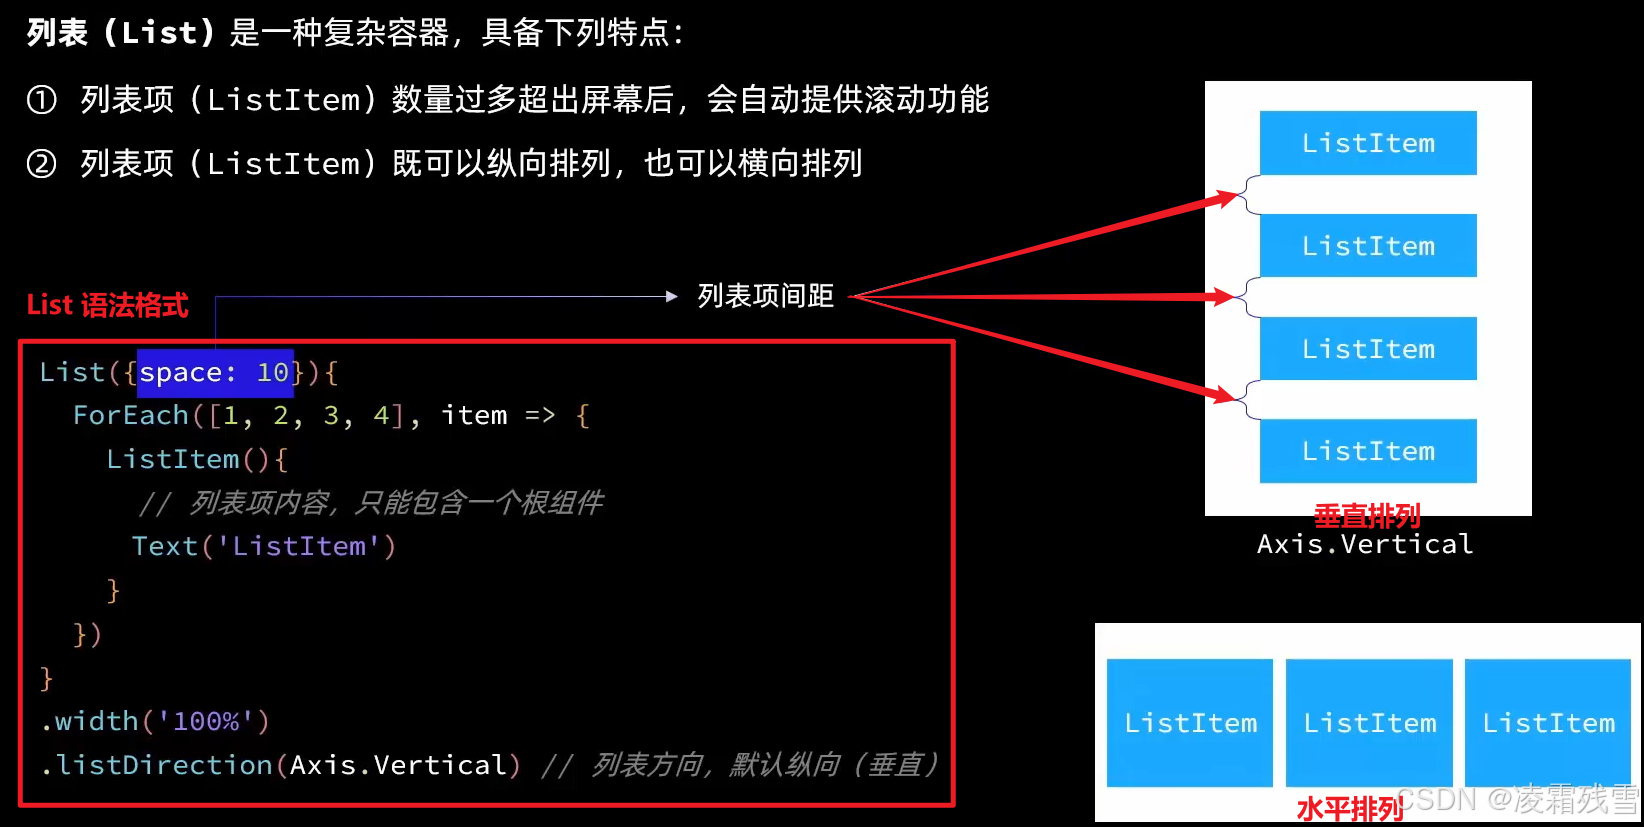
用 FroEach 虽然能够实现 List的效果,但是它有一个很大的弊端,那就是没有滑动滚动的效果。 因此,就很有必要使用List 控件来实现。下面用一张图来说明List 组件的特点和用法。
6、List 代码实现
//定义一个商品类
class Product {
  name: string //商品名称
  image: ResourceStr //商品图片
  price: number //商品价格
  //构造函数初始化赋值
  constructor(name: string, image: ResourceStr, price: number) {
    this.name = name
    this.image = image
    this.price = price
  }
}


@Entry
@Component
struct ListPage {
  //定义商品数据源
  private items: Array<Product> = [
    new Product('华为 Mate60', $r('app.media.phone'), 5888),
    new Product('华为非凡大师', $r('app.media.phone'), 19999),
    new Product('华为 MateBook', $r('app.media.phone'), 8888),
    new Product('华为 WatchGT4', $r('app.media.phone'), 1888),
    new Product('华为 Nova 70', $r('app.media.phone'), 4888),
    new Product('华为 Mate X50', $r('app.media.phone'), 6888)
  ]

  build() {
    Column({ space: 8 }) {
      Row() {
        Text('商品列表')
          .fontSize(30)
          .fontWeight(FontWeight.Bold)
      }
      .width('100%')
      .margin({ bottom: 20 })
      .height(30)

      List({space:8}){
        ForEach(
          this.items,
          (item: Product) => {
            ListItem(){
              Row({ space: 10 }) {
                Image(item.image)
                  .width(80)
                Column({ space: 4 }) {
                  Text(item.name)
                    .fontSize(20)
                    .fontWeight(FontWeight.Bold)
                  Text('¥' + item.price)
                    .fontSize(18)
                    .fontColor('#F36')
                }
                .height('100%')
                .alignItems(HorizontalAlign.Start)
              }
              .width('100%')
              .backgroundColor('#ff999999')
              .borderRadius(20)
              .height(120)
              .padding(10)
            }
          }
        )
      }
      .width('100%')
      .layoutWeight(1)//高度权重,默认为0,那么剩下的高度全部归List
    }
  }
}
注意
- List 内部必须包含 ListItem
- List 的高度是动态的,这里的技巧是标题高度固定,剩下的高度动态分配给 List ,用到一个关键属性 .layoutWeight(1)//高度权重,默认为0,那么剩下的高度全部归List
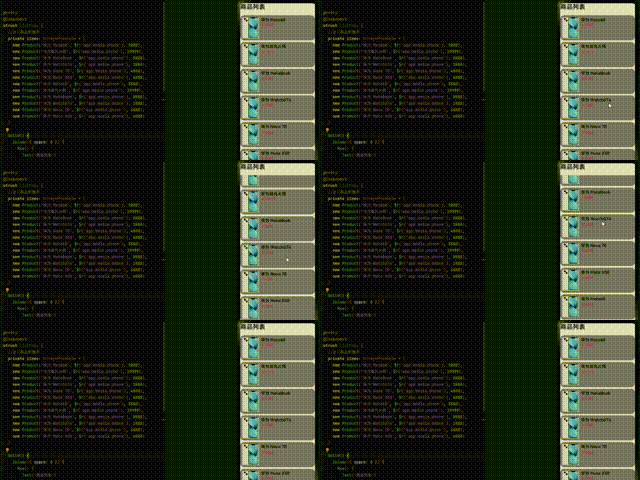
4、运行效果
5、总结
本节内容主要讲解了如何使用循环实现一个列表结构,同时指出了单独使用循环生成列表的弊端。然后通过介绍 List 组件特点和功能,实现完美的 List 表,并且实现了上下滑动的效果。下一节,我们介绍自定义组件,敬请期待。

讨论HarmonyOS开发技术,专注于API与组件、DevEco Studio、测试、元服务和应用上架分发等。
更多推荐
 10
10 0
0- 0


 已为社区贡献27条内容

所有评论(0)