HarmonyOS7 第一个 Agent 怎么落地?从 Skill 定义到系统调用完整跑通
文章目录
前言
前面两篇我们把架构和 HMAF 的概念都理清楚了,这篇来真刀真枪写代码。目标是搞定一个完整的"天气查询"Agent,从 Skill 定义到用户能语音唤醒,整个链路跑通。
Vibe Coding:Skill 的开发流程
HarmonyOS 7 的 HMAF 提供了一套叫 Vibe Coding 的 Skill 开发流程。听着很玄乎,核心思路其实很简单:先用自然语言描述你想让 Skill 干什么,框架帮你生成骨架代码,你再填充具体逻辑。
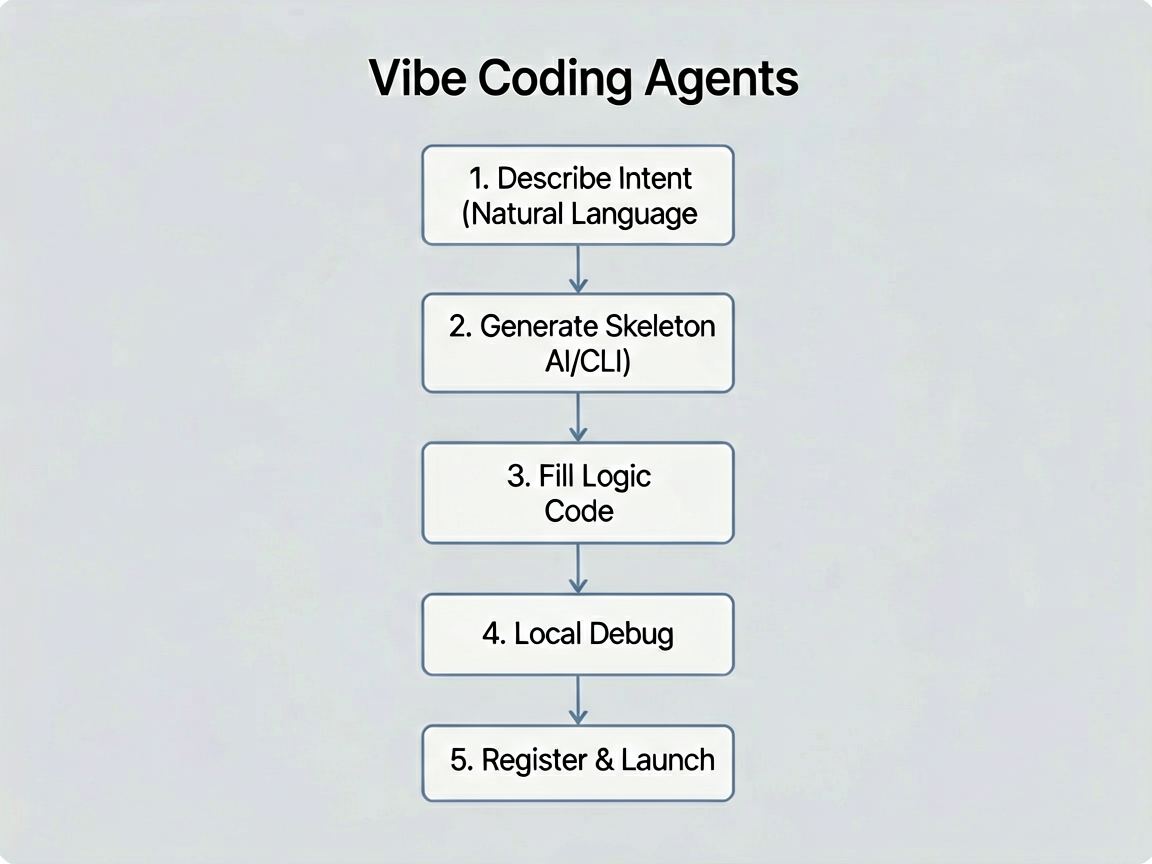
跟传统的"先写接口定义、再写实现、再写测试"比,Vibe Coding 的开发路径是这样的:
描述意图 → 生成 Skill 骨架 → 填充业务逻辑 → 本地调试 → 注册上线
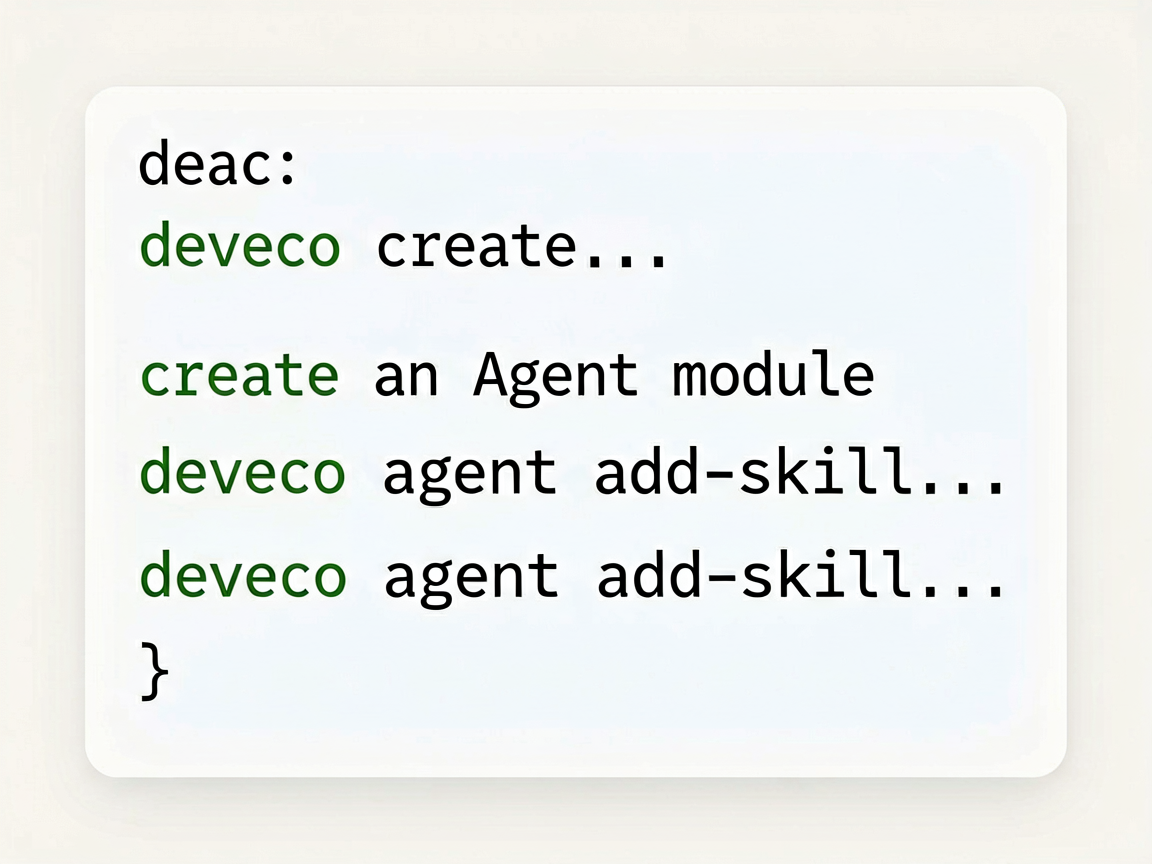
DevEco Studio 和 DevEco CLI 都支持这个流程。我们先用 CLI 创建 agent 模块,然后用 Vibe Coding 来生成 Skill 的初始代码:
# HarmonyOS7 第一个 Agent 怎么落地?从 Skill 定义到系统调用完整跑通
deveco create --type module --name agent --template agent

# 在 agent 模块中添加一个天气查询 Skill
deveco agent add-skill --name weather_query --module agent
跑完第二条命令,CLI 会在 agent/src/main/ets/skills/ 下面生成一个 WeatherQuerySkill.ets 文件,里面已经有基本的类结构和方法签名了。我们在这个基础上填充实际逻辑。
定义天气查询 Skill
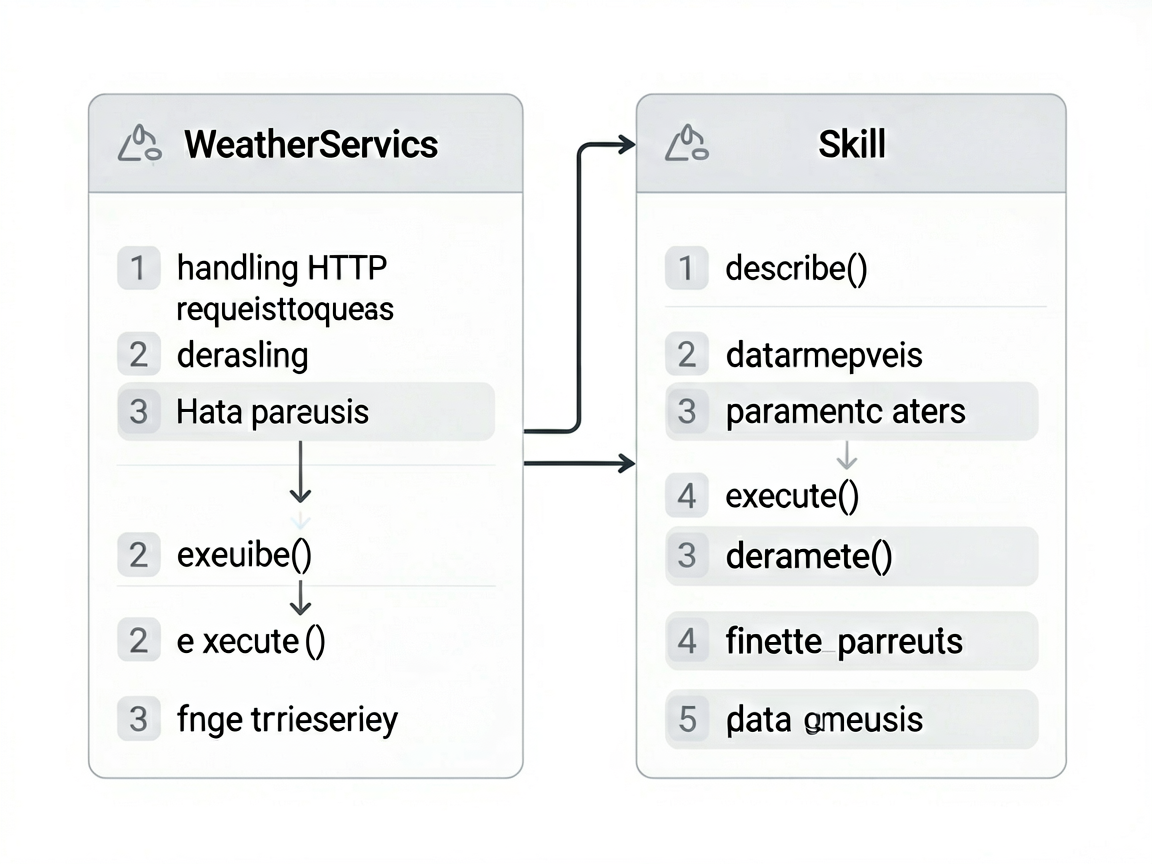
Skill 的核心就两件事:声明自己能干什么(describe)和干活(execute)。
先写天气数据的类型定义和网络请求部分:
// agent/src/main/ets/skills/WeatherQuerySkill.ets
import { Skill, SkillContext, SkillResult, SkillParameter } from '@kit.AgentKit'
import { http } from '@kit.NetworkKit'

// 天气数据的类型
interface WeatherData {
  location: string
  temperature: number
  condition: string
  humidity: number
  forecast: ForecastItem[]
}

interface ForecastItem {
  date: string
  high: number
  low: number
  condition: string
}

class WeatherService {
  private baseUrl: string = 'https://api.example.com/weather'

  async fetchWeather(location: string): Promise<WeatherData> {
    const httpRequest = http.createHttp()
    try {
      const response = await httpRequest.request(
        `${this.baseUrl}?city=${encodeURIComponent(location)}`,
        {
          method: http.RequestMethod.GET,
          header: { 'Content-Type': 'application/json' },
          connectTimeout: 5000,
          readTimeout: 5000
        }
      )

      if (response.responseCode === http.ResponseCode.OK) {
        return JSON.parse(response.result as string) as WeatherData
      }
      throw new Error(`请求失败,状态码: ${response.responseCode}`)
    } finally {
      httpRequest.destroy()
    }
  }
}
然后是 Skill 本体。describe() 方法告诉框架这个 Skill 需要什么参数,execute() 方法负责干活:
export class WeatherQuerySkill extends Skill {
  private weatherService: WeatherService = new WeatherService()

  // 告诉框架:我叫什么,需要什么参数
  describe(): SkillParameter {
    return {
      name: 'weather_query',
      description: '查询指定城市的实时天气信息',
      parameters: {
        location: {
          type: 'string',
          description: '城市名称,如"北京""上海"',
          required: true
        },
        date: {
          type: 'string',
          description: '查询日期,默认今天。格式:YYYY-MM-DD',
          required: false
        }
      }
    }
  }

  // 实际执行逻辑
  async execute(context: SkillContext): Promise<SkillResult> {
    const location = context.params.location as string

    if (!location) {
      return SkillResult.error('你还没说要查哪个城市的天气呢')
    }

    try {
      const data = await this.weatherService.fetchWeather(location)
      const today = data.forecast[0]

      return SkillResult.success({
        location: data.location,
        temperature: data.temperature,
        condition: data.condition,
        humidity: data.humidity,
        summary: `${data.location}今天${data.condition},` +
          `气温${today.low}~${today.high}°C,` +
          `湿度${data.humidity}%`
      })
    } catch (e) {
      console.error(`查询 ${location} 天气出错:`, e)
      return SkillResult.error(`查询${location}的天气失败了,稍后再试试`)
    }
  }
}
代码不长,但该有的都有了:参数校验、网络请求、错误处理、返回格式化的结果。
把 Skill 注册到 Agent
Skill 写好了,得告诉 Agent “我有这个本事”。在 agent 模块的入口文件里做注册:
// agent/src/main/ets/SmartLifeAgent.ets
import { Agent, AgentConfig, AgentRequest, AgentResponse } from '@kit.AgentKit'
import { WeatherQuerySkill } from './skills/WeatherQuerySkill'

export class SmartLifeAgent extends Agent {
  onCreate(config: AgentConfig): void {
    // 注册天气查询 Skill
    this.registerSkill(new WeatherQuerySkill())

    // 后面可以继续注册更多 Skill
    // this.registerSkill(new CalendarSkill())
    // this.registerSkill(new DeviceControlSkill())
  }

  onRegister(): void {
    console.info('SmartLifeAgent 已就绪')
  }

  async onInvoke(request: AgentRequest): Promise<AgentResponse> {
    // 框架已经帮我们做好了意图识别和 Skill 匹配
    // 这里拿到匹配到的 Skill 直接执行就行
    const matchedSkill = this.matchSkill(request.intent)
    if (!matchedSkill) {
      return AgentResponse.error('暂时没有理解你的意思,换个说法试试?')
    }

    const result = await matchedSkill.execute({
      agentId: this.getId(),
      requestId: request.id,
      params: request.params
    })

    return result.isSuccess
      ? AgentResponse.success(result.data)
      : AgentResponse.error(result.error ?? '执行失败')
  }

  onDestroy(): void {
    console.info('SmartLifeAgent 已下线')
  }
}
matchSkill 方法背后是框架自带的意图匹配逻辑,会根据 module.json5 里配置的 Skill 描述和参数来匹配。大部分情况下不用自己实现,框架处理得挺好的。
配置 module.json5
Agent 和 Skill 的代码写完了,需要在 module.json5 里做声明,系统才能找到我们的 Agent:
// agent/src/main/module.json5
{
  "module": {
    "name": "agent",
    "type": "har",
    "agents": [
      {
        "name": "SmartLifeAgent",
        "srcEntry": "./ets/SmartLifeAgent.ets",
        "description": "$string:agent_smart_life_desc",
        "skills": [
          {
            "name": "weather_query",
            "description": "查询指定城市的实时天气",
            "parameters": {
              "location": {
                "type": "string",
                "description": "城市名称",
                "required": true
              },
              "date": {
                "type": "string",
                "description": "日期,默认今天",
                "required": false
              }
            }
          }
        ],
        "systemEntry": {
          "voiceCommands": [
            "查天气",
            "今天天气怎么样",
            "明天天气如何"
          ],
          "textPatterns": [
            ".*天气.*",
            ".*气温.*",
            ".*多少度.*"
          ]
        }
      }
    ]
  }
}
systemEntry 这个配置很关键,它是系统判断"要不要把请求路由给你的 Agent"的依据。voiceCommands 是精确匹配的语音指令,textPatterns 是正则匹配的文本模式。两个配合用,覆盖面比较广。
在 entry 模块启动 Agent
Agent 定义好了,需要在应用启动时把它注册到系统里。在 entry 的 EntryAbility 中做这件事:
// entry/src/main/ets/entryability/EntryAbility.ets
import { UIAbility, Want } from '@kit.AbilityKit'
import { window } from '@kit.ArkUI'
import { AgentManager } from '@kit.AgentKit'
import { SmartLifeAgent } from 'agent'

export default class EntryAbility extends UIAbility {
  private agentManager: AgentManager = new AgentManager()

  async onCreate(want: Want, launchParam: Record<string, Object>): Promise<void> {
    console.info('EntryAbility onCreate')

    // 创建并注册 Agent
    const agent = new SmartLifeAgent()
    try {
      await this.agentManager.register(agent)
      console.info('SmartLifeAgent 注册到系统成功')
    } catch (e) {
      console.error('Agent 注册失败:', e)
    }
  }

  onWindowStageCreate(windowStage: window.WindowStage): void {
    windowStage.loadContent('pages/Index', (err) => {
      if (err) {
        console.error('加载页面失败:', err)
        return
      }
    })
  }

  onDestroy(): void {
    // 别忘了注销 Agent
    this.agentManager.unregisterAll()
  }
}
到这里,整个注册流程就串起来了。App 启动时注册 Agent,Agent 创建时注册 Skill,系统在收到用户请求时就能找到对应的 Agent 来处理。
完整调用链路
现在我们把整个调用链路从头到尾捋一遍,看看用户说"北京今天天气怎么样"之后,系统内部发生了什么:
用户说 "北京今天天气怎么样"
  │
  ▼
① 系统语音引擎识别出文字
  │
  ▼
② NLU(自然语言理解)解析意图
   提取出 intent="weather_query", params={ location: "北京" }
  │
  ▼
③ HMAF 框架匹配 Agent
   根据 systemEntry 配置,路由到 SmartLifeAgent
  │
  ▼
④ SmartLifeAgent.onInvoke(request) 被调用
  │
  ▼
⑤ Agent 内部 matchSkill("weather_query")
   匹配到 WeatherQuerySkill
  │
  ▼
⑥ WeatherQuerySkill.execute(context) 执行
   调用 WeatherService 发起网络请求
  │
  ▼
⑦ 网络返回天气数据,Skill 格式化成用户友好的文本
  │
  ▼
⑧ AgentResponse 沿着链路返回给系统
  │
  ▼
⑨ 系统把结果展示给用户(语音播报或文字显示)
用代码追踪这个流程,核心就是这几步调用:
// ③ 系统路由到 Agent(框架自动完成,开发者不用写)

// ④ Agent 收到请求
async onInvoke(request: AgentRequest): Promise<AgentResponse> {
  // request.intent = "weather_query"
  // request.params = { location: "北京" }

  // ⑤ 匹配 Skill
  const skill = this.matchSkill(request.intent)
  // skill = WeatherQuerySkill 实例

  // ⑥ 执行 Skill
  const result = await skill.execute({
    agentId: this.getId(),
    requestId: request.id,
    params: request.params  // { location: "北京" }
  })

  // ⑧ 返回结果
  return AgentResponse.success(result.data)
  // result.data = {
  //   location: "北京",
  //   temperature: 28,
  //   condition: "晴",
  //   summary: "北京今天晴,气温18~28°C,湿度45%"
  // }
}
整个链路里,开发者只需要关心两件事:Skill 的 describe() 写对参数,execute() 写好逻辑。其余的意图识别、路由匹配、结果回传,全是框架帮你搞定的。这也是 HMAF 最大的价值——你只管定义能力,调度交给系统。
本地调试
写完之后肯定要先在本地跑通。DevEco Studio 提供了 Agent 调试工具,可以模拟系统调用:
// 在 DevEco Studio 的 Agent Debugger 面板中操作
// 或者用代码手动触发测试:

import { AgentTestKit } from '@kit.AgentKit'

async function testWeatherSkill(): Promise<void> {
  const testKit = new AgentTestKit()
  const agent = new SmartLifeAgent()
  await testKit.init(agent)

  // 模拟用户请求
  const response = await testKit.invoke({
    intent: 'weather_query',
    params: { location: '北京' }
  })

  console.info('测试结果:')
  console.info(`  状态: ${response.isSuccess ? '成功' : '失败'}`)
  console.info(`  数据: ${JSON.stringify(response.data)}`)

  // 断言验证
  if (response.isSuccess && response.data?.location === '北京') {
    console.info('测试通过 ✓')
  } else {
    console.error('测试失败 ✗')
  }
}
Agent Debugger 面板可以可视化地看到请求经过了哪些环节、每步耗时多少,排查问题特别方便。建议每次改完 Skill 逻辑都跑一遍测试,别等到集成到系统里才发现问题。
写在后面
回头看看,从 Skill 定义到系统调用,其实核心代码并不多。Vibe Coding 帮我们生成了骨架,我们只需要填充业务逻辑和做配置。
我自己的体感是,HMAF 把"意图识别 → 路由匹配 → 执行 → 返回"这条链路封装得很好,开发者的心智负担比以前轻了不少。以前要实现类似的功能,你得自己搞 NLU 对接、路由分发、结果格式化,现在框架全给你包了。
下一篇我们讲 A2A 协议,看看多个 Agent 之间怎么协作——比如让天气 Agent 和日程 Agent 联动,回答"明天适合户外活动吗"这种需要跨 Agent 配合的问题。

讨论HarmonyOS开发技术,专注于API与组件、DevEco Studio、测试、元服务和应用上架分发等。
更多推荐


 0
0 0
0- 0


 已为社区贡献307条内容

所有评论(0)