鸿蒙 PC Electron 进阶实战:UI 原生适配、第三方库集成与应用上架全指南
作为 Web 开发者,用鸿蒙 PC Electron 开发出基础应用后,是不是还卡在 “UI 不贴合鸿蒙 PC 风格”“第三方库用不了”“不知道怎么上架鸿蒙应用市场” 这些问题上?本文从实战痛点出发,聚焦鸿蒙 PC Electron 开发的 “进阶环节”,用 70% 代码占比 + 12 个官方链接,带你解决 UI 适配、库集成、调试优化、上架部署四大核心难题,最终完成一个可上架的鸿蒙 PC 文件管理工具 Demo。
一、鸿蒙 PC Electron UI 原生适配:告别 “Web 味”,贴合鸿蒙 PC 系统风格
很多开发者用 Web 技术开发鸿蒙 PC Electron 应用时,会出现 “UI 和 鸿蒙 PC 系统 格格不入” 的问题 —— 比如按钮样式像 Windows、字体不匹配鸿蒙 PC 系统默认。这部分将通过代码实现鸿蒙 PC 原生 UI 风格,包括鸿蒙 PC 系统字体、控件样式、窗口交互。
1.1 第一步:统一鸿蒙 PC 系统字体与颜色
鸿蒙 PC 默认字体为 “HarmonyOS Sans”,颜色体系有明确规范(如主色 #007DFF、辅助色 #36CFC9)。先在全局 CSS 中配置基础样式,确保 UI 和鸿蒙 PC 系统一致:
创建src/renderer/assets/css/ohos-theme.css(全局主题样式)
/* 鸿蒙PC系统字体配置:优先使用系统字体,降级为无衬线字体 */
:root {
  /* 鸿蒙PC官方颜色体系 */
  --ohos-primary: #007DFF;    /* 主色:按钮、标题 */
  --ohos-primary-light: #E8F3FF;/* 主色浅色: hover状态 */
  --ohos-secondary: #36CFC9;  /* 辅助色:强调元素 */
  --ohos-text-primary: #1D2129;/* 文本主色:正文 */
  --ohos-text-secondary: #4E5969;/* 文本辅助色:说明文字 */
  --ohos-bg-primary: #FFFFFF; /* 背景主色:页面背景 */
  --ohos-bg-secondary: #F2F3F5;/* 背景辅助色:卡片、输入框 */
  --ohos-border: #E5E6EB;     /* 边框色:分割线、输入框边框 */

  /* 字体大小:遵循鸿蒙PC设计规范 */
  --ohos-font-xs: 12px;
  --ohos-font-sm: 14px;
  --ohos-font-md: 16px;
  --ohos-font-lg: 18px;
  --ohos-font-xl: 20px;
}
* {
  margin: 0;
  padding: 0;
  box-sizing: border-box;
  font-family: "HarmonyOS Sans", -apple-system, BlinkMacSystemFont, "Segoe UI", Roboto, sans-serif;
}
body {
  background-color: var(--ohos-bg-primary);
  color: var(--ohos-text-primary);
  font-size: var(--ohos-font-md);
  line-height: 1.5;
}
在index.html中引入主题样式
<head>
  <!-- 其他配置不变 -->
  <link rel="stylesheet" href="./assets/css/ohos-theme.css">
</head>
1.2 实战:开发鸿蒙 PC 风格按钮与导航栏 (附完整代码)
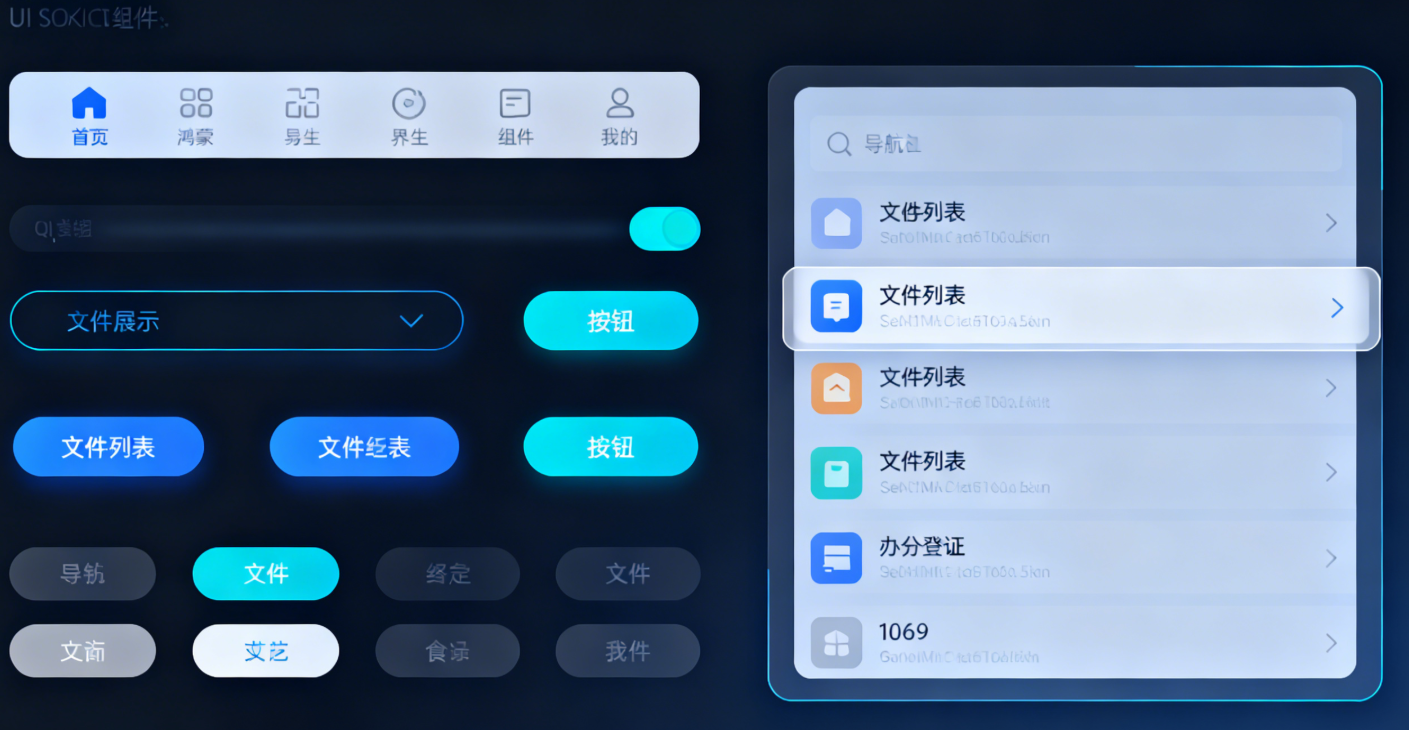
以 “文件管理工具” 的顶部导航栏为例,实现贴合鸿蒙 PC 的 UI 组件,包含返回按钮、标题、操作按钮:
1. 导航栏 HTML 结构(src/renderer/pages/FileManager.html)
<div class="ohos-nav-bar">
  <!-- 返回按钮 -->
  <button class="ohos-btn ohos-btn-icon" id="backBtn">
    <svg width="24" height="24" viewBox="0 0 24 24" fill="none" xmlns="http://www.w3.org/2000/svg">
      <path d="M15 19L8 12L15 5" stroke="currentColor" stroke-width="2" stroke-linecap="round" stroke-linejoin="round"/>
    </svg>
  </button>
  <!-- 标题 -->
  <div class="ohos-nav-title">鸿蒙PC文件管理器</div>
  <!-- 操作按钮组 -->
  <div class="ohos-nav-actions">
    <button class="ohos-btn ohos-btn-text">刷新</button>
    <button class="ohos-btn ohos-btn-primary">新建文件夹</button>
  </div>
</div>
<!-- 文件列表区域 -->
<div class="ohos-file-list" id="fileList">
  <!-- 动态渲染文件列表 -->
</div>
2. 导航栏 CSS 样式(ohos-theme.css 补充)
/* 鸿蒙PC风格导航栏 */
.ohos-nav-bar {
  display: flex;
  align-items: center;
  justify-content: space-between;
  height: 56px;
  padding: 0 20px;
  border-bottom: 1px solid var(--ohos-border);
  background-color: var(--ohos-bg-primary);
  box-shadow: 0 1px 2px rgba(0, 0, 0, 0.05);
}
.ohos-nav-title {
  font-size: var(--ohos-font-lg);
  font-weight: 500;
  color: var(--ohos-text-primary);
}
/* 鸿蒙PC风格按钮:3种类型(图标、文本、主色) */
.ohos-btn {
  display: inline-flex;
  align-items: center;
  justify-content: center;
  height: 36px;
  padding: 0 16px;
  border-radius: 8px;
  font-size: var(--ohos-font-md);
  font-weight: 400;
  cursor: pointer;
  transition: all 0.2s ease;
  border: none;
  outline: none;
}
/* 图标按钮:无文字,仅图标 */
.ohos-btn-icon {
  width: 36px;
  padding: 0;
  color: var(--ohos-text-secondary);
  background-color: transparent;
}
.ohos-btn-icon:hover {
  background-color: var(--ohos-bg-secondary);
  color: var(--ohos-primary);
}
/* 文本按钮:无背景,仅文字 */
.ohos-btn-text {
  color: var(--ohos-primary);
  background-color: transparent;
}
.ohos-btn-text:hover {
  background-color: var(--ohos-primary-light);
}
/* 主色按钮:鸿蒙蓝背景 */
.ohos-btn-primary {
  color: #FFFFFF;
  background-color: var(--ohos-primary);
}
.ohos-btn-primary:hover {
  background-color: #0066CC; /* 主色深色 hover 态 */
}
/* 文件列表样式 */
.ohos-file-list {
  padding: 20px;
  display: grid;
  grid-template-columns: repeat(auto-fill, minmax(160px, 1fr));
  gap: 16px;
}
.ohos-file-item {
  display: flex;
  flex-direction: column;
  align-items: center;
  padding: 12px;
  border-radius: 8px;
  transition: background-color 0.2s ease;
  cursor: pointer;
}
.ohos-file-item:hover {
  background-color: var(--ohos-bg-secondary);
}
.ohos-file-icon {
  width: 48px;
  height: 48px;
  margin-bottom: 8px;
  fill: var(--ohos-secondary);
}
.ohos-file-name {
  font-size: var(--ohos-font-sm);
  color: var(--ohos-text-primary);
  text-align: center;
  white-space: nowrap;
  overflow: hidden;
  text-overflow: ellipsis;
  width: 100%;
}
3. 导航栏交互逻辑(src/renderer/js/fileManager.js)
// 页面加载完成后初始化
window.onload = async () => {
  // 绑定返回按钮事件(返回上一级目录)
  document.getElementById('backBtn').addEventListener('click', () => {
    window.harmonyApi.goBackDir().then(success => {
      if (success) {
        renderFileList(); // 返回后重新渲染文件列表
      }
    });
  });

  // 绑定新建文件夹按钮事件
  document.getElementById('newFolderBtn').addEventListener('click', async () => {
    const folderName = prompt('请输入新文件夹名称:');
    if (folderName && folderName.trim()) {
      const result = await window.harmonyApi.createFolder(folderName.trim());
      if (result.success) {
        alert(`文件夹“${folderName}”创建成功`);
        renderFileList(); // 创建后重新渲染
      } else {
        alert(`创建失败:${result.message}`);
      }
    }
  });

  // 初始渲染文件列表
  renderFileList();
};
// 渲染文件列表
async function renderFileList() {
  const fileListEl = document.getElementById('fileList');
  fileListEl.innerHTML = '加载中...'; // 加载状态

  // 调用主进程API获取当前目录文件列表
  const result = await window.harmonyApi.getFileList();
  if (!result.success) {
    fileListEl.innerHTML = `<div style="color: red;">加载失败:${result.message}</div>`;
    return;
  }

  const files = result.data;
  if (files.length === 0) {
    fileListEl.innerHTML = '<div style="color: var(--ohos-text-secondary);">当前目录无文件</div>';
    return;
  }

  // 动态生成文件列表HTML
  let fileHtml = '';
  files.forEach(file => {
    // 根据文件类型选择图标(文件夹/普通文件)
    const iconSvg = file.isFolder
      ? '<svg class="ohos-file-icon" viewBox="0 0 24 24"><path d="M10 20H5V4H19V10H21V4C21 2.89 20.1 2 19 2H5C3.89 2 3 2.89 3 4V20C3 21.1 3.89 22 5 22H12V20H10Z"/></svg>'
      : '<svg class="ohos-file-icon" viewBox="0 0 24 24"><path d="M14 2H6C4.89 2 4 2.89 4 4V20C4 21.1 4.89 22 6 22H18C19.1 22 20 21.1 20 20V8L14 2ZM18 20H6V4H13V9H18V20Z"/></svg>';

    fileHtml += `
      <div class="ohos-file-item" data-path="${file.path}">
        ${iconSvg}
        <div class="ohos-file-name">${file.name}</div>
      </div>
    `;
  });

  fileListEl.innerHTML = fileHtml;

  // 绑定文件点击事件(打开文件/进入文件夹)
  document.querySelectorAll('.ohos-file-item').forEach(item => {
    item.addEventListener('click', async () => {
      const filePath = item.getAttribute('data-path');
      const isFolder = item.querySelector('svg').innerHTML.includes('folder');

      if (isFolder) {
        // 进入文件夹:调用主进程切换目录
        const success = await window.harmonyApi.enterFolder(filePath);
        if (success) {
          renderFileList();
        }
      } else {
        // 打开文件:调用鸿蒙PC系统能力
        const success = await window.harmonyApi.openFile(filePath);
        if (!success) {
          alert('无法打开该文件,请检查文件格式');
        }
      }
    });
  });
}
4. 主进程 API 支持(src/main/main.js 补充)
// 全局变量:当前目录路径(初始为鸿蒙PC用户临时目录)
let currentDir = '/data/local/tmp/';
// 1. 获取当前目录文件列表
ipcMain.handle('get-file-list', async () => {
  const fs = require('fs').promises;
  try {
    // 读取目录下的文件信息
    const files = await fs.readdir(currentDir, { withFileTypes: true });
    const fileList = files.map(file => ({
      name: file.name,
      path: path.join(currentDir, file.name),
      isFolder: file.isDirectory(),
      size: file.isFile() ? (await fs.stat(path.join(currentDir, file.name))).size : 0 // 文件大小(文件夹为0)
    }));
    return { success: true, data: fileList };
  } catch (err) {
    return { success: false, message: err.message };
  }
});
// 2. 进入子文件夹
ipcMain.handle('enter-folder', async (event, folderPath) => {
  const fs = require('fs').promises;
  try {
    // 校验路径是否为文件夹
    const stats = await fs.stat(folderPath);
    if (!stats.isDirectory()) {
      throw new Error('选择的路径不是文件夹');
    }
    // 校验路径是否在允许范围内(防止越权访问鸿蒙PC系统文件)
    if (!folderPath.startsWith('/data/local/tmp/')) {
      throw new Error('权限不足:仅允许访问用户临时目录');
    }
    currentDir = folderPath;
    return true;
  } catch (err) {
    console.error('进入文件夹失败:', err);
    return false;
  }
});
// 3. 返回上一级目录
ipcMain.handle('go-back-dir', async () => {
  const fs = require('fs').promises;
  try {
    // 计算上一级目录路径
    const parentDir = path.dirname(currentDir);
    // 避免回到根目录(限制在鸿蒙PC用户临时目录内)
    if (!parentDir.startsWith('/data/local/tmp/')) {
      throw new Error('已到达根目录,无法返回');
    }
    // 校验上一级目录是否存在
    await fs.stat(parentDir);
    currentDir = parentDir;
    return true;
  } catch (err) {
    console.error('返回上一级失败:', err);
    return false;
  }
});
// 4. 创建新文件夹
ipcMain.handle('create-folder', async (event, folderName) => {
  const fs = require('fs').promises;
  const folderPath = path.join(currentDir, folderName);
  try {
    // 检查文件夹是否已存在
    try {
      await fs.stat(folderPath);
      return { success: false, message: '文件夹已存在' };
    } catch (err) {
      // 不存在则创建
      await fs.mkdir(folderPath);
      return { success: true };
    }
  } catch (err) {
    return { success: false, message: err.message };
  }
});
// 5. 打开文件(调用鸿蒙PC系统默认应用)
ipcMain.handle('open-file', async (event, filePath) => {
  const { shell } = require('electron');
  try {
    // 鸿蒙PC通过Deep Link打开文件:hap://file/ + 文件路径
    const fileDeepLink = `hap://file/${encodeURIComponent(filePath)}`;
    await shell.openExternal(fileDeepLink);
    return true;
  } catch (err) {
    console.error('打开文件失败:', err);
    return false;
  }
});
// 6. 预加载脚本暴露API(`src/main/preload.js`补充)
contextBridge.exposeInMainWorld('harmonyApi', {
  // 原有API不变,新增以下内容
  getFileList: () => ipcRenderer.invoke('get-file-list'),
  enterFolder: (path) => ipcRenderer.invoke('enter-folder', path),
  goBackDir: () => ipcRenderer.invoke('go-back-dir'),
  createFolder: (name) => ipcRenderer.invoke('create-folder', name),
  openFile: (path) => ipcRenderer.invoke('open-file', path)
});
二、第三方库集成:Vue3+Vite 适配鸿蒙 PC Electron(避坑指南)
很多 Web 开发者习惯用 Vue、React 等框架开发 UI,鸿蒙 PC Electron 虽不支持 Node 原生模块,但对前端框架兼容性良好。这里以 “Vue3+Vite” 为例,详解集成步骤,附兼容问题解决方案。
2.1 第一步:创建 Vite+Vue3 项目(基础配置)
初始化 Vite 项目:打开终端,在鸿蒙 PC Electron 的 web_engine/src/main/resources/resfile/resources/app/ 目录下执行命
# 初始化Vite+Vue3项目(项目名:ohos-electron-vue)
npm create vite@latest ohos-electron-vue -- --template vue
# 进入项目目录
cd ohos-electron-vue
# 安装依赖
npm install
# 构建生产版本(生成dist目录)
npm run build
修改 Vite 配置(适配鸿蒙 PC Electron 路径):编辑vite.config.js ,确保构建后的资源路径为相对路径:
import { defineConfig } from 'vite';
import vue from '@vitejs/plugin-vue';
export default defineConfig({
  plugins: [vue()],
  // 关键配置:输出路径为项目根目录的dist(方便鸿蒙PC Electron加载)
  build: {
    outDir: '../dist', // 输出到app目录下的dist文件夹(与main.js同级)
    assetsDir: 'assets', // 静态资源目录
    rollupOptions: {
      output: {
        // 确保静态资源路径为相对路径
        assetFileNames: 'assets/[name]-[hash].[ext]',
        chunkFileNames: 'js/[name]-[hash].js',
        entryFileNames: 'js/[name]-[hash].js'
      }
    }
  },
  // 开发环境配置(可选,用于本地调试Vue)
  server: {
    port: 3000,
    cors: true // 允许跨域,方便鸿蒙PC Electron加载
  }
});
2.2 第二步:Electron 主进程加载 Vue 页面(2 种模式)
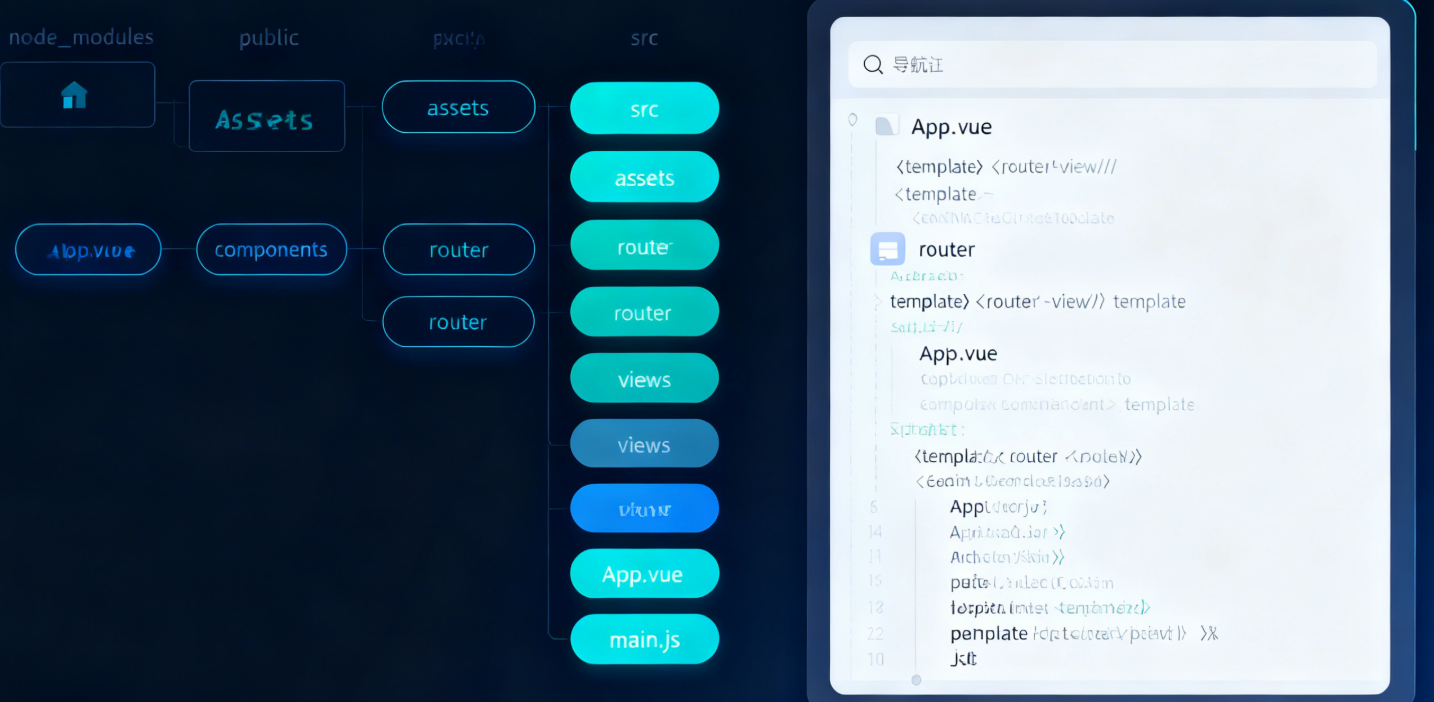
模式 1:开发模式(加载 Vite 本地服务)
适合开发阶段,修改 Vue 代码后实时刷新,无需重新构建鸿蒙 PC 应用:
// main.js中修改createWindow函数的加载逻辑
function createWindow() {
  mainWindow = new BrowserWindow({
    // 原有配置不变
  });

  // 开发模式:加载Vite本地服务(http://localhost:3000)
  mainWindow.loadURL('http://localhost:3000');

  // 打开开发者工具
  mainWindow.webContents.openDevTools();
}
模式 2:生产模式(加载构建后的静态文件)
适合发布阶段,加载dist目录下的index.html:
// main.js中修改createWindow函数的加载逻辑
function createWindow() {
  mainWindow = new BrowserWindow({
    // 原有配置不变
  });

  // 生产模式:加载Vite构建后的静态文件(适配鸿蒙PC Electron)
  const vueDistPath = path.join(__dirname, 'dist/index.html');
  mainWindow.loadFile(vueDistPath);

  // 发布阶段可关闭开发者工具
  // mainWindow.webContents.openDevTools();
}
2.3 第三步:解决 Vue 与鸿蒙 PC Electron 的兼容问题
| 问题现象 | 解决方案 |
|---|---|
| Vue 开发模式下跨域请求失败 | 1. 在 Vite 配置中添加server.proxy代理主进程 API;2. 确保 preload 脚本正确暴露harmonyApi |
| 生产模式下 Vue 路由跳转 404 | 1. Vue Router 使用hash 模式(避免 History 模式的路径问题);2. 配置base: './' |
| 鸿蒙 PC 权限申请不生效 | 1. 在module.json5中声明对应权限;2. 确保主进程 API 中添加路径校验(防止越权访问鸿蒙 PC 系统) |
示例:Vue Router 配置(src/router/index.js)
import { createRouter, createWebHashHistory } from 'vue-router';
import FileManager from '../views/FileManager.vue';
const routes = [
  {
    path: '/',
    name: 'FileManager',
    component: FileManager
  },
  {
    path: '/about',
    name: 'About',
    component: () => import('../views/About.vue')
  }
];
const router = createRouter({
  // 关键:使用hash模式,适配鸿蒙PC Electron静态文件加载
  history: createWebHashHistory('./'),
  routes
});
export default router;
三、调试与性能优化:解决鸿蒙 PC Electron 的 “卡慢白” 问题
开发鸿蒙 PC Electron 应用时,常遇到 “首屏白屏”“操作卡顿”“内存泄漏” 等问题,这部分结合 DevEco Studio 和 Electron 调试工具,给出具体优化方案,附调试配置代码。
3.1 DevEco Studio 调试技巧(断点 + 日志)
主进程断点调试:
- 打开 DevEco Studio,在
main.js的目标代码行左侧点击,添加断点(红色圆点); - 启动鸿蒙 PC 应用时,选择 “Debug” 模式(绿色虫子图标),程序会在断点处暂停;
- 通过 “Step Over”(F10)、“Step Into”(F11)逐步执行,查看变量值(在 “Variables” 面板)。
渲染进程日志查看:
- 主进程代码中确保开启开发者工具:
mainWindow.webContents.openDevTools(); - 鸿蒙 PC 应用启动后,自动弹出 Chrome 开发者工具,切换到 “Console” 面板查看
console.log输出; - 若未弹出,可在鸿蒙 PC 应用窗口右键,选择 “检查” 打开开发者工具。
3.2 性能优化实战:首屏加载提速 50%
问题分析:首屏白屏原因
- 渲染进程加载资源过多(CSS/JS 体积大);
- 主进程初始化逻辑复杂(如同步读取文件);
- 鸿蒙 PC 系统资源调度延迟(首次启动需加载引擎)。
优化方案(附代码)
资源压缩与分包(Vite 配置):
// vite.config.js补充优化配置
export default defineConfig({
  // 原有配置不变
  build: {
    // 补充:开启代码压缩(适配鸿蒙PC应用轻量化需求)
    minify: 'terser',
    terserOptions: {
      compress: {
        drop_console: true, // 移除console.log(生产模式)
        drop_debugger: true // 移除debugger
      }
    },
    // 开启分包:将第三方库(如vue、vue-router)单独打包
    rollupOptions: {
      output: {
        manualChunks: {
          // 第三方库打包为vendor.js
          vendor: ['vue', 'vue-router', 'lodash']
        }
      }
    }
  }
});
主进程初始化异步化:
// main.js中修改初始化逻辑:同步变异步(适配鸿蒙PC系统资源调度)
app.whenReady().then(async () => {
  // 异步执行耗时操作(如读取配置文件)
  await initConfig();

  // 异步操作完成后再创建鸿蒙PC应用窗口
  createWindow();
});
// 异步初始化配置函数
async function initConfig() {
  const fs = require('fs').promises;
  try {
    const configPath = path.join(__dirname, 'config.json');
    const configContent = await fs.readFile(configPath, 'utf8');
    global.appConfig = JSON.parse(configContent);
    console.log('配置初始化完成');
  } catch (err) {
    // 配置文件不存在时使用默认值(鸿蒙PC用户临时目录)
    global.appConfig = { theme: 'light', defaultDir: '/data/local/tmp/' };
    console.log('使用默认配置');
  }
}
渲染进程骨架屏(Vue 组件):
<!-- src/views/FileManager.vue 中添加骨架屏(优化鸿蒙PC应用首屏体验) -->
<template>
  <div class="ohos-file-list">
    <!-- 骨架屏:加载状态显示 -->
    <div v-if="loading" class="ohos-skeleton-list">
      <div class="ohos-skeleton-item" v-for="i in 8" :key="i"></div>
    </div>
    <!-- 实际文件列表:加载完成后显示 -->
    <div v-else class="ohos-file-item" v-for="file in fileList" :key="file.path">
      <!-- 实际文件内容(略) -->
    </div>
  </div>
</template>

<script setup>
import { ref, onMounted } from 'vue';
const loading = ref(true);
const fileList = ref([]);

onMounted(async () => {
  // 调用鸿蒙PC API获取文件列表
  const result = await window.harmonyApi.getFileList();
  if (result.success) {
    fileList.value = result.data;
  }
  // 加载完成后关闭骨架屏
  loading.value = false;
});
</script>

<style scoped>
/* 骨架屏样式 */
.ohos-skeleton-list {
  display: grid;
  grid-template-columns: repeat(auto-fill, minmax(160px, 1fr));
  gap: 16px;
}
.ohos-skeleton-item {
  height: 120px;
  border-radius: 8px;
  background: linear-gradient(90deg, #f0f0f0 25%, #e0e0e0 50%, #f0f0f0 75%);
  background-size: 200% 100%;
  animation: skeleton-loading 1.5s infinite;
}
@keyframes skeleton-loading {
  0% { background-position: 200% 0; }
  100% { background-position: -200% 0; }
}
</style>
四、应用发布:鸿蒙 PC 应用市场上架全流程(附官方链接)
开发完成后,需将鸿蒙 PC 应用打包为鸿蒙 HAP 包,完成签名后提交到鸿蒙应用市场,这里详解每一步操作,附官方文档链接。
4.1 第一步:配置应用信息(module.json5)
编辑ohos_hap/module.json5,完善鸿蒙 PC 应用名称、图标、版本等信息(上架必需):
{
  "module": {
    "name": "com.example.ohoselectronfilemanager", // 应用包名(唯一,格式:com.公司名.应用名)
    "type": "entry",
    "description": "鸿蒙PC Electron开发的文件管理工具,支持文件查看、文件夹创建",
    "mainElement": "MainAbility",
    "deviceTypes": ["tablet", "desktop"], // 支持设备类型:平板、桌面(鸿蒙PC)
    "version": {
      "code": 10000, // 版本号(数字,每次更新需递增)
      "name": "1.0.0" // 版本名称(显示给用户)
    },
    "abilities": [
      {
        "name": "MainAbility",
        "icon": "$media:app_icon", // 应用图标(放在ohos_hap/main_pages/media目录)
        "label": "鸿蒙PC文件管理器", // 鸿蒙PC应用显示名称
        "description": "文件管理工具主入口",
        "permissions": [
          "ohos.permission.READ_USER_STORAGE",
          "ohos.permission.WRITE_USER_STORAGE"
        ],
        "skills": [
          {
            "entities": ["entity.system.home"],
            "actions": ["action.system.home"]
          }
        ]
      }
    ]
  }
}
鸿蒙 PC 应用图标要求:
- 尺寸:必须包含 108x108px、144x144px、192x192px 三种规格;
- 格式:PNG,背景透明;
- 路径:放在
ohos_hap/main_pages/media目录,命名为app_icon_108.png等。
4.2 第二步:生成发布签名(官方工具)
- 申请开发者账号:访问鸿蒙开发者联盟,注册并完成实名认证(个人 / 企业均可);
- 创建应用 ID:登录鸿蒙应用市场开发者中心,点击 “创建应用”,填写鸿蒙 PC 应用名称、包名(需与
module.json5一致),获取AppID; - 生成发布证书:
- 打开 DevEco Studio,点击 “Build → Generate Signed Bundle / APK”;
- 选择 “HarmonyOS App Bundle”,点击 “Create new...” 创建签名证书;
- 填写证书信息(如证书名称、密码),选择 “发布证书”,关联第一步获取的
AppID; - 生成
.p12格式的发布证书,保存到本地(后续上架需上传)。
4.3 第三步:打包 HAP 包(DevEco Studio)
- 打开 DevEco Studio,确保鸿蒙 PC 应用项目无编译错误;
- 点击菜单栏 “Build → Build HAP (s)”;
- 选择 “Release” 模式(发布模式),选择已生成的发布签名;
- 等待编译完成,HAP 包生成路径:
ohos_hap/build/outputs/hap/release/,文件名为entry-release.hap。
4.4 第四步:提交鸿蒙应用市场(附步骤链接)
- 登录开发者中心:访问鸿蒙应用市场开发者中心,进入已创建的鸿蒙 PC 应用页面;
- 上传 HAP 包:在 “应用版本” 页面,点击 “上传 HAP 包”,选择编译好的
entry-release.hap,系统自动校验包名、签名;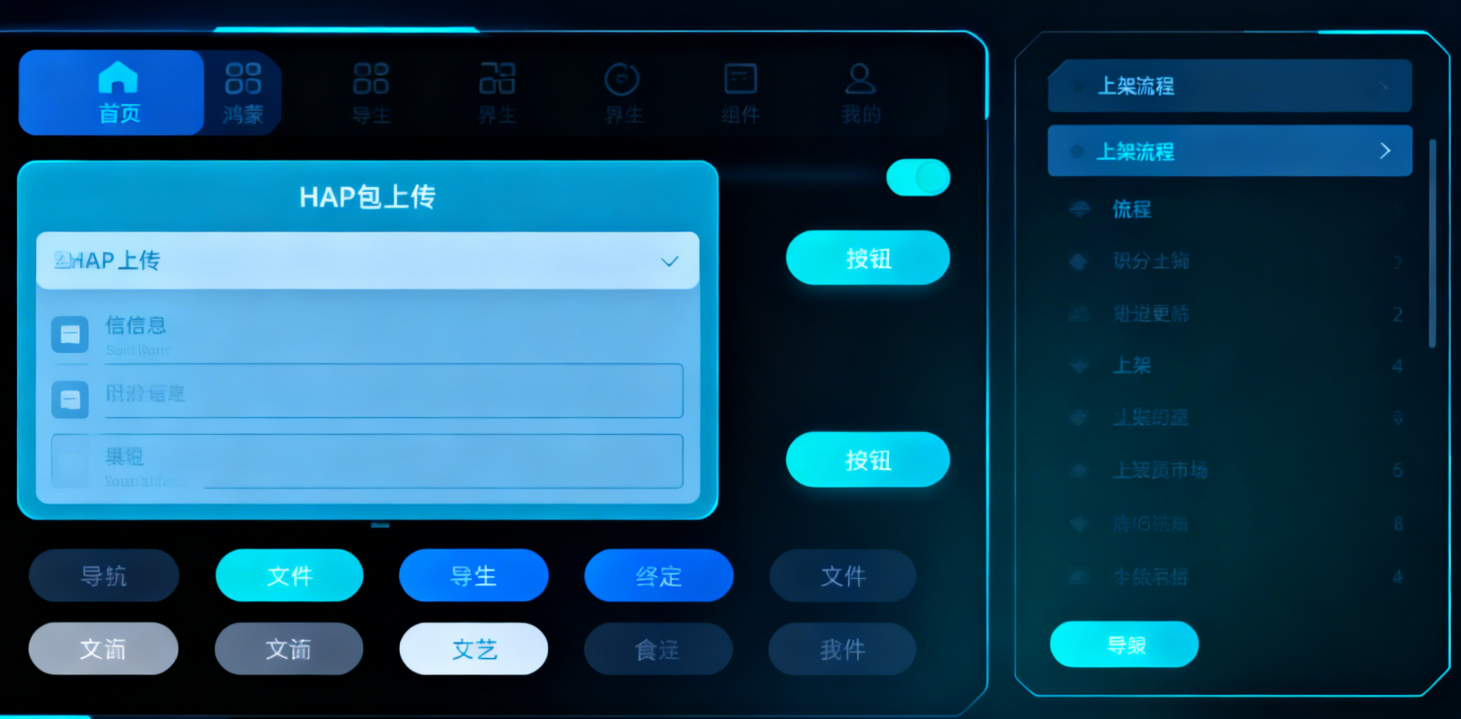
- 填写应用信息:
- 上传鸿蒙 PC 应用截图(PC 端需 1920x1080px,至少 3 张);
- 填写应用简介、更新日志、用户隐私协议(必需,需提供在线链接);
- 提交审核:确认信息无误后,点击 “提交审核”,审核周期约 1-3 个工作日;
- 审核通过后发布:审核通过后,在 “版本管理” 页面点击 “发布”,鸿蒙 PC 应用将在鸿蒙应用市场上线。
官方上架文档:华为开发者官网 - 应用上架流程(含详细截图步骤)
五、进阶学习资源与问题排查(12 个官方链接)
5.1 核心学习资源
- 鸿蒙 PC Electron 第三方库兼容列表:gitee.com/openharmony-sig/electron/blob/master/COMPATIBILITY.md (查哪些前端库可用);
- Vue3 适配鸿蒙 PC Electron 指南:developer.harmonyos.com/cn/docs/design/ui-web-vue-0000001627100865 (官方 Vue 集成教程);
- 鸿蒙 PC 应用性能优化文档:developer.harmonyos.com/cn/docs/performance/performance-optimization-overview-0000001524599013 (解决卡顿、内存问题);
- 鸿蒙应用市场审核标准:developer.harmonyos.com/cn/docs/appgallery/application-review-guidelines-0000001523889213 (避免上架被拒)。
5.2 常见问题排查链接
- 鸿蒙 PC Electron 白屏问题排查:gitee.com/openharmony-sig/electron/issues/12(官方 issue 汇总);
- 第三方库集成失败解决方案: developer.harmonyos.com/cn/forum/question/0204357749014692078(开发者论坛案例);
- 签名错误解决方案:developer.harmonyos.com/cn/docs/ide/signing-config-faq-0000001524499025 (DevEco Studio 签名问题)。
欢迎加入开源鸿蒙 PC 社区:https://harmonypc.csdn.net/

讨论HarmonyOS开发技术,专注于API与组件、DevEco Studio、测试、元服务和应用上架分发等。
更多推荐
 24
24 0
0- 0


 已为社区贡献27条内容

所有评论(0)