学习笔记【Day 1】鸿蒙PC命令行适配编译构建初上手
·
想要参与 OpenHarmony PC 生态的开发,搭建一个顺手的编译环境是第一步。今天分享一次“从零开始”的适配经历:利用 Windows 自带的应用商店安装 Ubuntu 22.04,配置清华源、Python 环境以及鸿蒙 SDK,并最终通过 hnp 脚手架完成对 tree 源码的编译与打包。
第一次尝试适配鸿蒙PC命令行,记录一下过程:
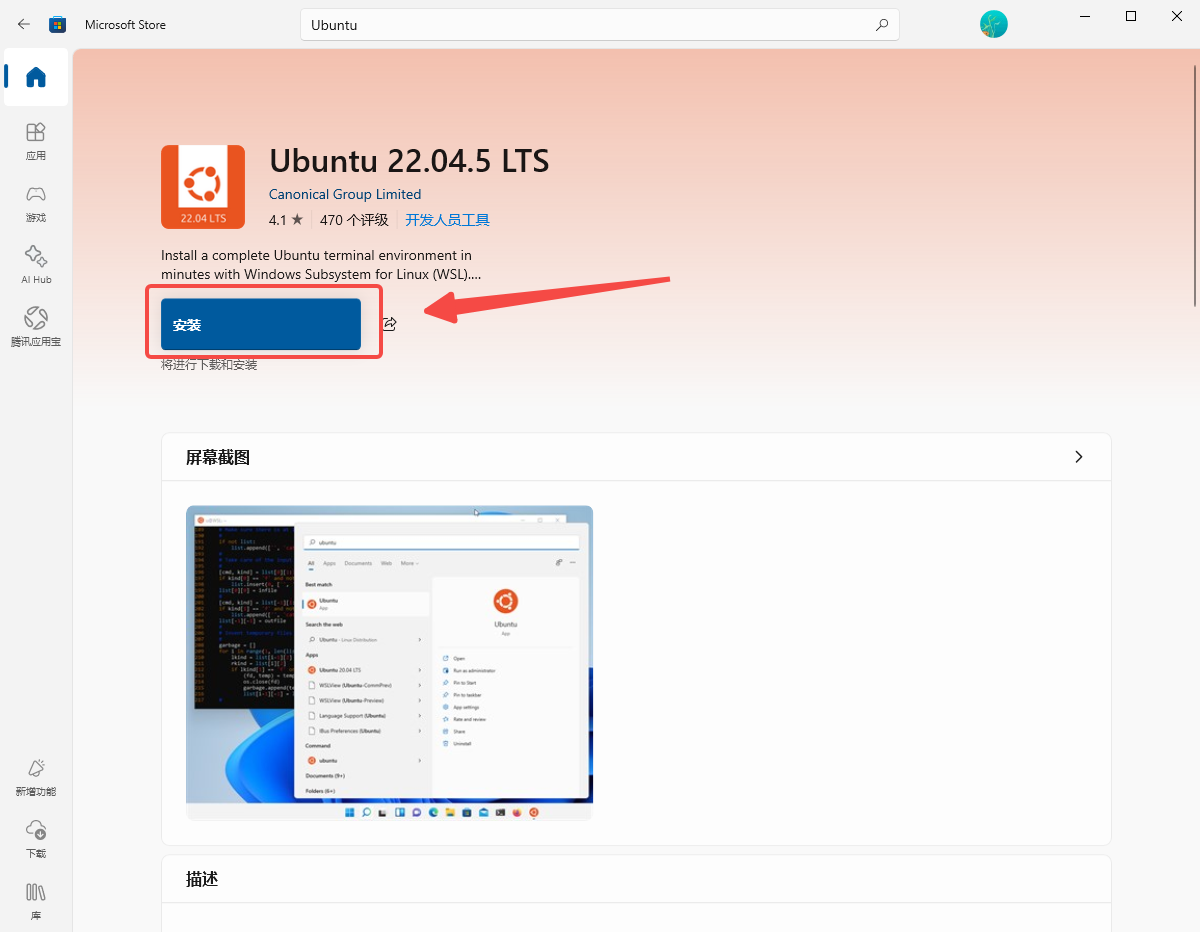
打开电脑的应用商店,搜索 Ubuntu,这里我们可以看到 Ubuntu 22.04.5 LTS ,点击该项

点击安装按钮,就会进行 Ubuntu 22.04.5 LTS 的下载安装
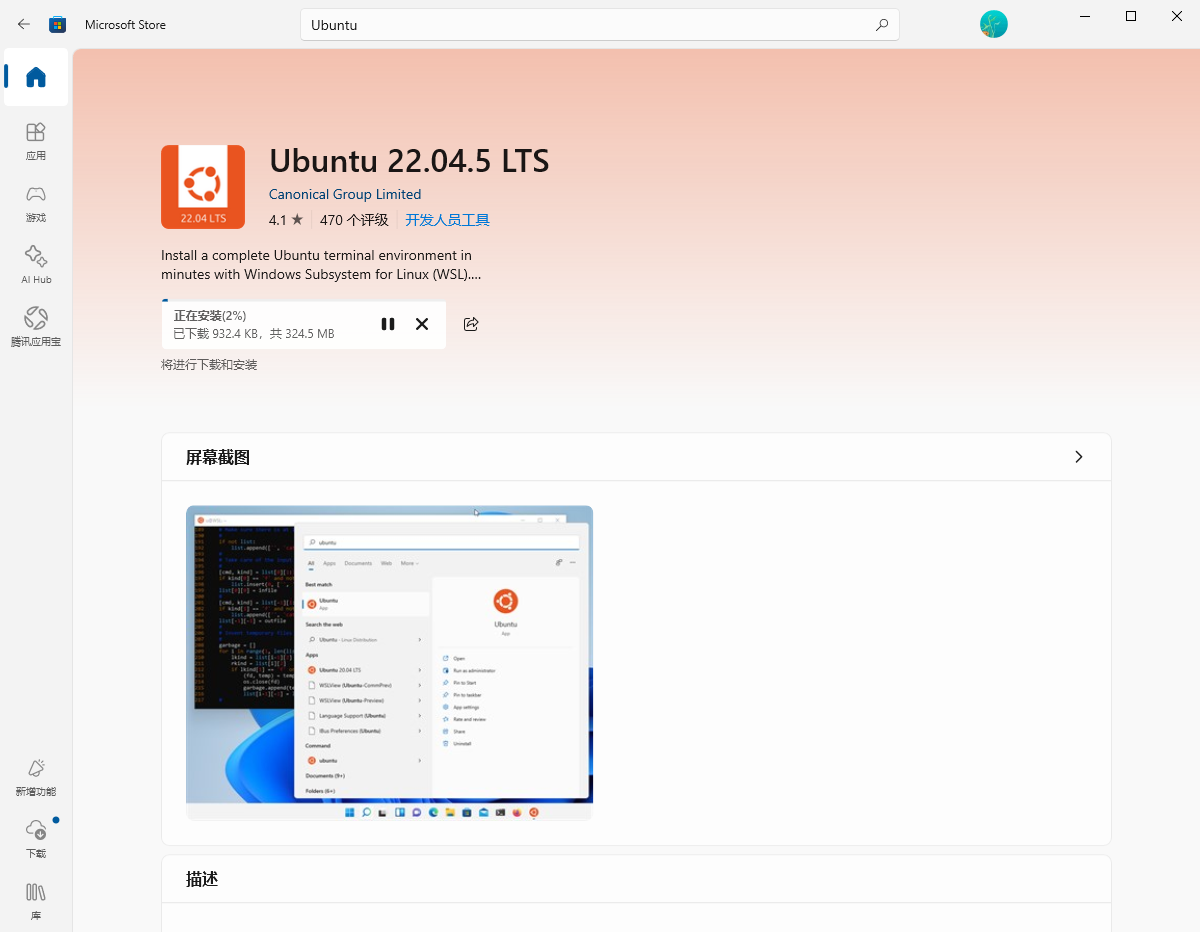
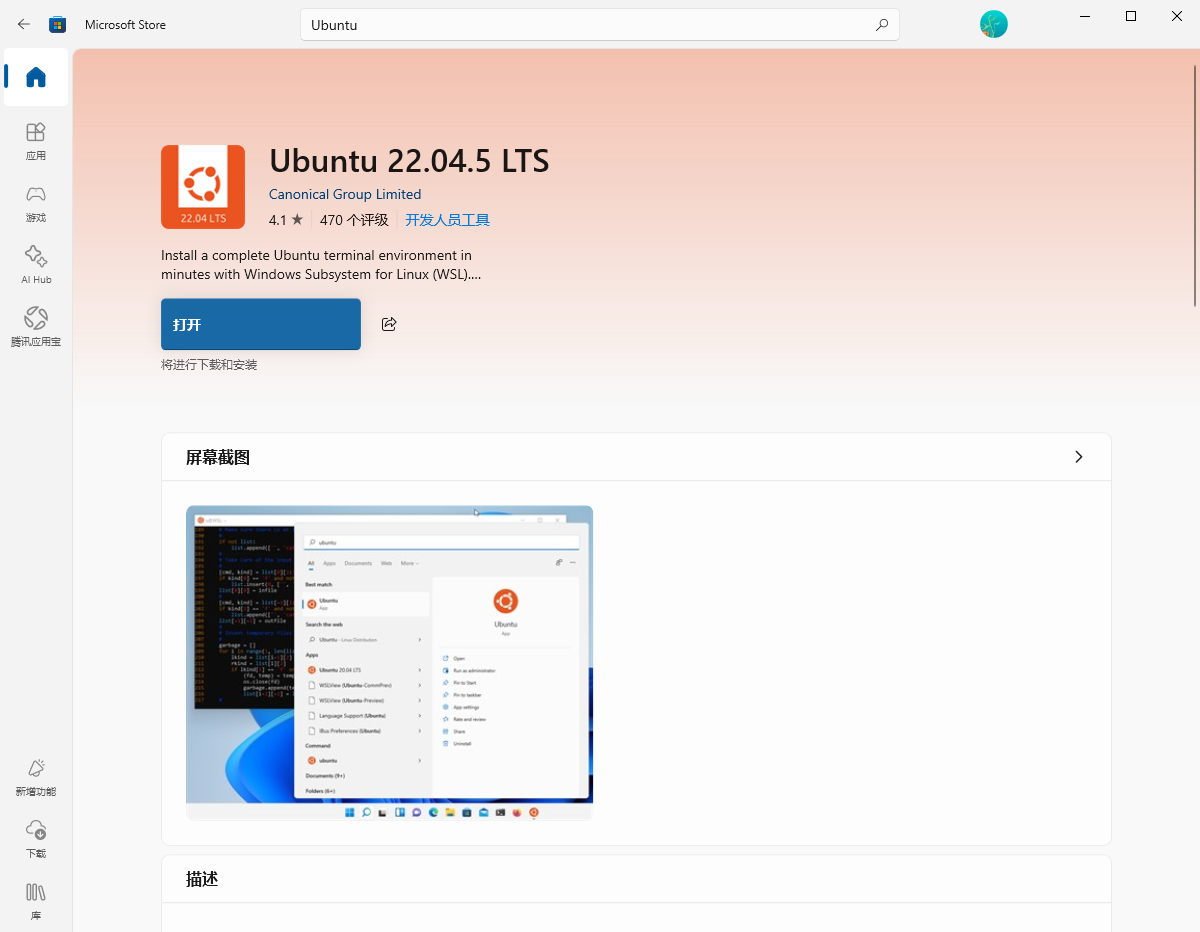
安装完成后,打开 Ubuntu 22.04.5 LTS,
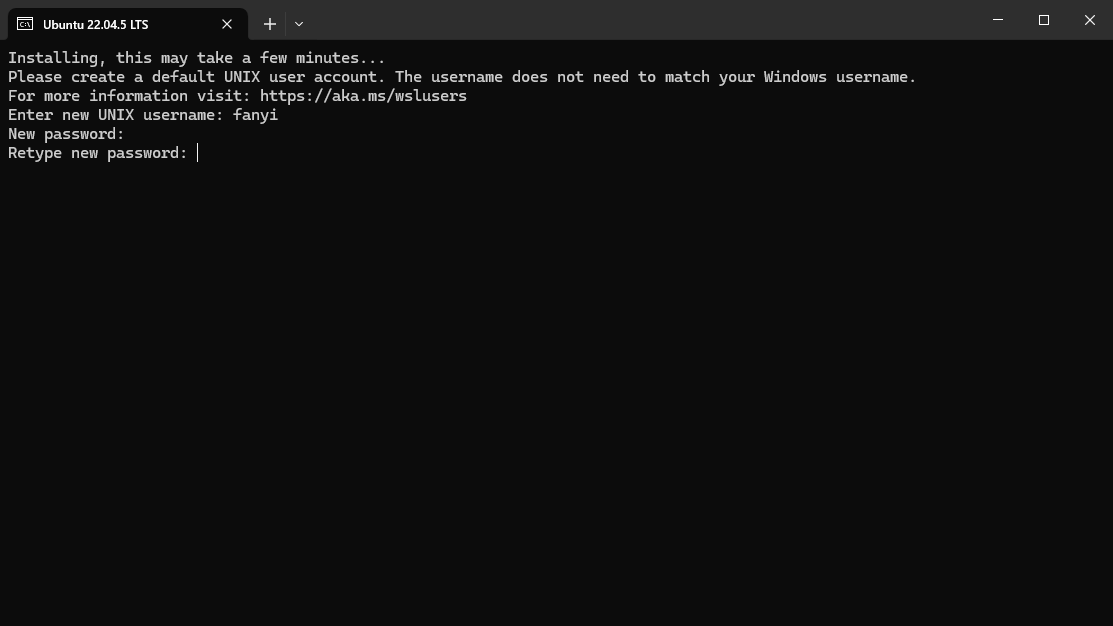
设置初始账号密码(搭配 Windows Terminal 食用更佳哦!)
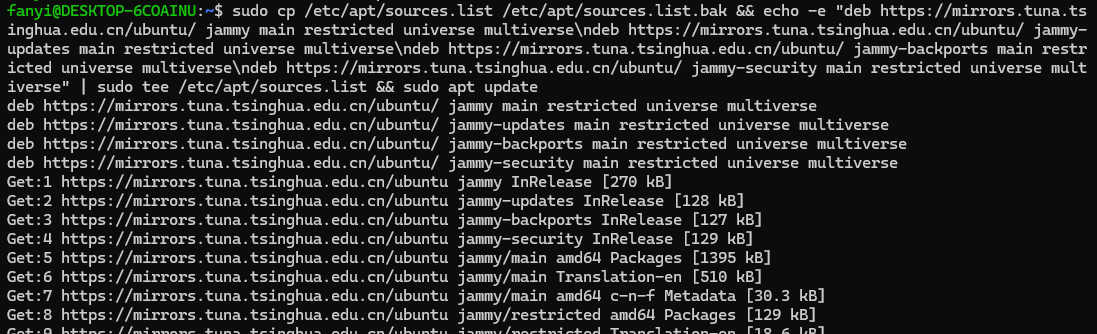
初次食用,换源更新,一键食用版命令如下,复制即用
sudo cp /etc/apt/sources.list /etc/apt/sources.list.bak && echo -e "deb https://mirrors.tuna.tsinghua.edu.cn/ubuntu/ jammy main restricted universe multiverse\ndeb https://mirrors.tuna.tsinghua.edu.cn/ubuntu/ jammy-updates main restricted universe multiverse\ndeb https://mirrors.tuna.tsinghua.edu.cn/ubuntu/ jammy-backports main restricted universe multiverse\ndeb https://mirrors.tuna.tsinghua.edu.cn/ubuntu/ jammy-security main restricted universe multiverse" | sudo tee /etc/apt/sources.list && sudo apt update
生成并配置 SSH Key
ssh-keygen -t rsa -b 2048 -C example@example.com # 具体看你的 gitcode 邮箱
查看 RSA 公钥,并配置到 SSH key 中
cat ~/.ssh/id_rsa.pub

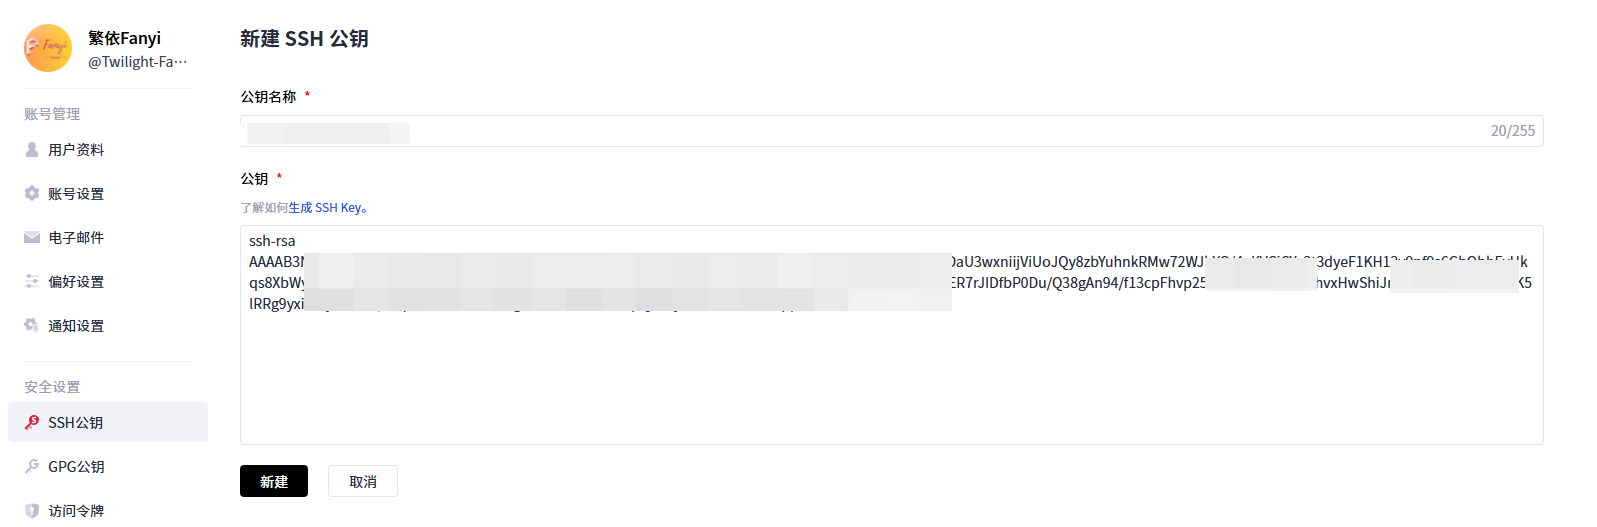
来到 GitCode 设置页面新建 SSH key 并将 id_rsa.pub 内容复制到公钥中。
安装 Python:
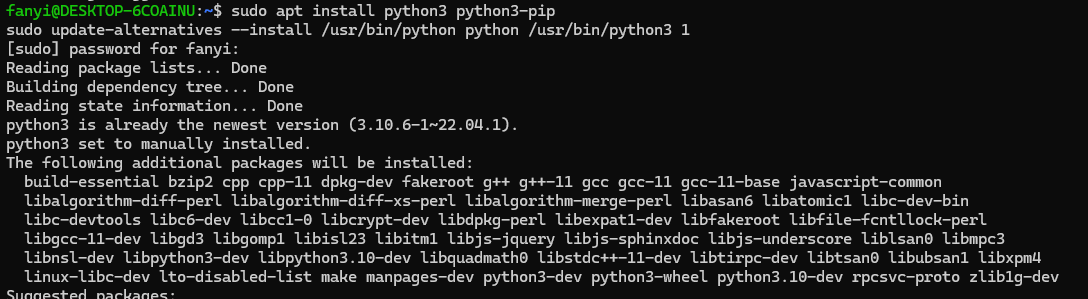
sudo apt install python3 python3-pip
sudo update-alternatives --install /usr/bin/python python /usr/bin/python3 1
下载 sdk
cd ~
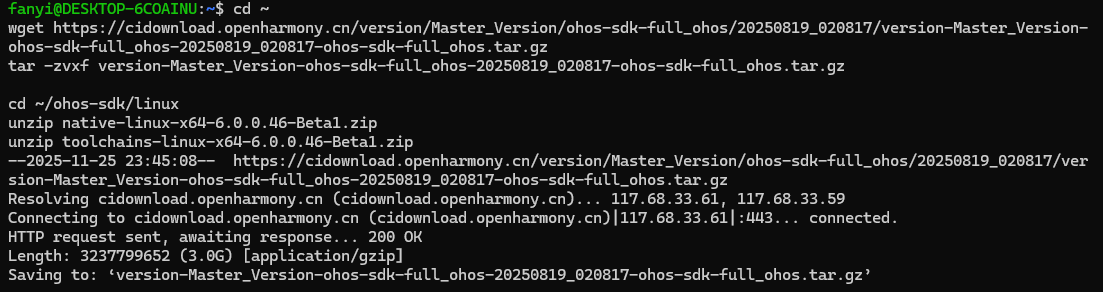
wget https://cidownload.openharmony.cn/version/Master_Version/ohos-sdk-full_ohos/20250819_020817/version-Master_Version-ohos-sdk-full_ohos-20250819_020817-ohos-sdk-full_ohos.tar.gz
tar -zvxf version-Master_Version-ohos-sdk-full_ohos-20250819_020817-ohos-sdk-full_ohos.tar.gz

cd ~/ohos-sdk/linux
unzip native-linux-x64-6.0.0.46-Beta1.zip
unzip toolchains-linux-x64-6.0.0.46-Beta1.zip
设置安装目录与下载脚手架
sudo mkdir -p /data/service/hnp
sudo chmod 777  -R /data/service/hnp

cd ~
git clone https://gitcode.com/OpenHarmonyPCDeveloper/build.git
创建文件夹并把 tree 的源码克隆到其中
mkdir ~/build/code
cd build/code
git clone https://gitcode.com/OpenHarmonyPCDeveloper/cmdtree.git -b master

新增并编辑
nano ohos_build.sh
nano hnp.json

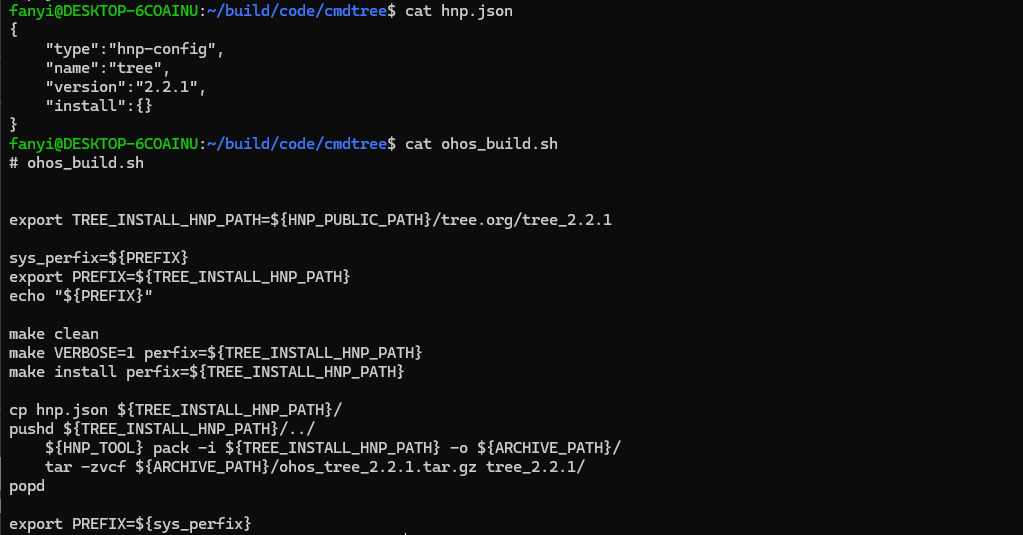
编写 ohos_build.sh :
# ohos_build.sh


export TREE_INSTALL_HNP_PATH=${HNP_PUBLIC_PATH}/tree.org/tree_2.2.1

sys_perfix=${PREFIX}
export PREFIX=${TREE_INSTALL_HNP_PATH}
echo "${PREFIX}"

make clean
make VERBOSE=1 perfix=${TREE_INSTALL_HNP_PATH}
make install perfix=${TREE_INSTALL_HNP_PATH}

cp hnp.json ${TREE_INSTALL_HNP_PATH}/
pushd ${TREE_INSTALL_HNP_PATH}/../
    ${HNP_TOOL} pack -i ${TREE_INSTALL_HNP_PATH} -o ${ARCHIVE_PATH}/
    tar -zvcf ${ARCHIVE_PATH}/ohos_tree_2.2.1.tar.gz tree_2.2.1/
popd

export PREFIX=${sys_perfix}
编辑 hnp.json
{
    "type":"hnp-config",
    "name":"tree",
    "version":"2.2.1",
    "install":{}
}
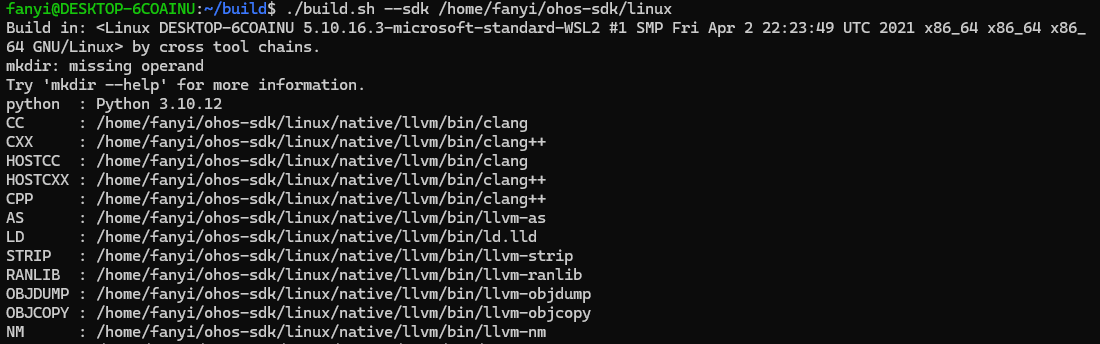
尝试编译,发现没 sdk
cd ~/build
./build.sh --sdk /home/fanyi/ohos-sdk/linux  #参数换成自己的路径
构建完成产物如图


讨论HarmonyOS开发技术,专注于API与组件、DevEco Studio、测试、元服务和应用上架分发等。
更多推荐


 7
7 0
0- 0


 已为社区贡献6条内容

所有评论(0)